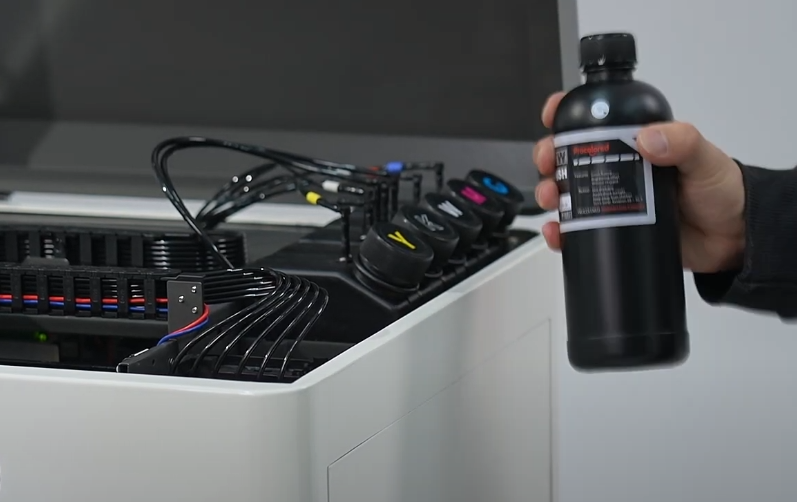
Before adding ink, shake the ink bottles to ensure the ink is evenly mixed.
Add ink by color: C (Cyan), M (Magenta), Y (Yellow), K (Black), and W (White).
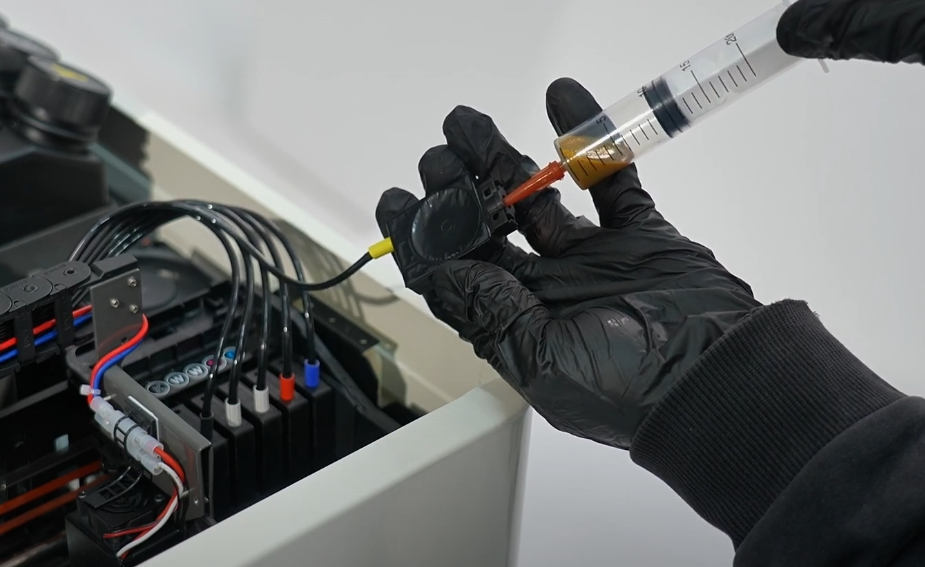
Remove ink cartridges and use a syringe to withdraw 3-5ml of ink from each.
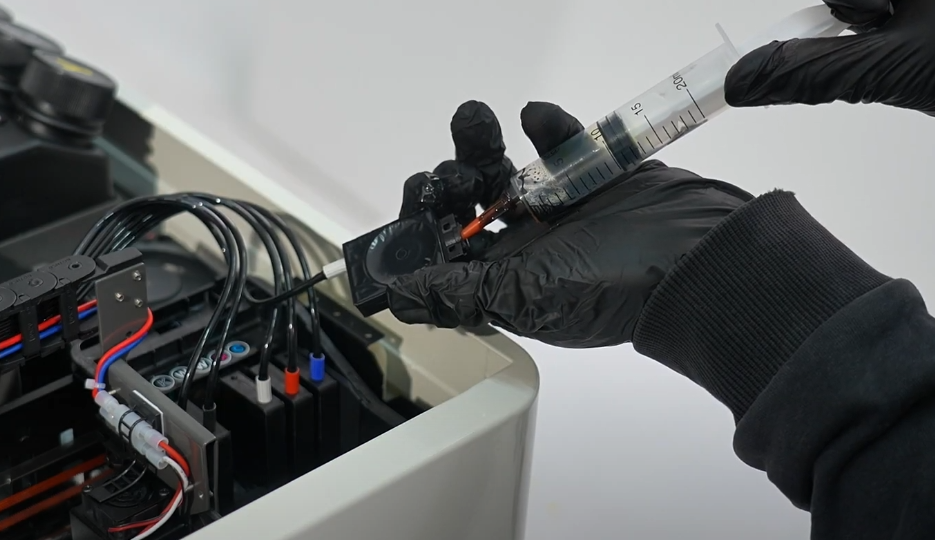
Clean the syringe needle or use a new one for each different ink color.
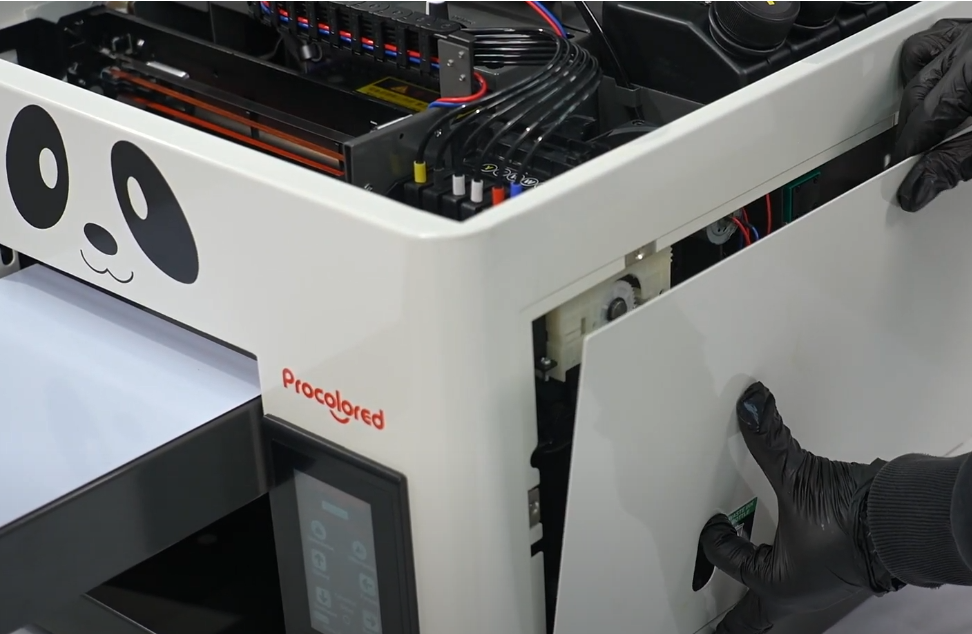
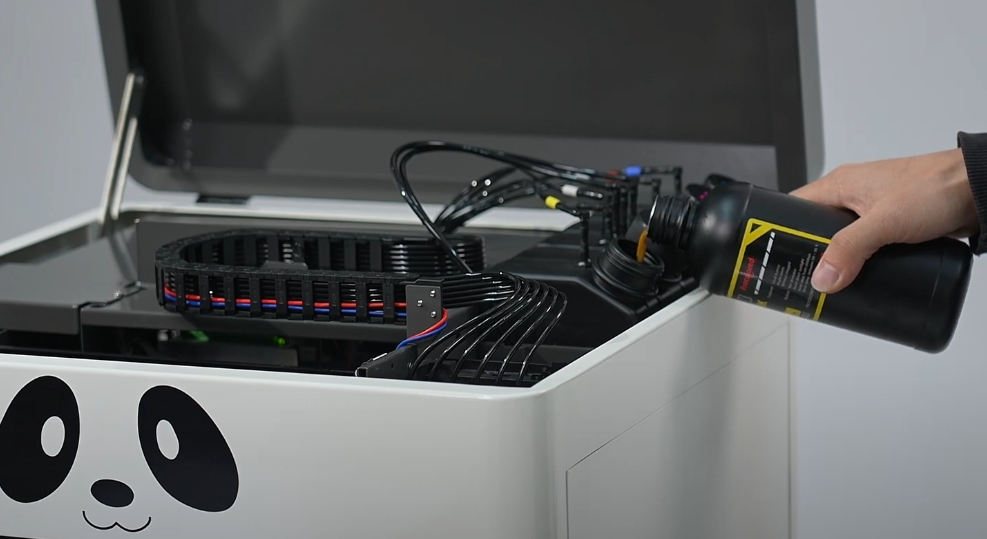
Open the right-side cover of the machine.
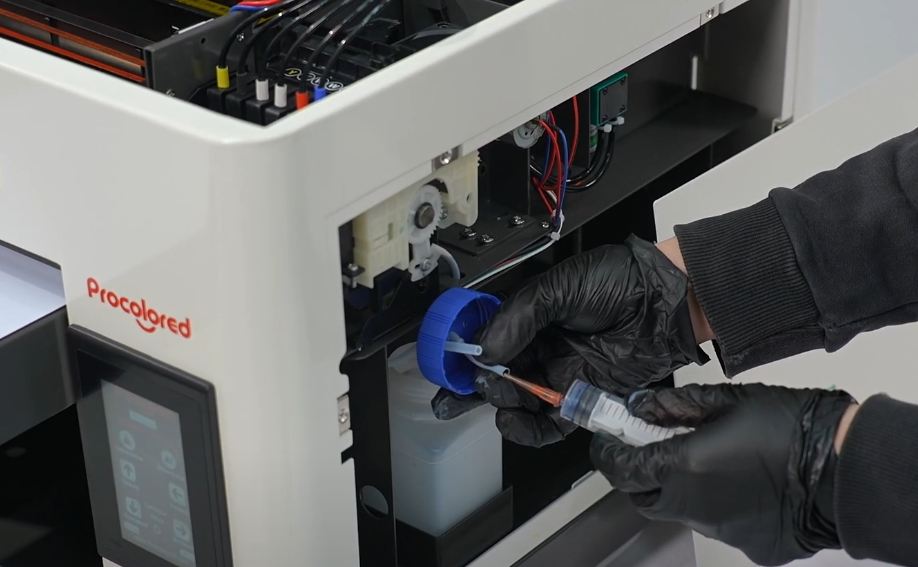
Extract 5-10ml of ink from the waste tube to ensure the ink path is connected.
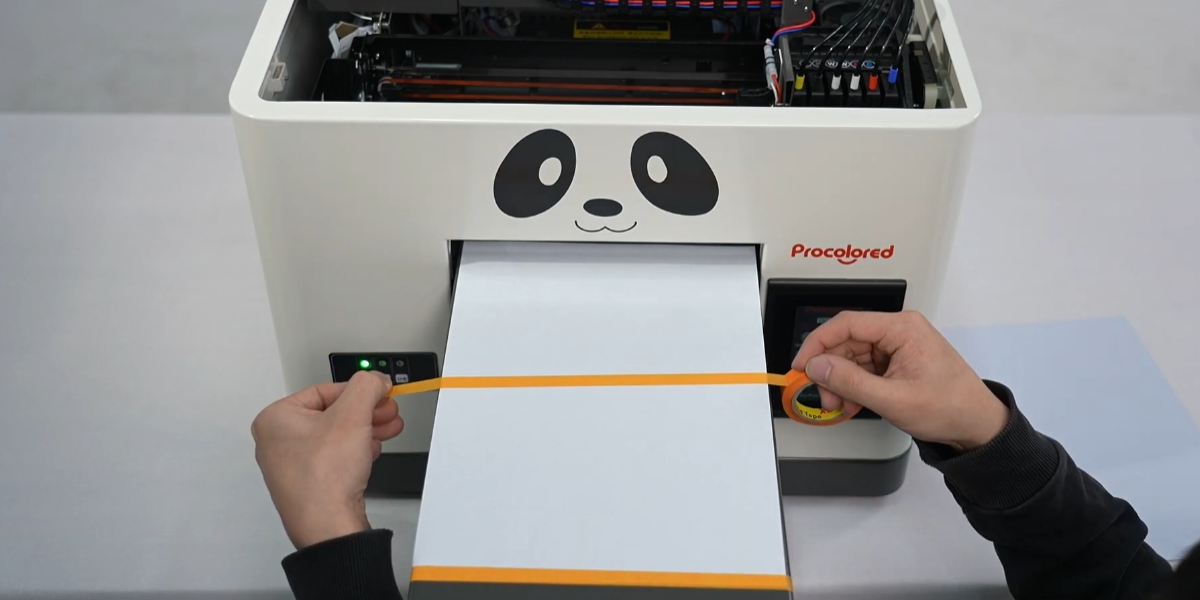
Move the platform to the outermost position and tape a piece of white paper.
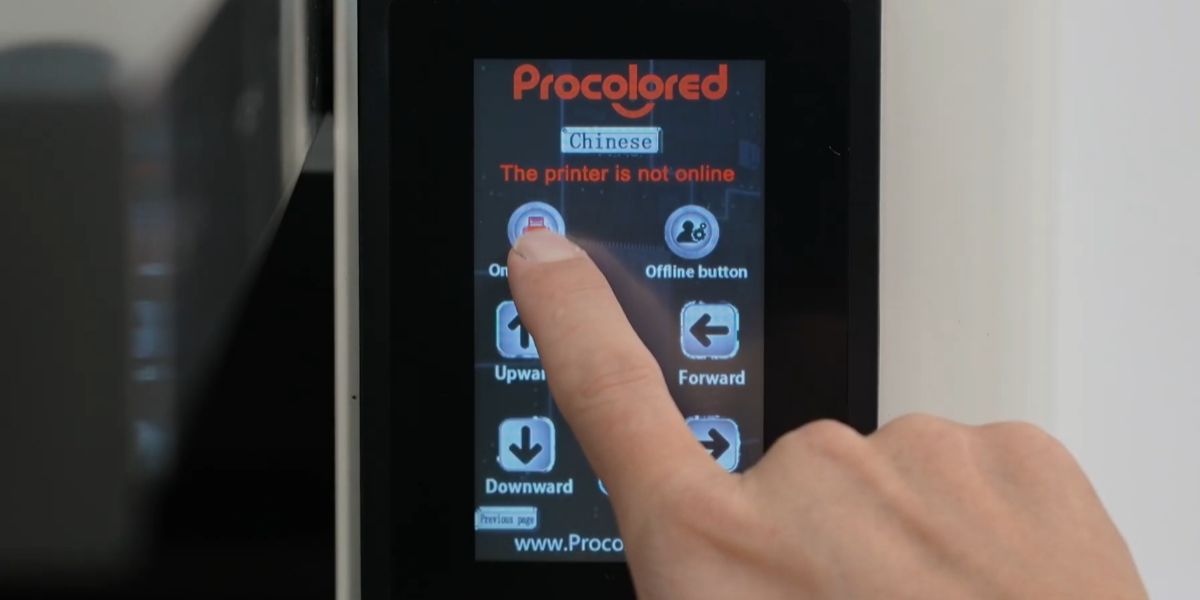
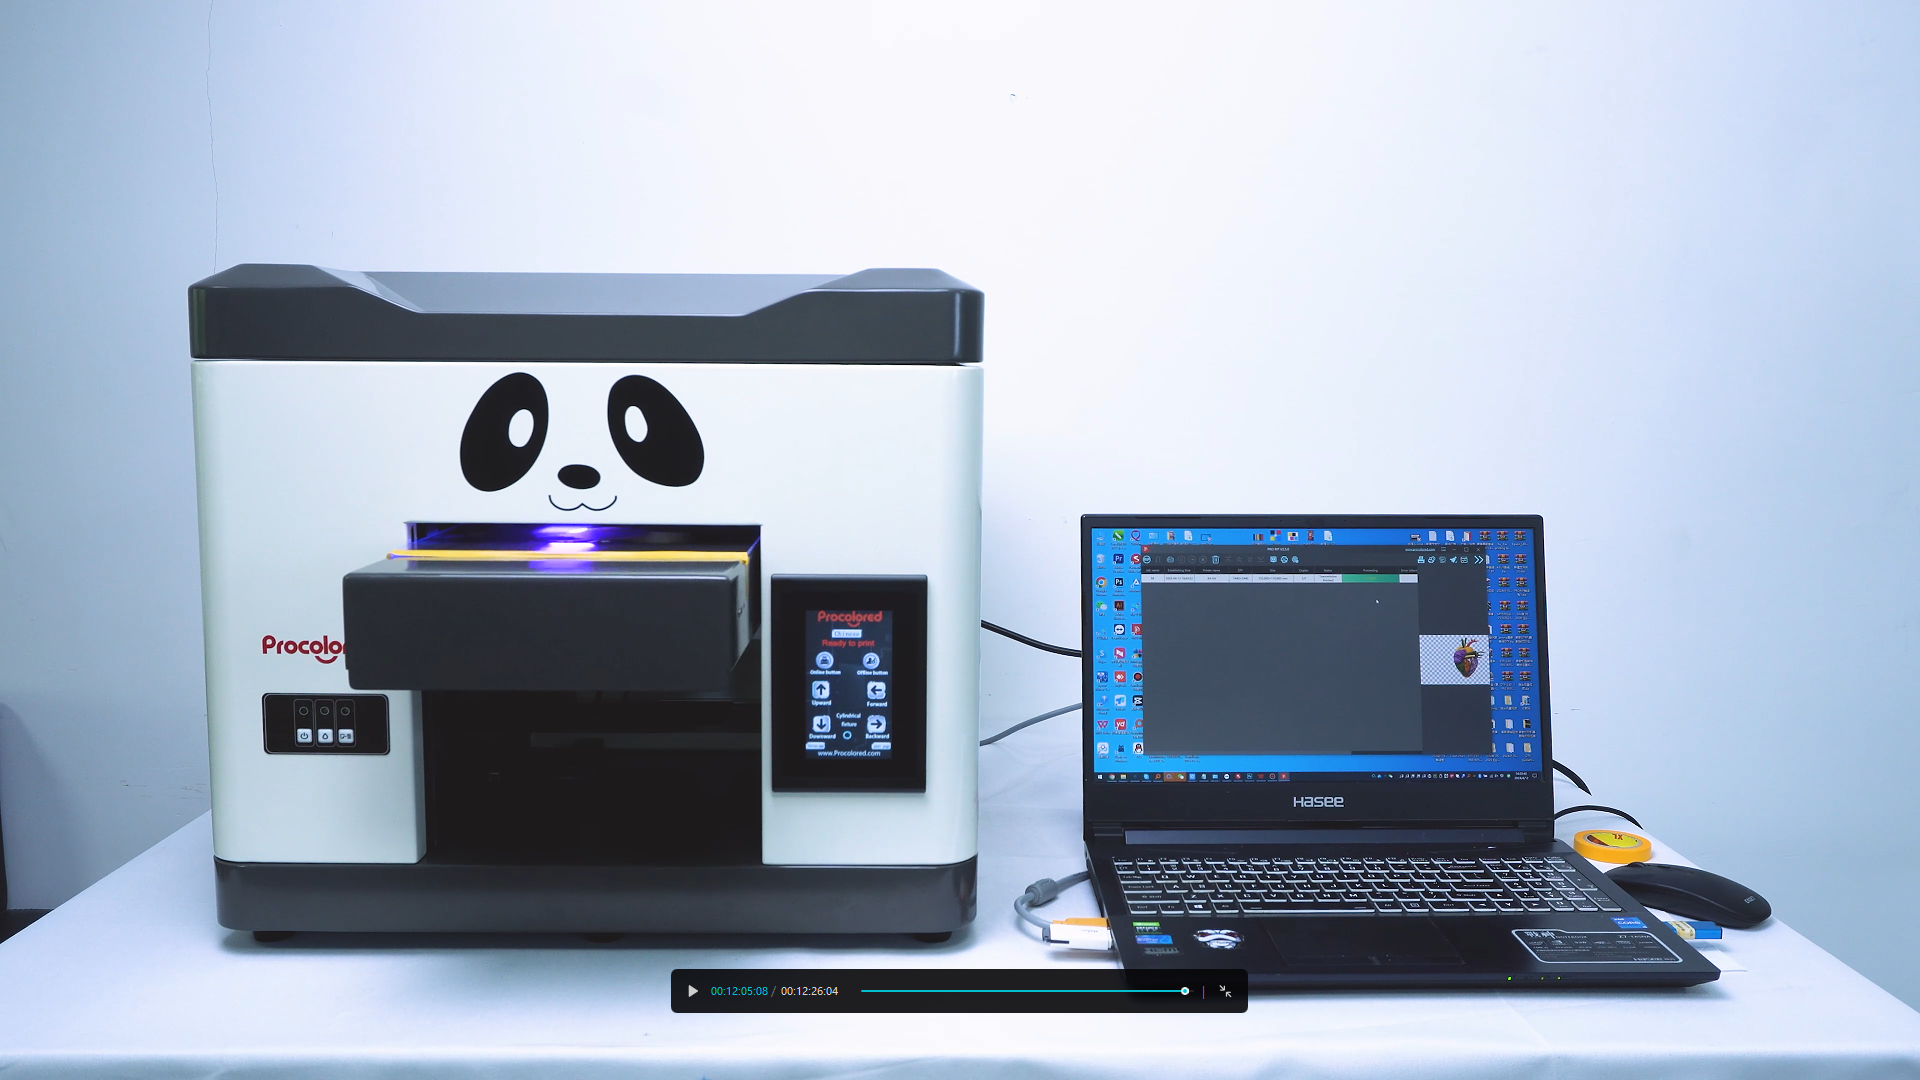
Click the online button on the control panel.
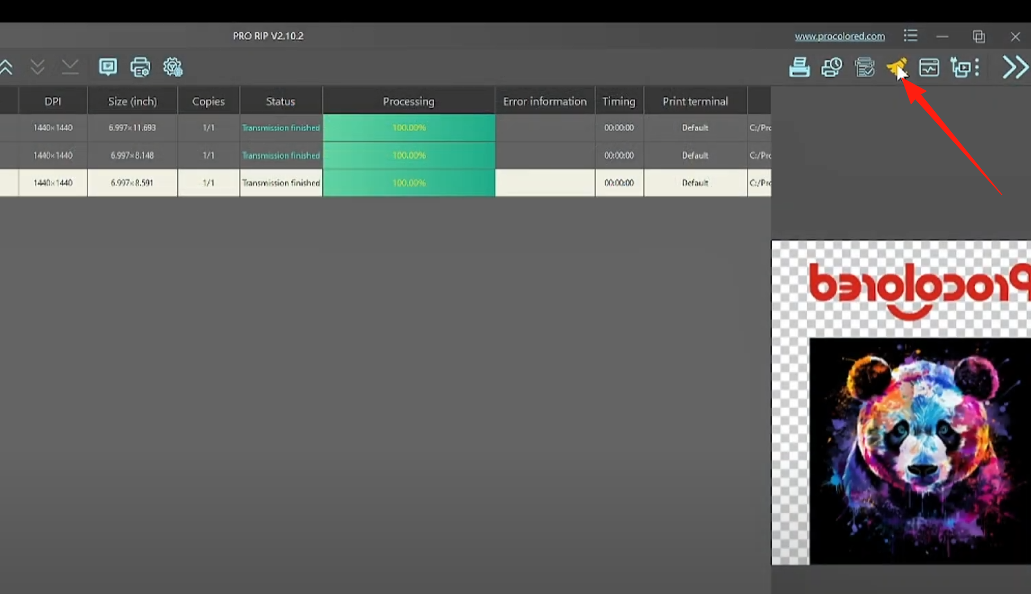
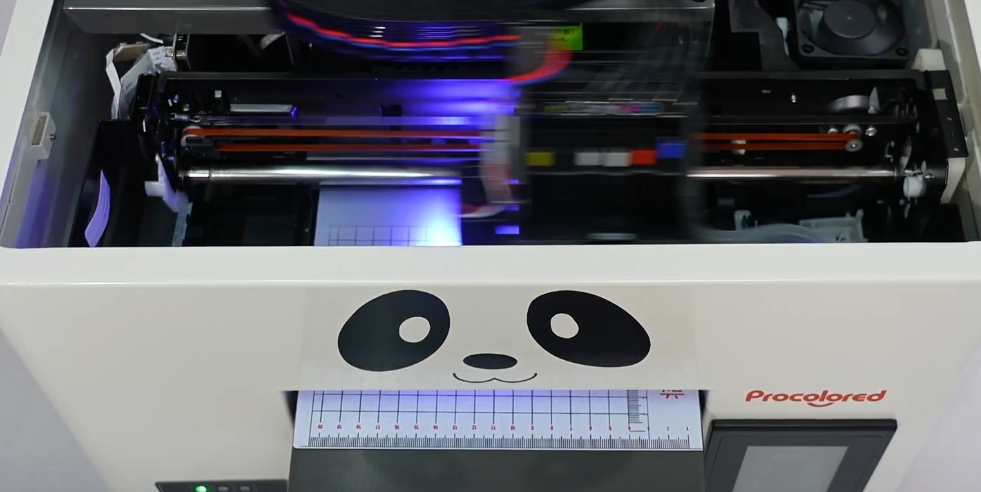
In PRO RIP, clean the printhead and print a nozzle check test page.
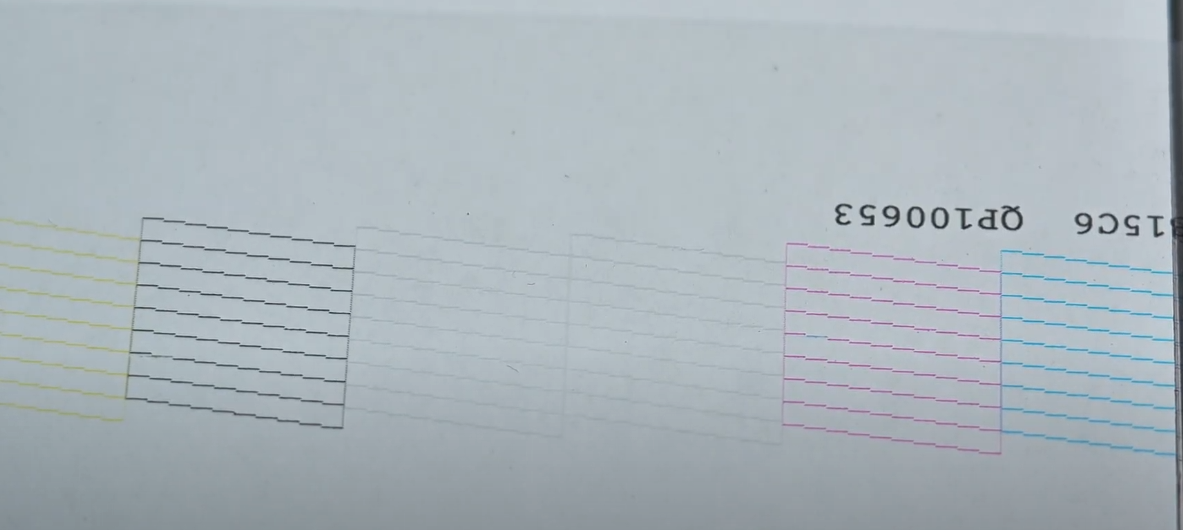
Confirm the print head nozzles are functioning properly.
Once nozzles are clear, you can start printing the calibration lines.
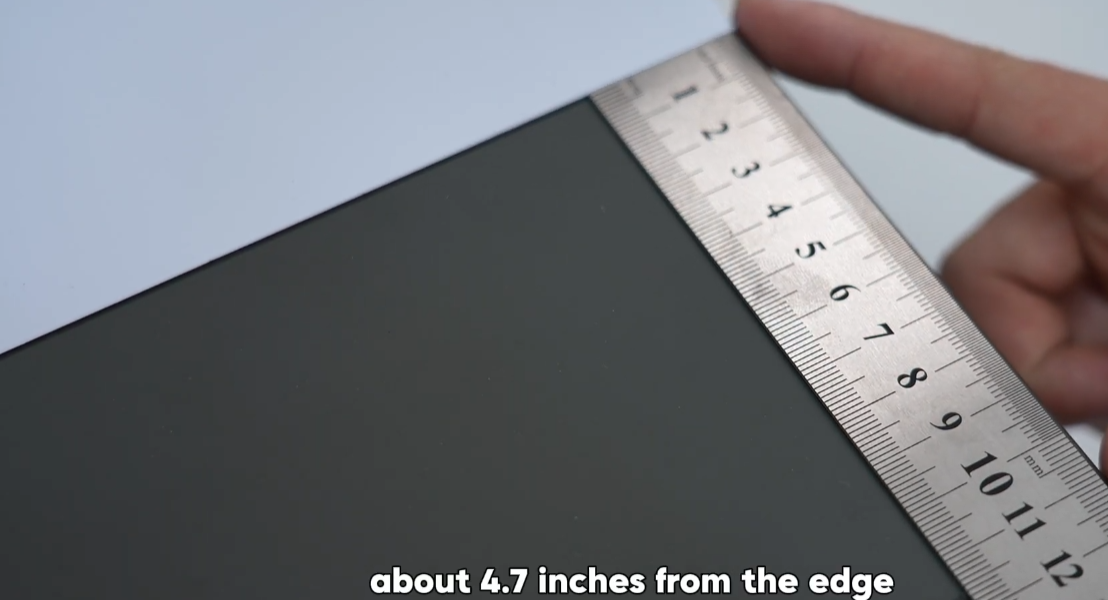
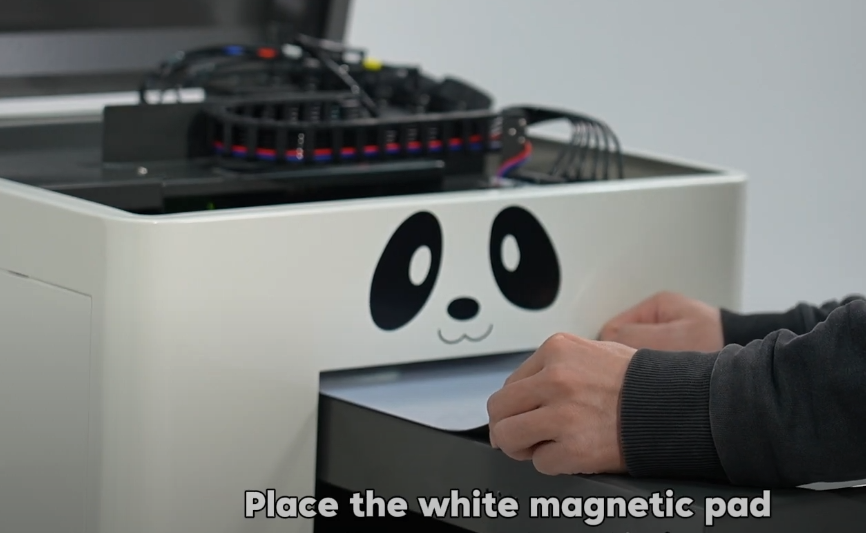
Place the white magnetic pad face up, about 4.7 inches from the edge.
Send the calibration task from the software to print the lines.
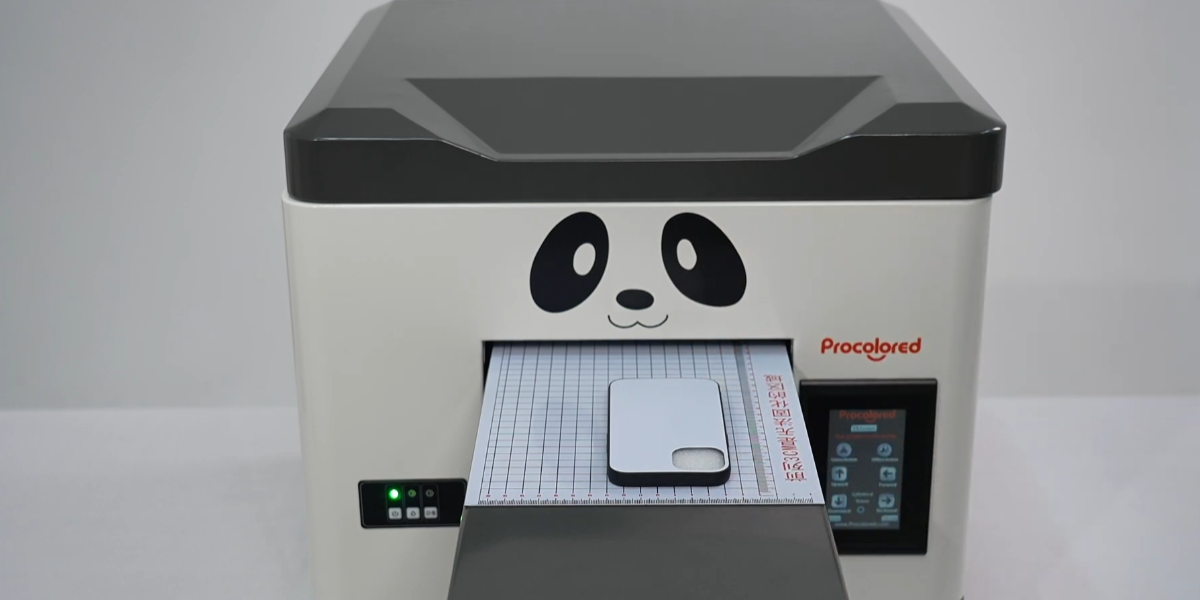
The calibration process is now complete.
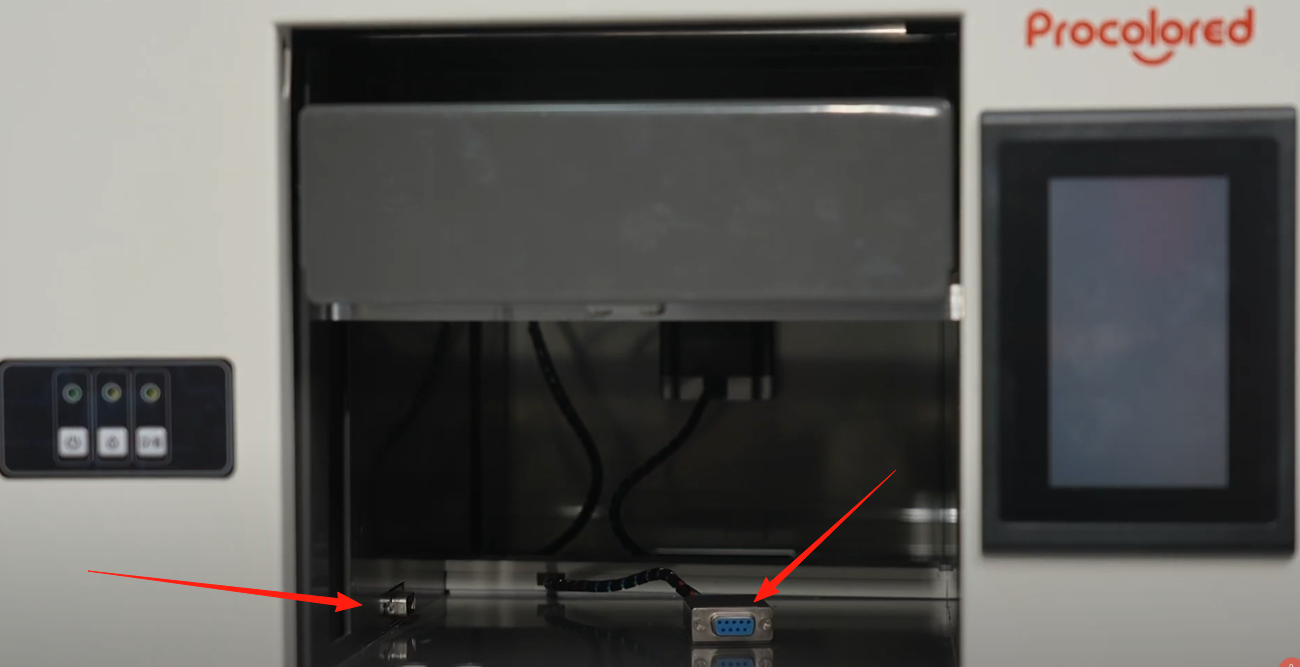
Unplug the connector under the print platform and connect it to the cylindrical fixture.
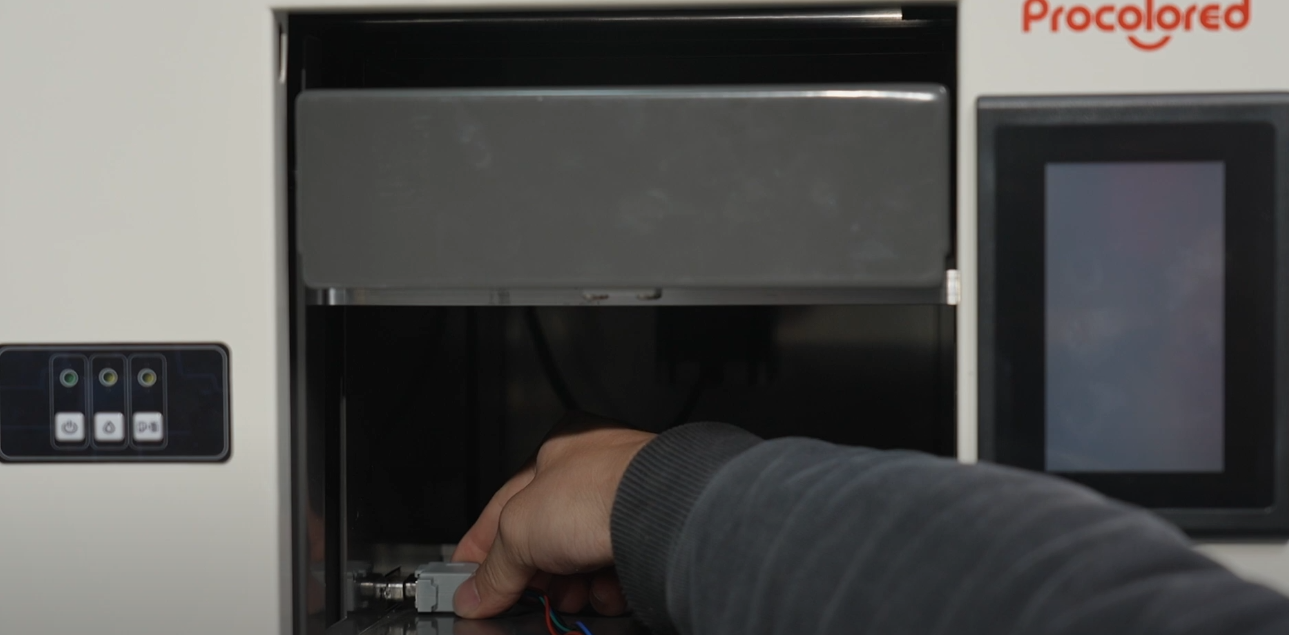
Using the connector plug with the other end attached to a cylindrical fixture.
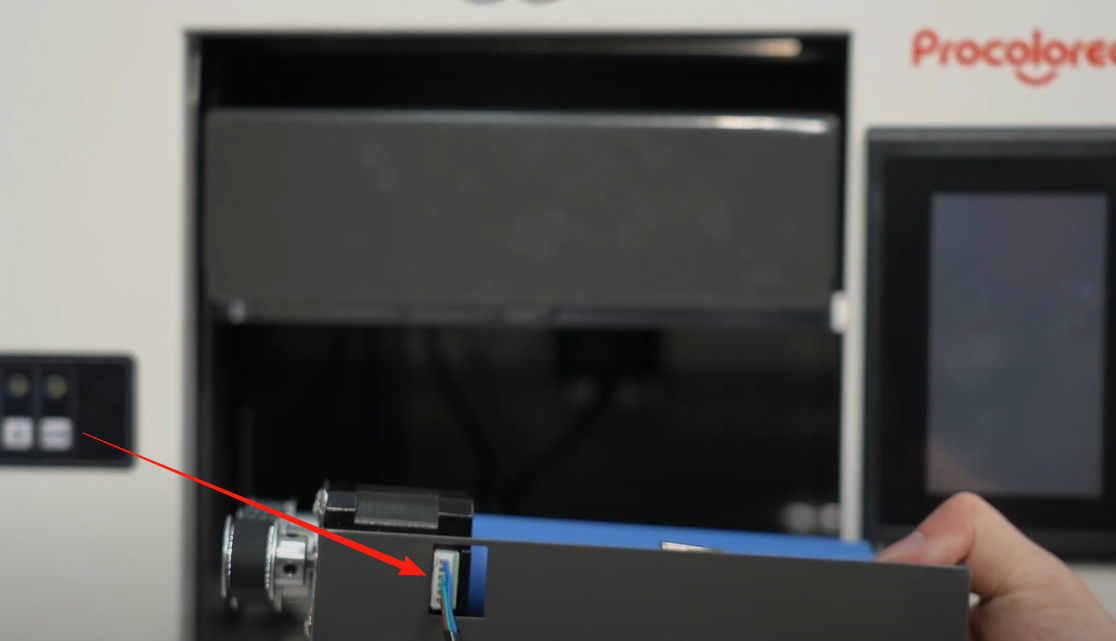
Then connect the other end of the socket.
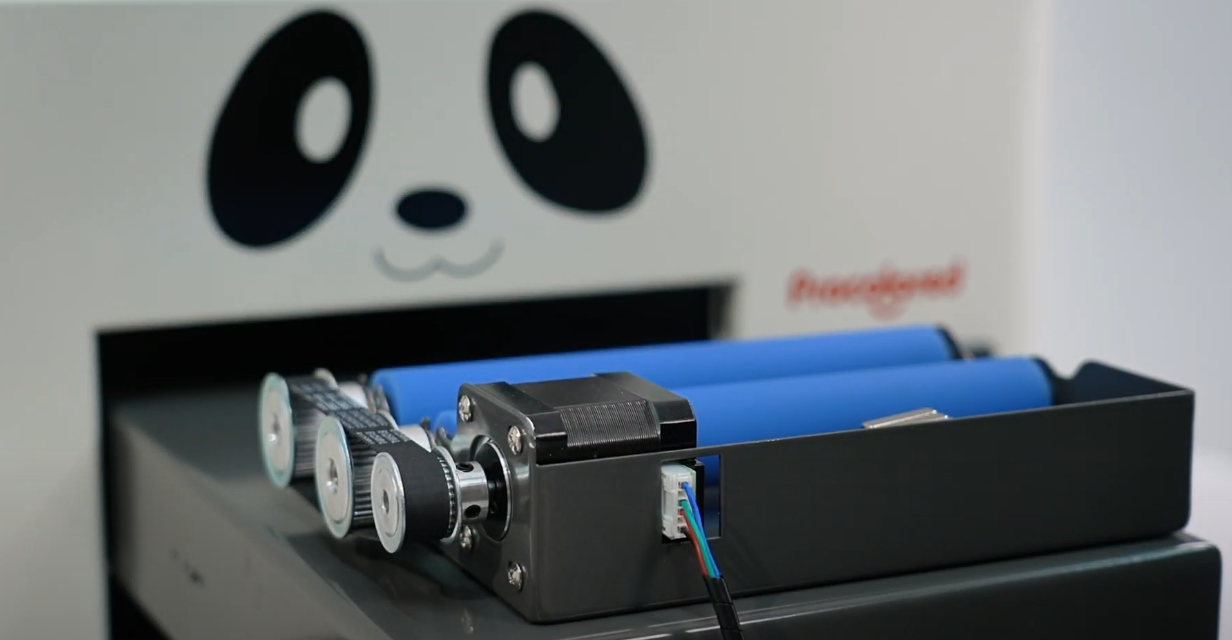
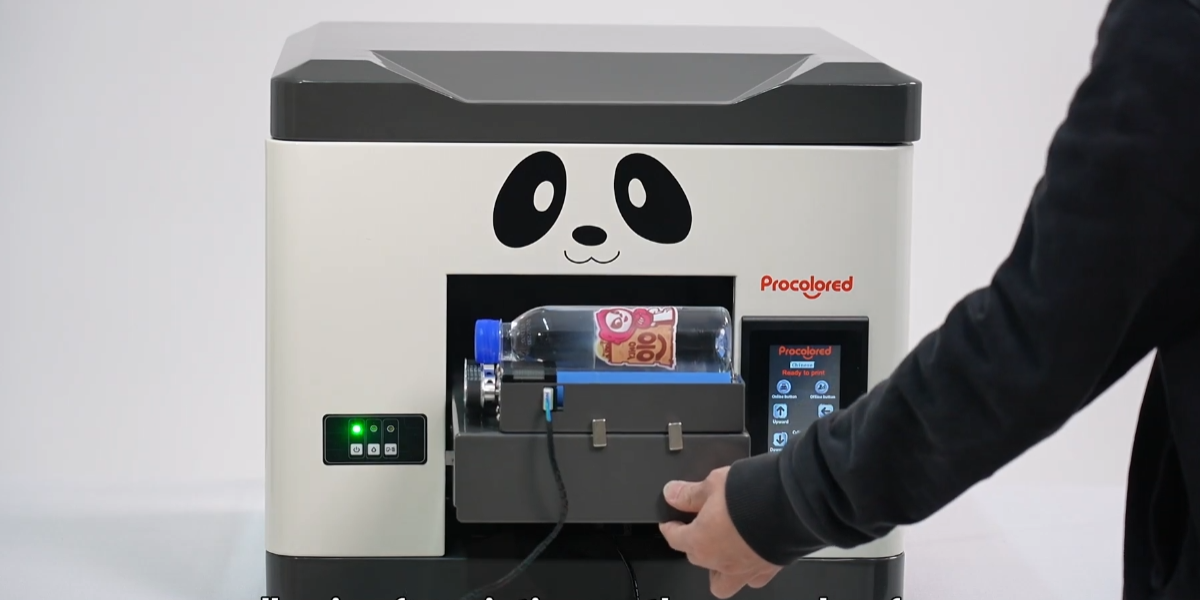
Move the print platform to its outermost position and place the cylindrical fixture onto the platform.
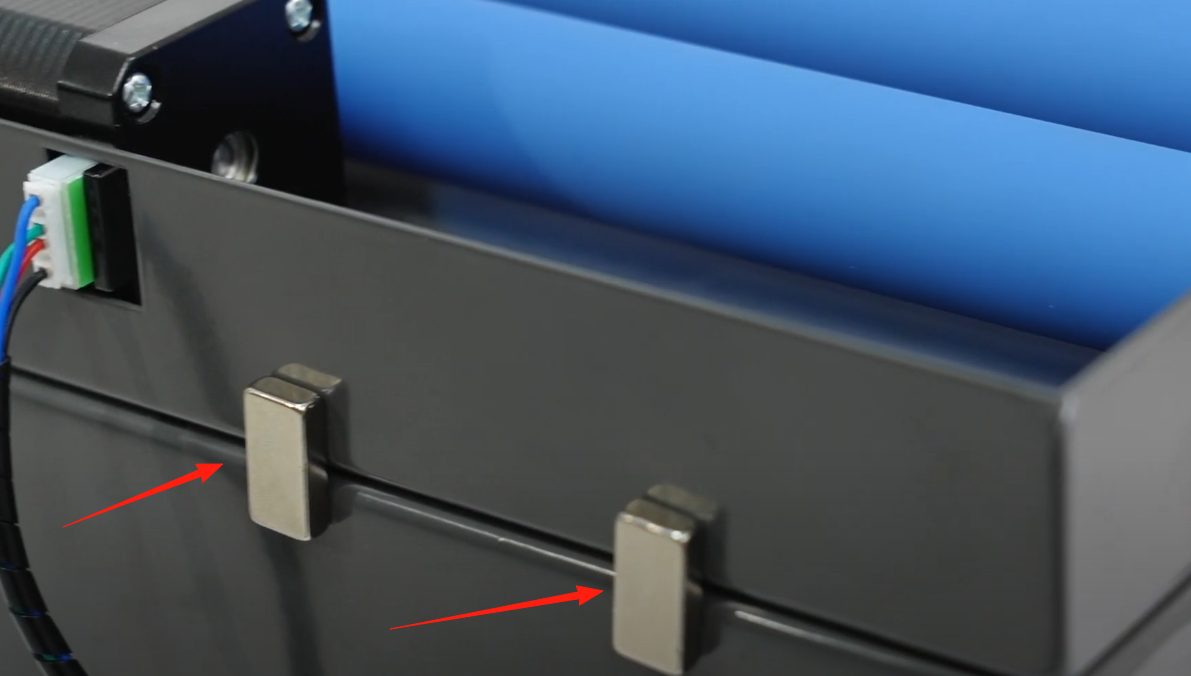
Align the cylindrical fixture with the edge of the platform and secure it using the magnets inside.
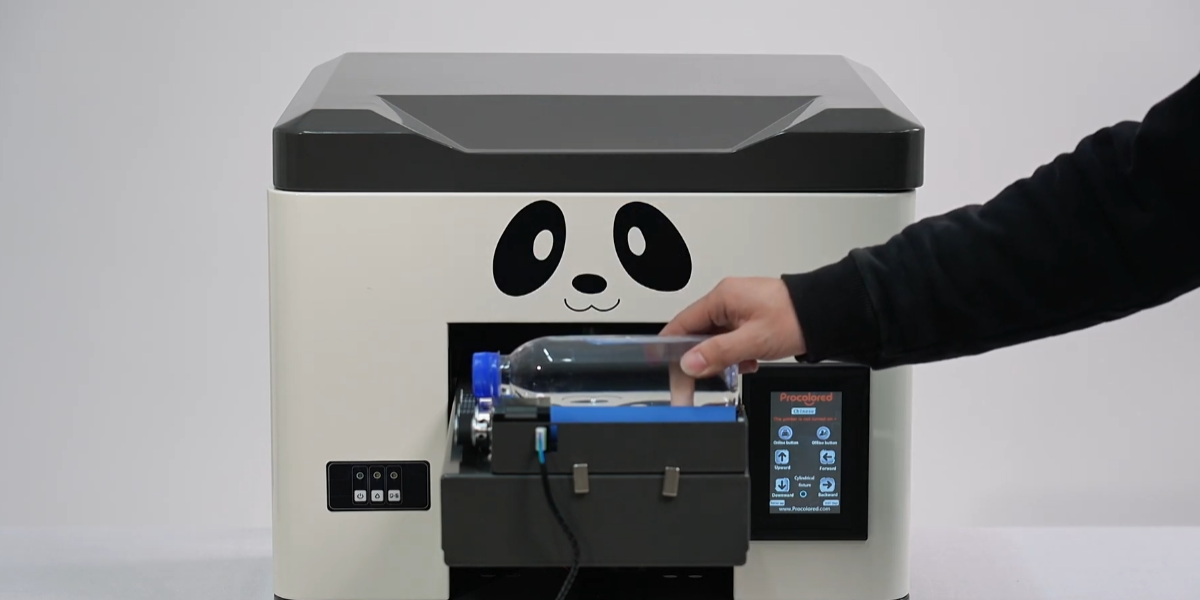
Turn on the printer, and place the cylindrical item to be printed onto the fixture.

Press the online button on the screen to move the platform into the printer.

Start sending the print job to the printer.
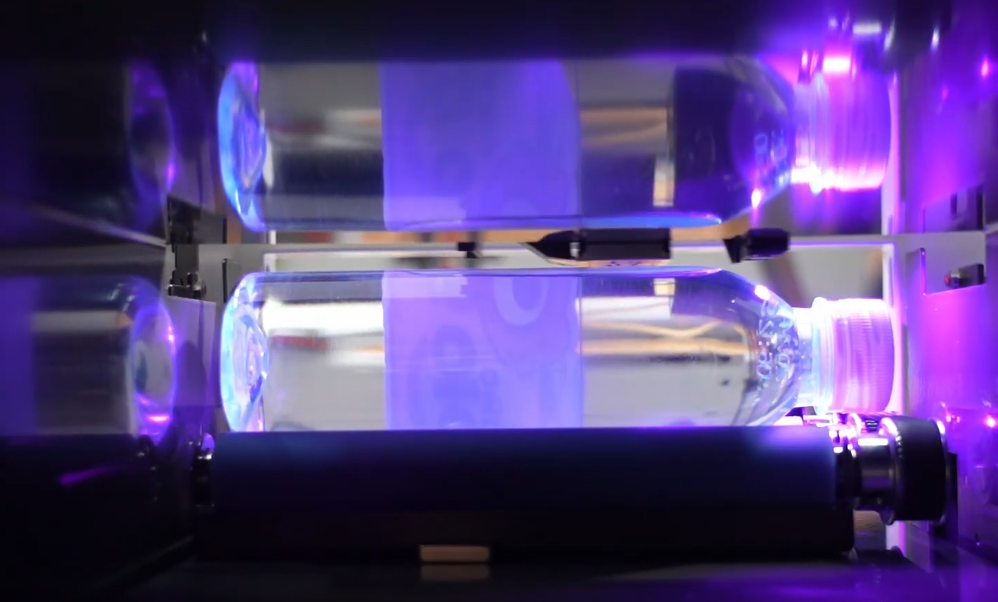
The fixture will rotate the item with each section printed, allowing for curved surface printing.
The cylindrical printing process is now finished!
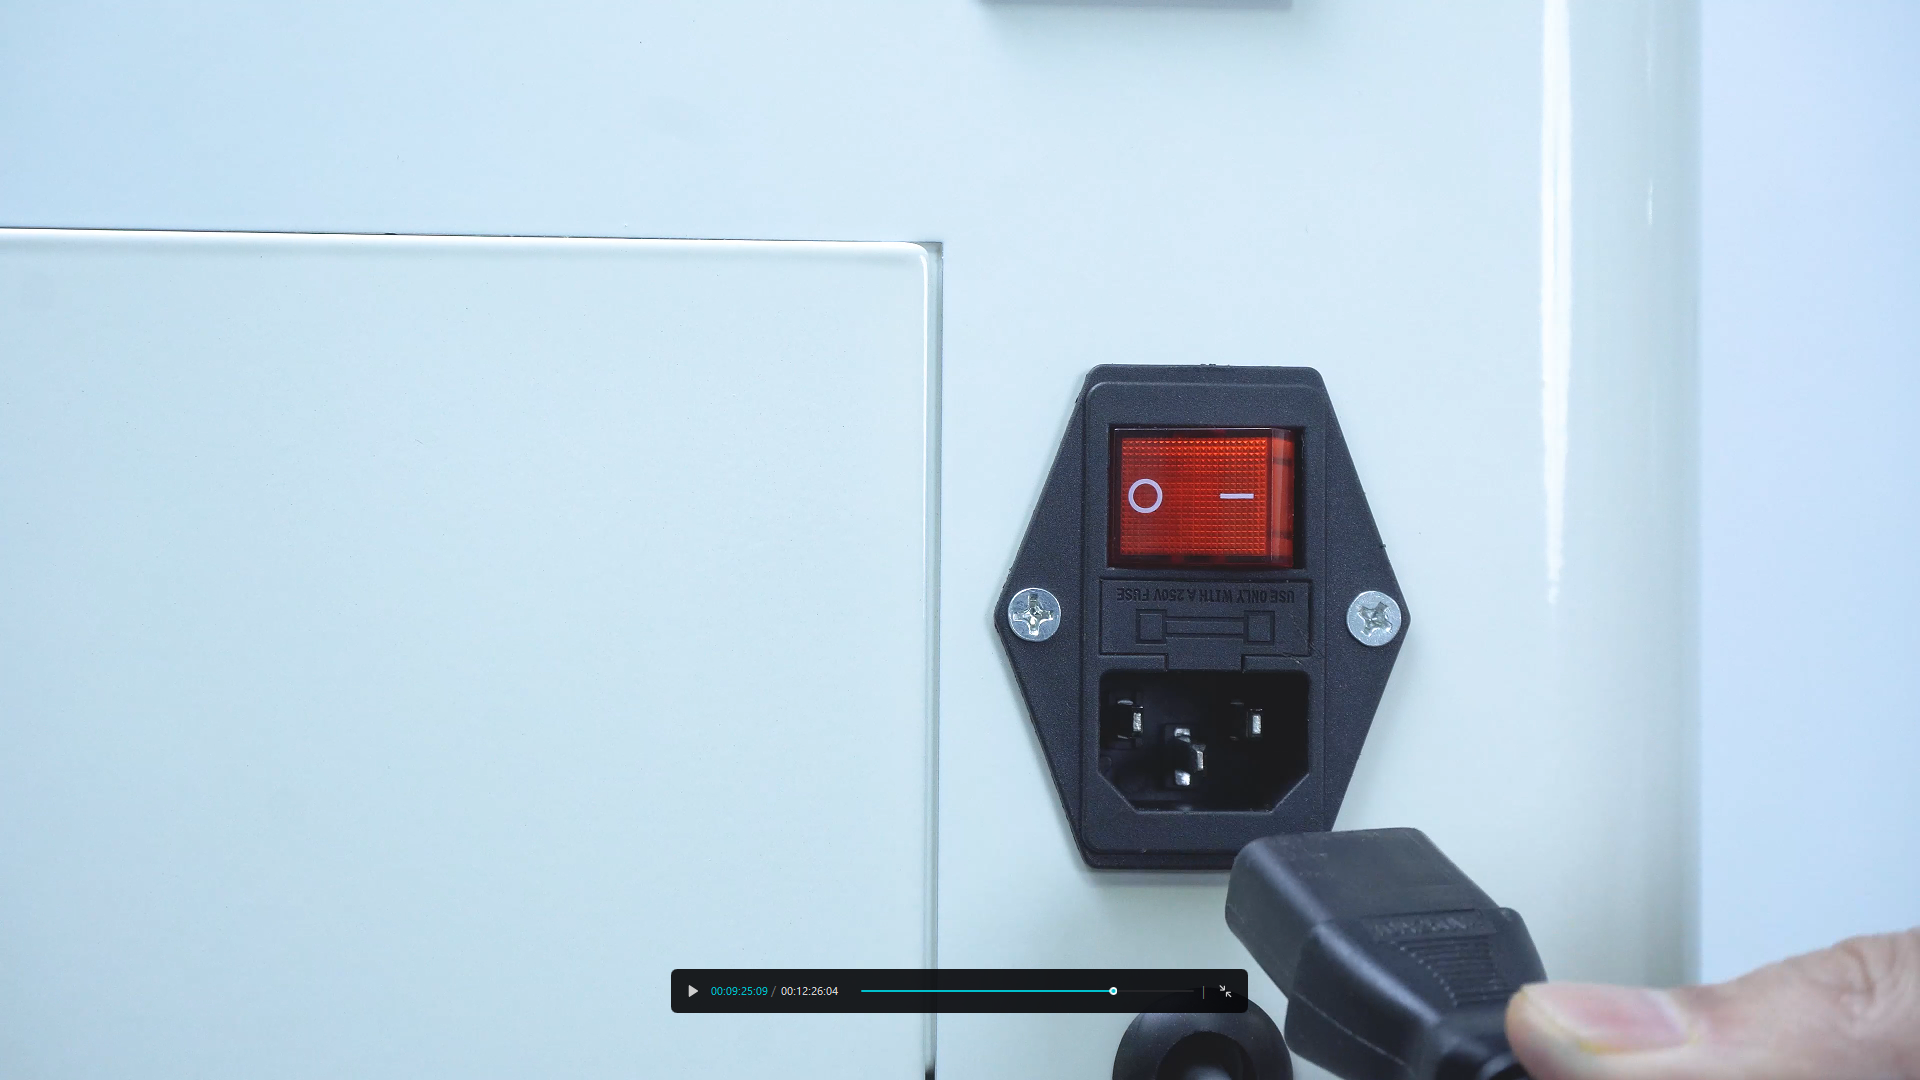
Connect the power cord securely to the printer and outlet.
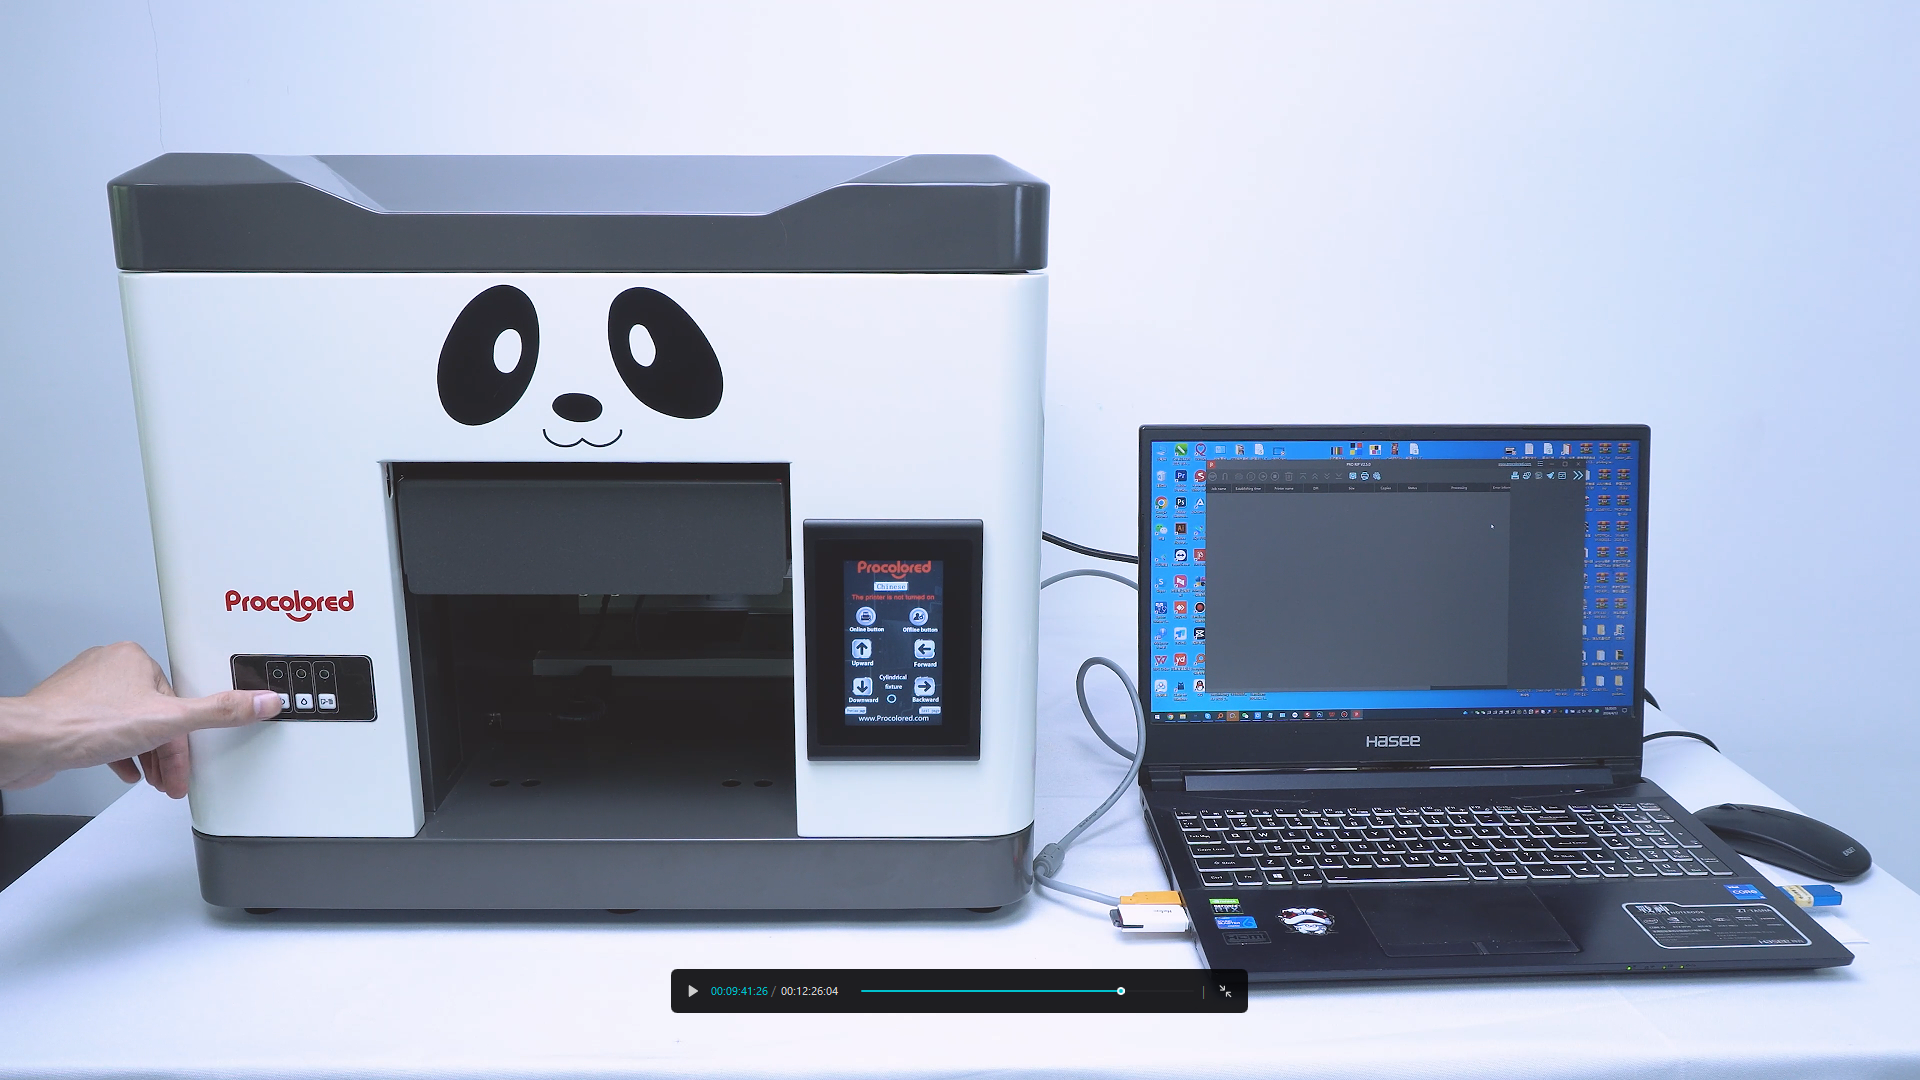
Click the power button to start the printer initialization.
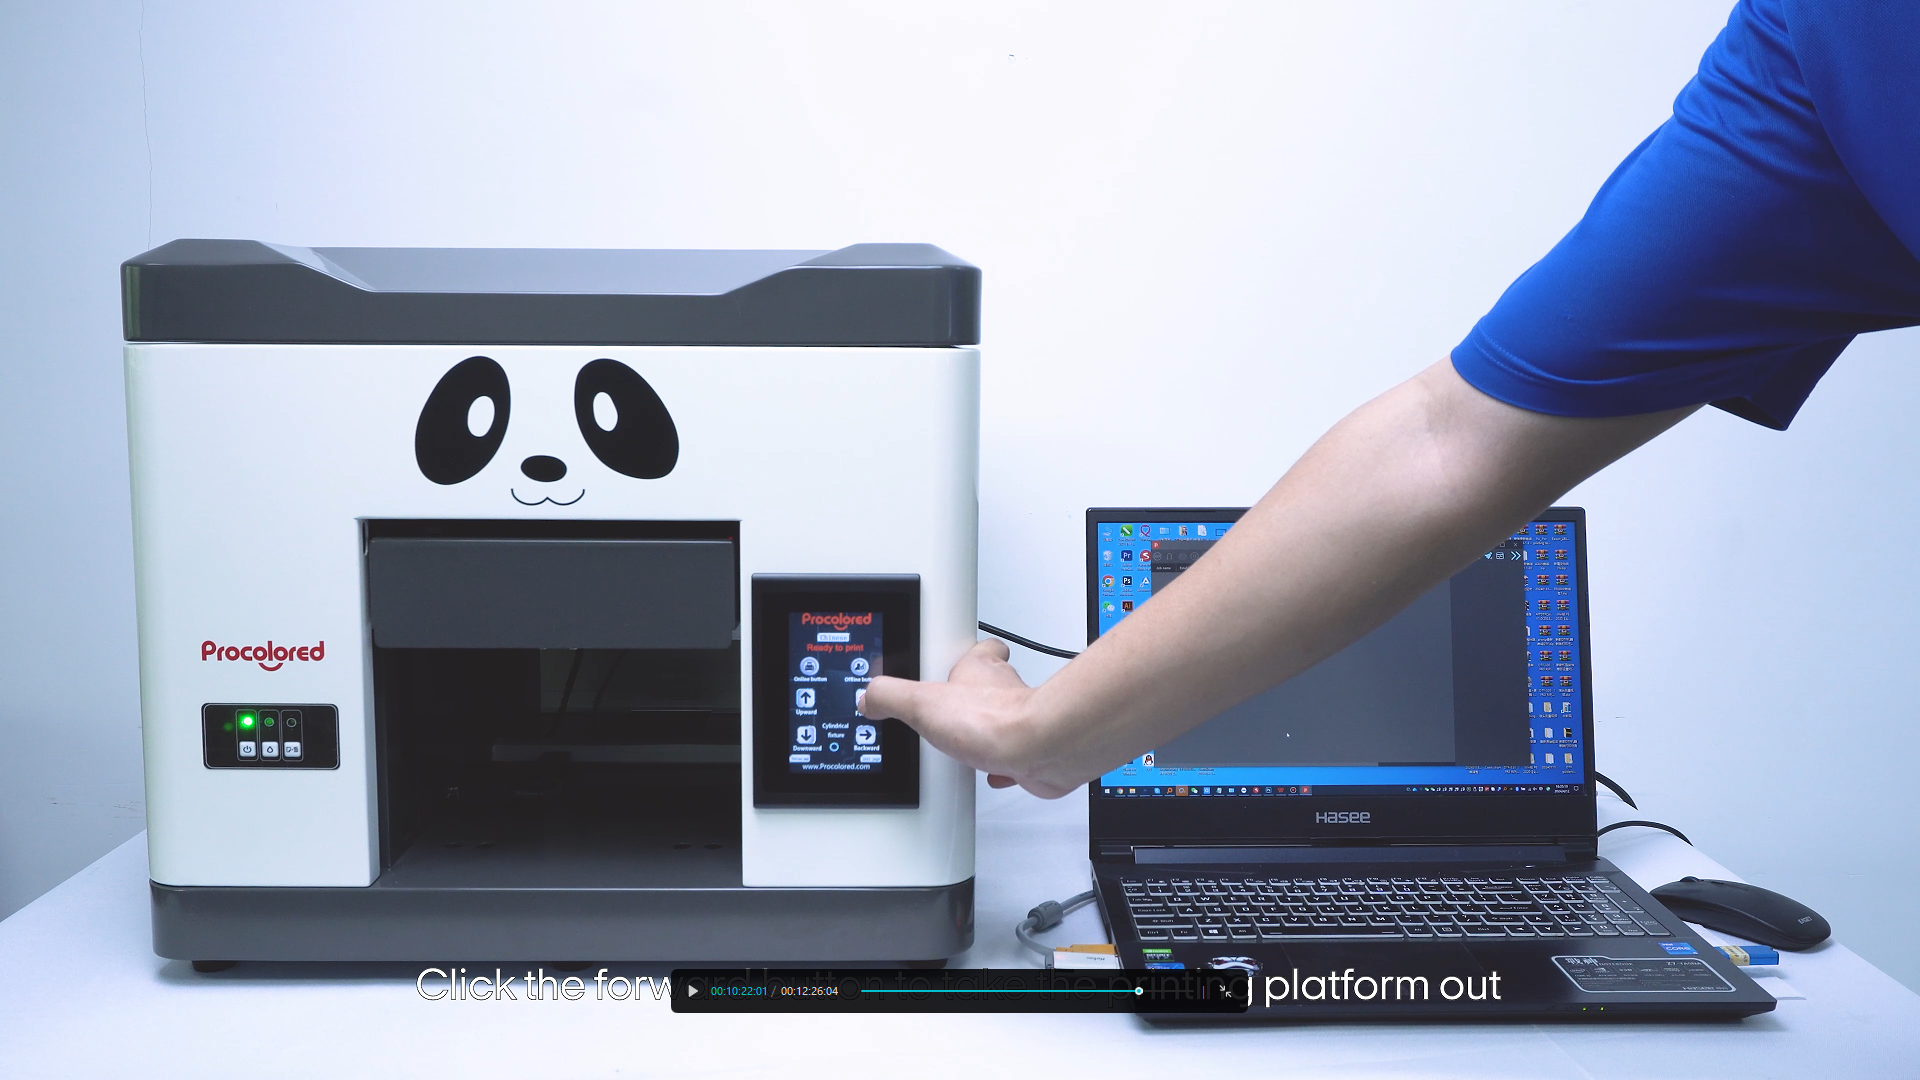
Move the print platform to the outermost position.
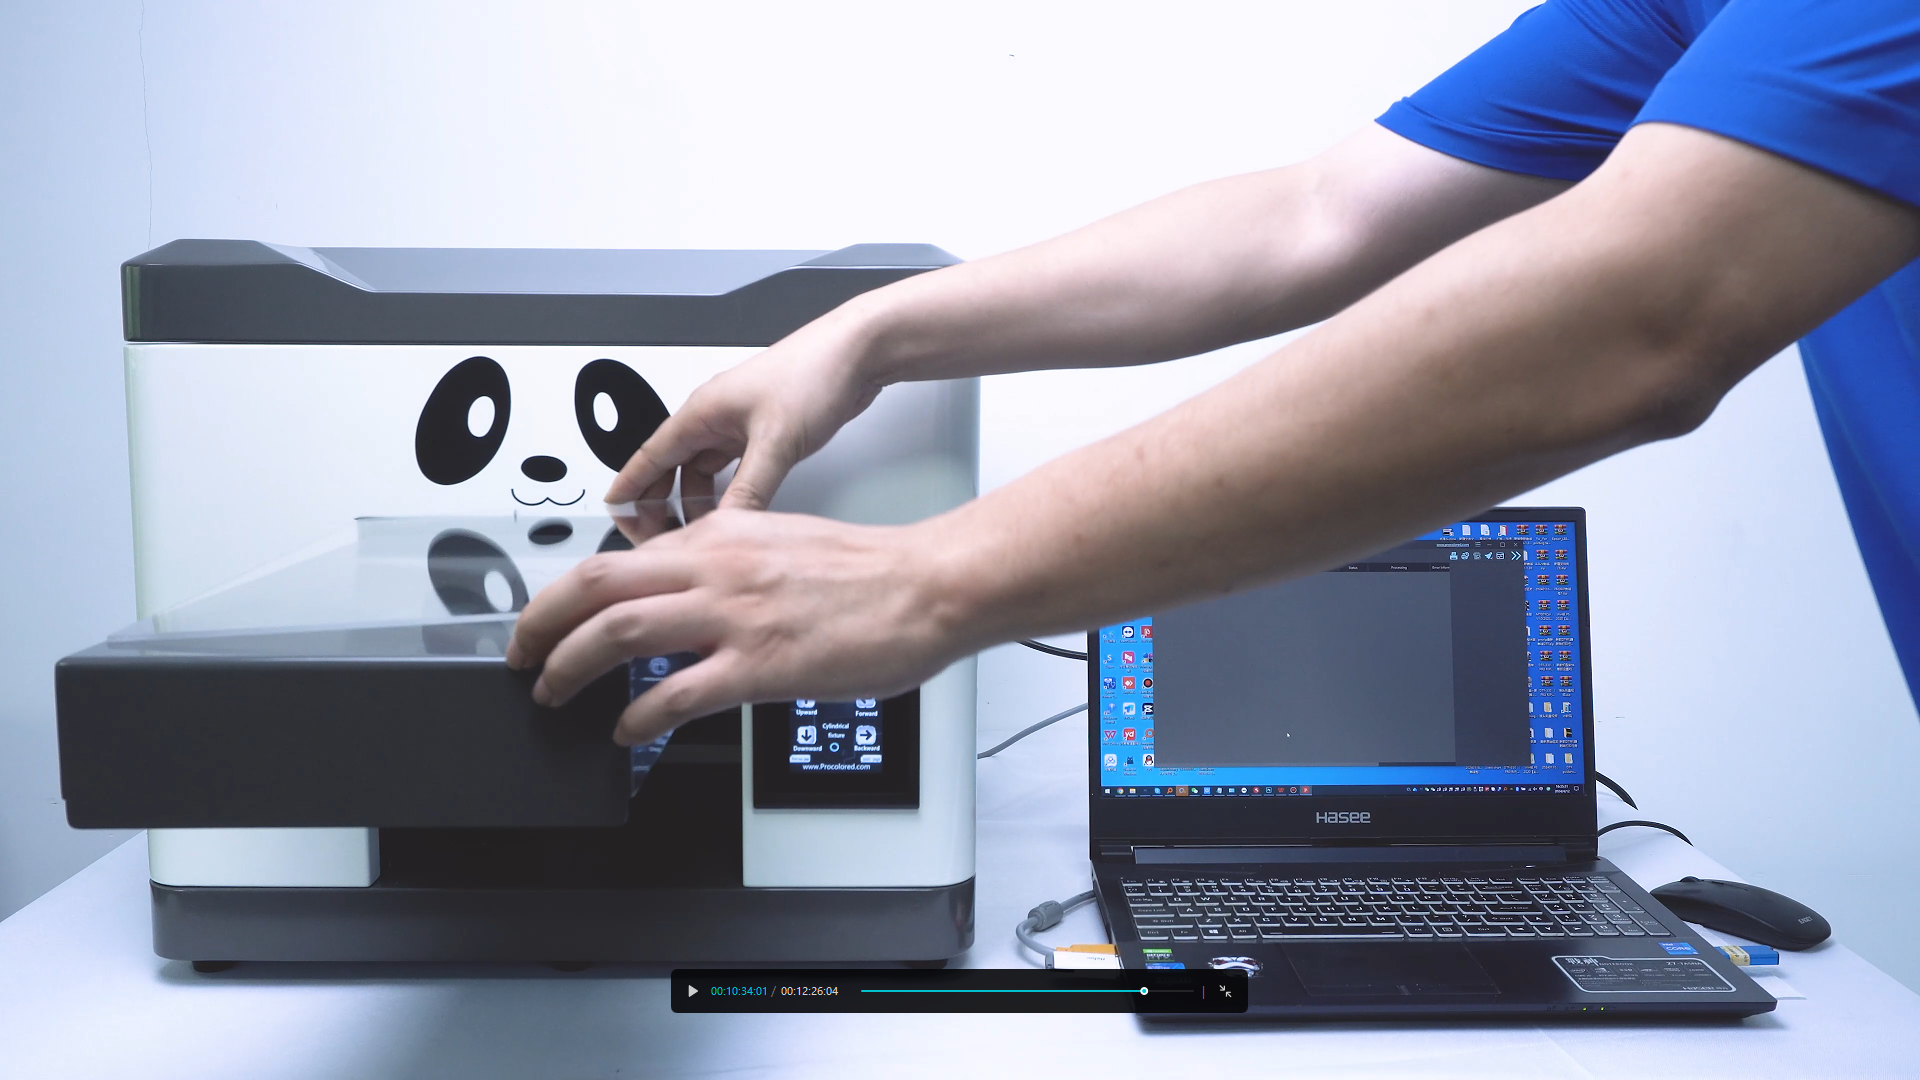
Carefully place the acrylic sheet onto the platform surface.
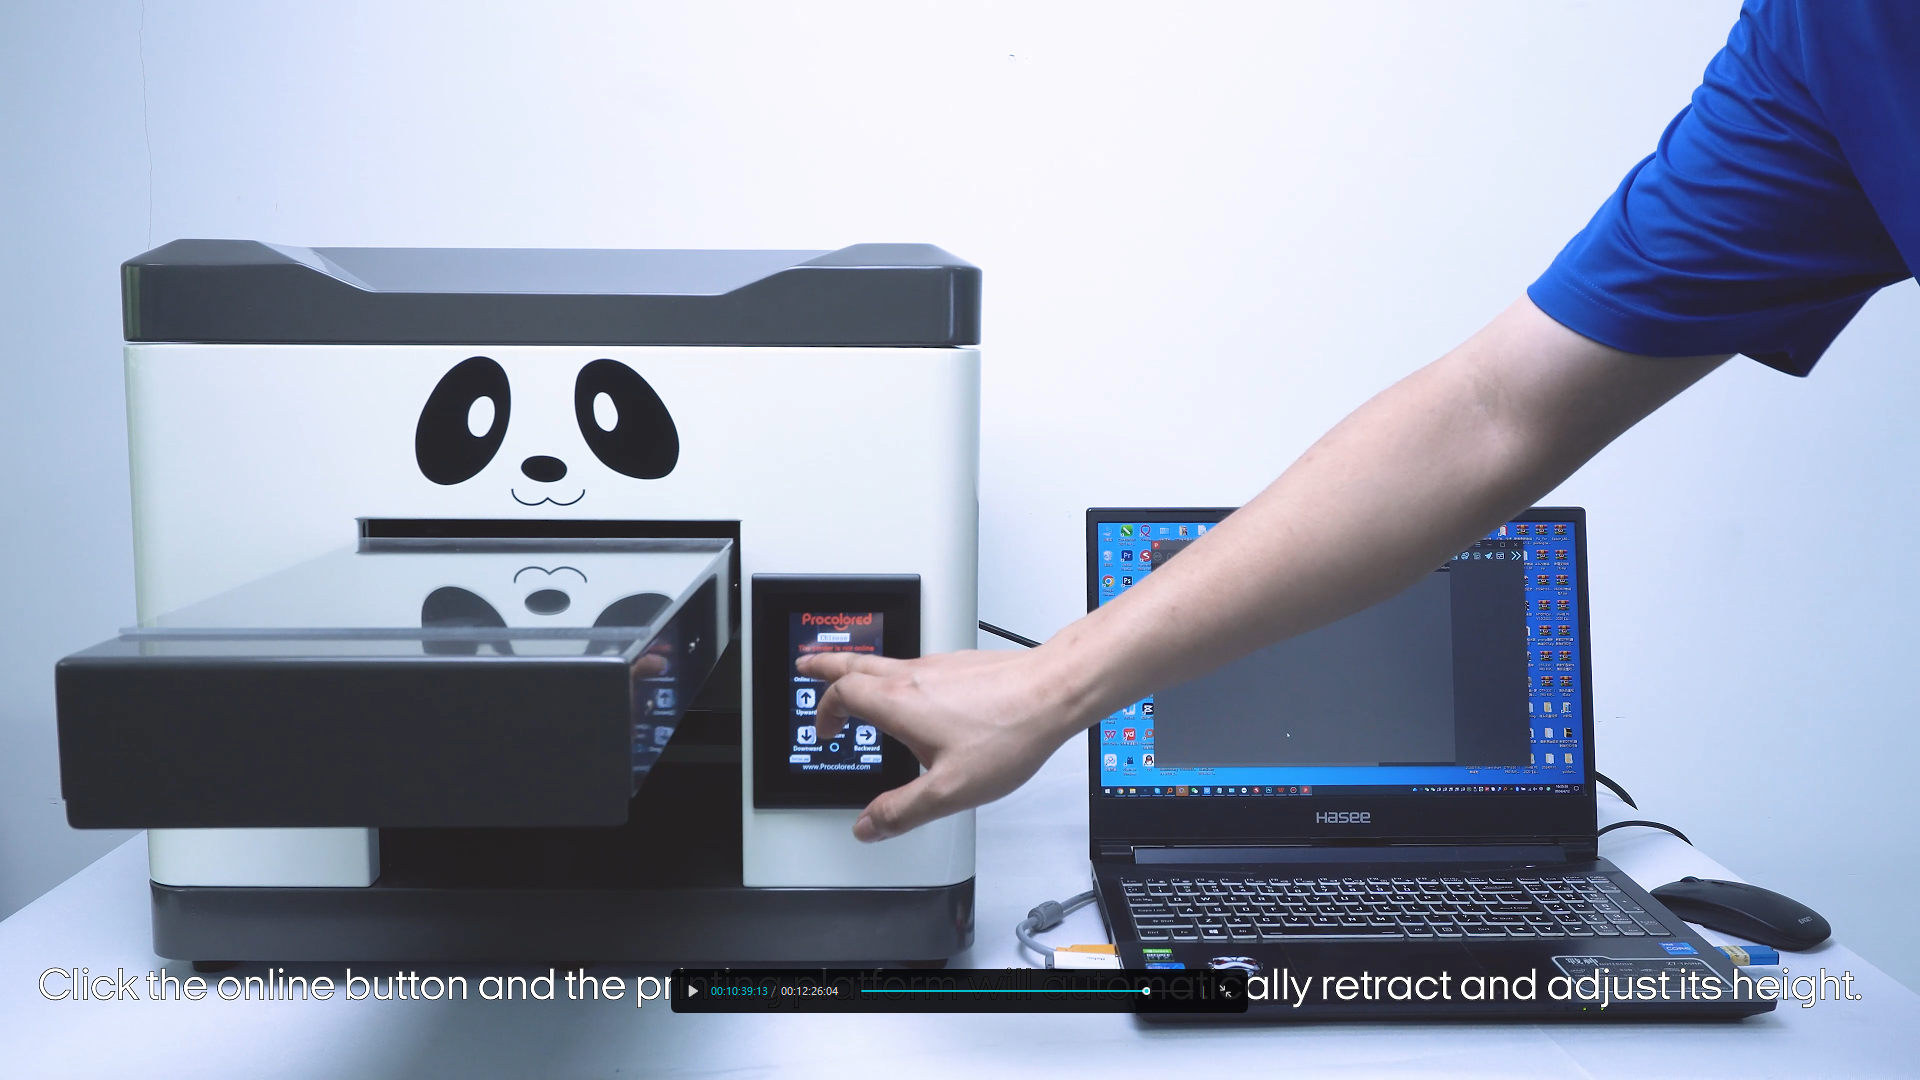
Retract the platform into the printer for the start of the job.
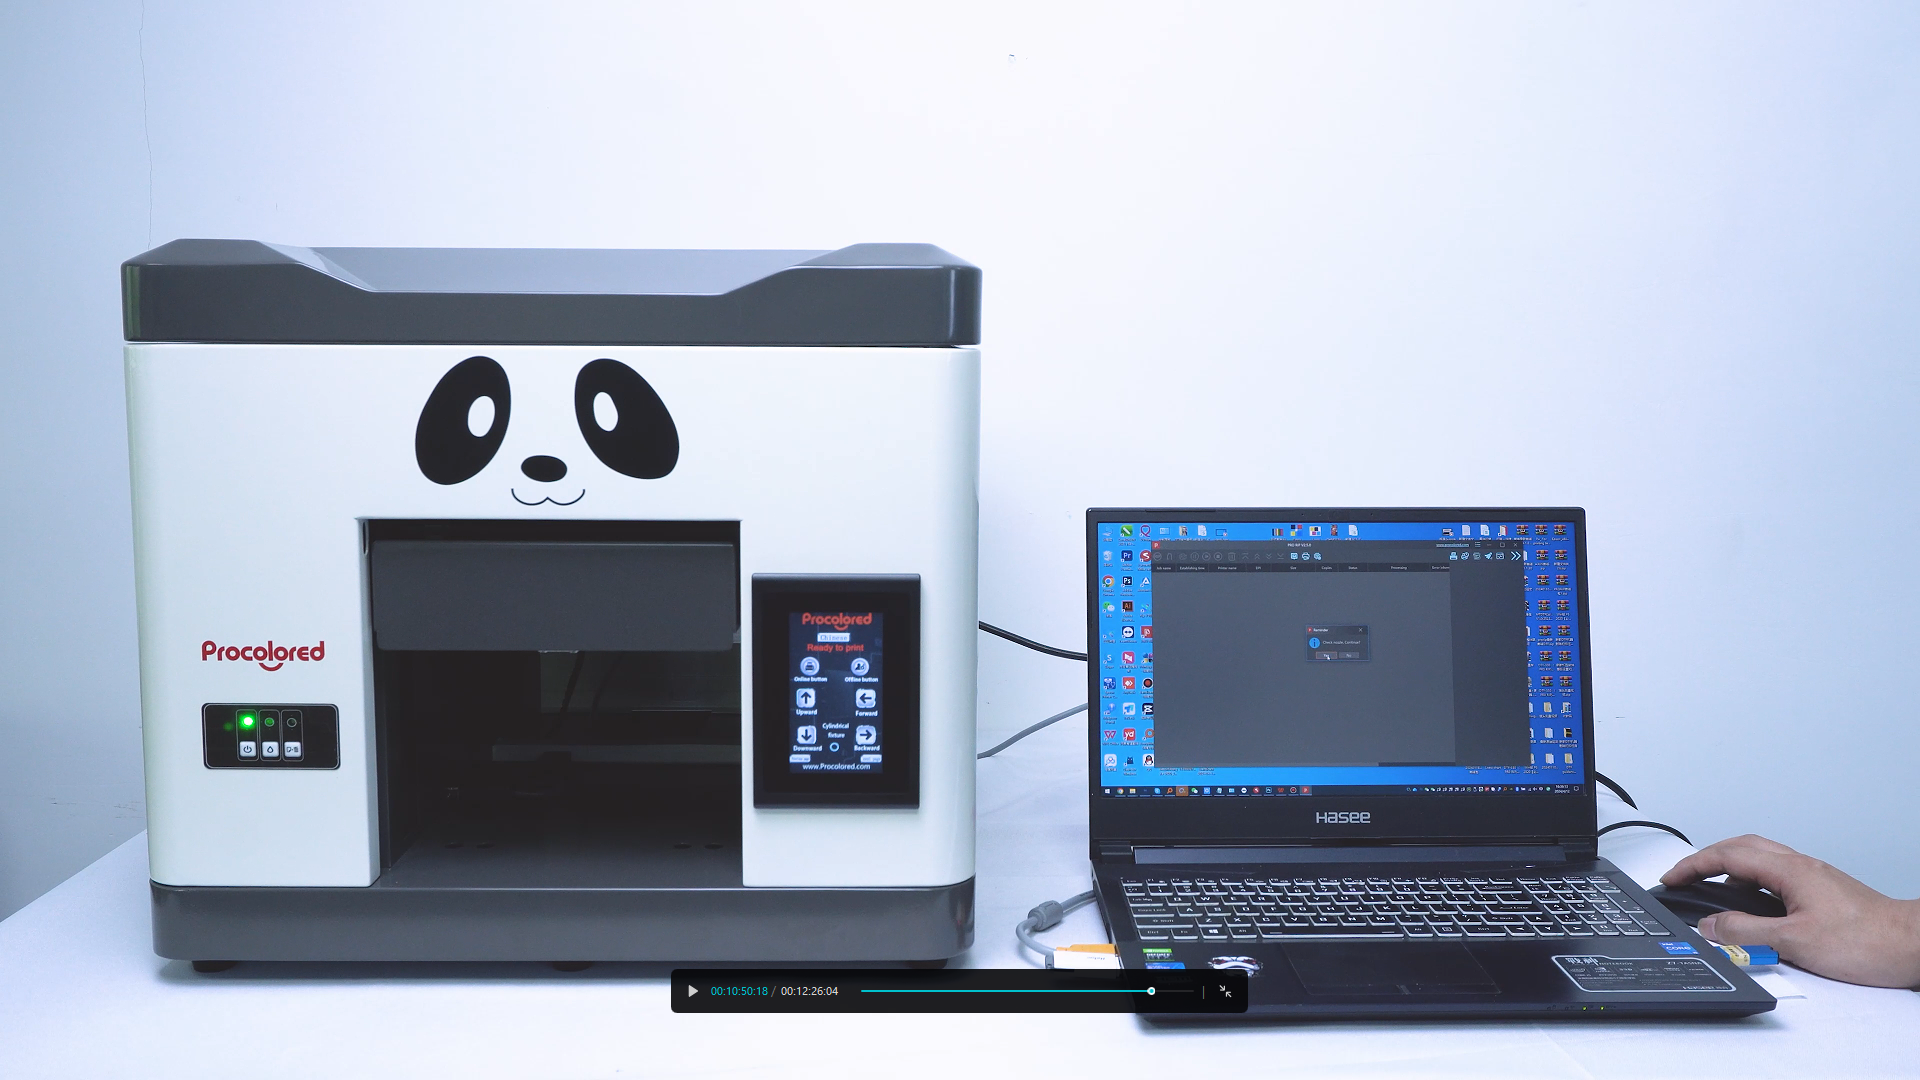
Send your prepared printing task from the software to the printer.
The platform will automatically move out once printing is complete.
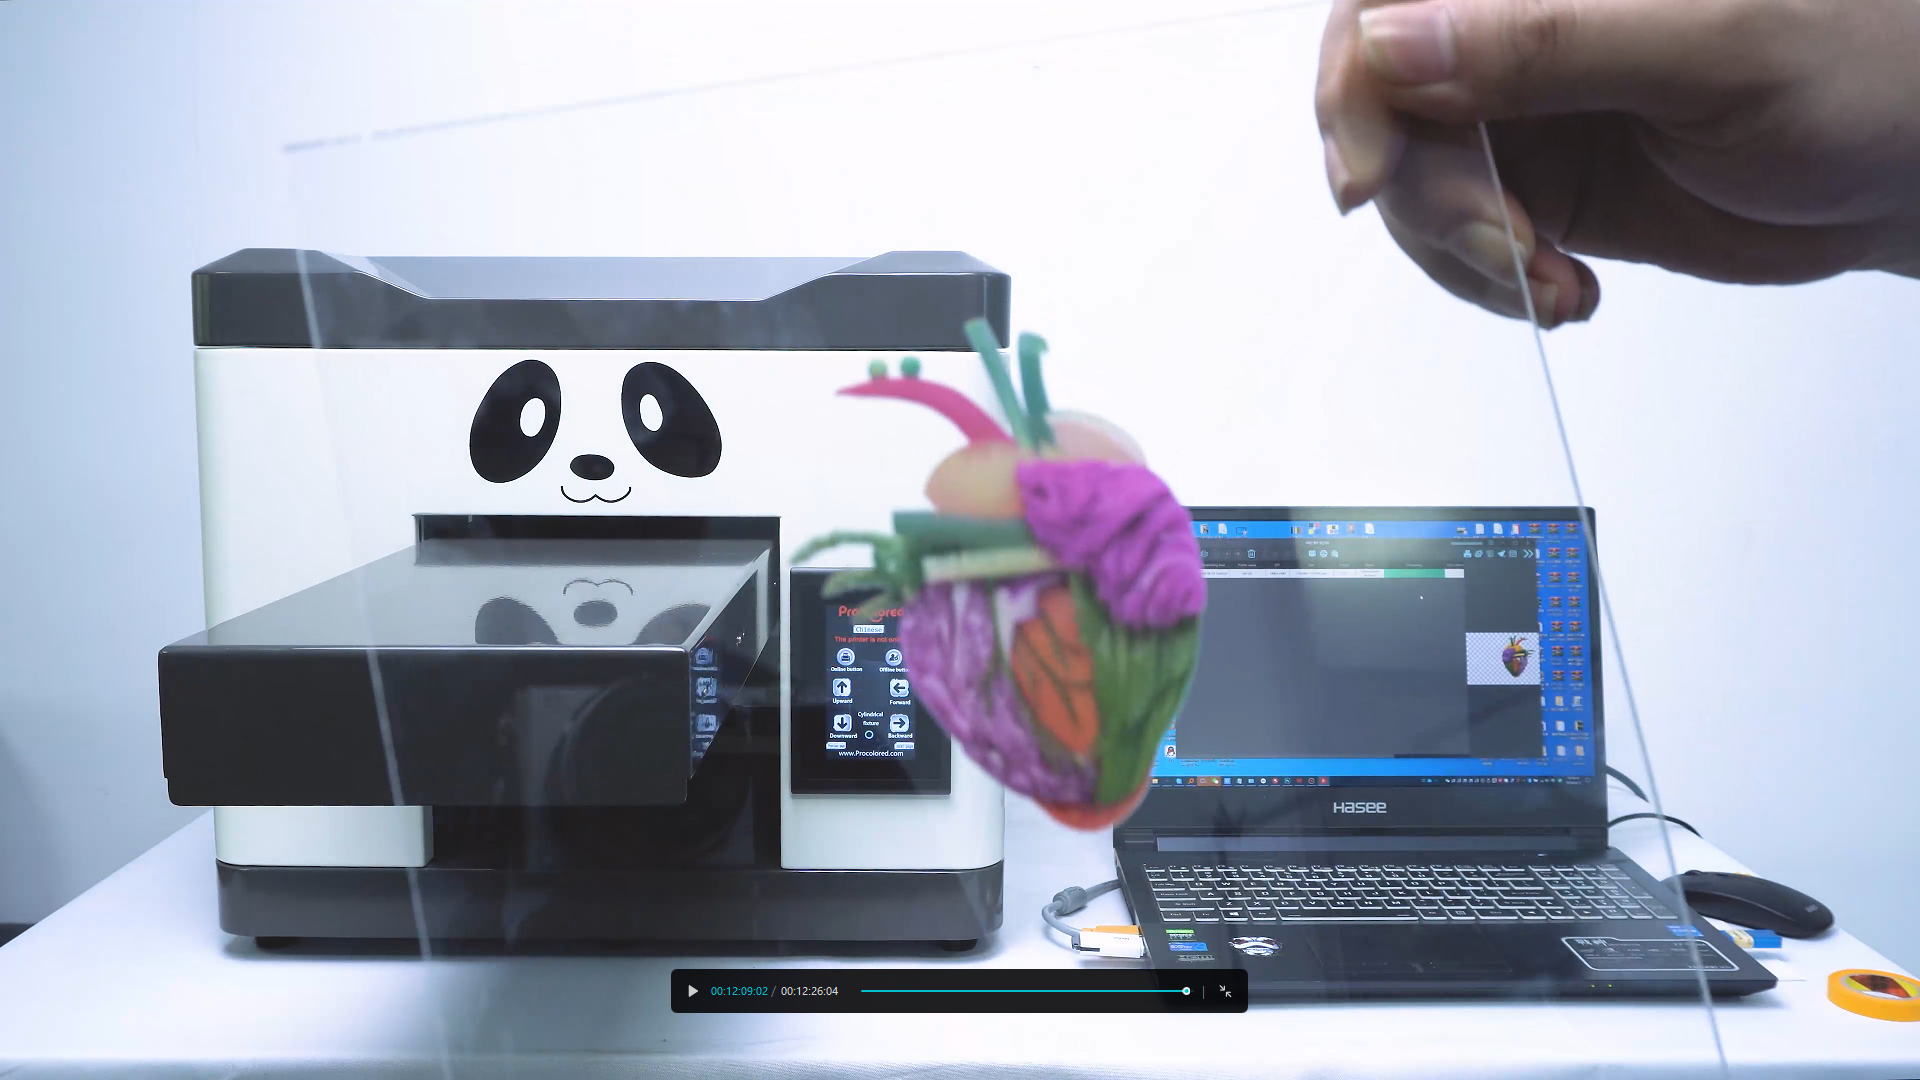
The final printed image is ready for inspection.