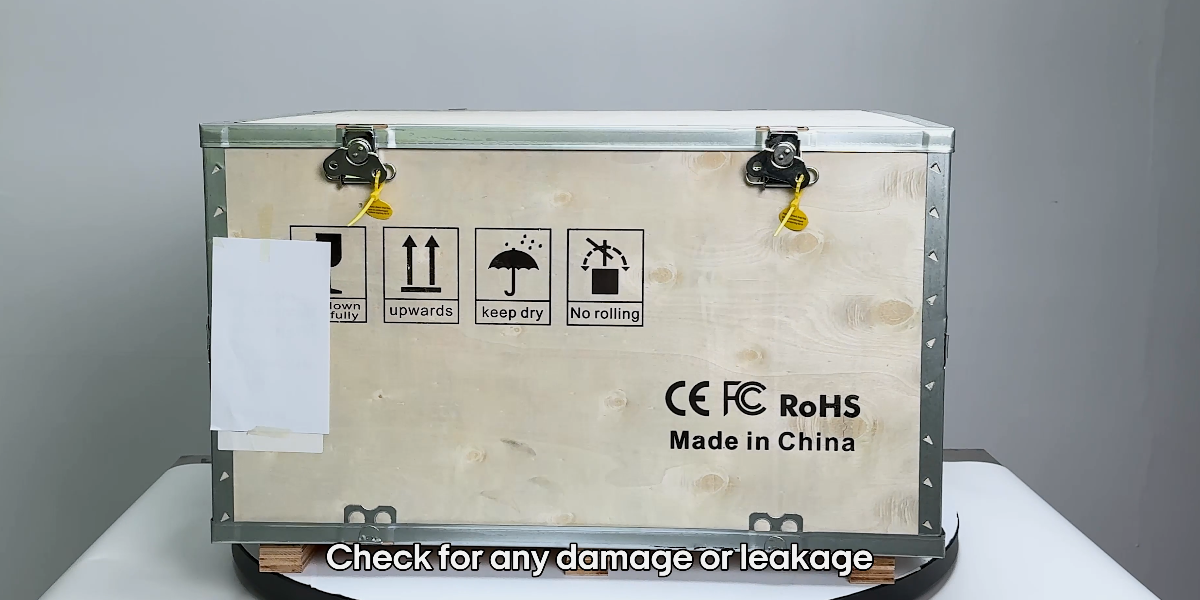
The machine should be checked and tested upon arrival. Check for any damage or leakage.
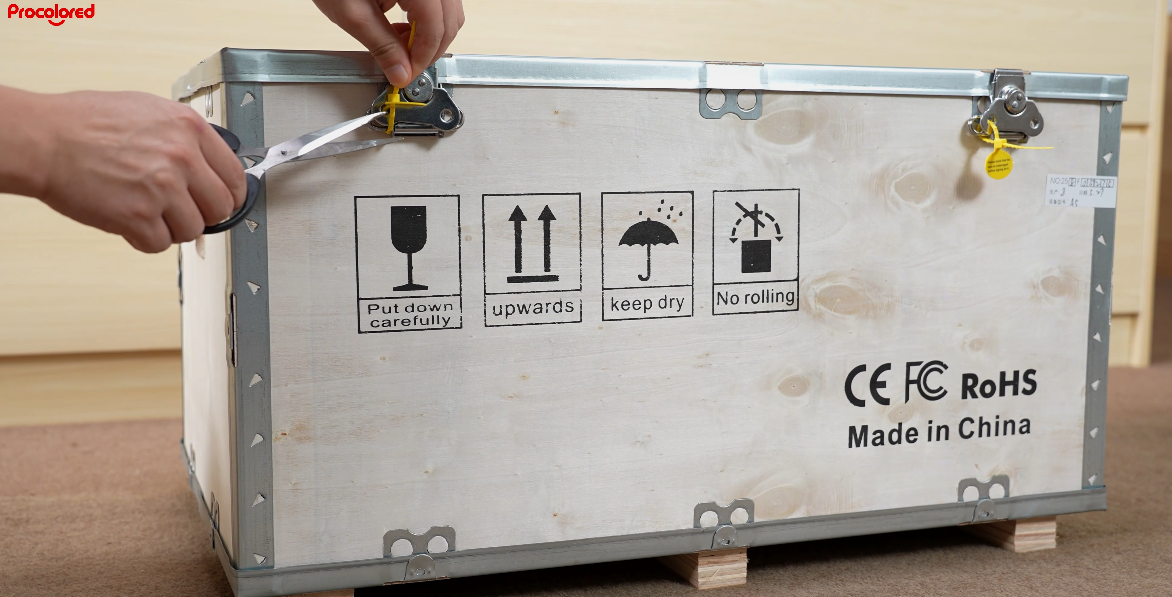
Cut off all zip ties used to secure the machine during shipping.
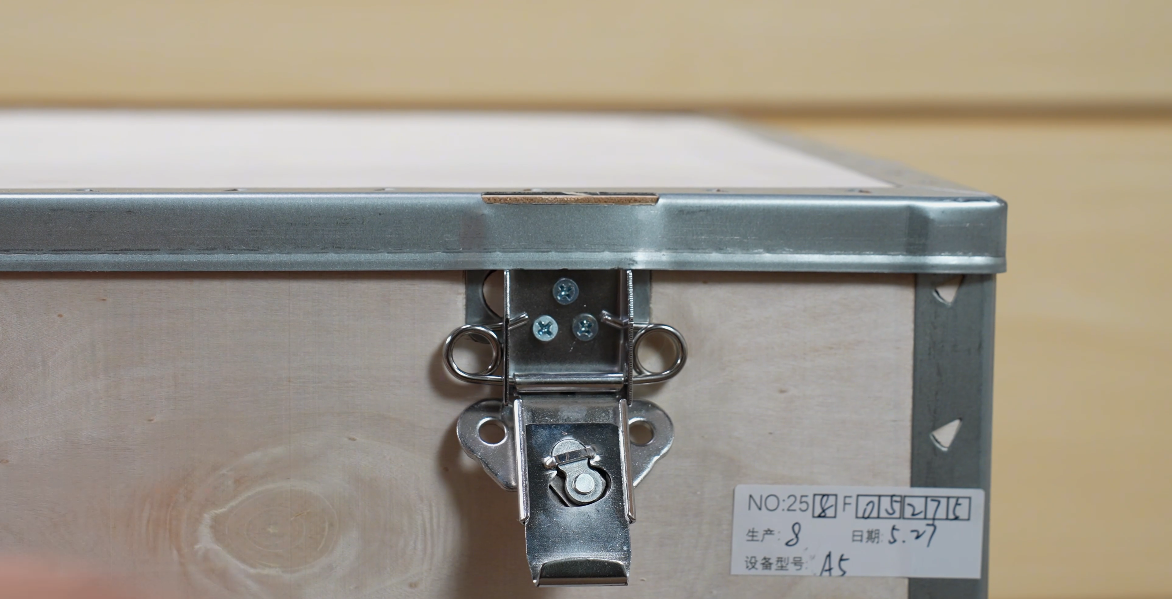
Lift the latch and turn it to the left to open.
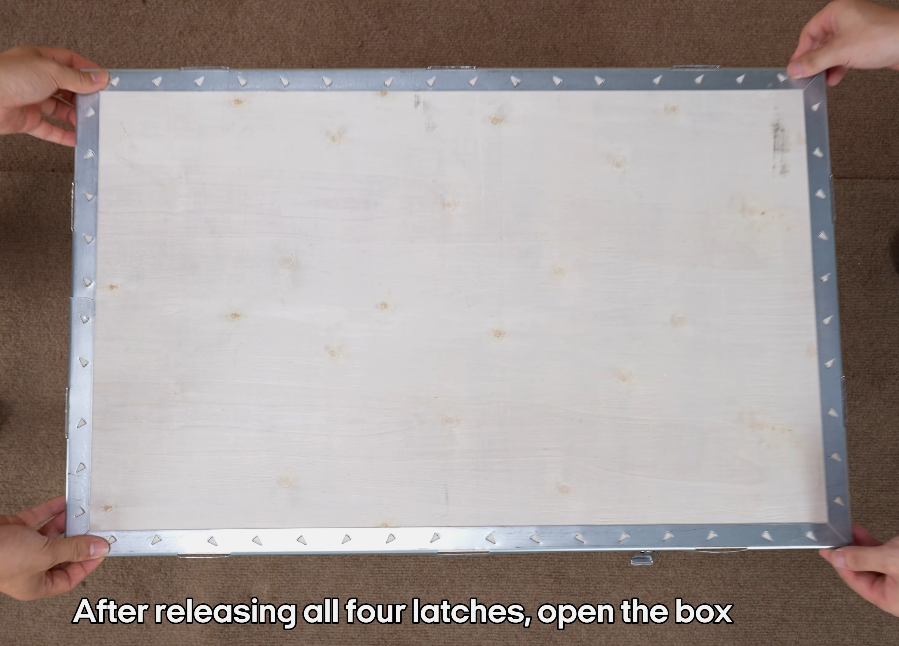
After releasing all four latches, open the box.

Remove the packing materials and lift out the machine.
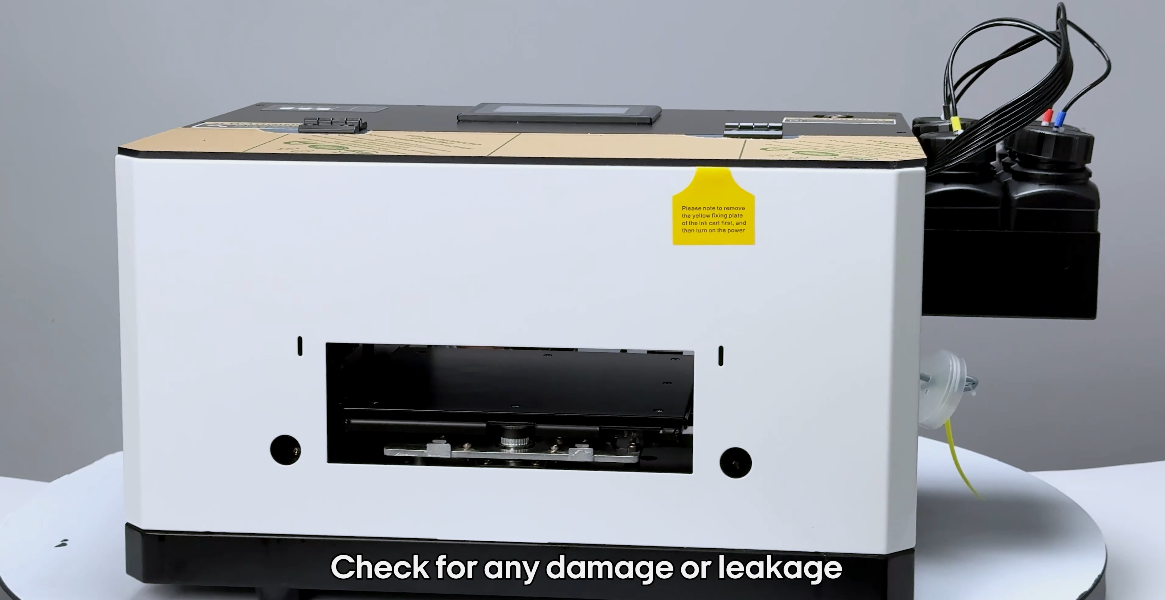
Check for any damage or leakage. If there's an issue, contact support.
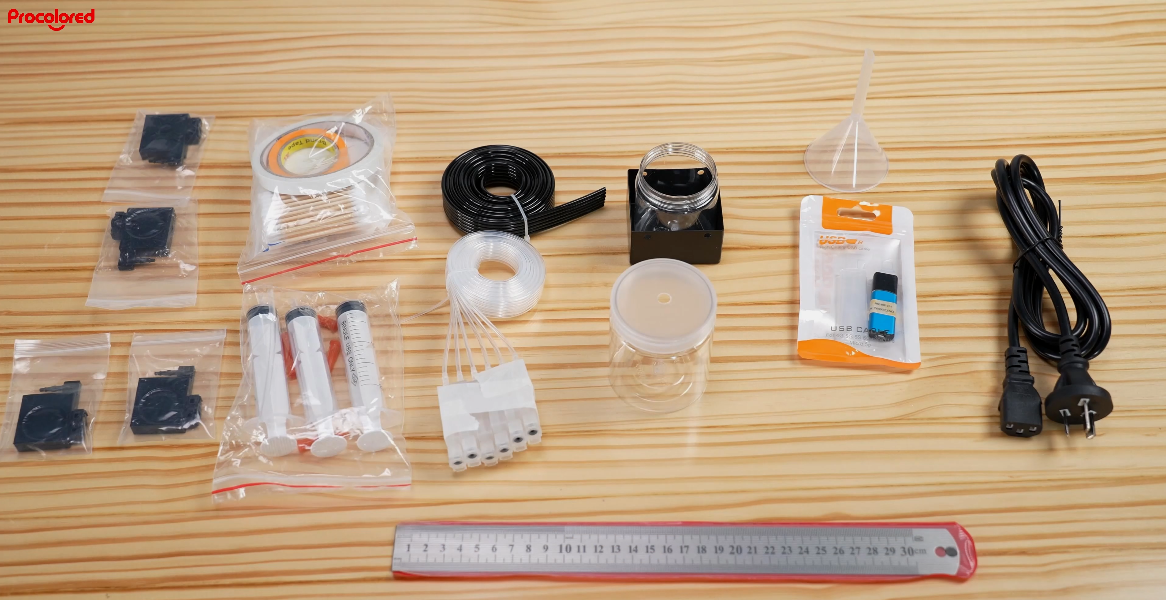
Check accessories: power cord, PRO RIP dongle, waste ink bottle, cleaning kit, ruler, etc.
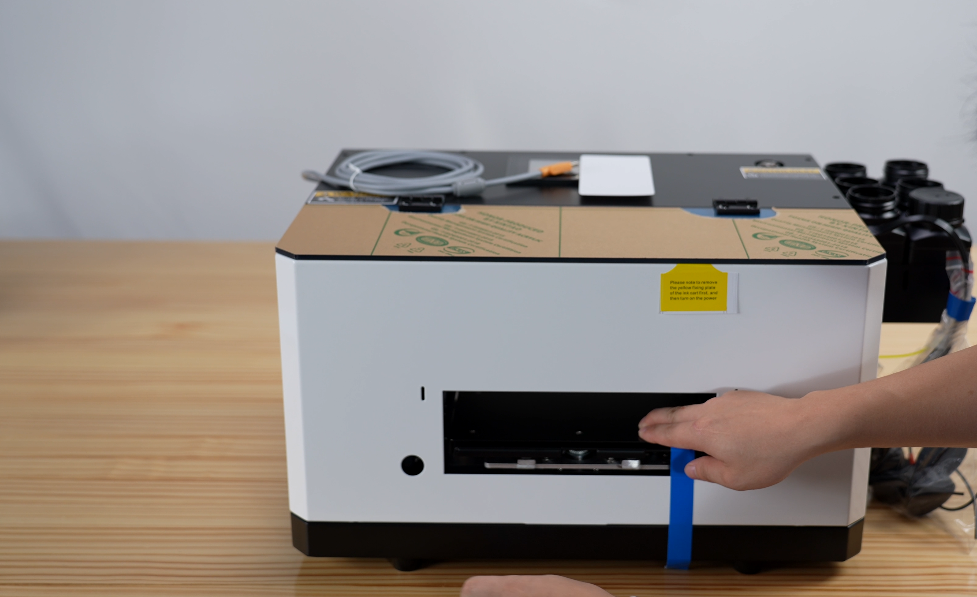
Take off the blue tape.
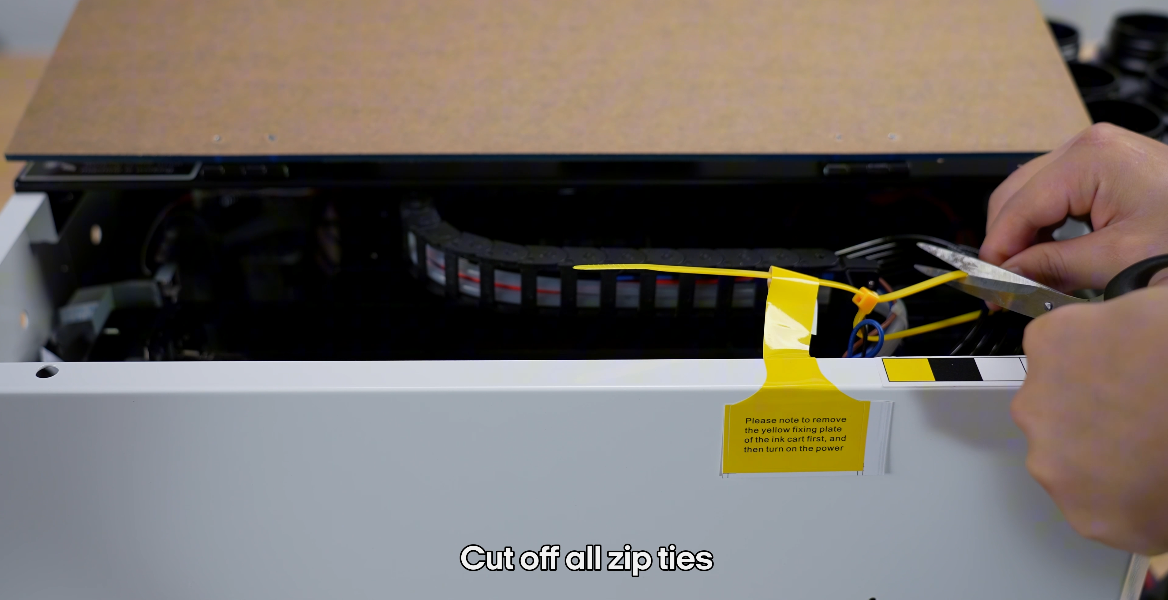
Cut off all zip ties.
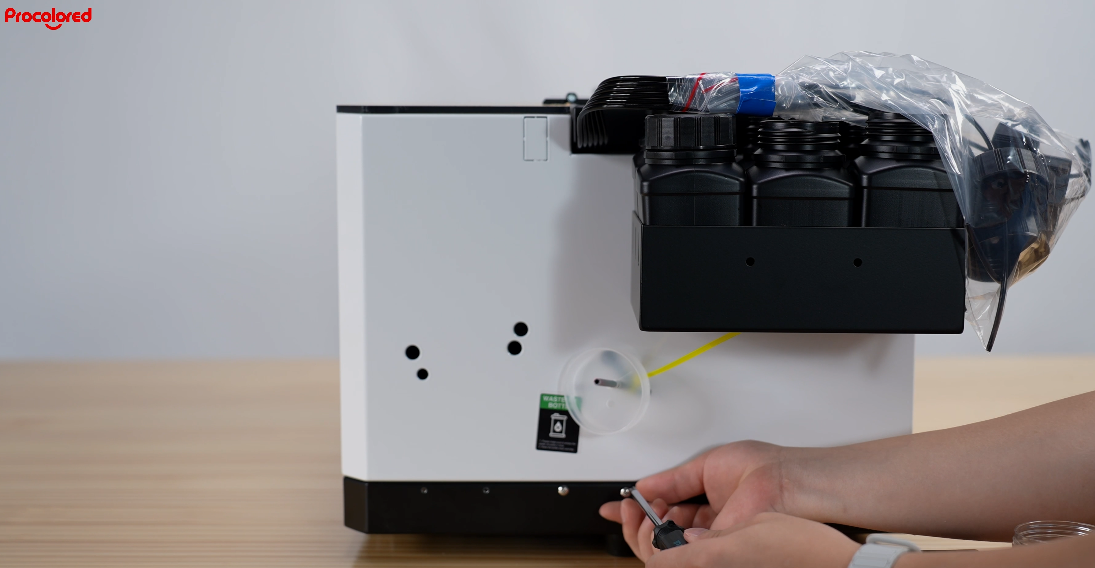
Loosen the screws to prepare for installing the waste ink bottle.
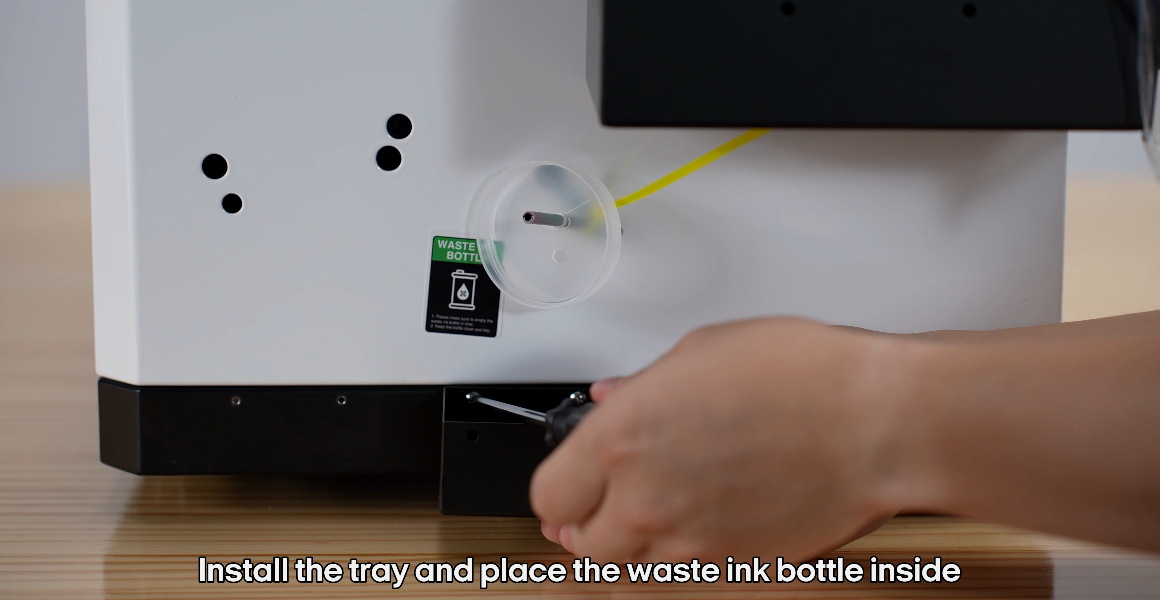
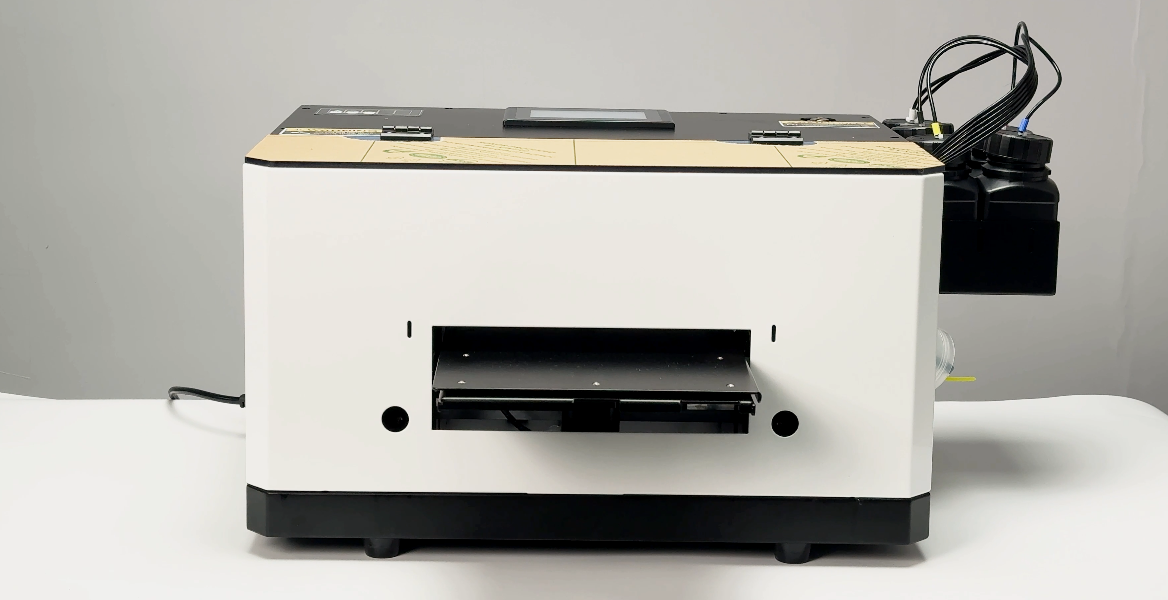
Install the tray and place the waste ink bottle inside.
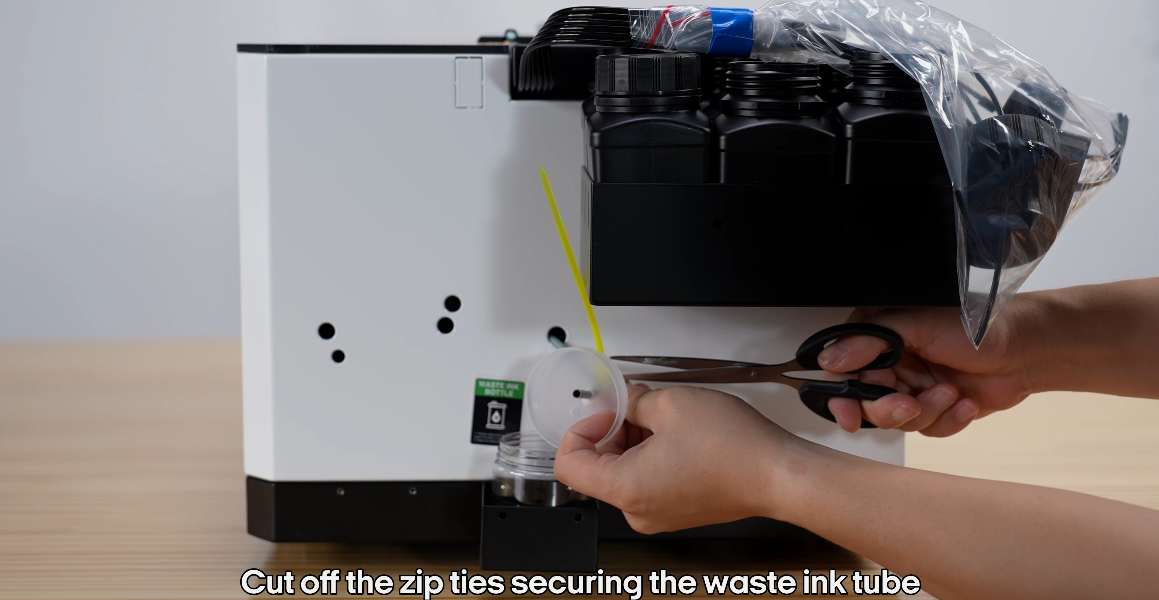
Cut off the zip ties securing the waste ink tube.
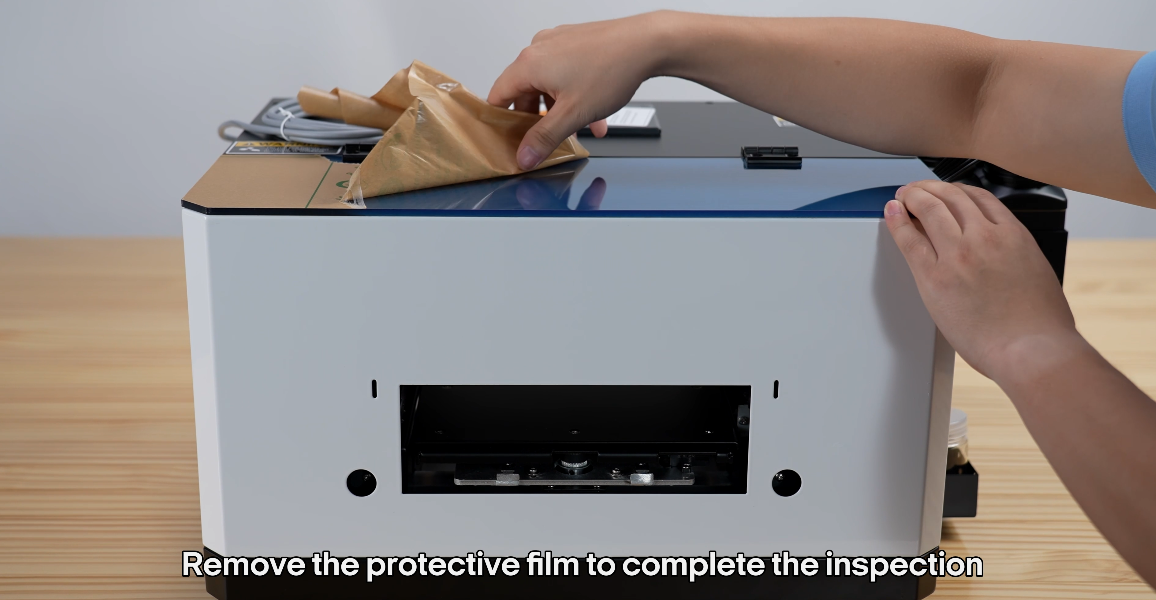
Remove the protective film to complete the inspection.
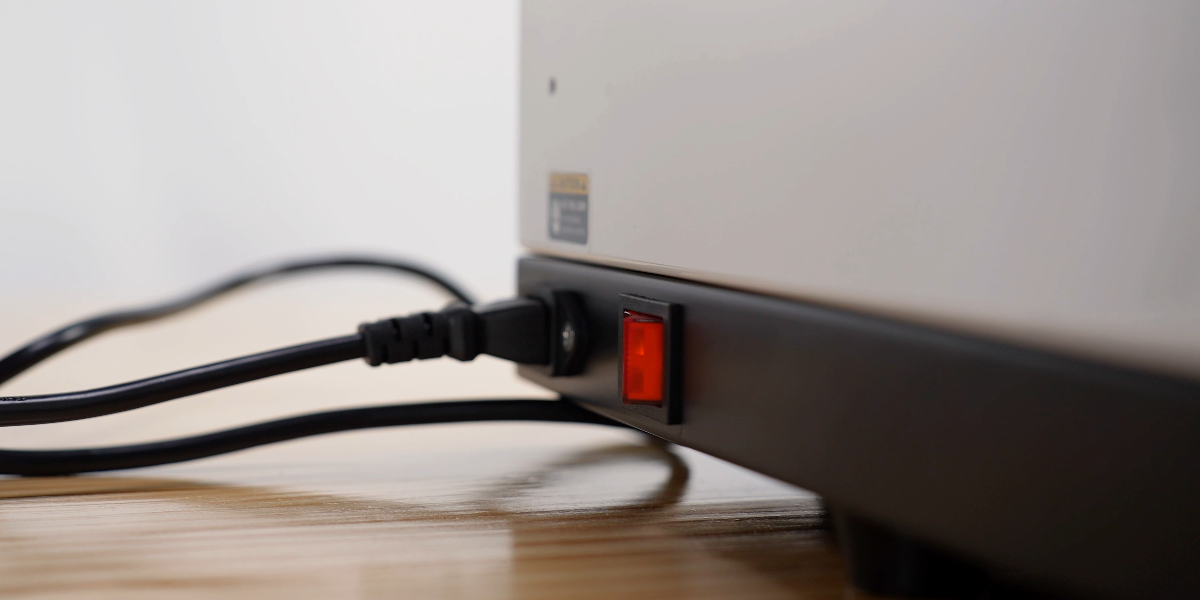
Turn on the power.
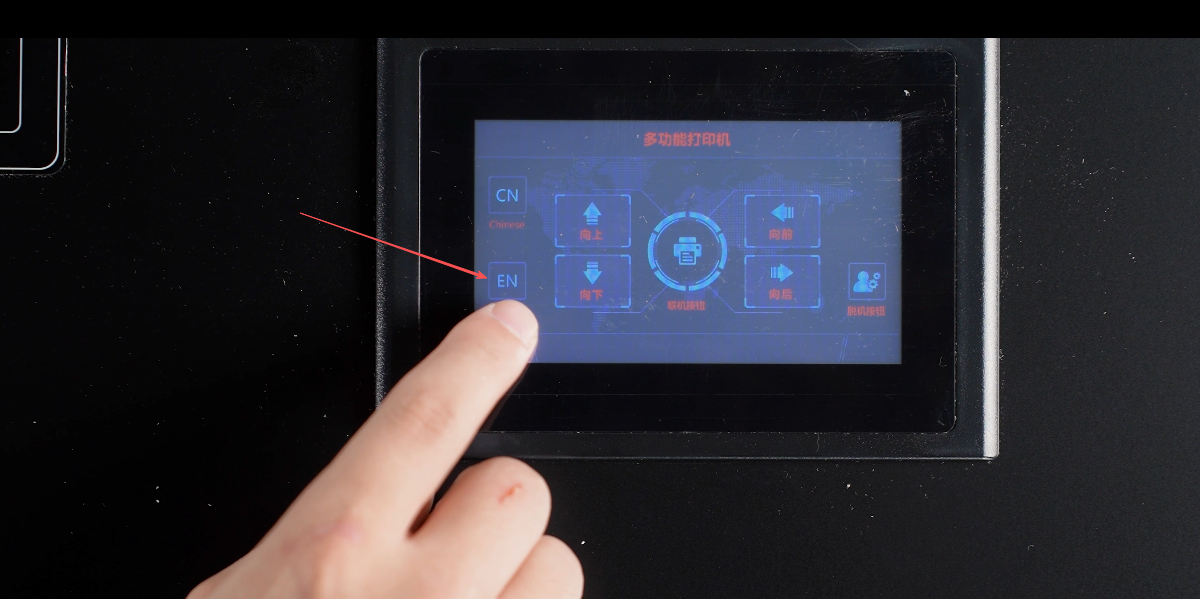
Choose your language.
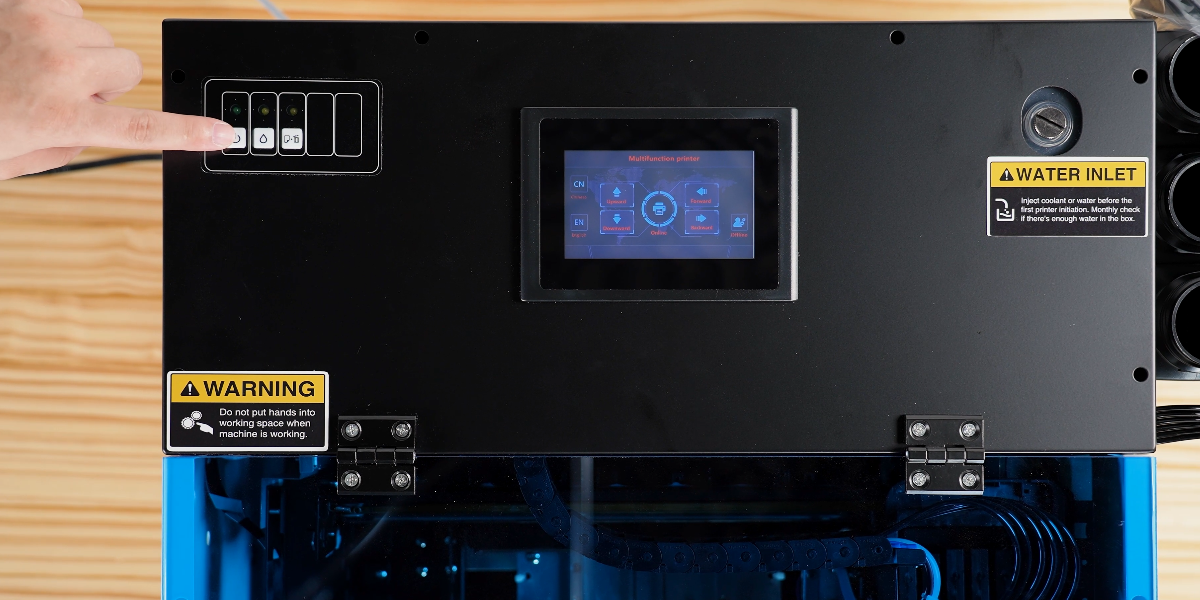
Start the machine.
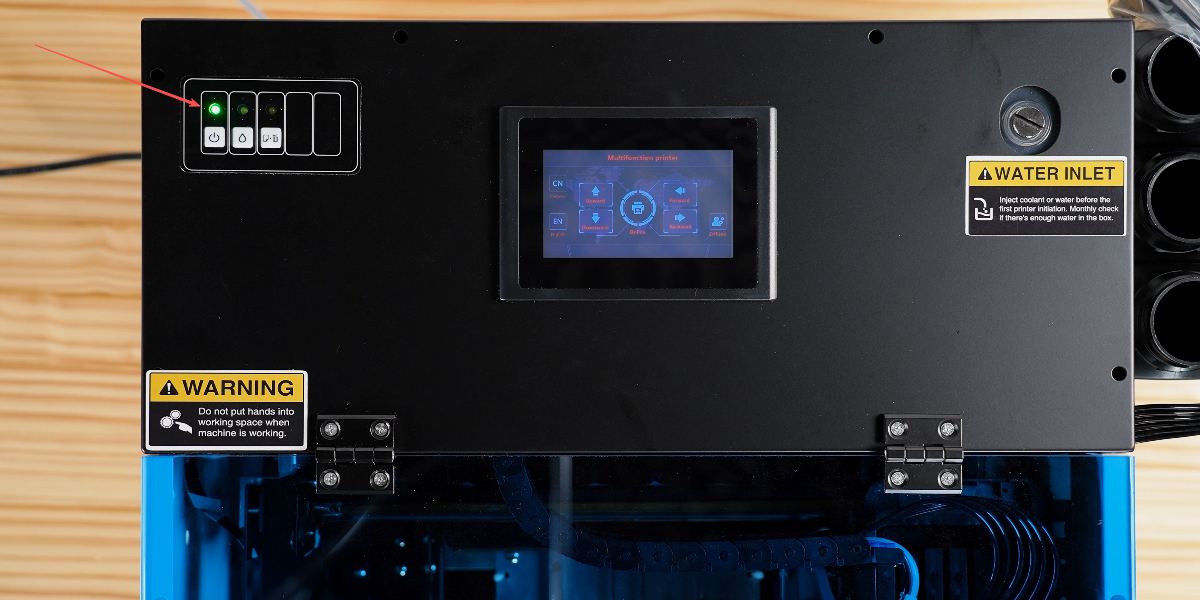
When the green light blinks, the printhead moves for self-check. Solid green means passed.
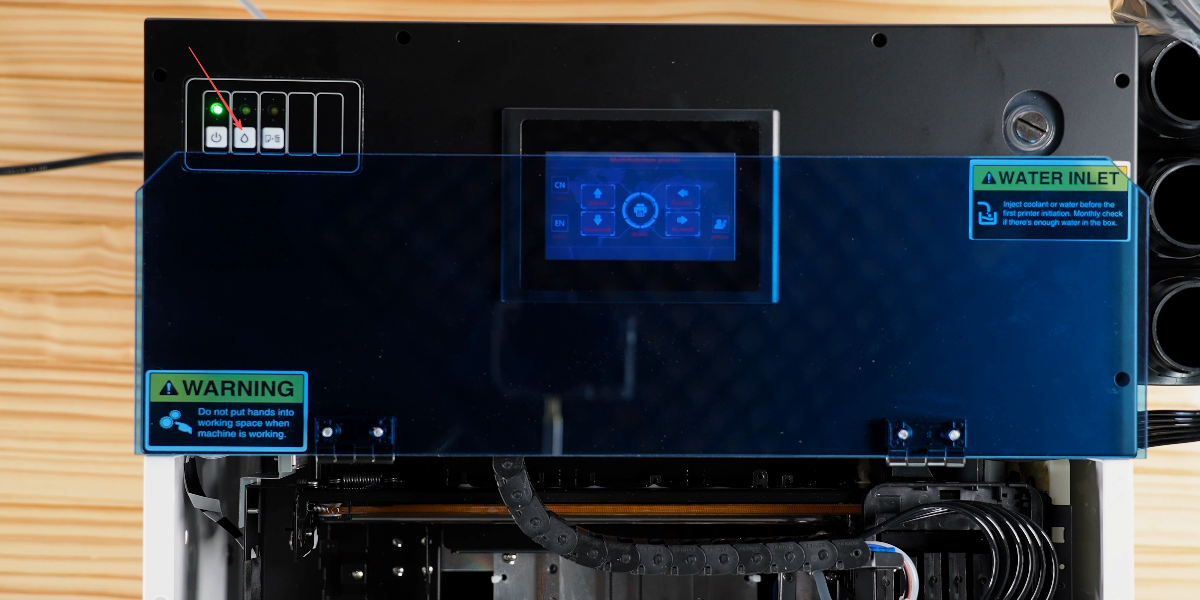
Hold the droplet button for 5 seconds to test the cleaning function.

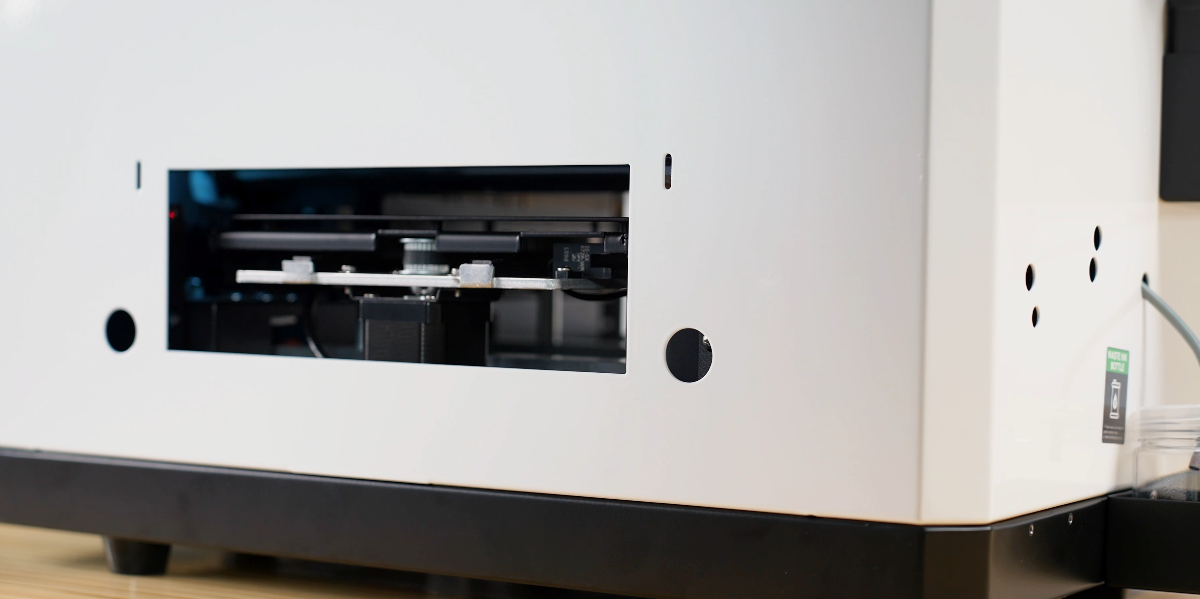
Press the paper tray test button.
The printhead will move and the tray will slide out.
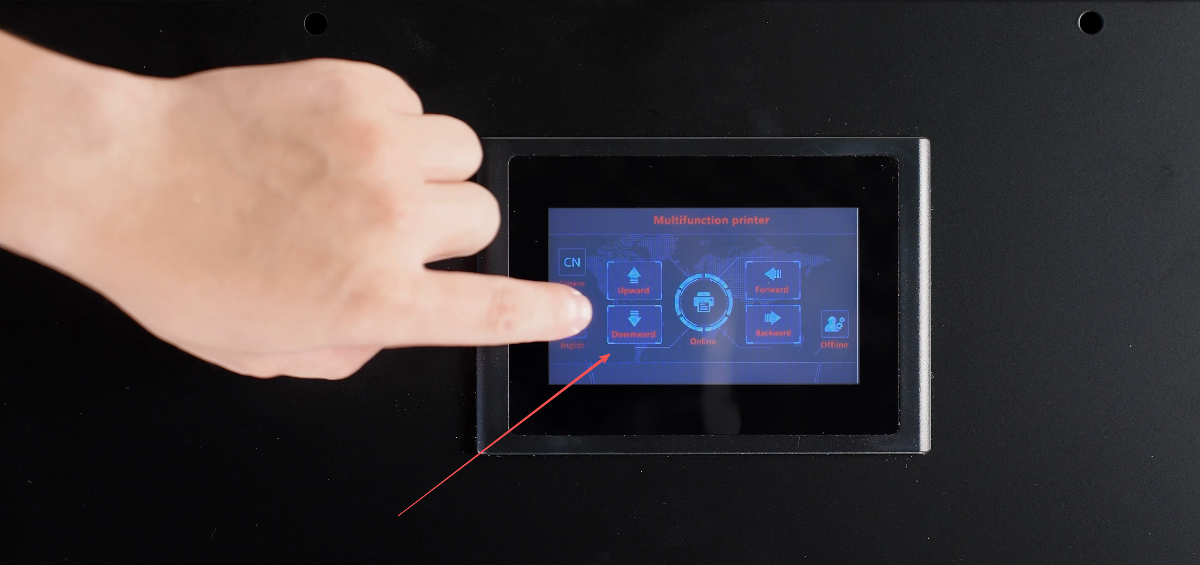
Hold the downward button.

The tray will lower.
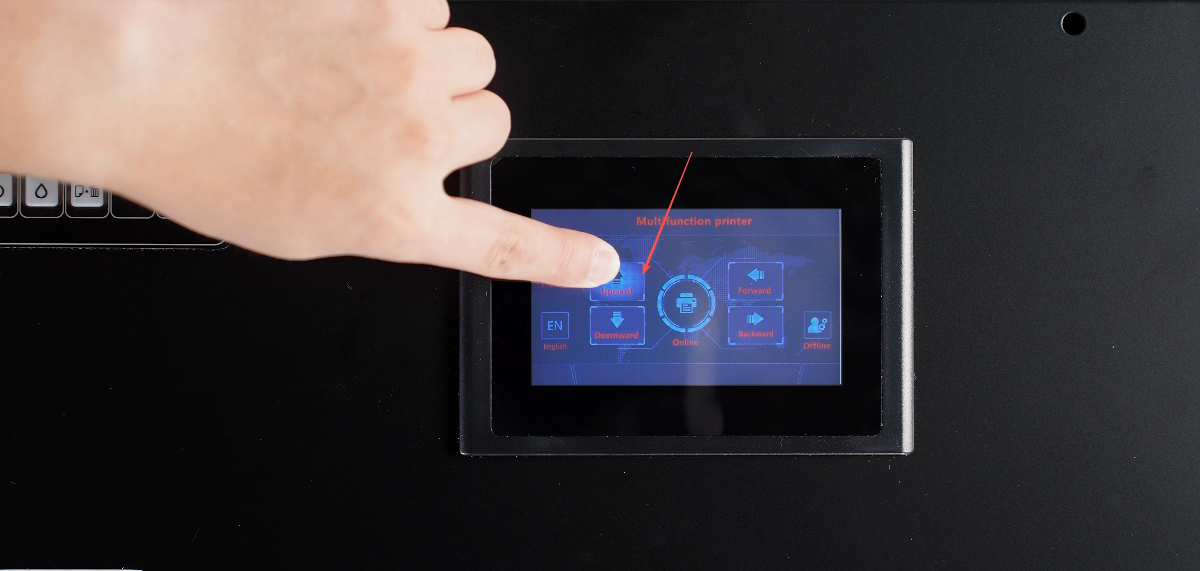
Hold the up button, if the tray rises smoothly, everything is normal.
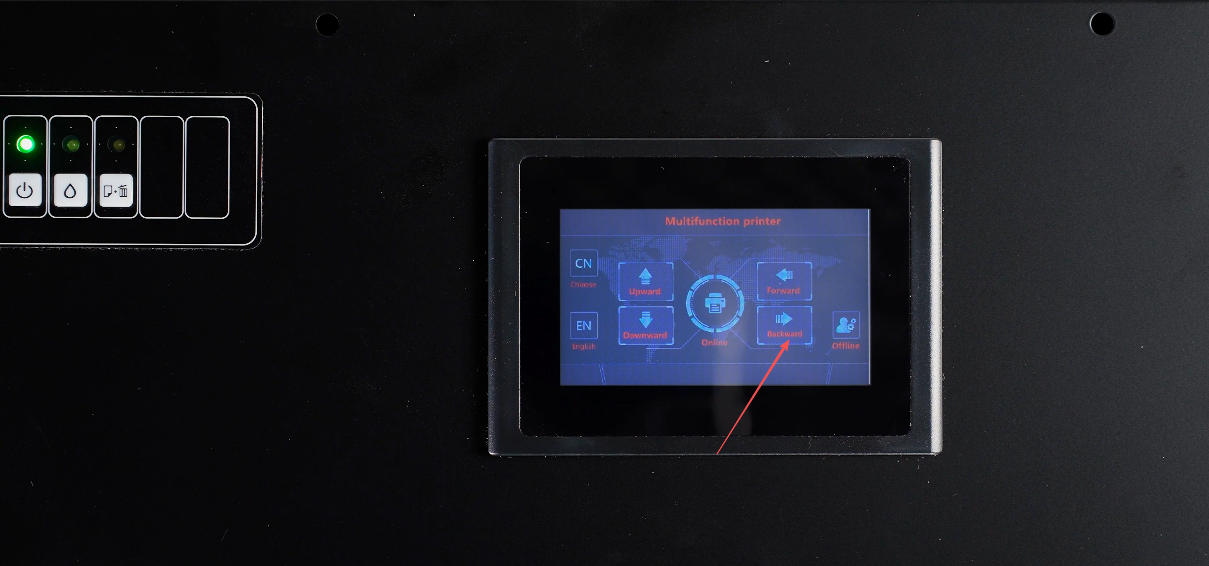
Press the backward button.
If the tray moves backward smoothly, it's working properly.

Press the forward button.
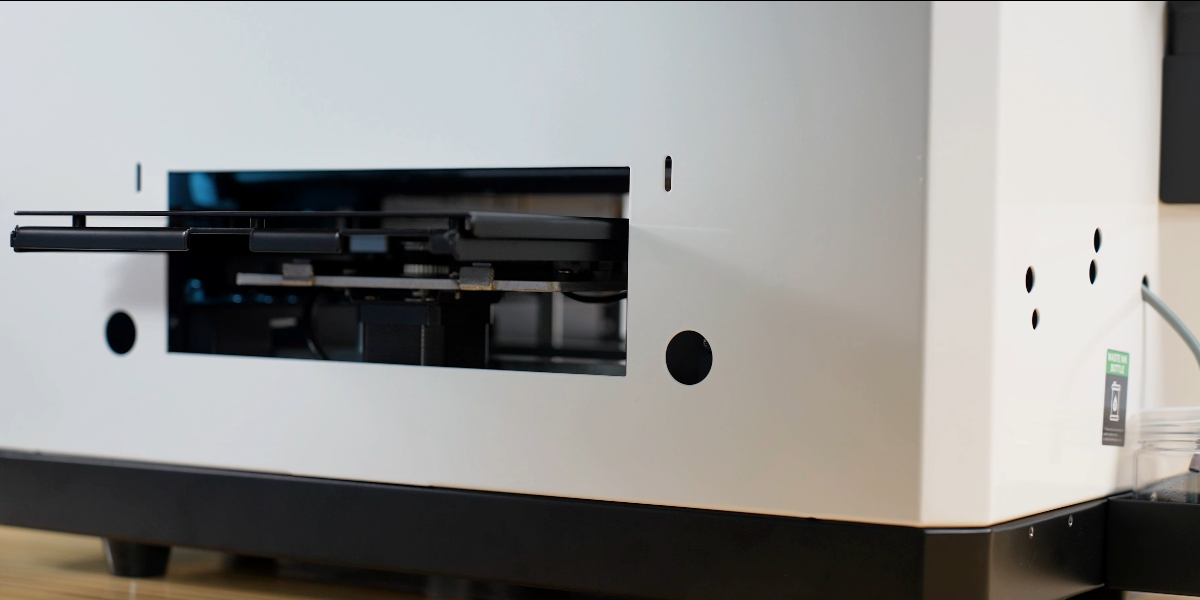
If the tray moves forward smoothly, it's working properly.

Press the online button to test the auto height detection.
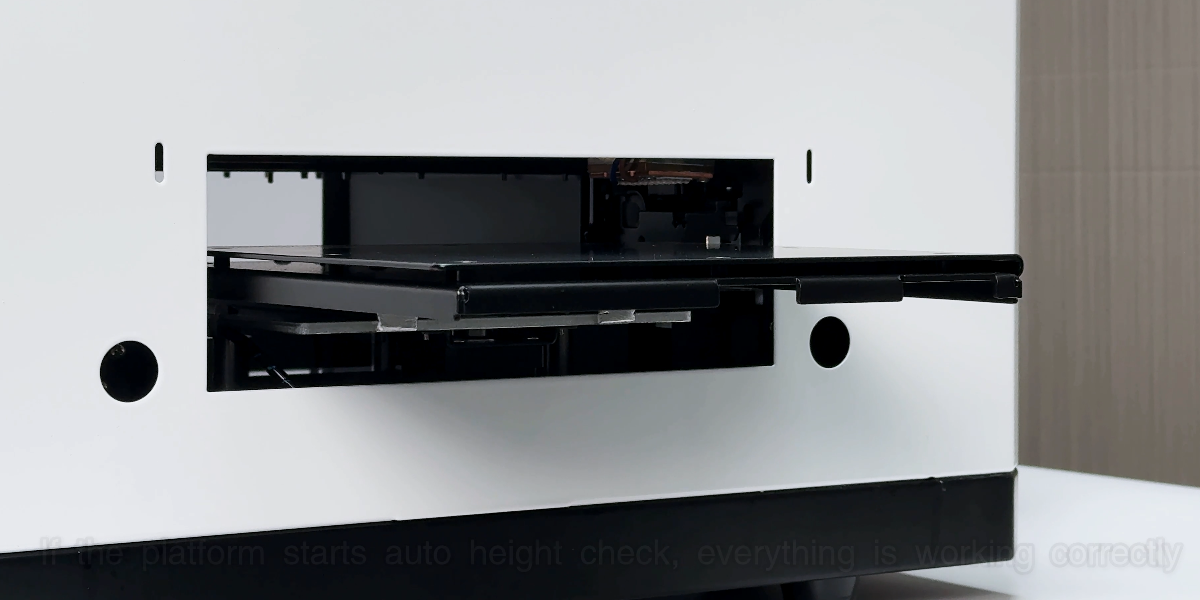
Platform starts auto check, everything is correct. Test completed.
Please install the Pro RIP software from Procolored official website, Resource & Download.
Choose the model V4 and download the software and driver: https://bit.ly/49bmXKW
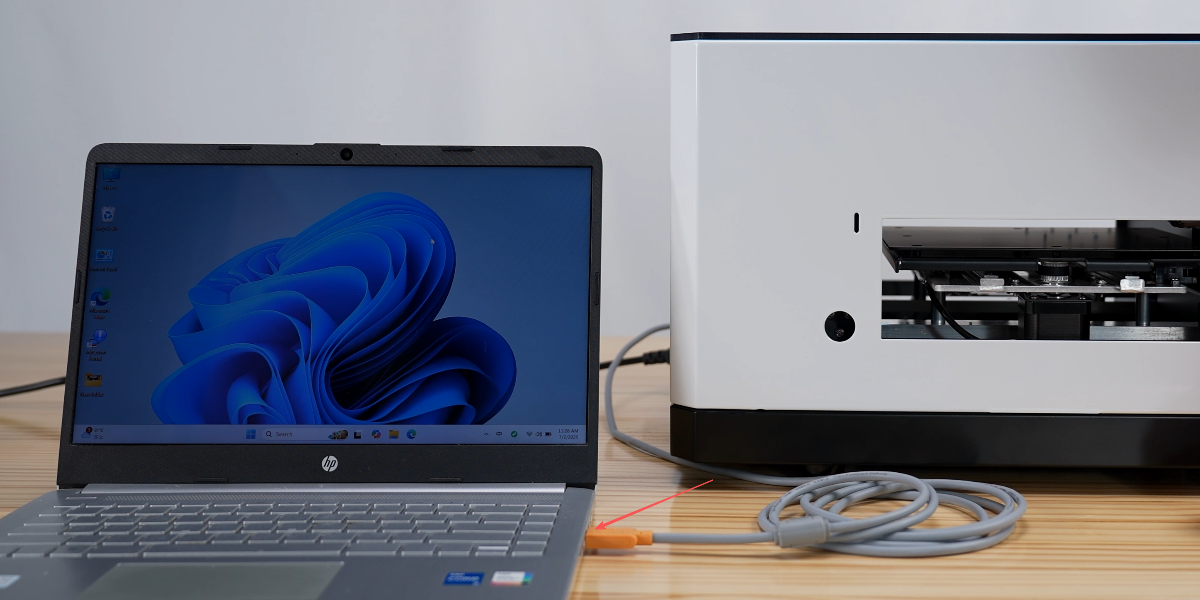
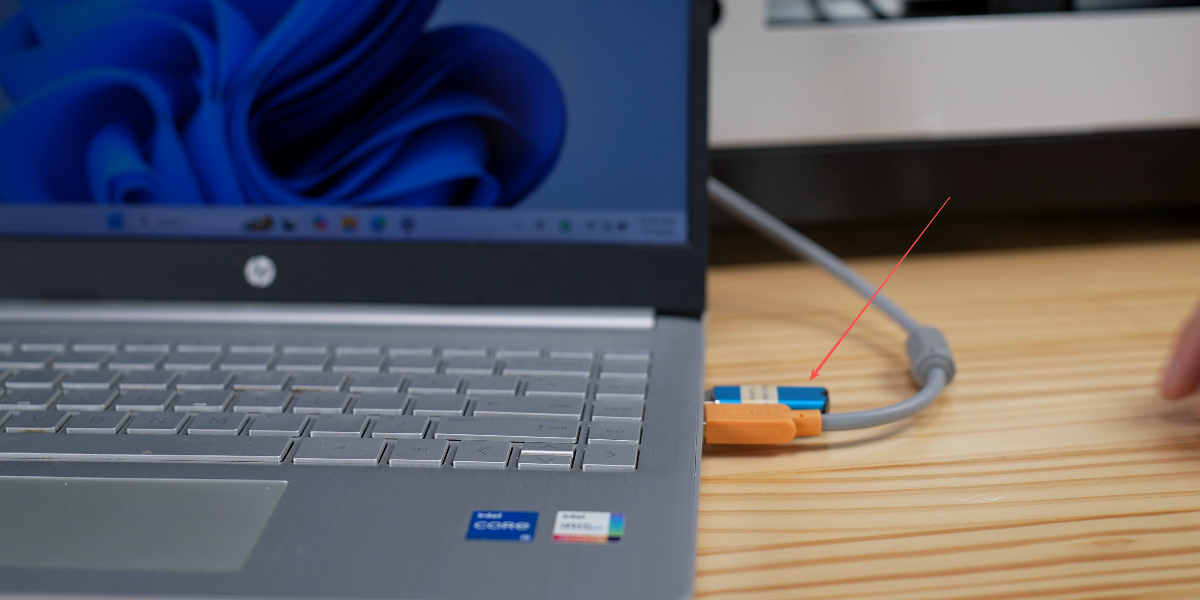
Open the V4 driver. Turn on the printer power and connect the data cable during installation.
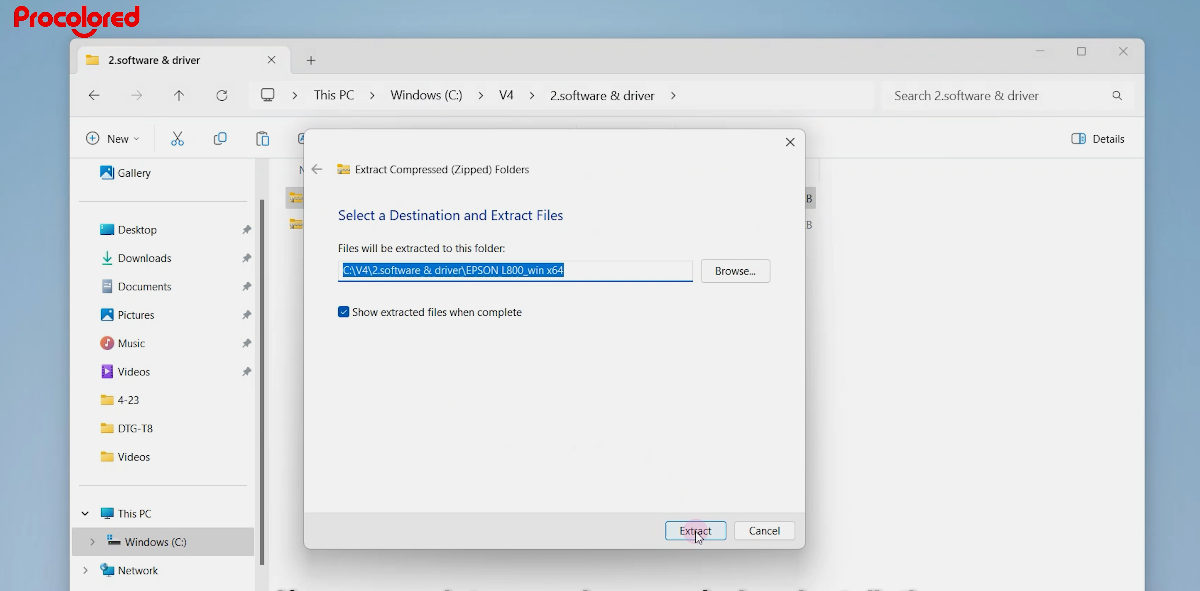
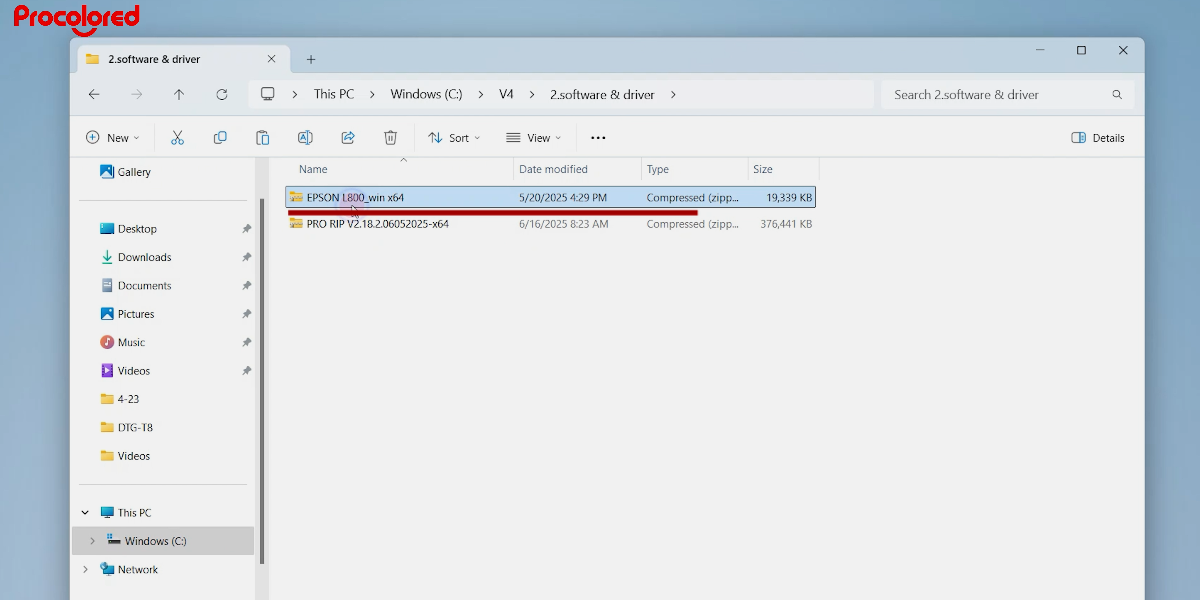
Select the L800 driver and extract the files.
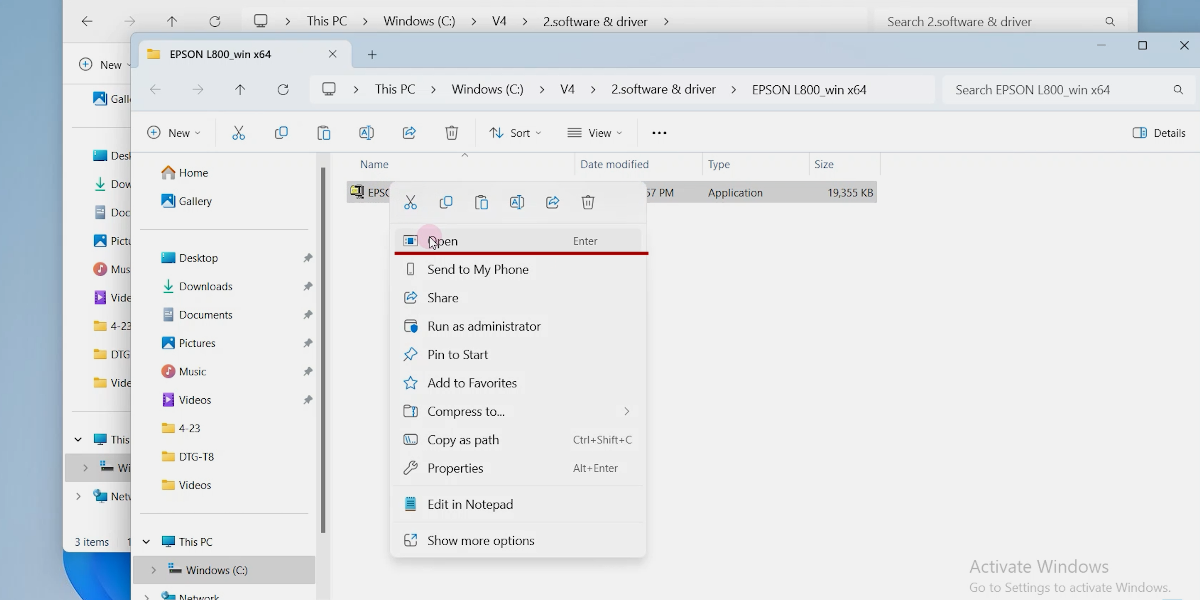
Open it.
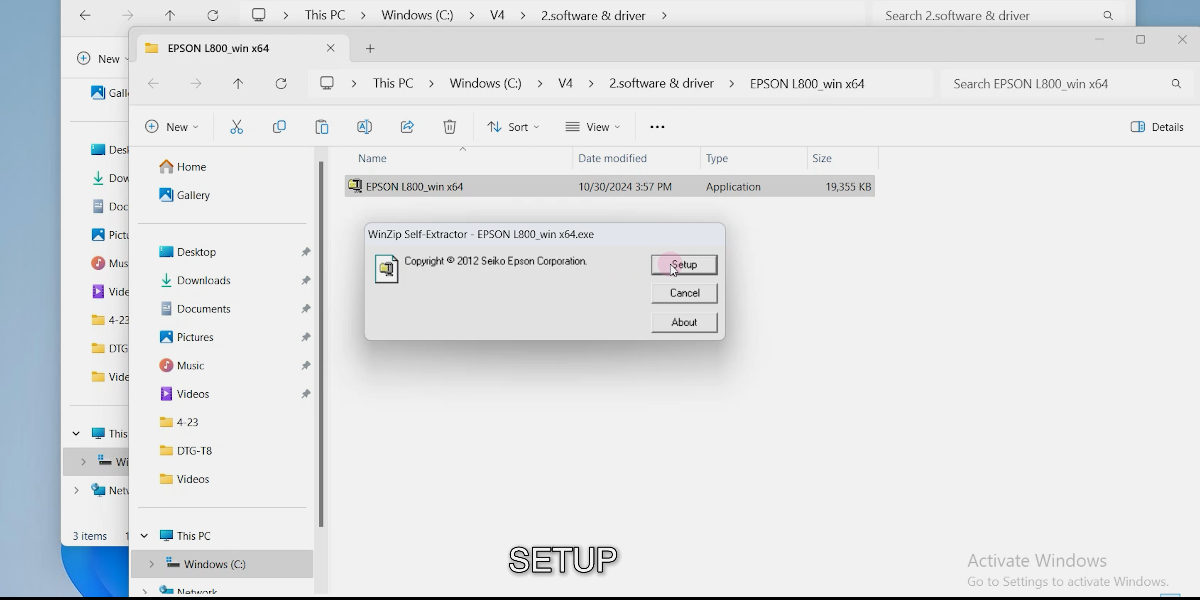
Setup.
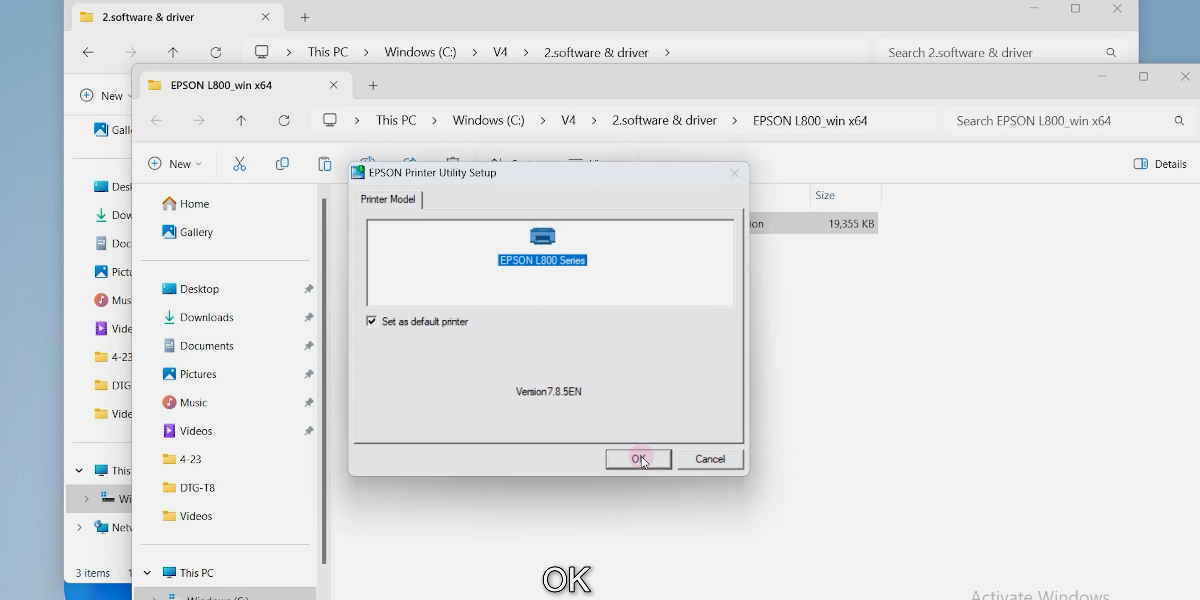
Click OK.

Click OK.
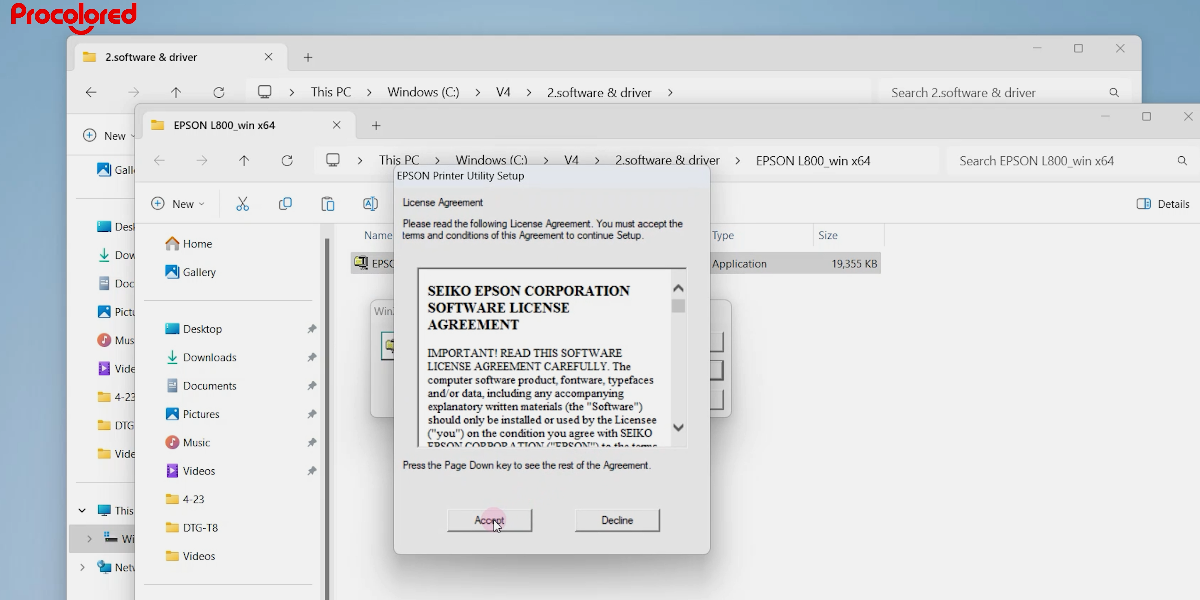
Click Accept.
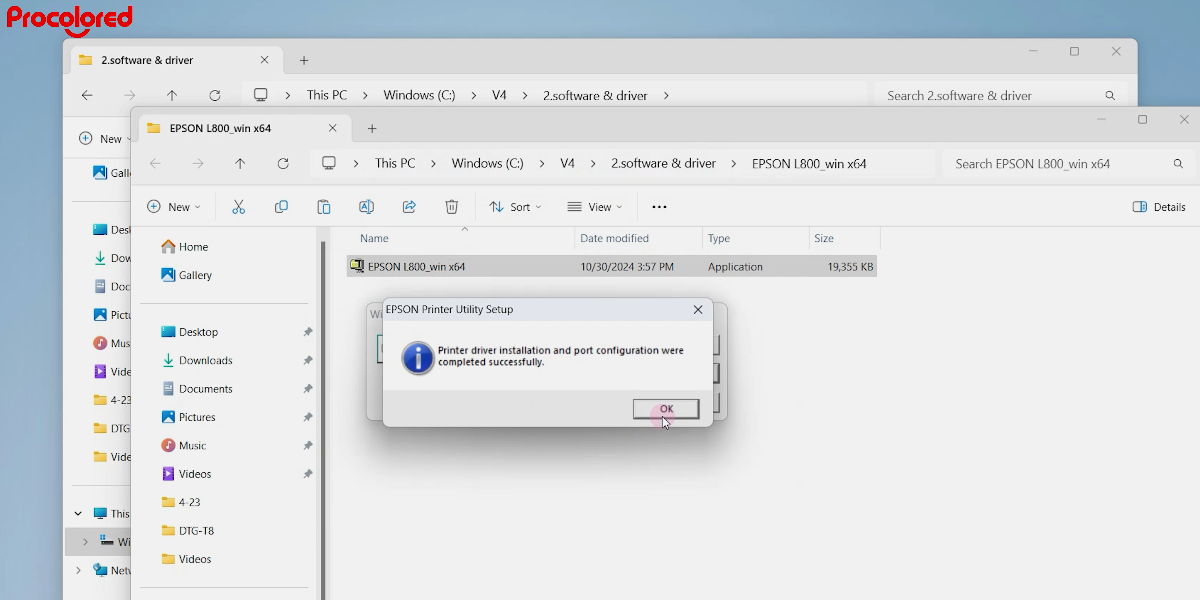
Click OK. Driver installation complete.

Extract the Pro RIP folder.
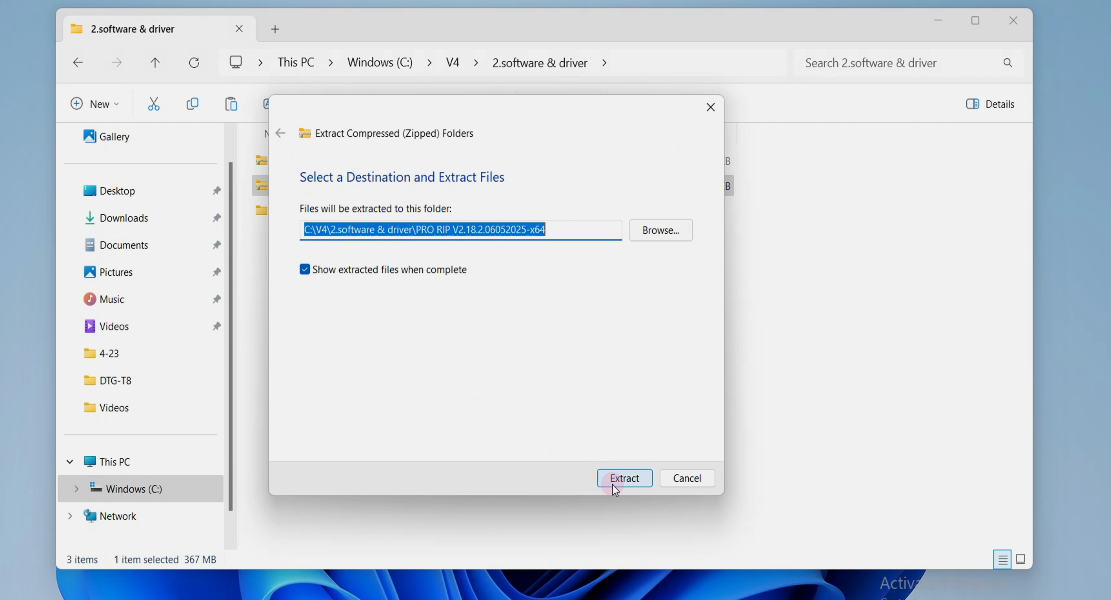
Extract.
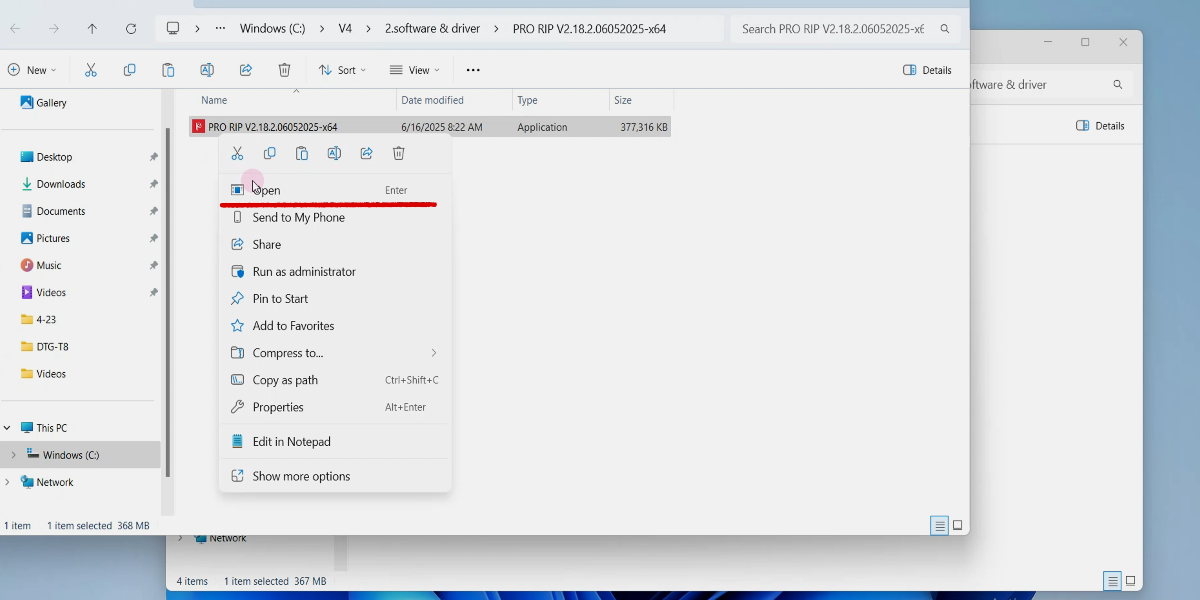
Install the Pro RIP software.
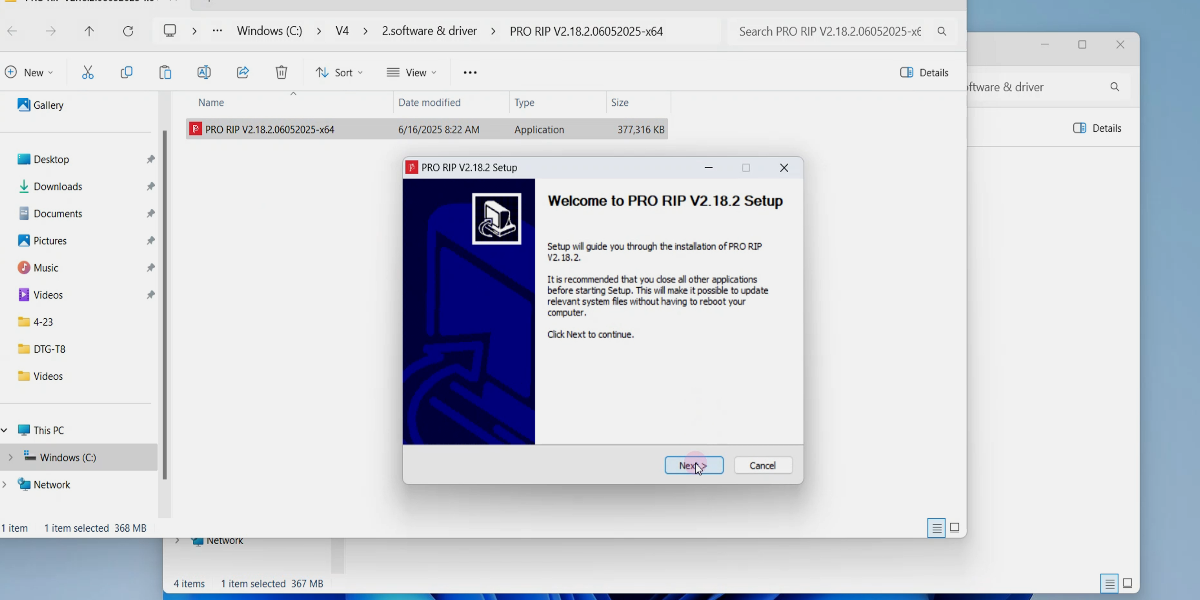
Click Next.
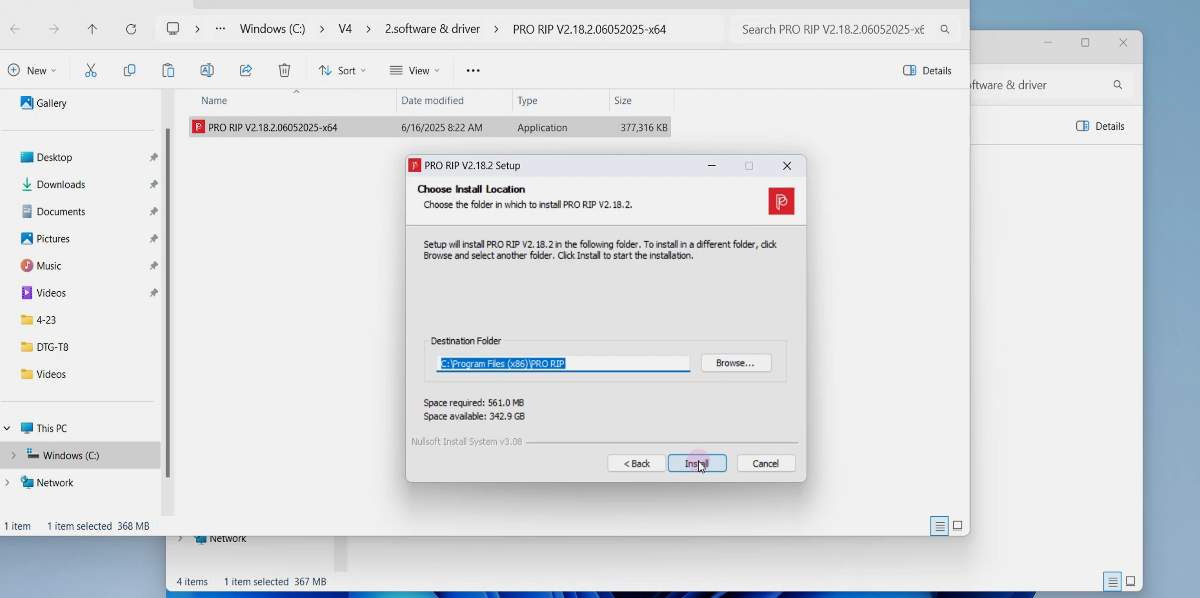
Click Install.
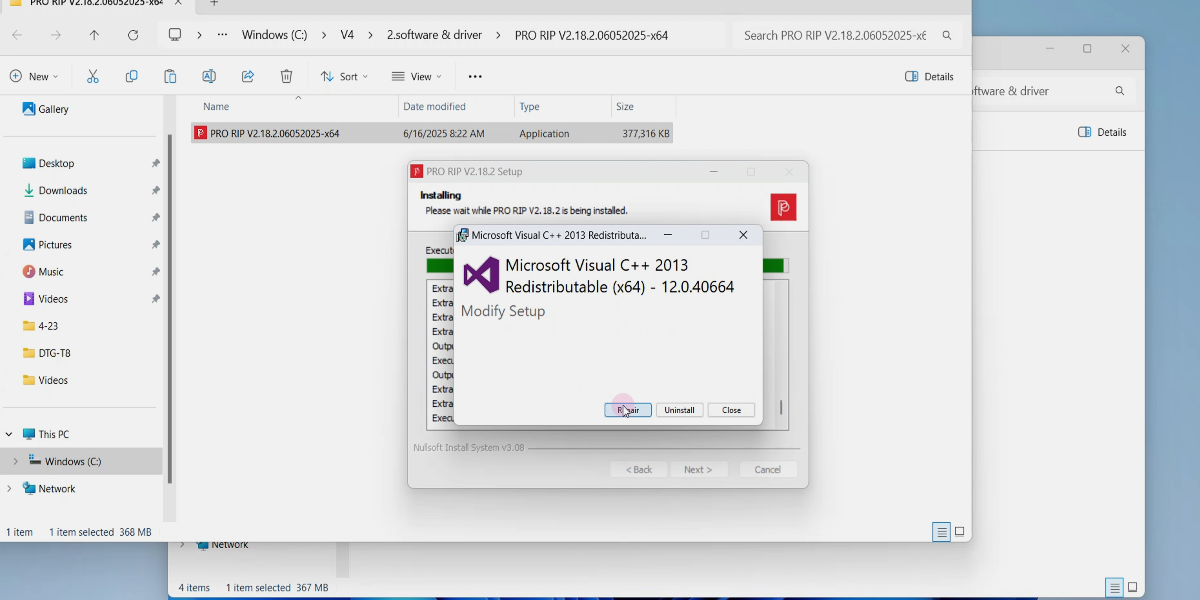
Click Repair.
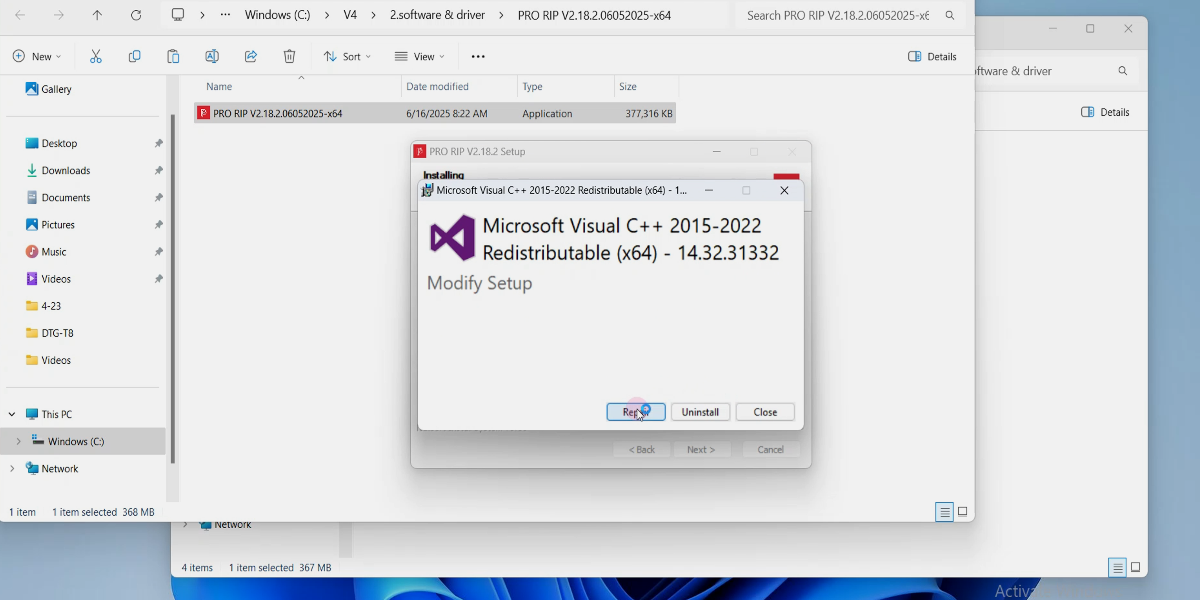
Click Repair.
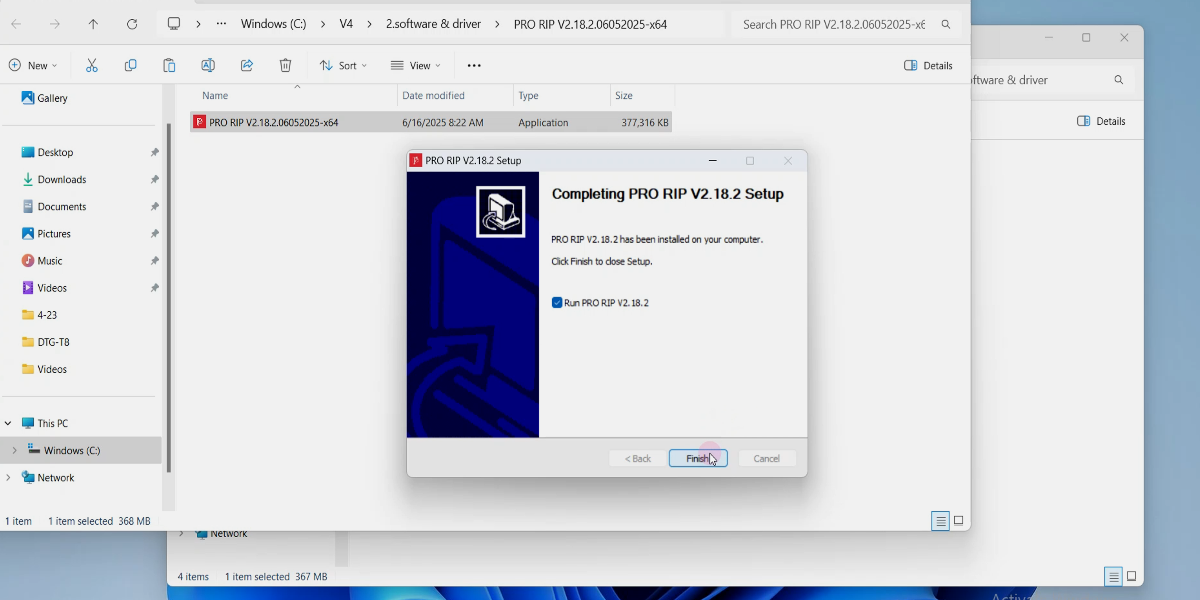
Click Finish.
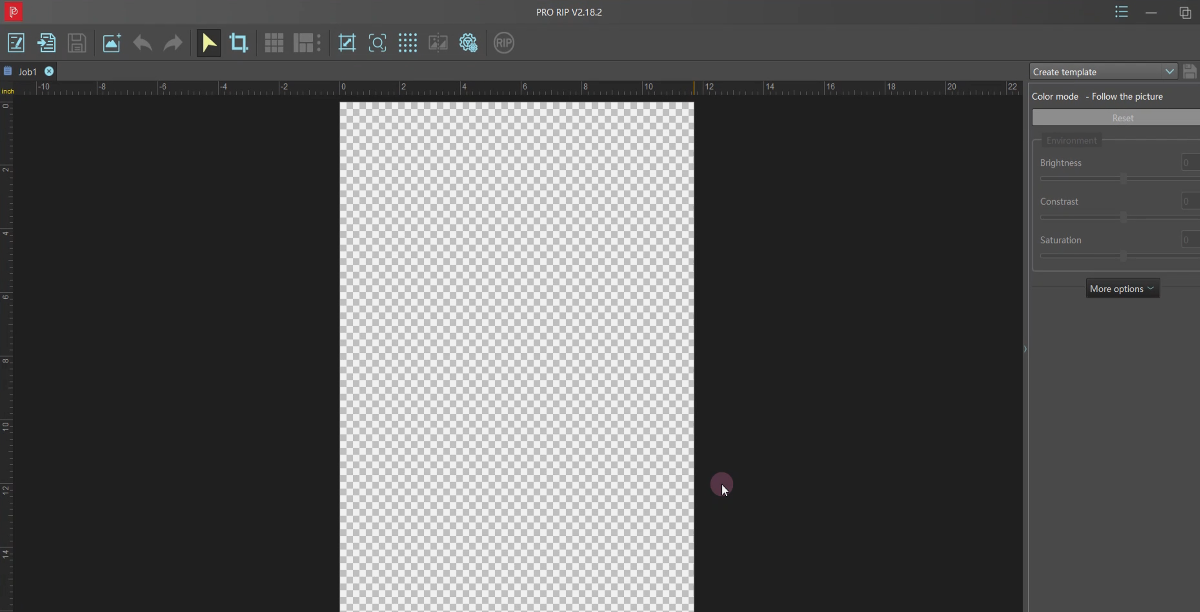
Open the Pro RIP software.

Go to the task screen.
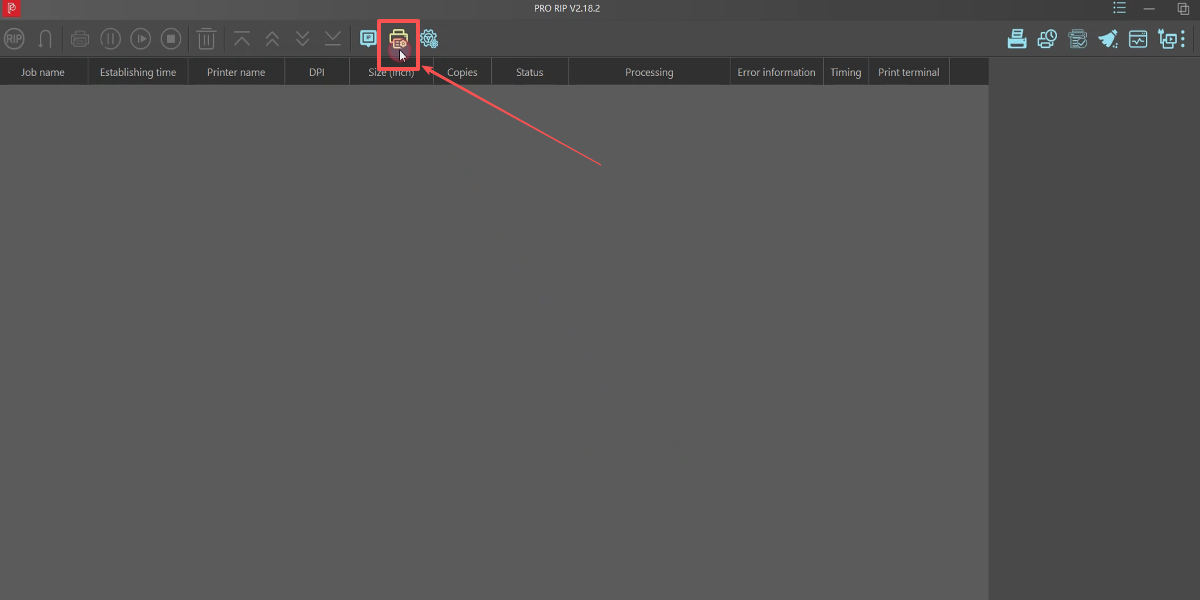
Select the color curve first.
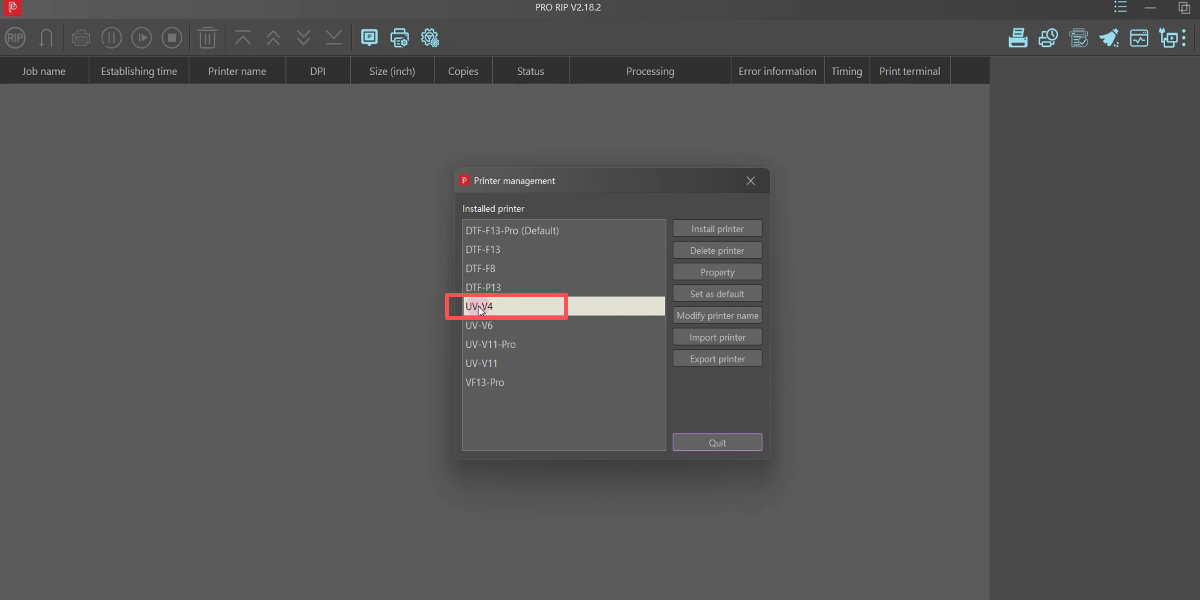
Choose the UV-V4.
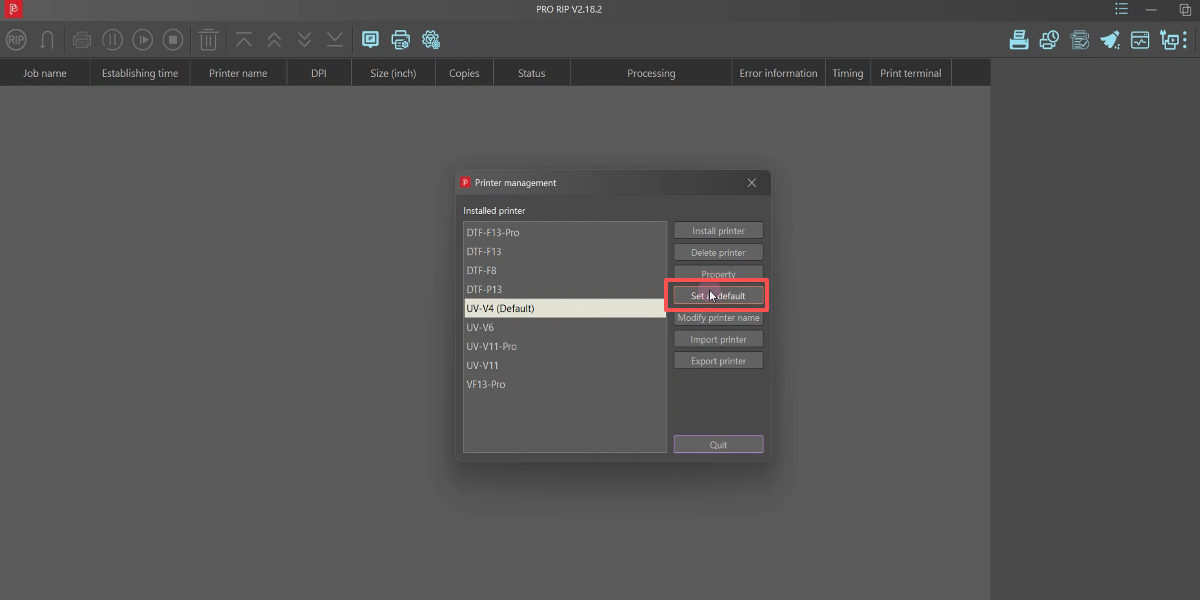
Set is the default.
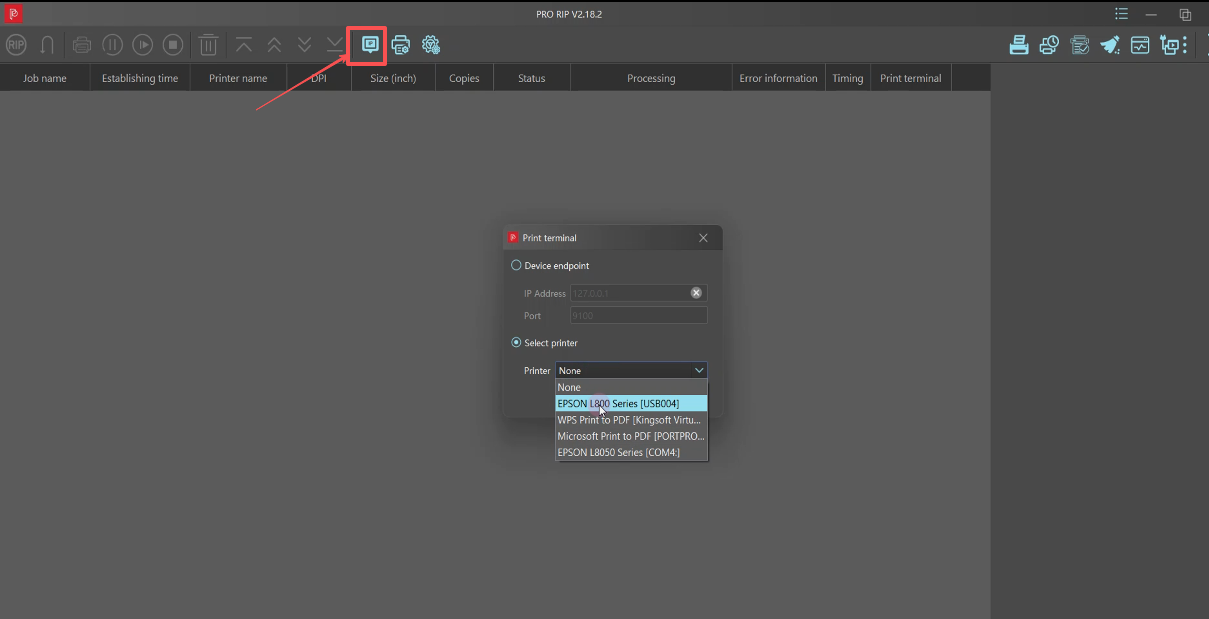
Choose your printer driver. Select L800.
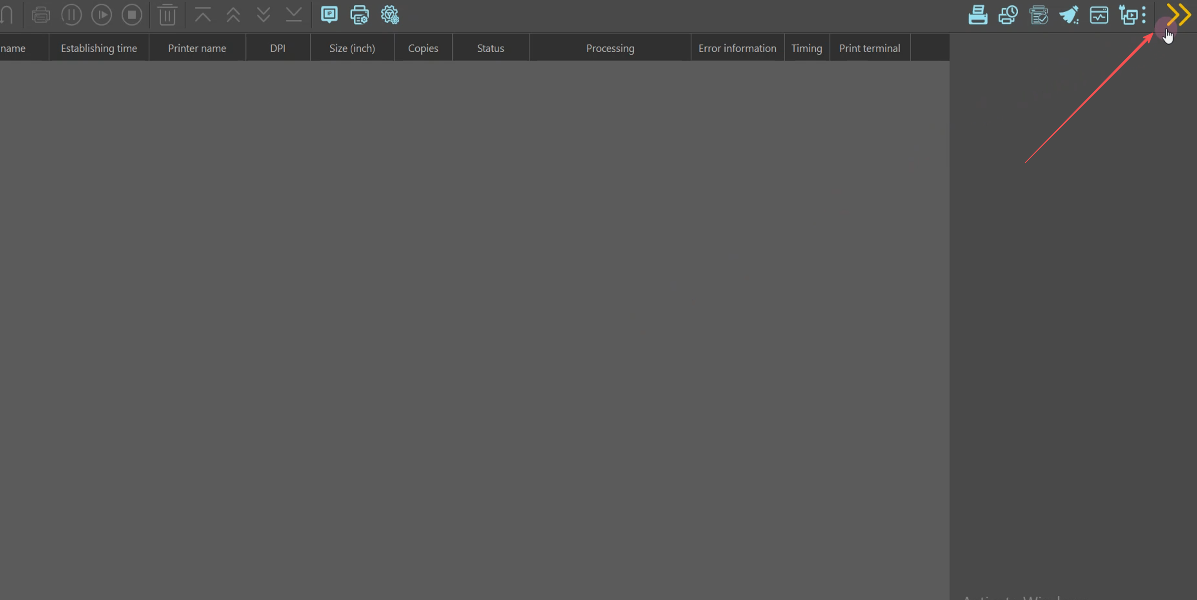
Return to the main screen.

Right-click on a blank area.
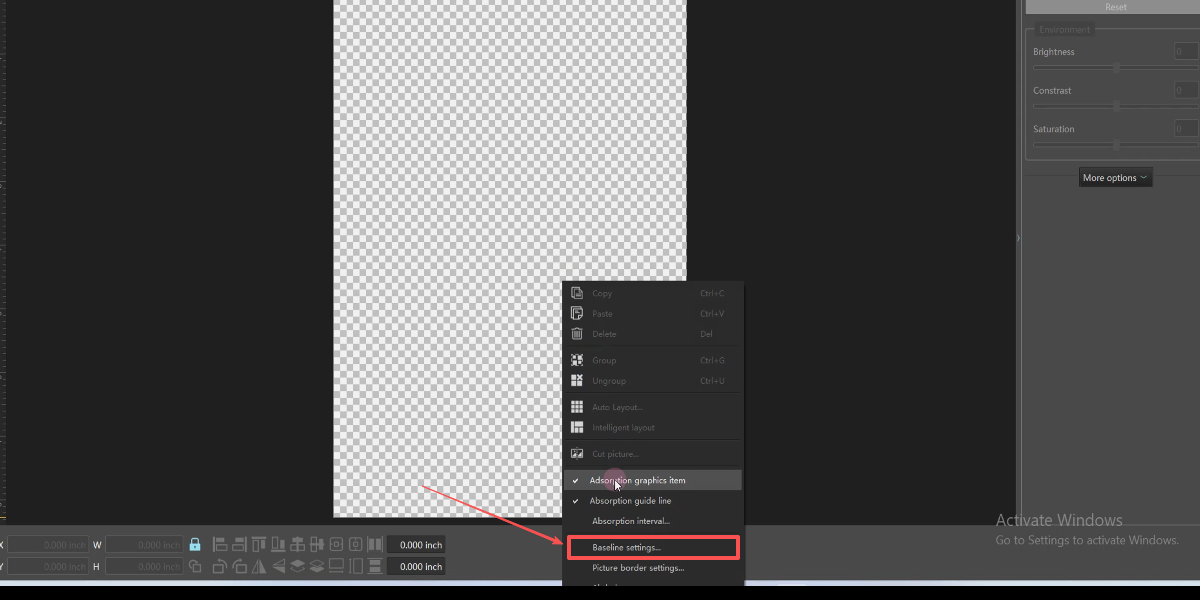
Open the baseline settings.
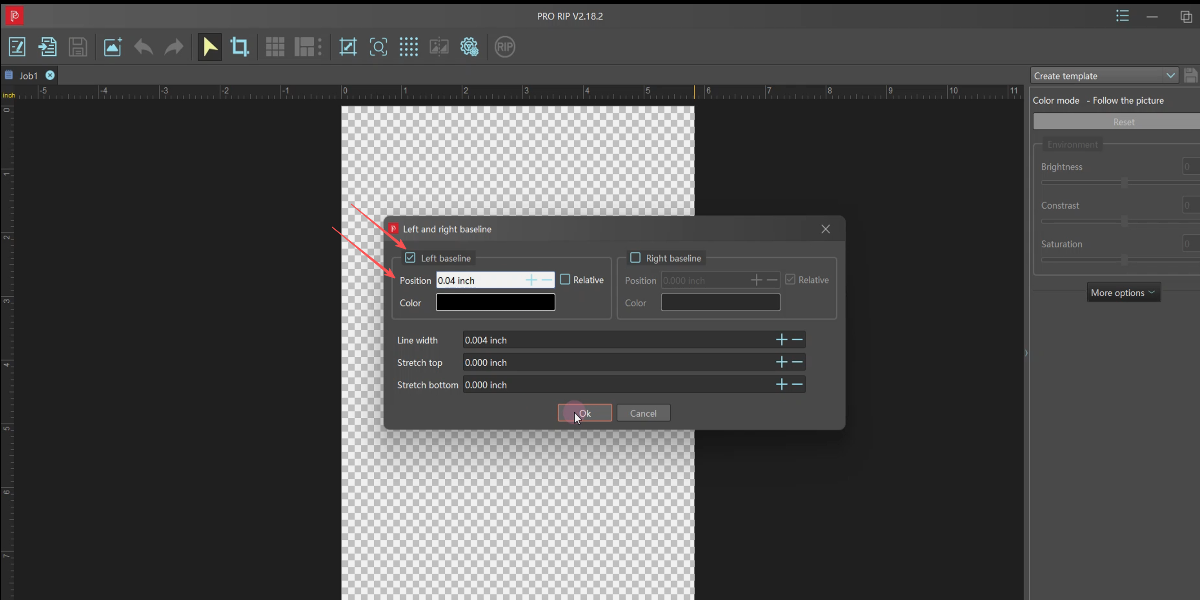
Enable the left guideline, set it to 0.04 inches and click Ok.

Set the Canvas size. Select A5 and confirm.
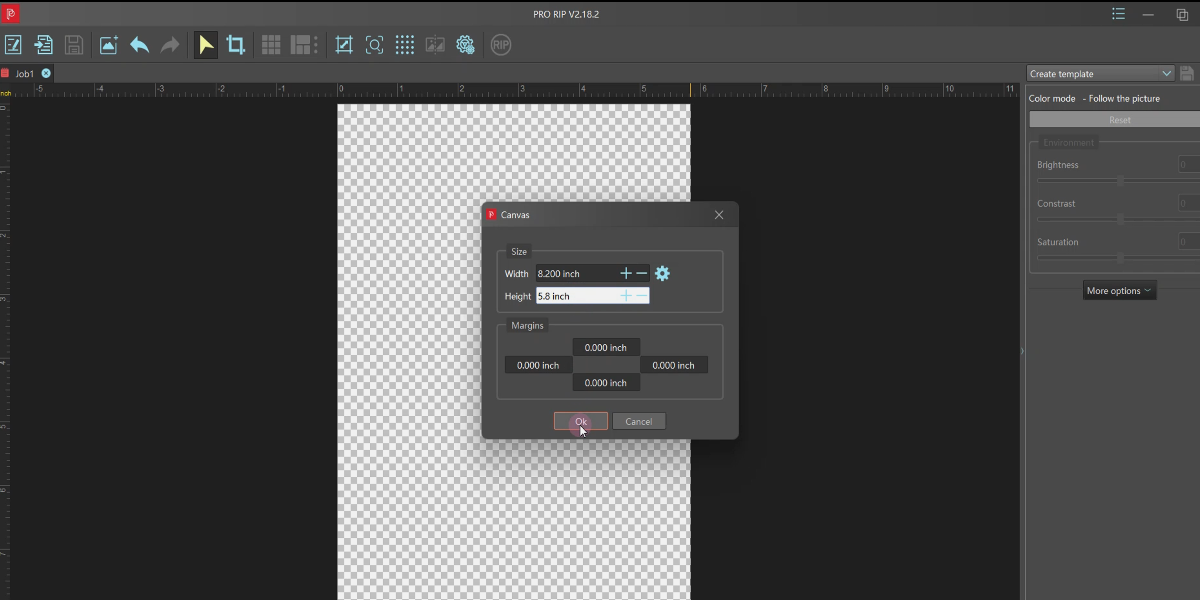
Set width to 8.2", length to 5.6". Software setup done.
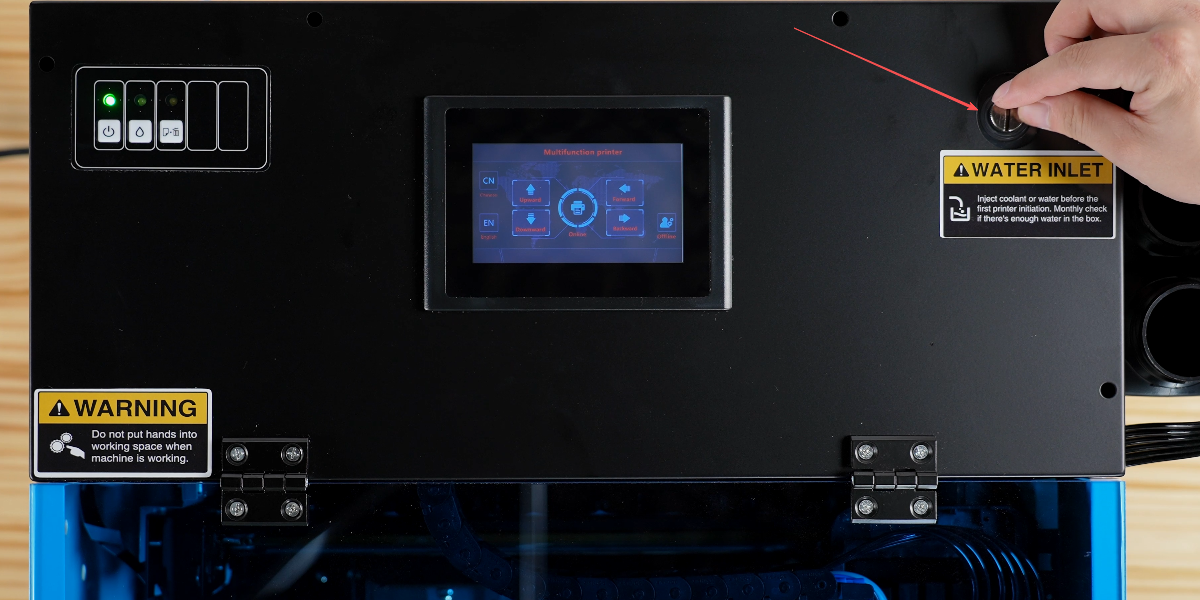
Open the water tank cover.
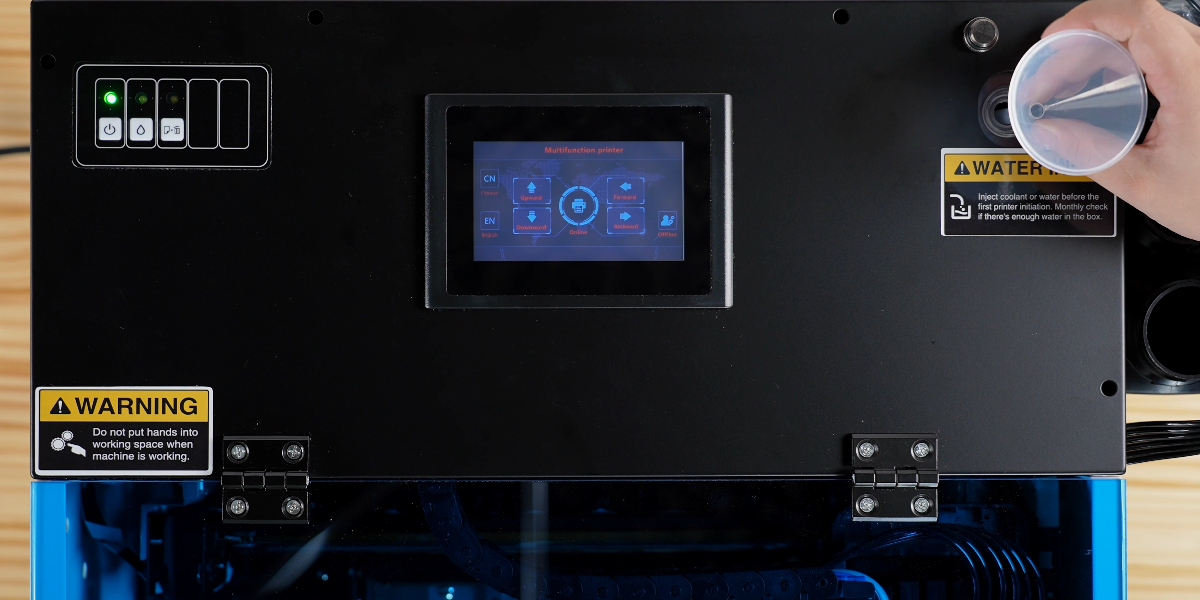
Prepare the coolant or distilled water.
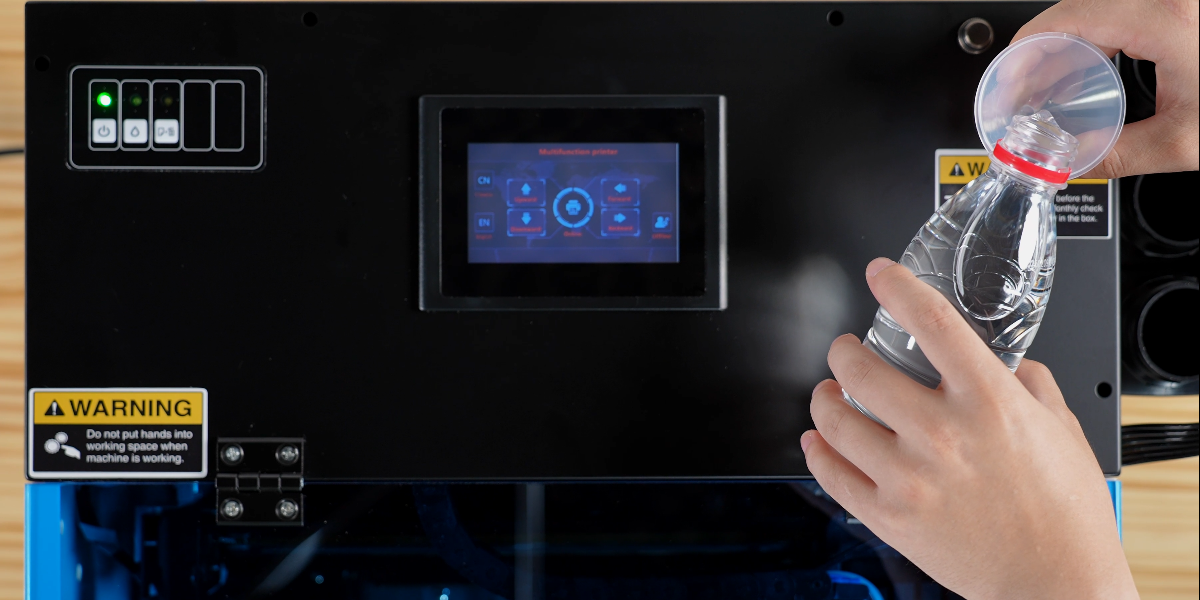
Fill the water tank through the inlet.
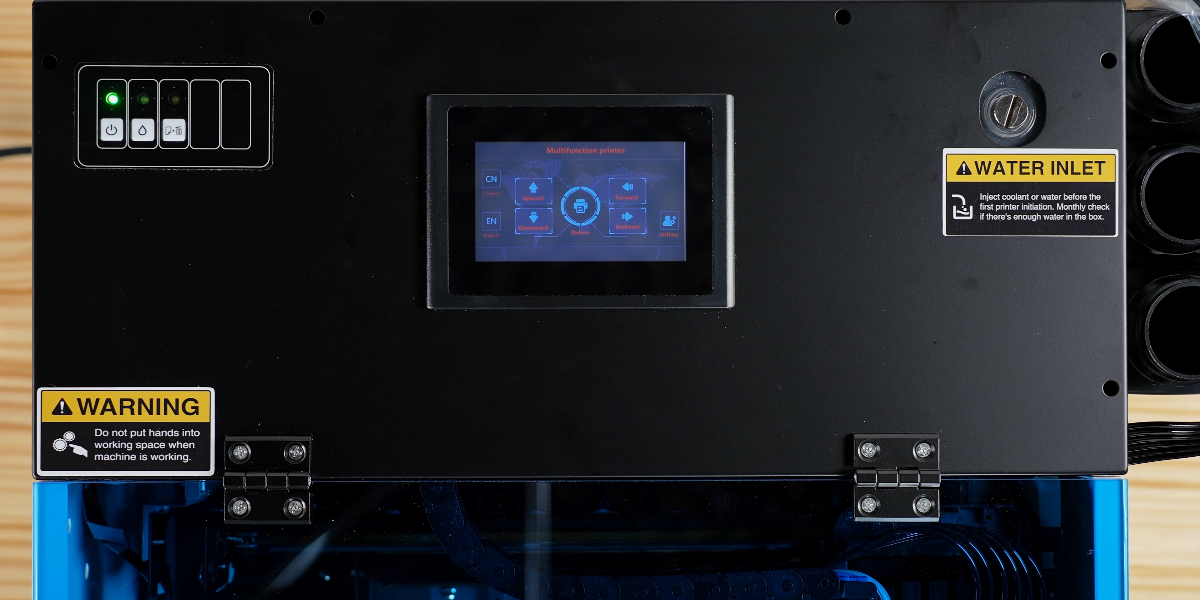
Ensure the water level is sufficient and close the cover.