Replace the head only if cleaning and ink extraction fail to fix the status.

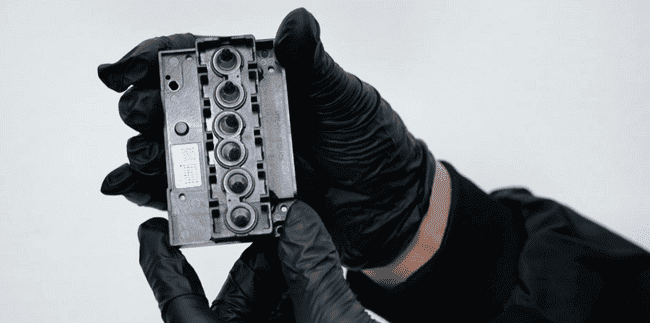
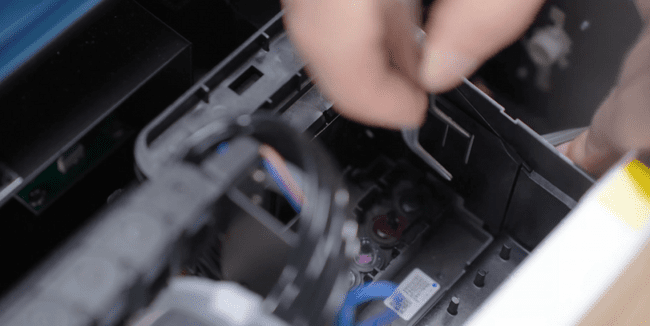
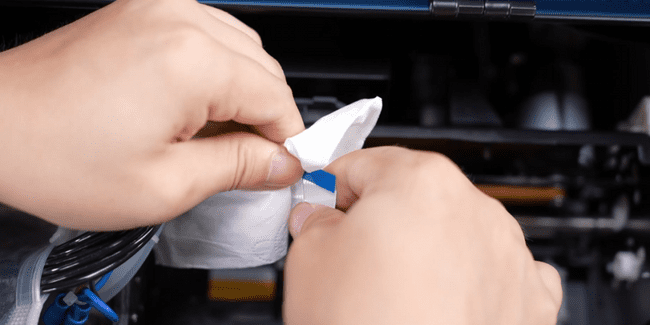
Carefully remove all the ink dampers from the print head.
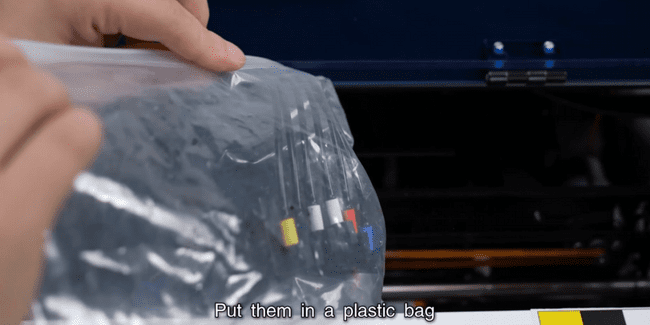
Temporarily place the dampers in a plastic bag to keep the area clean.
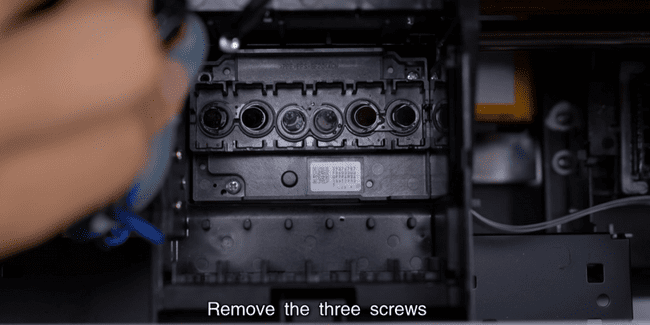
Unscrew the 3 screws securing the print head to the carriage.
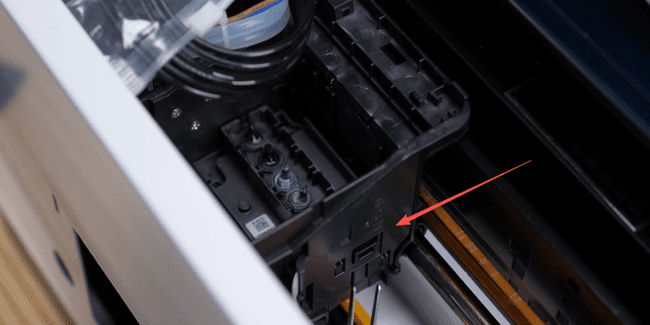
Carefully remove the outer clips securing the print head.
Remove the inner clips that hold the head in place.
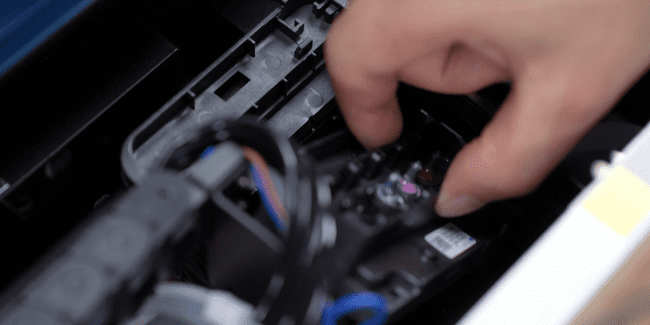
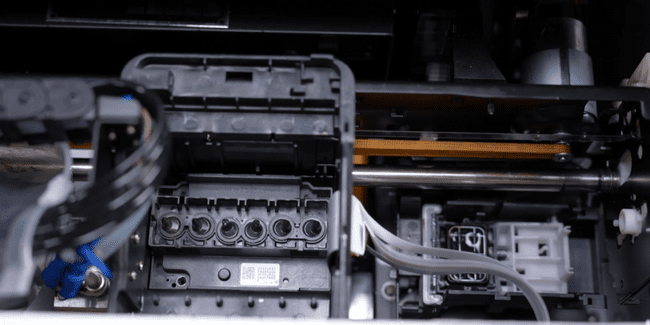
Gently lift and remove the old print head from the carriage.
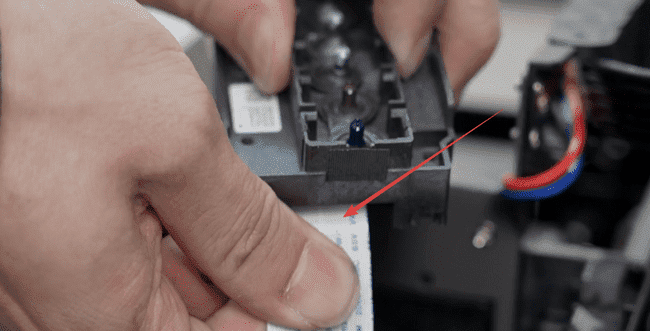
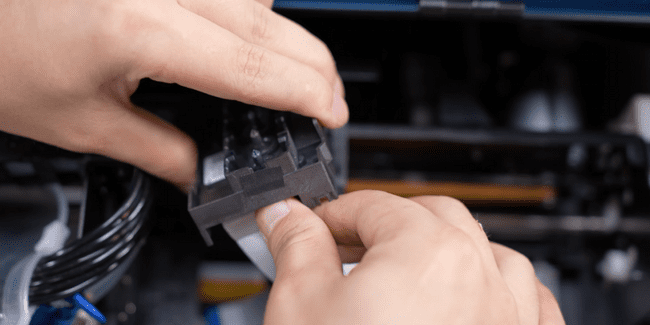
Disconnect the print head's ribbon cable from the connector.
Check for ink contamination. Do not disconnect the raster decoder cable.
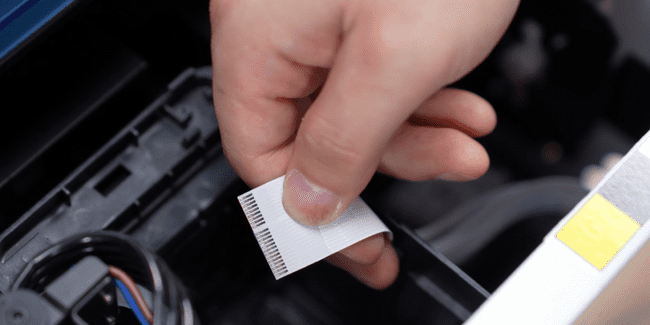
Clean the metal contact points of the cable before reconnecting.
Install the new print head and securely insert the ribbon cable.
Secure the new head with the 3 screws and the internal/external clips.

Reinstall the ink dampers onto the new print head.
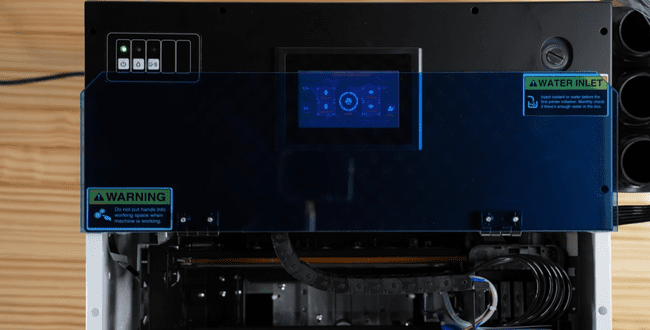
Power on the printer and observe the automatic self-test process.
If the self-test passes, the print head replacement is successful.