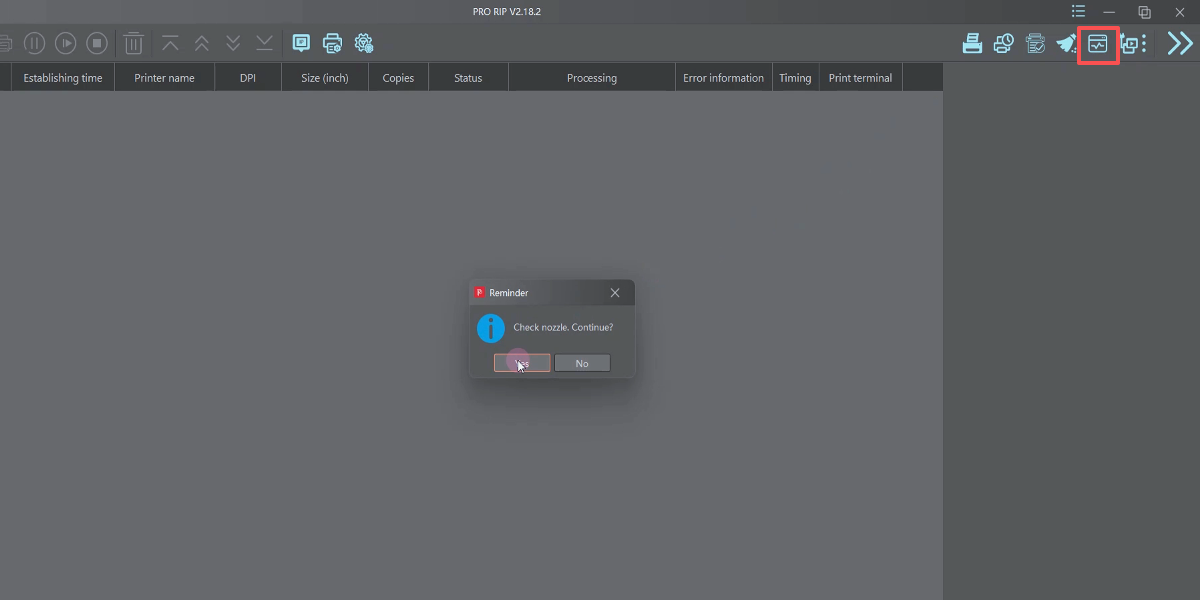
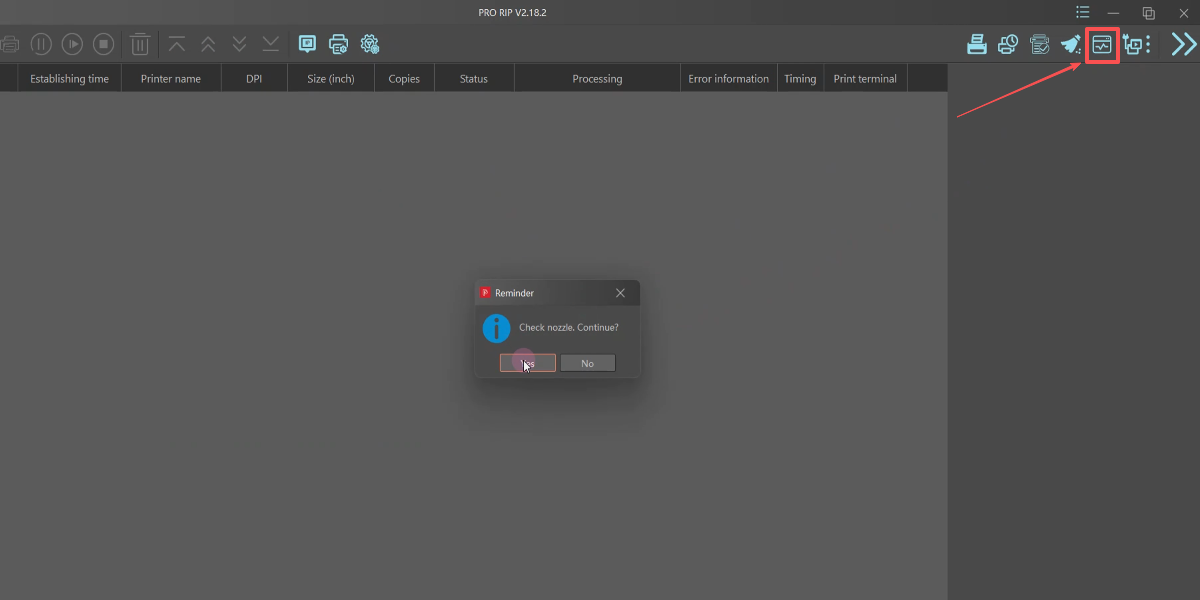
Send a nozzle check task before filling ink to check if the device is connected.
The printer will run a print task for several seconds.
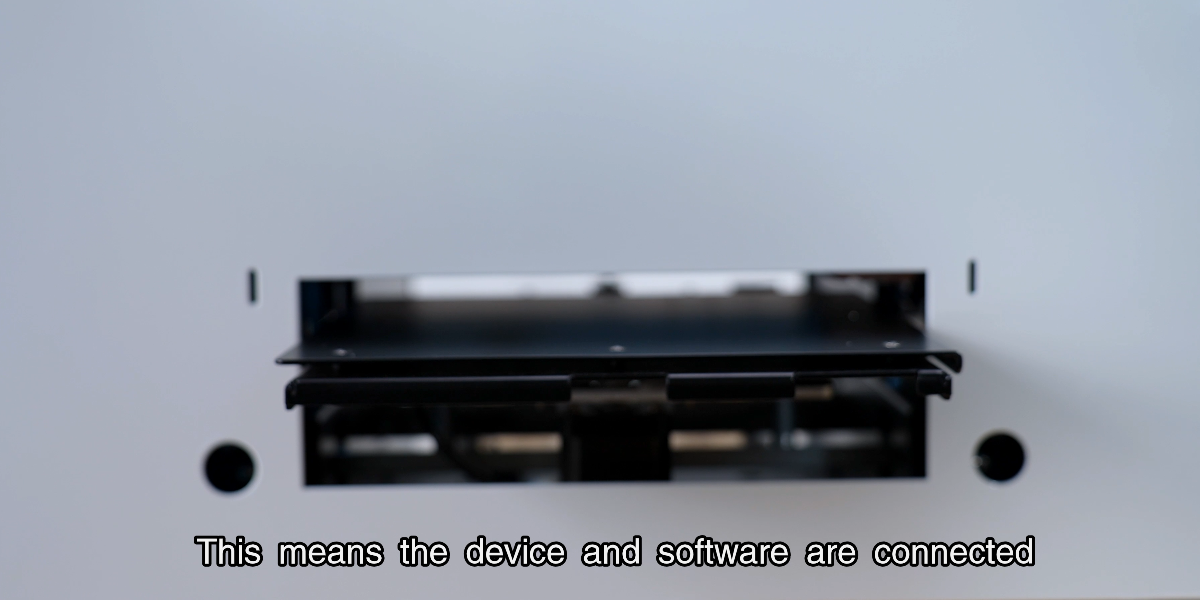
The tray will come out, indicating device and software are connected.
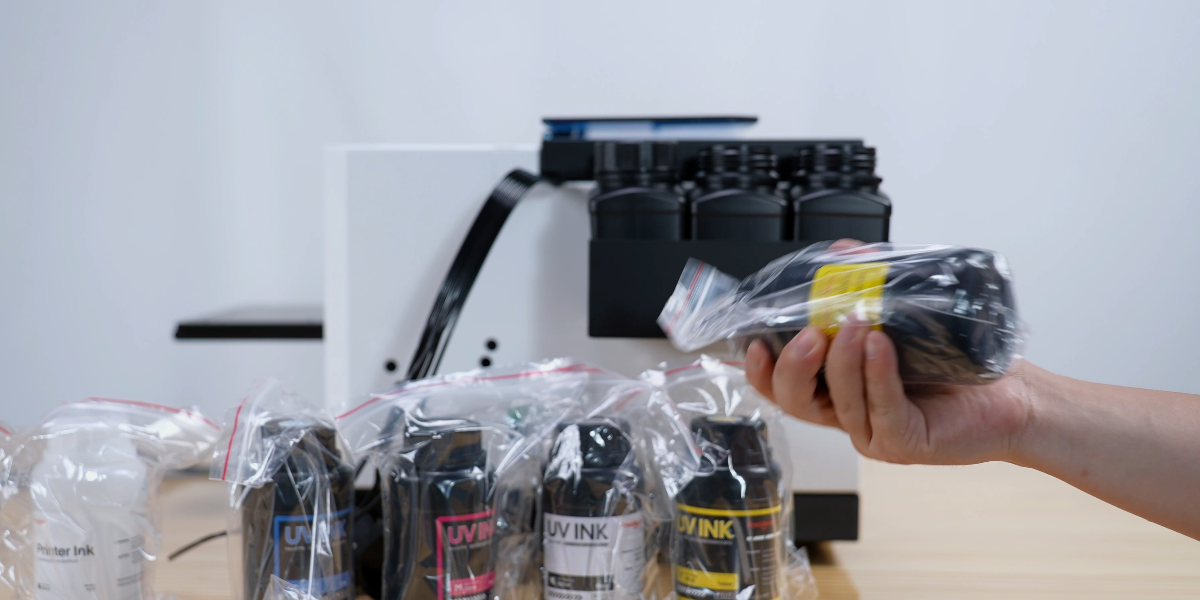
Before adding ink, shake the ink bottles to ensure even mixing.
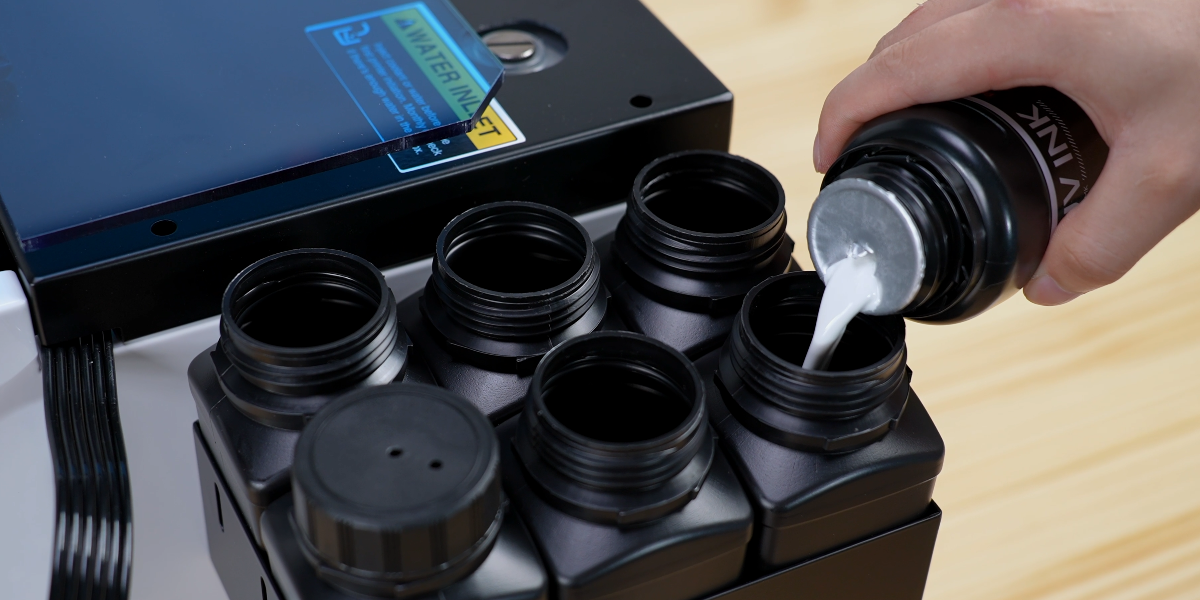
Add the ink according to the corresponding color one by one.
C: Cyan, M: Magenta, Y: Yellow, K: Black, W: White.
Once filled, you'll have one empty spare ink bottle left.
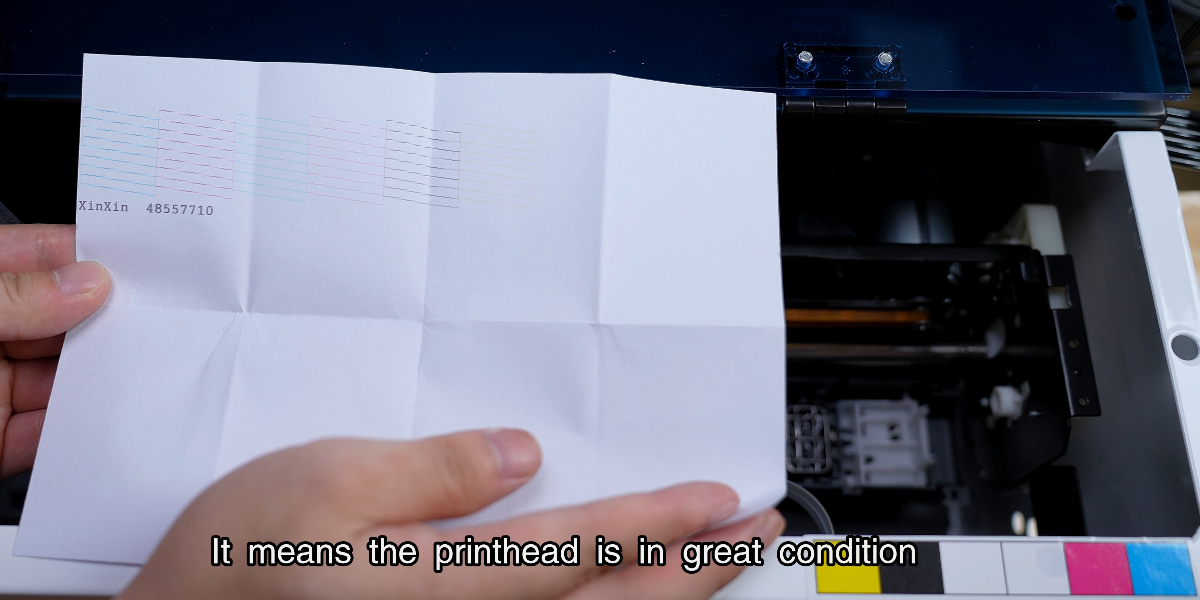
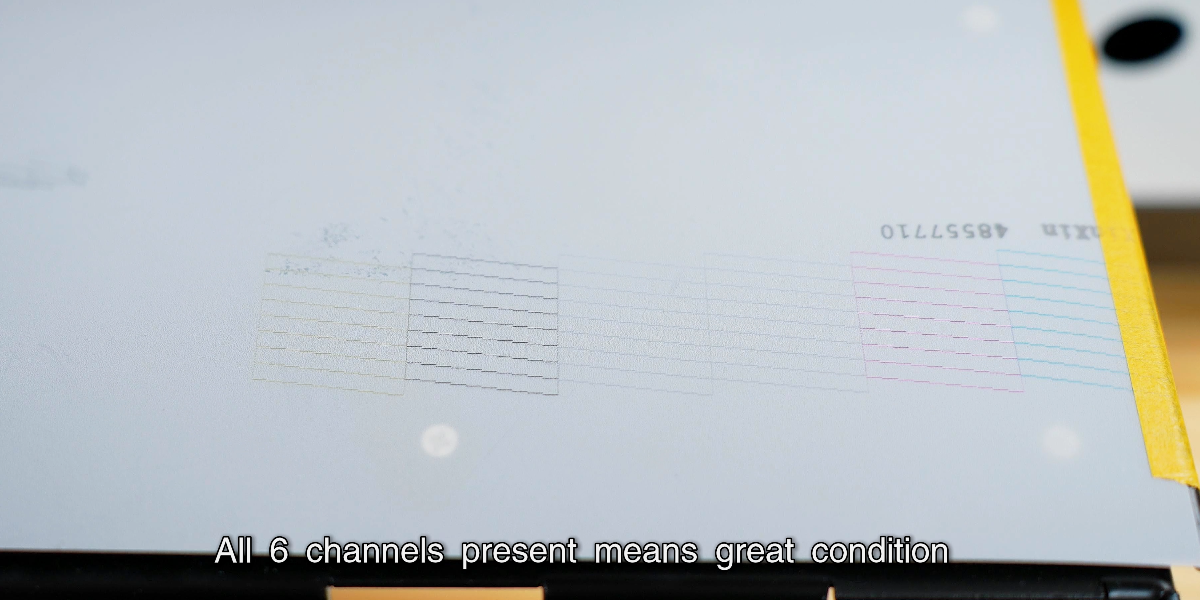
Check the factory test strip; 6 channels mean the printhead is in great condition.
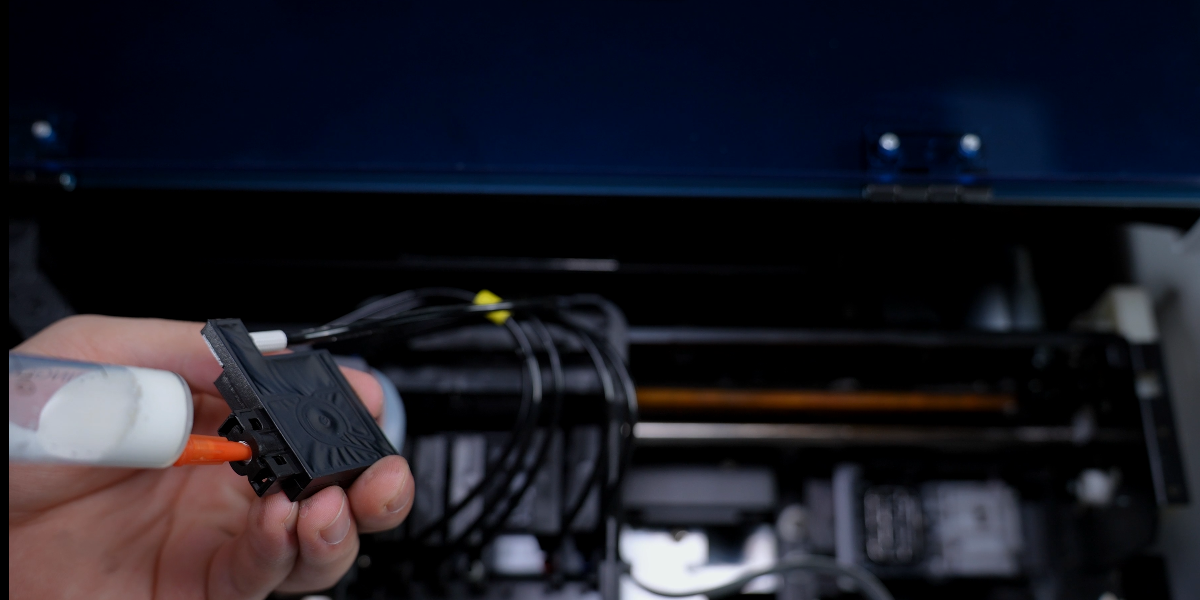
Remove cartridges and use a syringe to withdraw 3-5ml of ink from each.
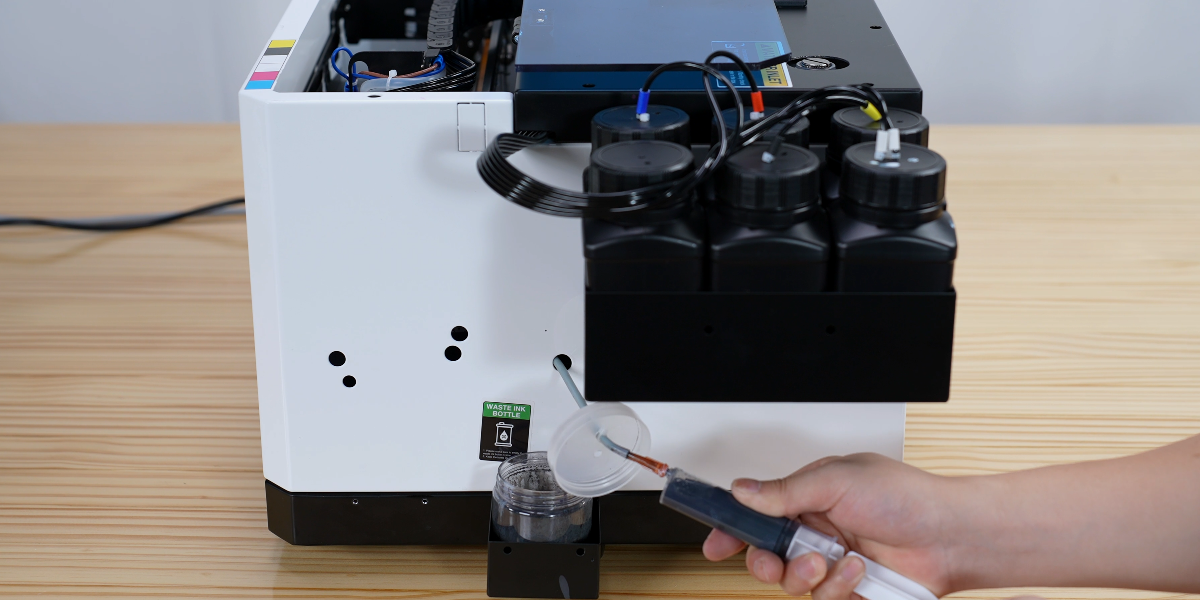
From the waste ink pump, slowly extract 10ml of ink.
Clean printhead in PRO RIP and print the head status test page.
Once functioning properly, confirm print head nozzles status.
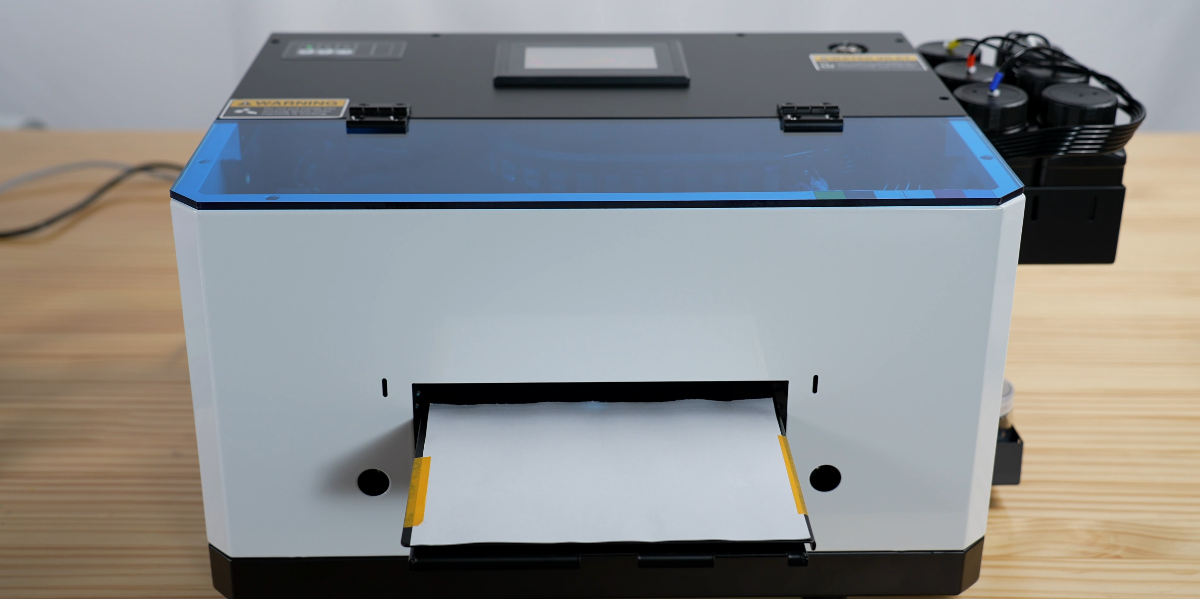
Place a white sheet flat on the printer to avoid scratching the printhead.

Click Online to let the tray move in.
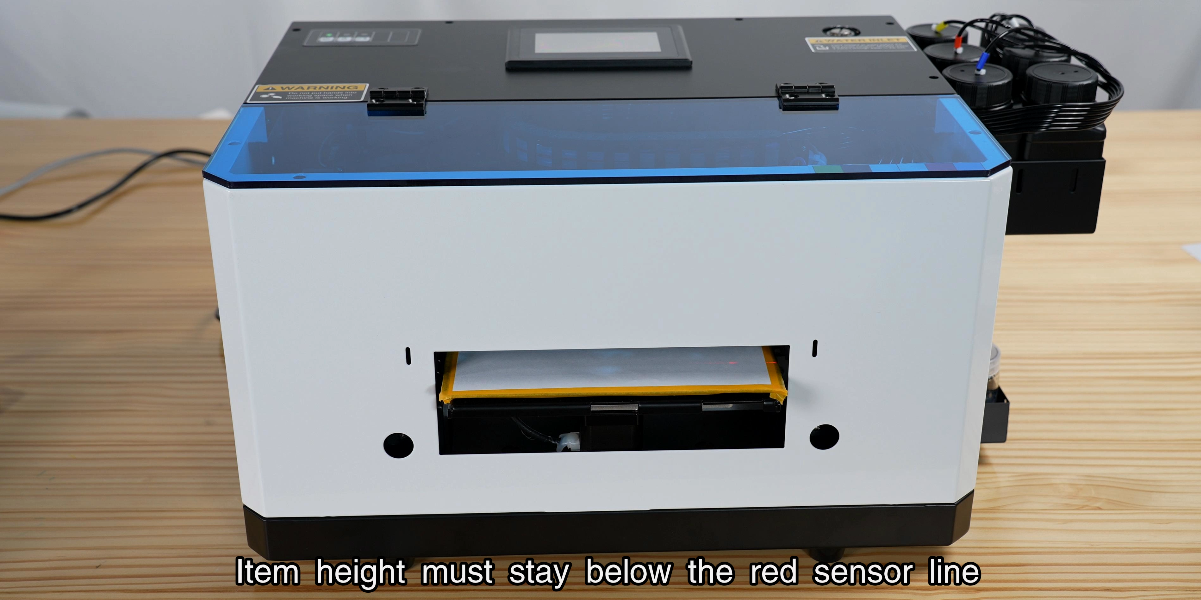
Ensure item height (≤0.6") stays below the red sensor line.
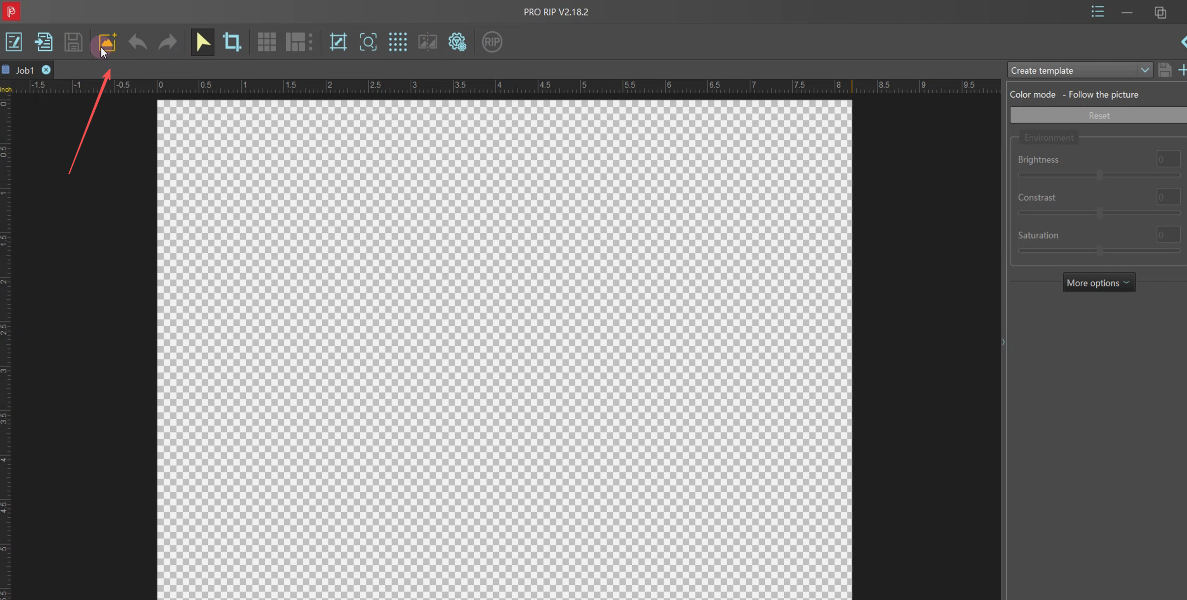
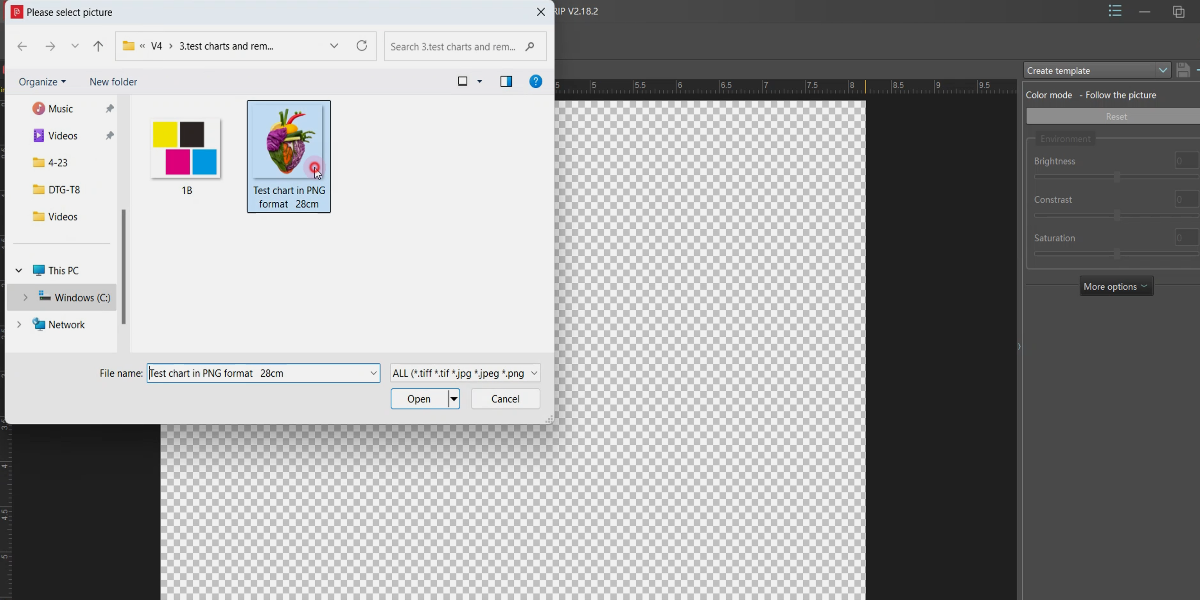
Import the image into Pro RIP software.
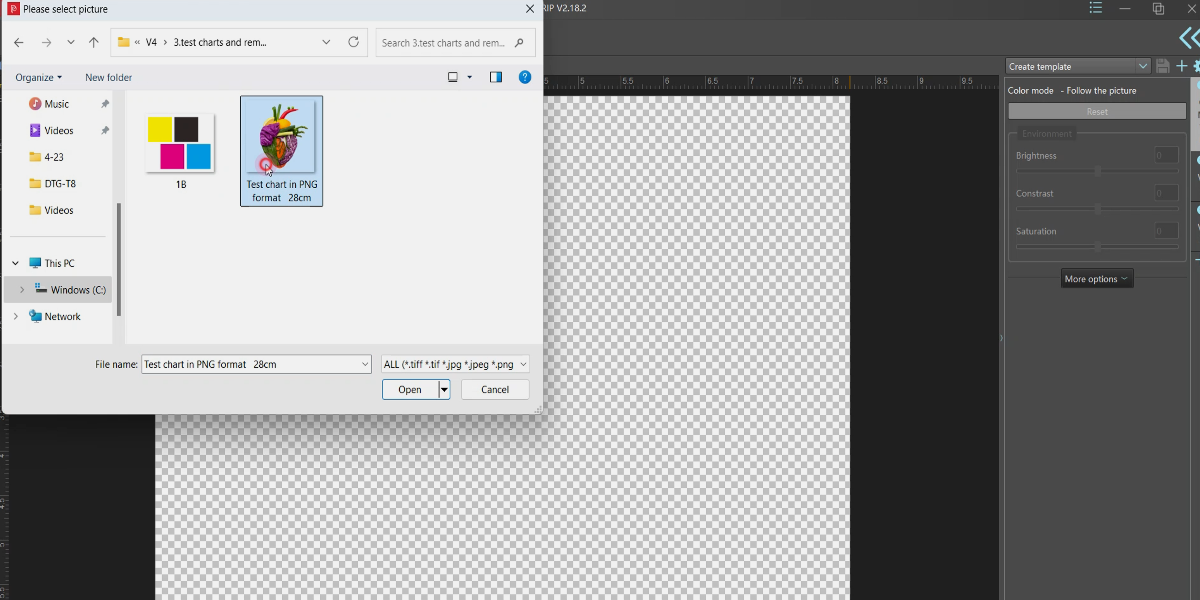
Select the specific image you want to print.
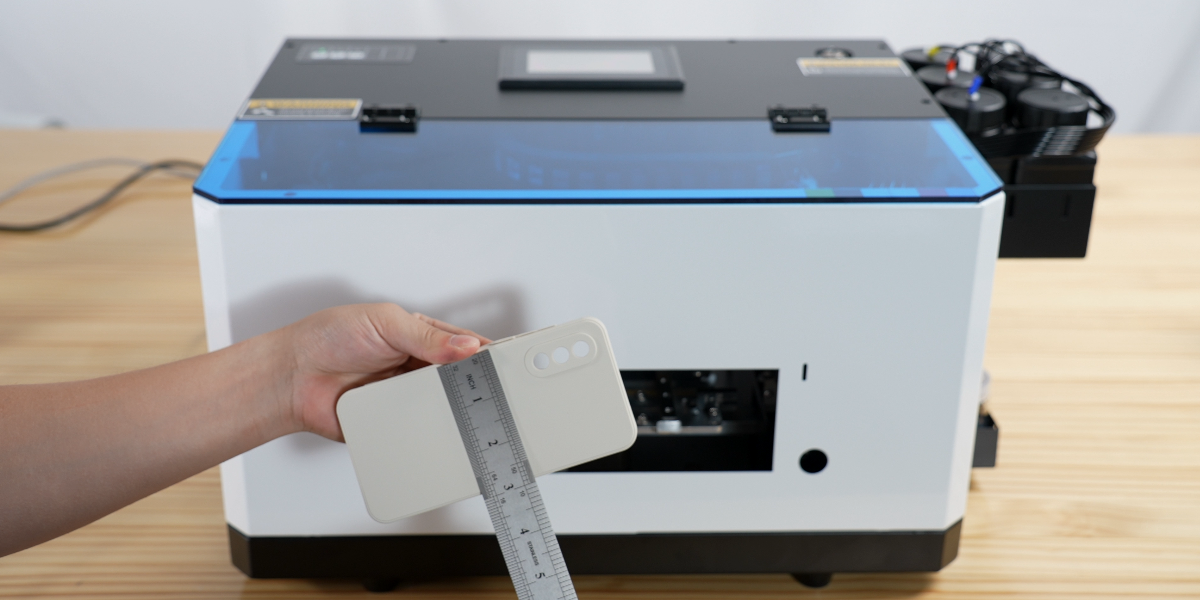
Measure the required image size on the product.
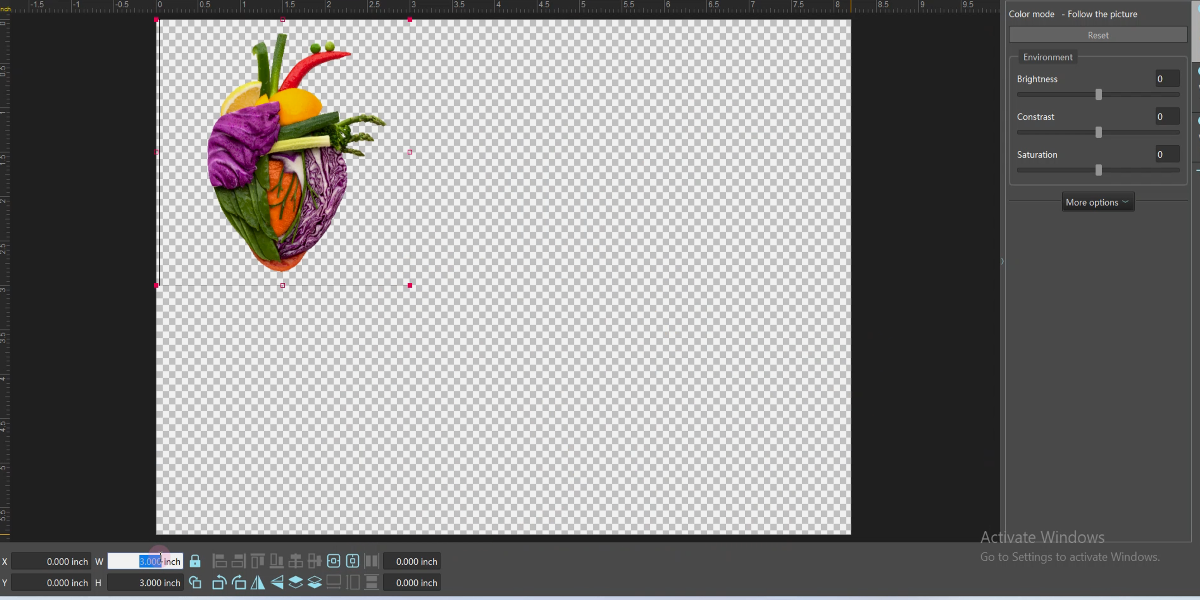
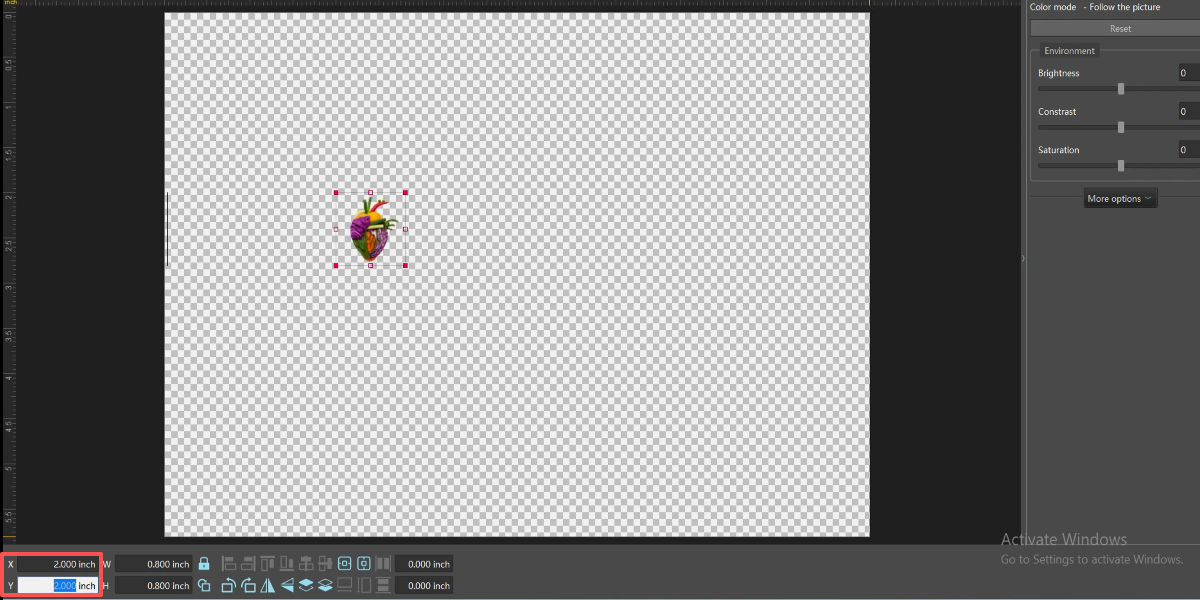
Adjust the size (e.g., 3x3 inches) in the software.
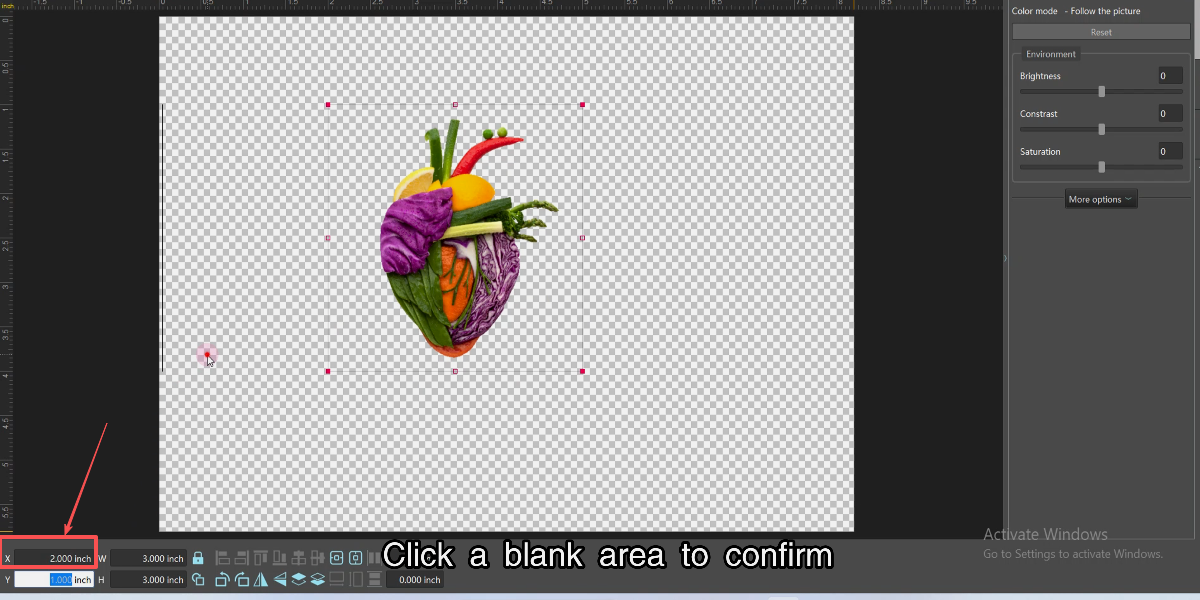
Note: X value must be ≥1.57". Click blank area to confirm.
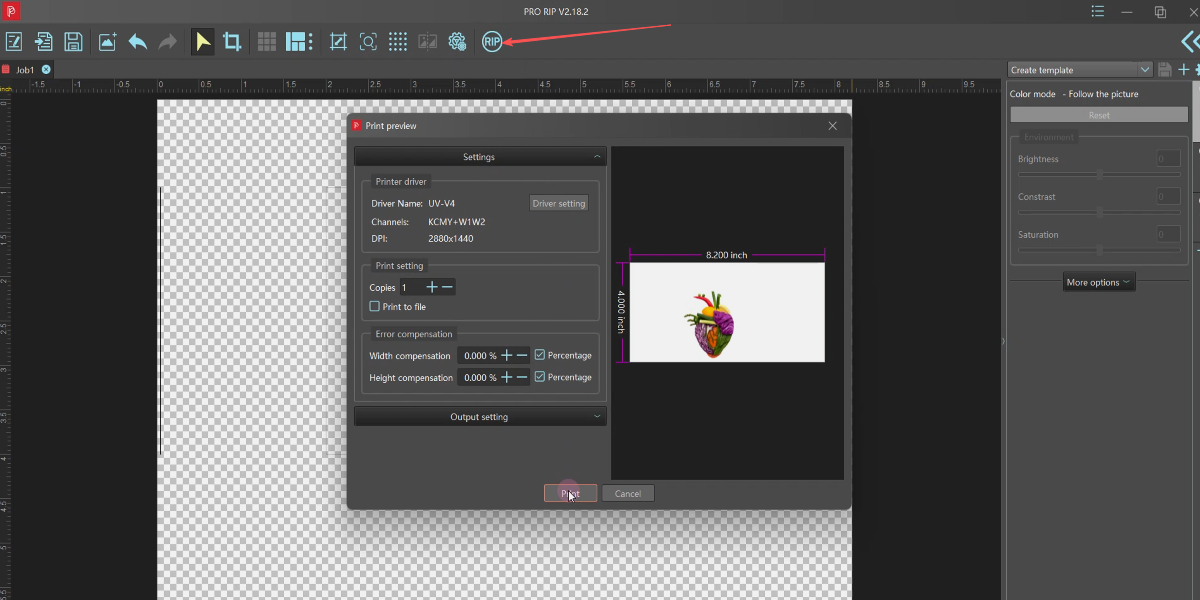
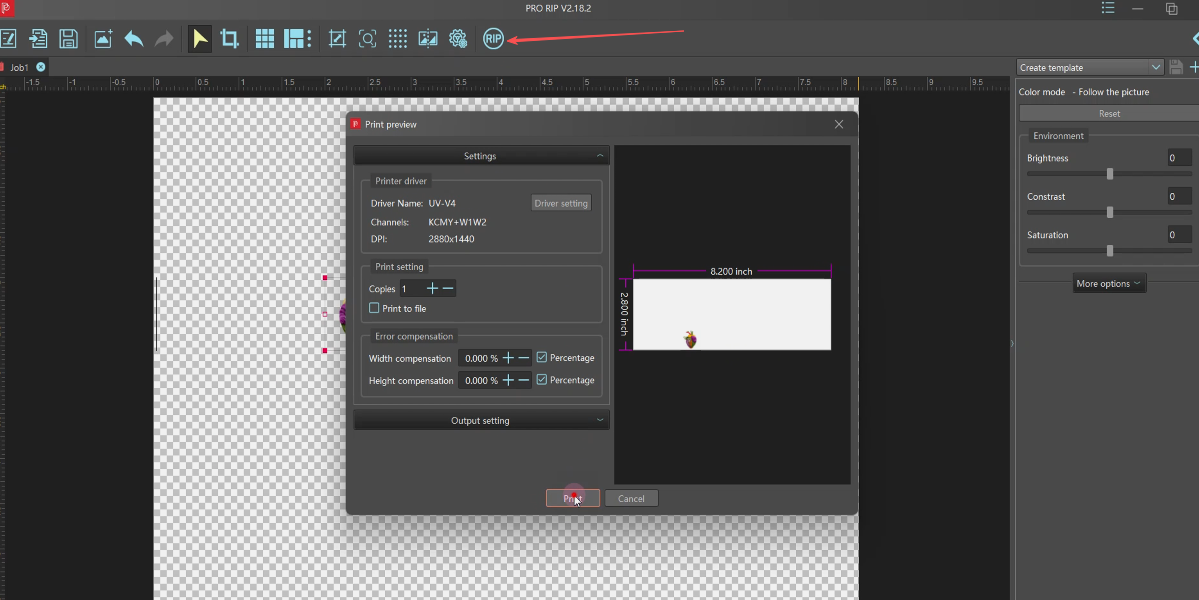
RIP processing: Click the Print button.
The machine will start printing the preview.

Check the preview: accurate colors and sharp details.
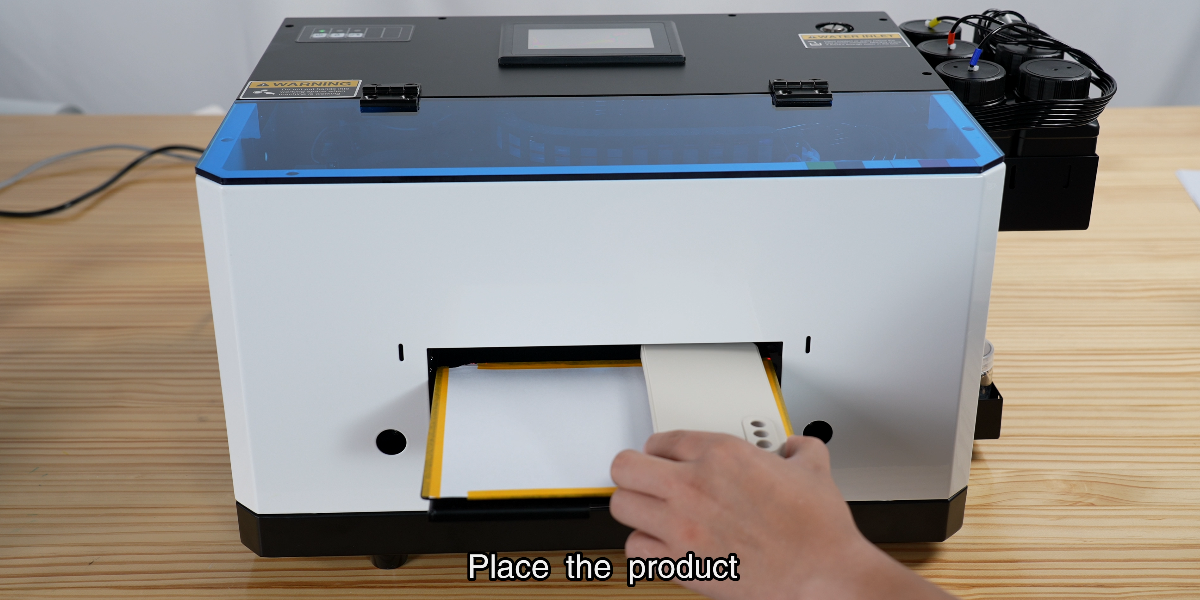
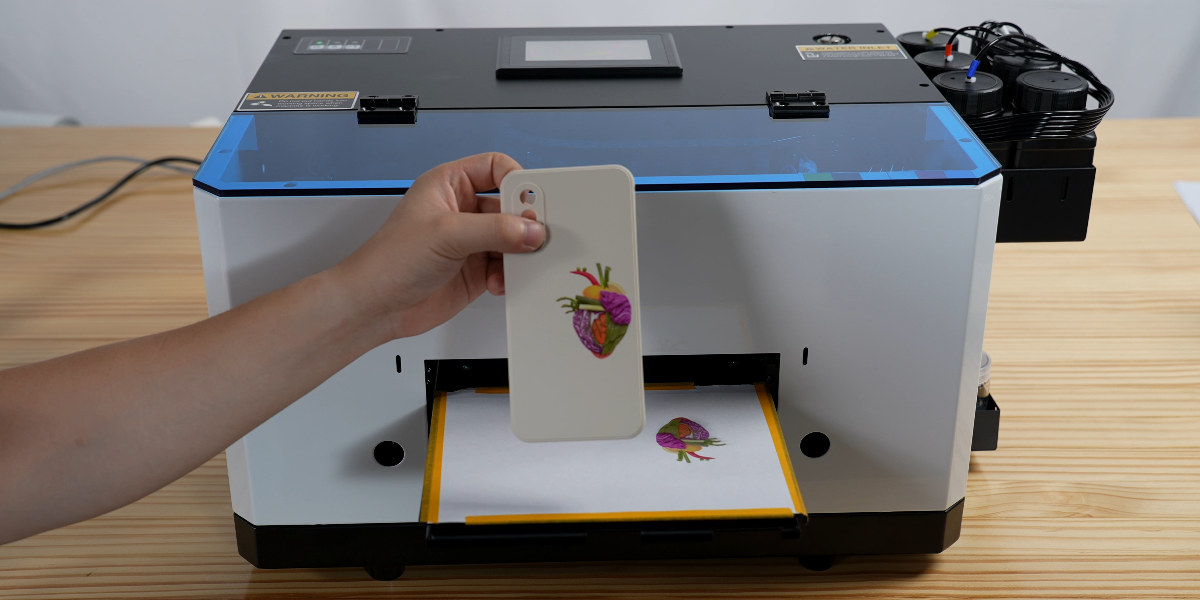
Place the product and align it perfectly with the image.
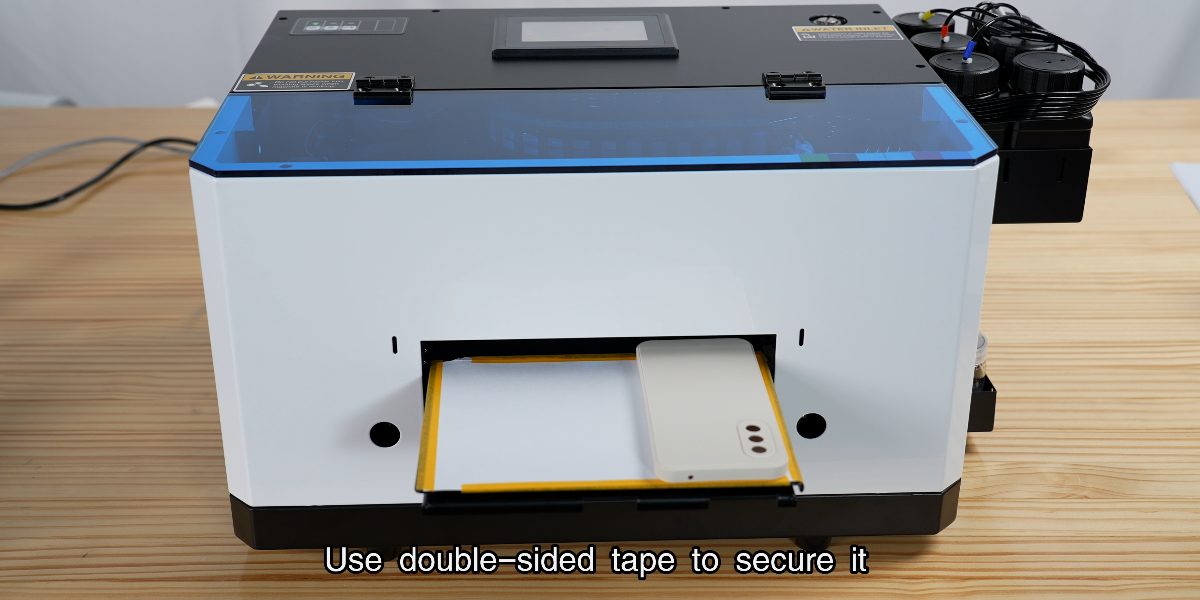
Use double-sided tape to secure the item in place.
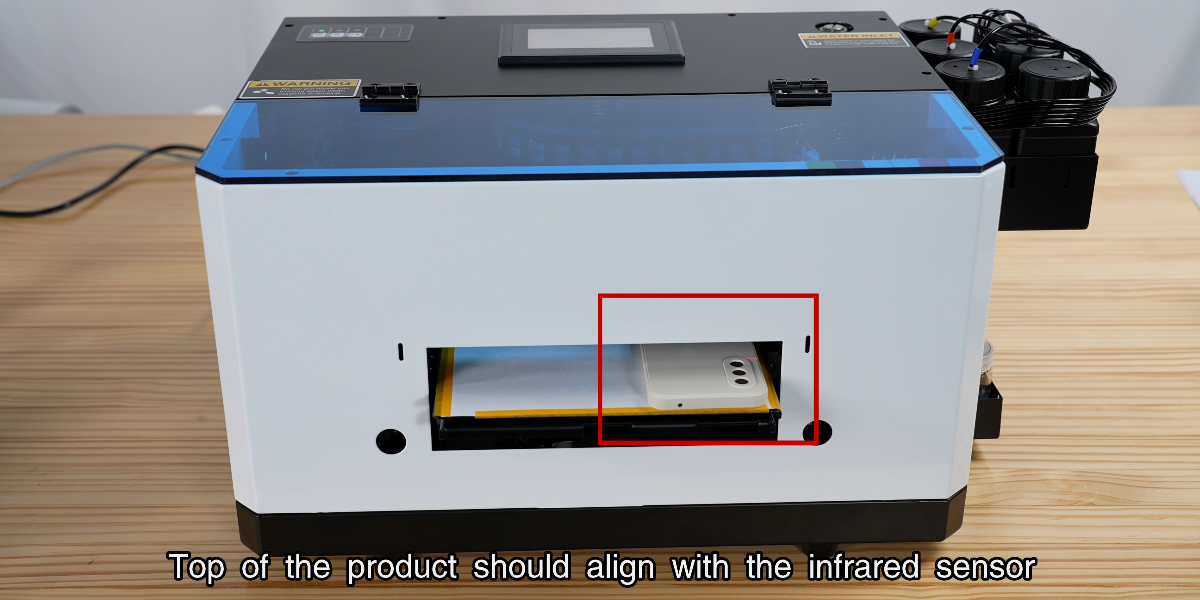
Align the top of the product with the infrared sensor.

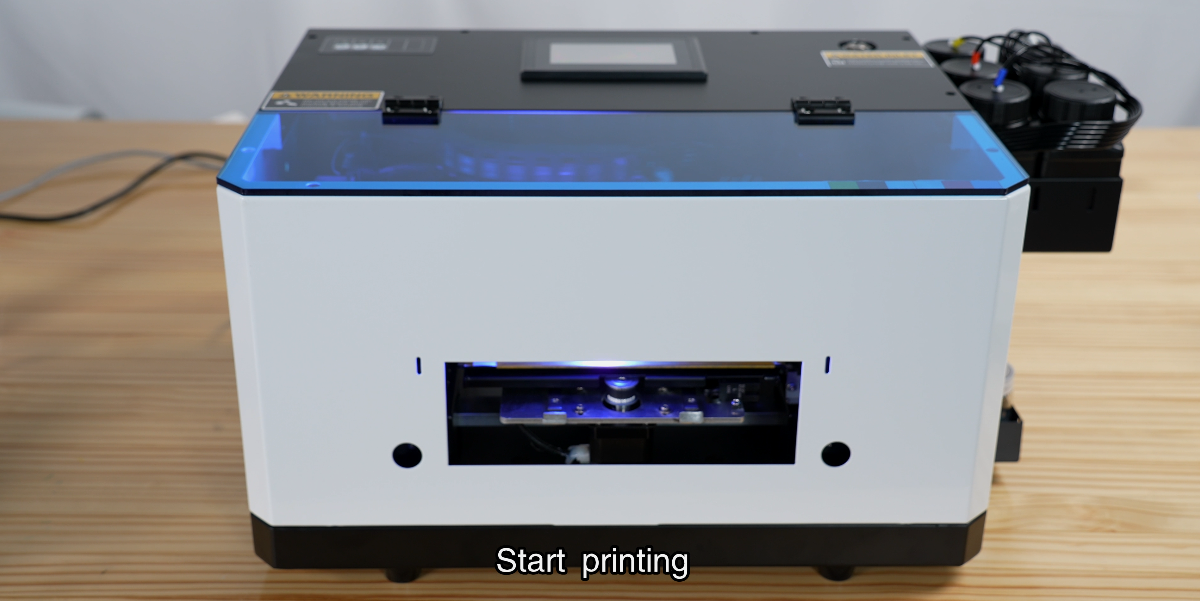
Final confirmation: Click print to start the real job.
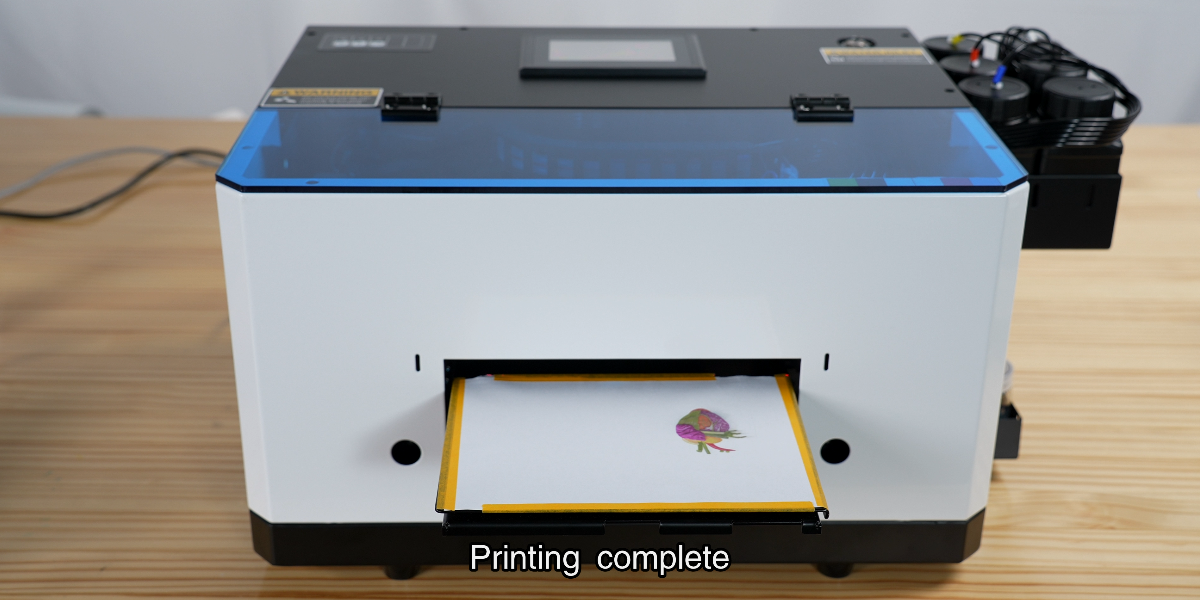
Printing completed successfully.
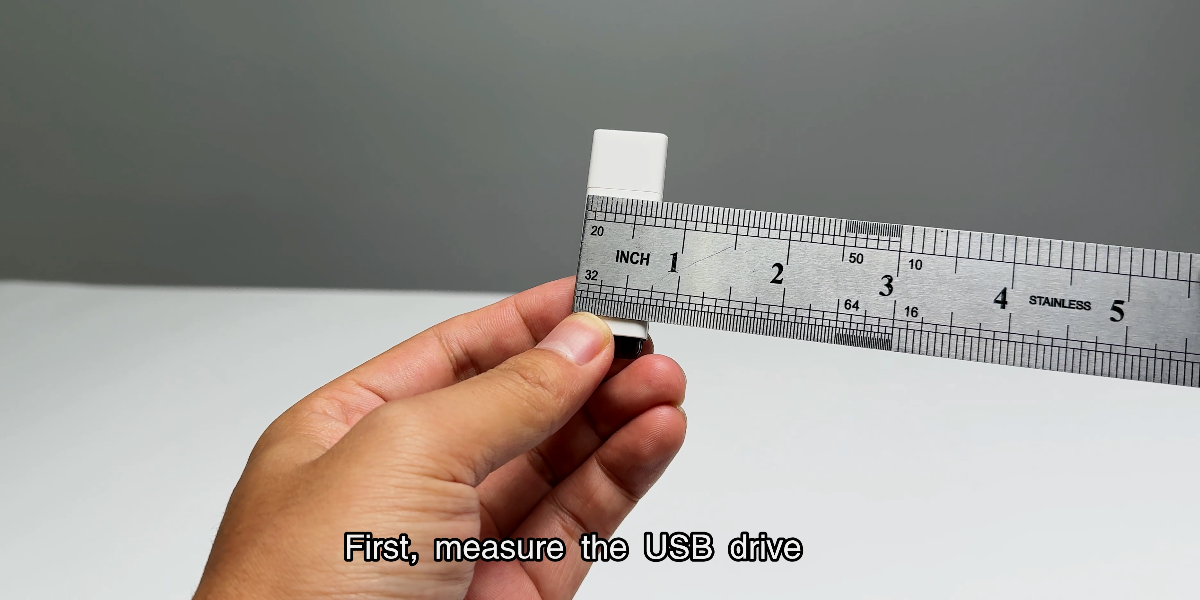
First, measure the dimensions of the USB drive.

Lay the white paper flat on the printing tray.

Click the Online button to prepare the device.
Choose the specific image you want to print.
Resize image; ensure X position is at least 1.57 inches.
Click RIP to process the image for printing.

Print a test image on the white paper first for alignment.
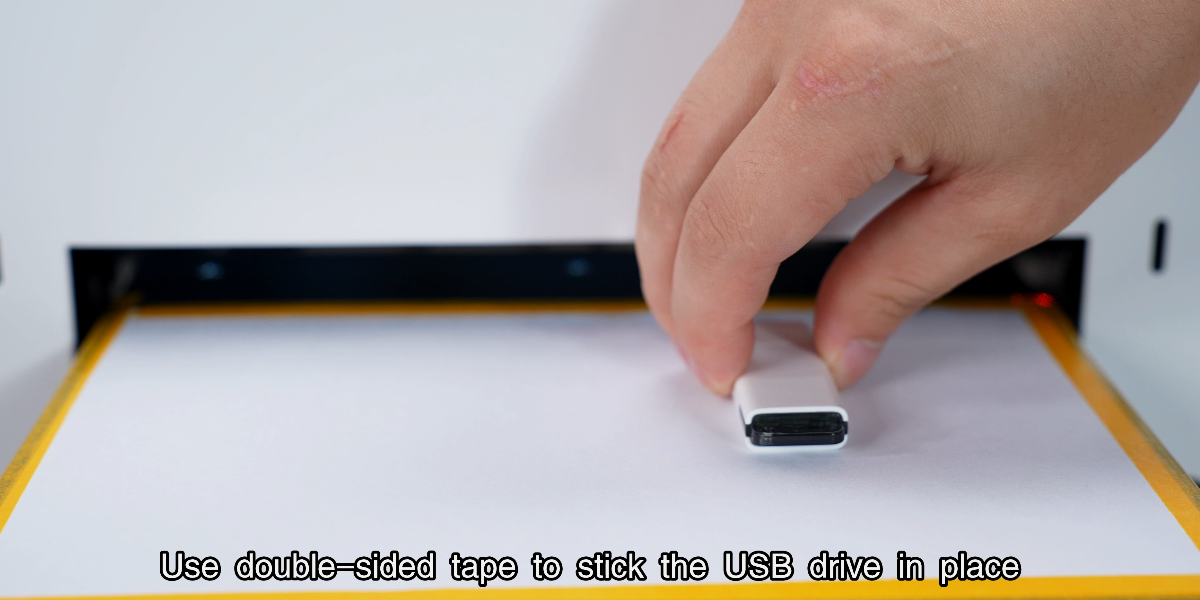
Use double-sided tape to secure the USB drive in place.
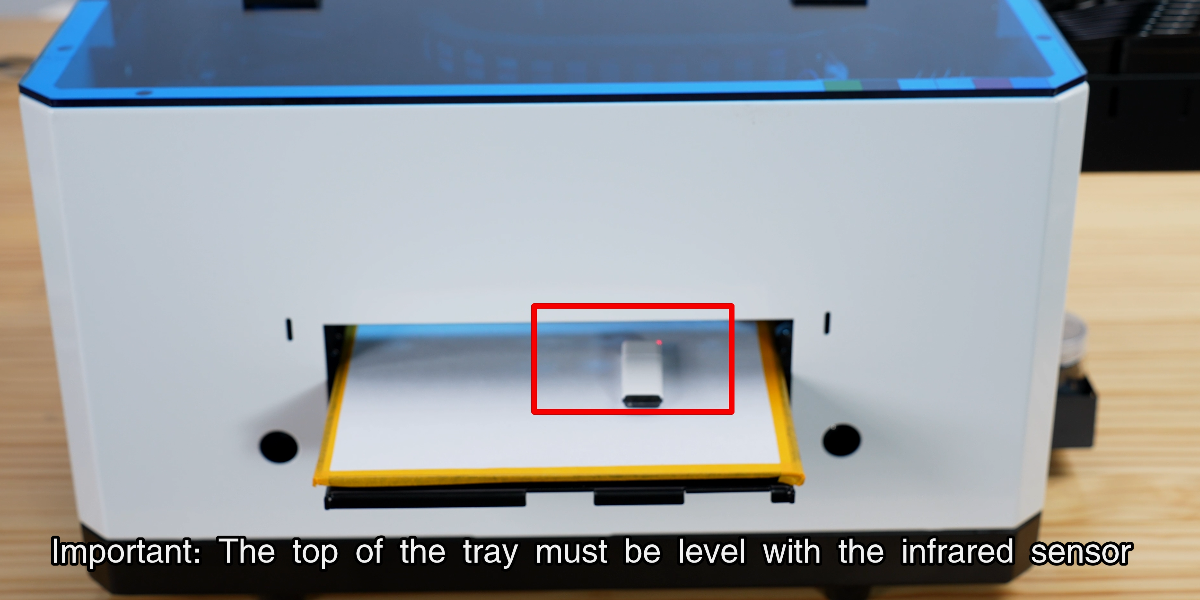
Click print. Ensure the tray is level with the infrared sensor.
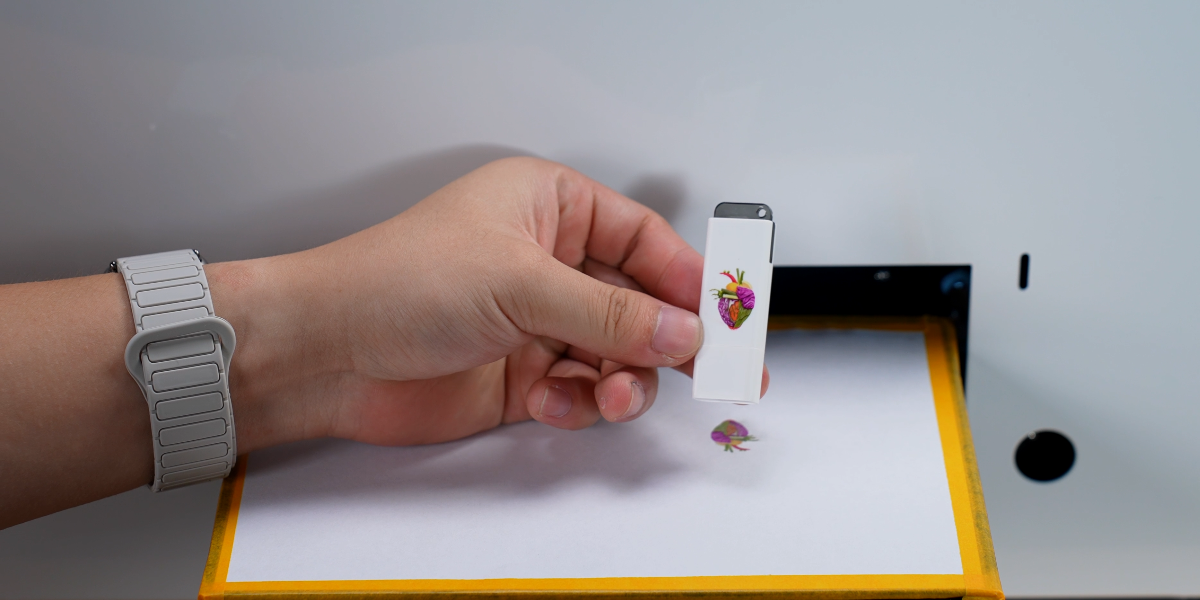
Printing completed successfully.
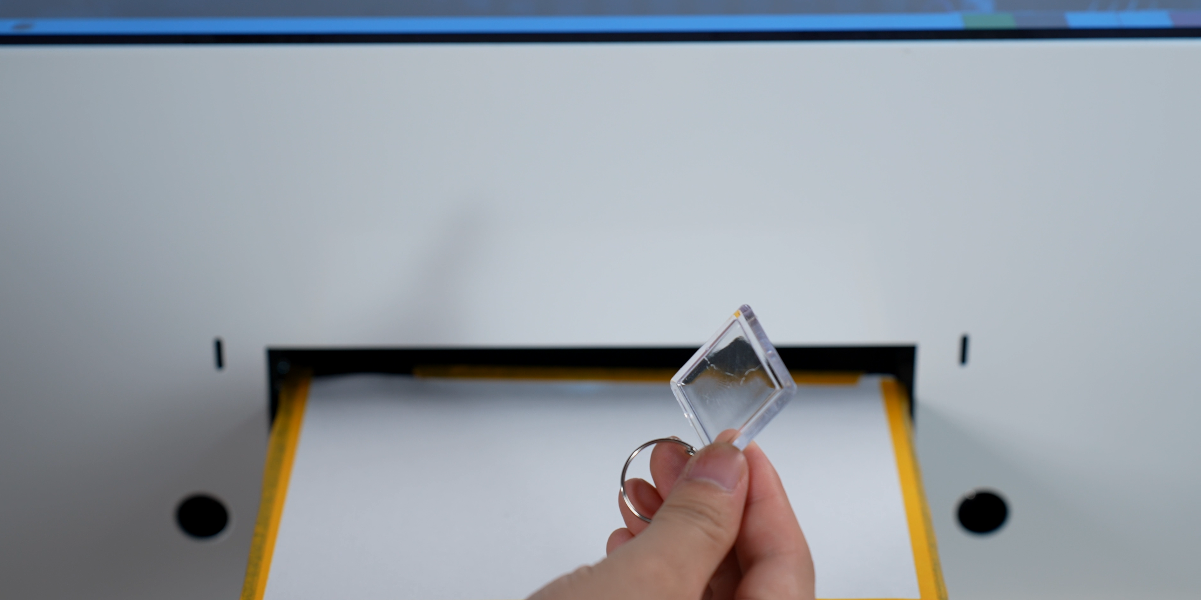
First, measure the dimensions of the keychain.
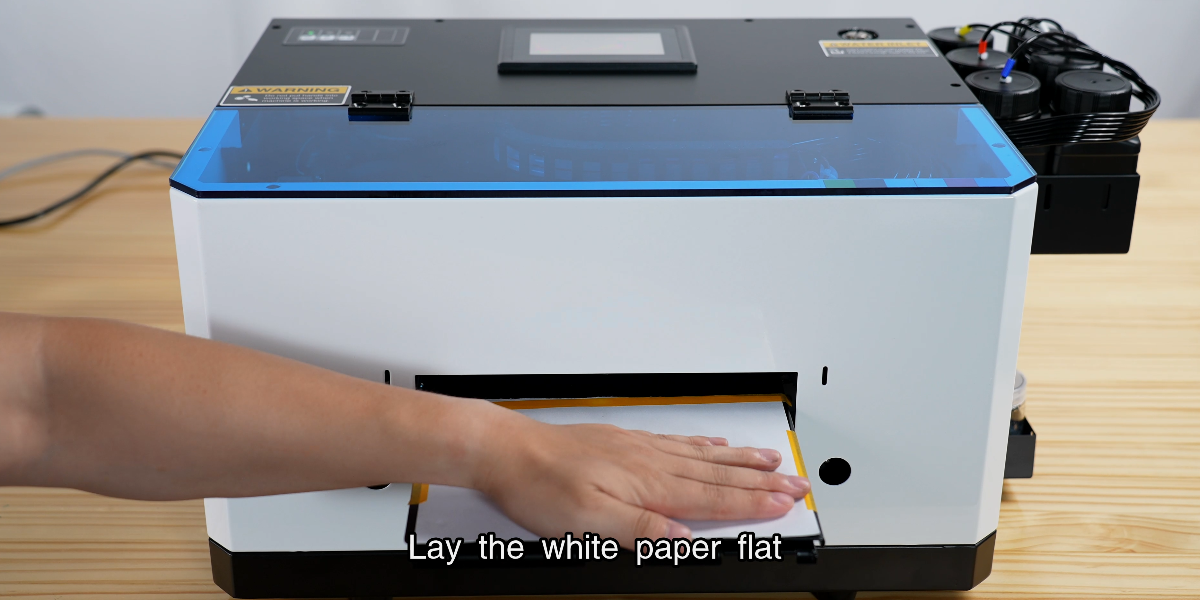
Lay the white paper flat on the printing surface.
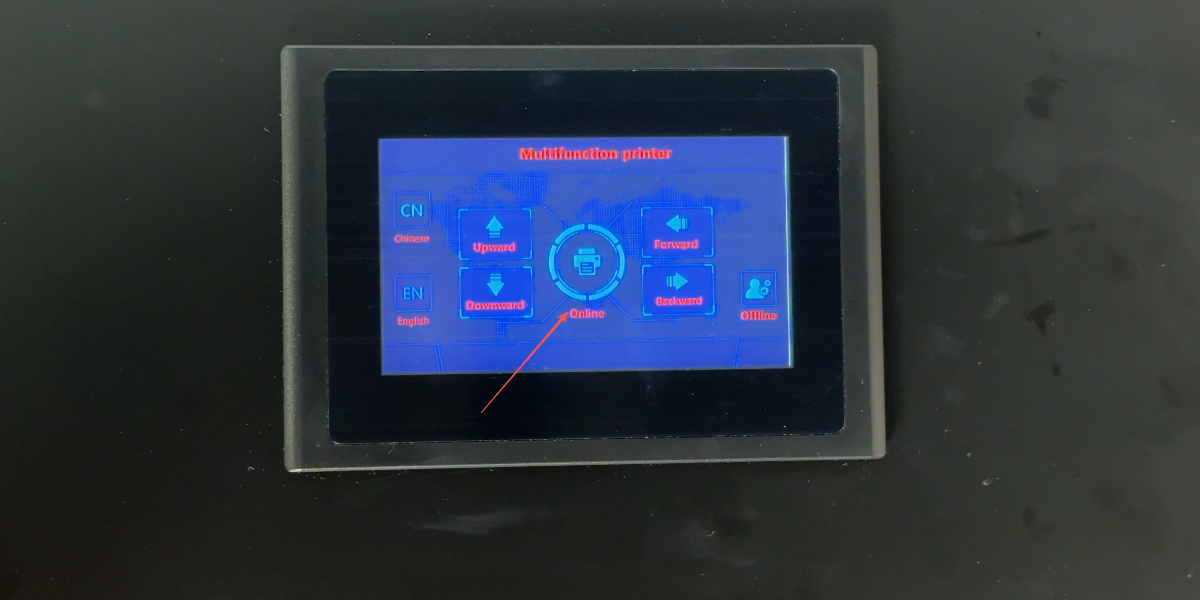
Click the Online button to initialize the tray.

Choose the image you want to print on the keychain.
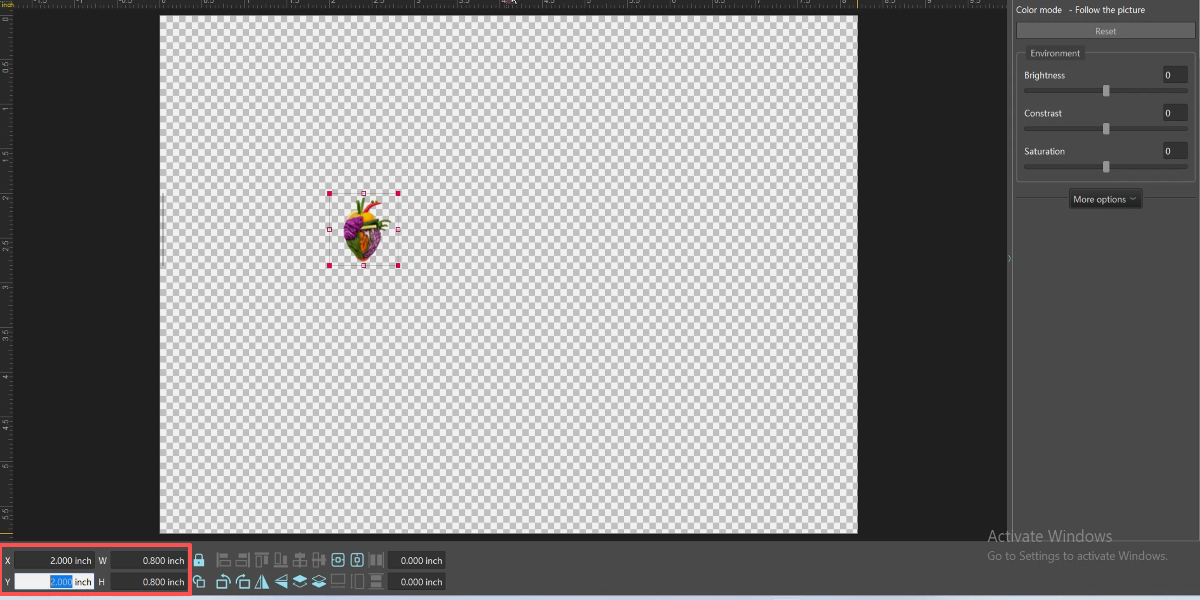
Resize image; ensure X position is at least 1.57 inches.

Click RIP to process the image for printing.
Print a test image on the white paper first.
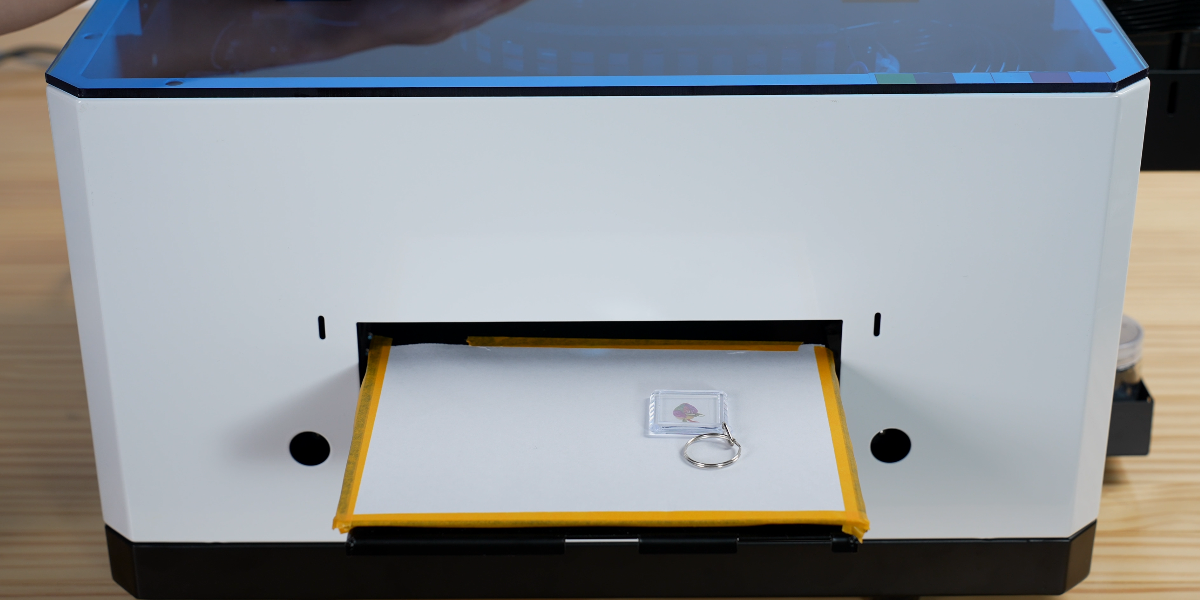
Use double-sided tape to secure the keychains in place.
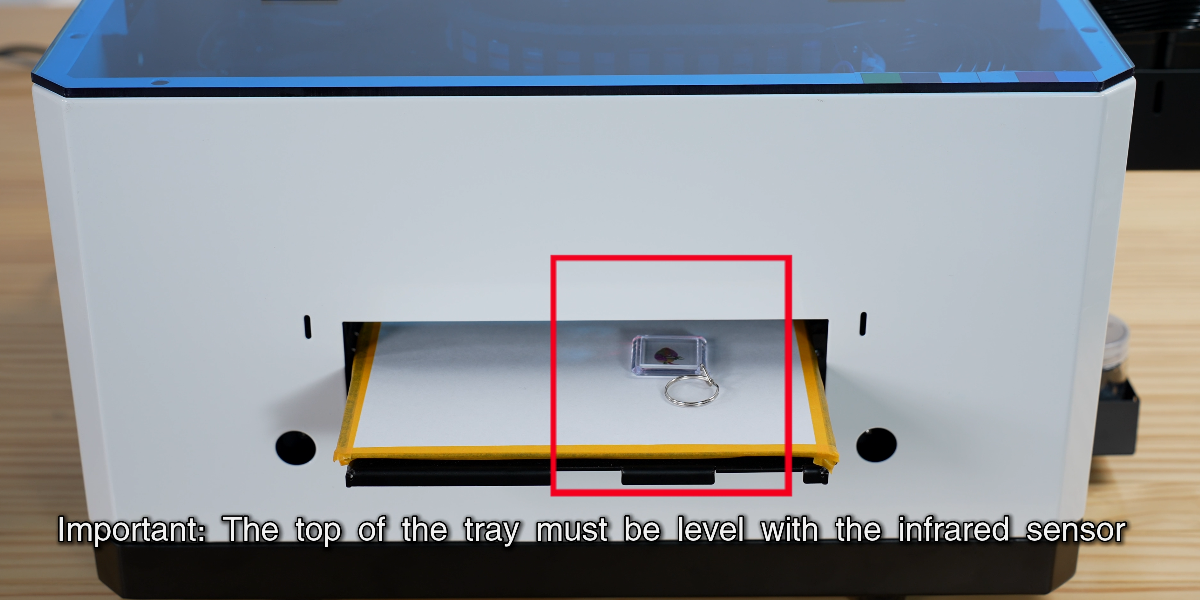
Click Print. Ensure the tray is level with the infrared sensor.

Printing completed successfully.