Remove all liquids before transport to avoid spillage and machine damage.
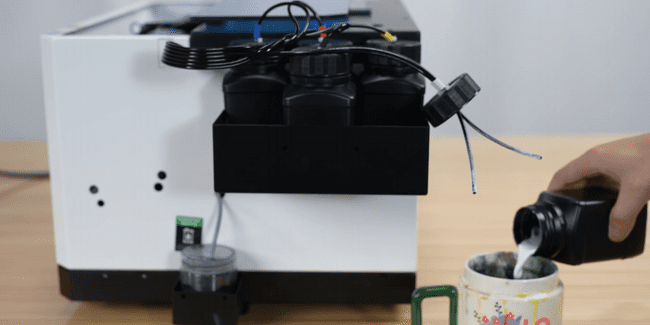
Empty all ink bottles and pour out all remaining ink.
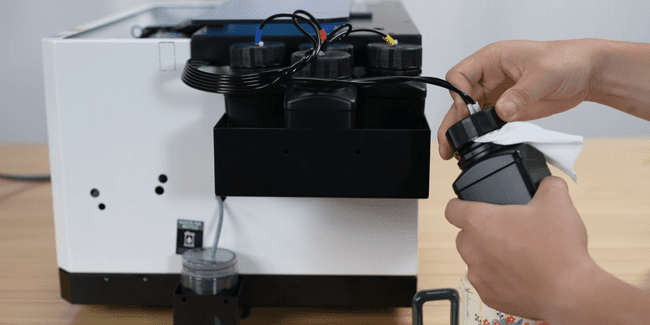
Cover the bottle with a tissue and screw the cap on tightly.
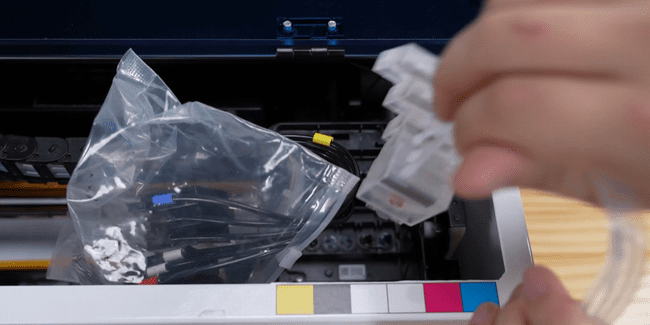
Remove ink cartridges and extract all ink from the supply tubes.
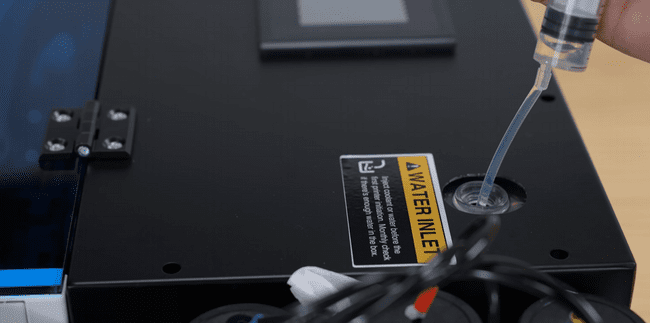
Drain any water or liquid from the pump system as well.
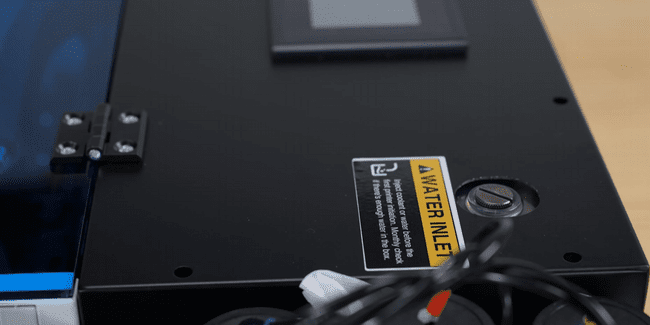
Close all caps and inlets tightly to ensure a seal.
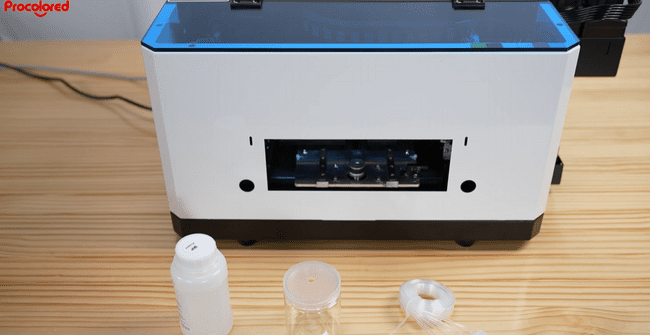
Install the moisturizing system to protect the printhead from clogging.
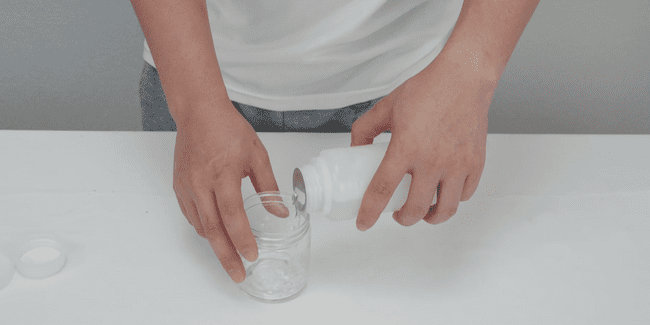
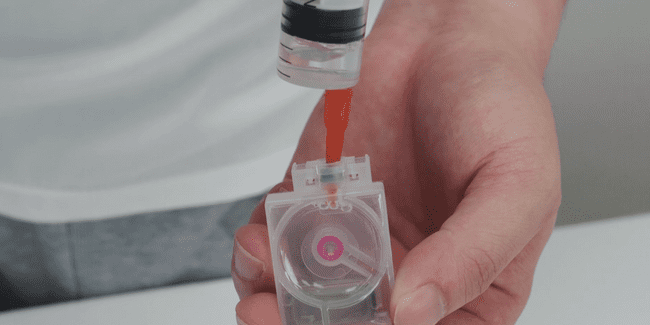
Pour in the specialized moisturizing liquid.
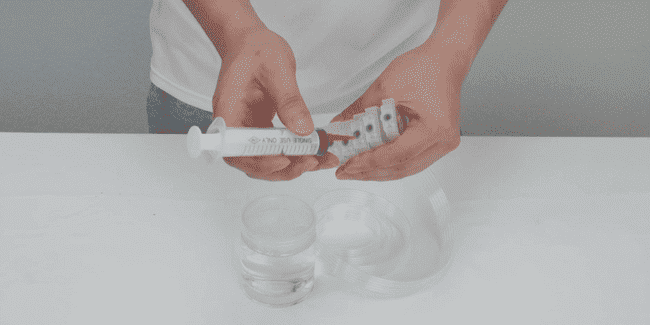
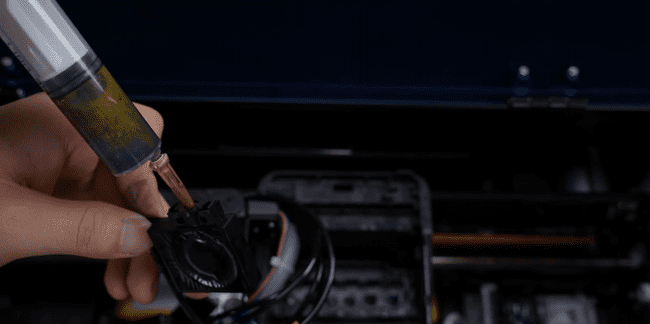
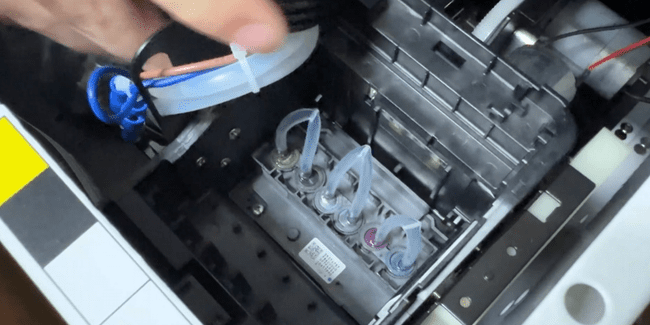
Poke through the inner membrane of the cartridge with force.
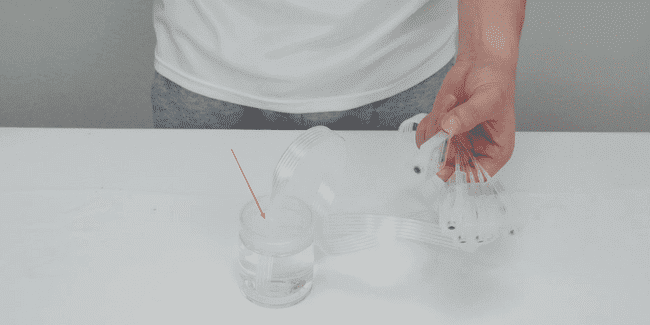
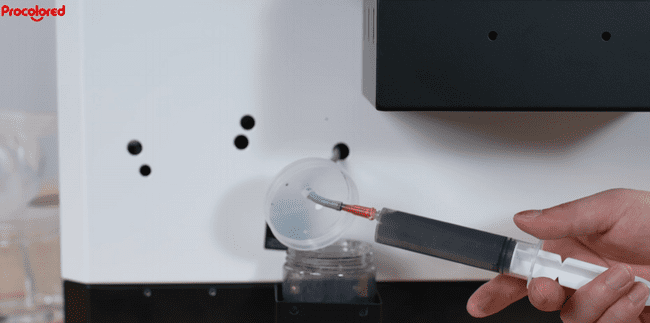
Insert the ink supply tube into the moisturizing liquid bottle.
Draw 5ml of liquid. Every cartridge must be filled with the fluid.
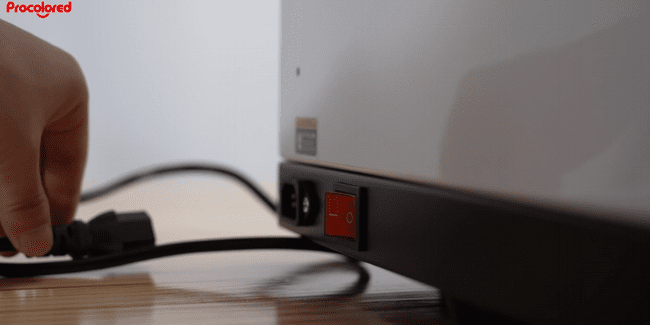
Turn off the machine and unplug the power cable.
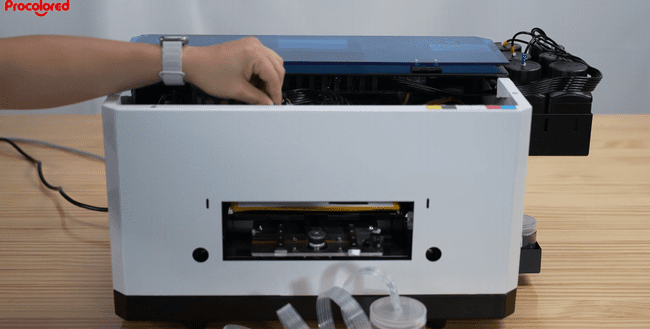
Manually move the print head carriage to the center.

Seal removed cartridges in a plastic bag to prevent leakage.
Install the cartridges full of moisturizing fluid into the printer.
Power on and start, then draw fluid from the waste ink tube.
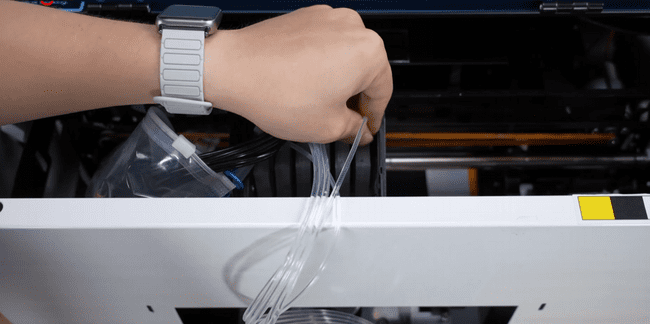
Remove moisturizing device and seal ink inlets with soft tubing.
Fold each tube and insert into inlets to prevent moisture evaporation.
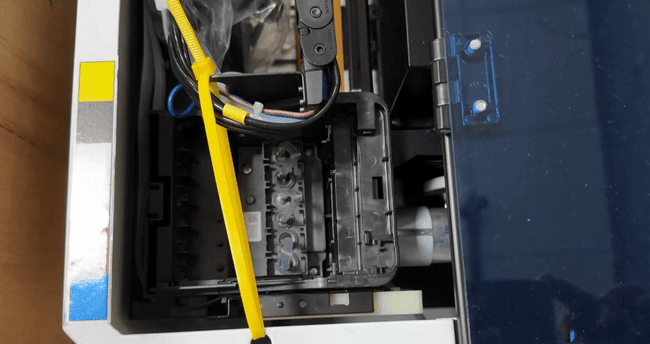
Use zip ties to firmly secure the print carriage for travel.
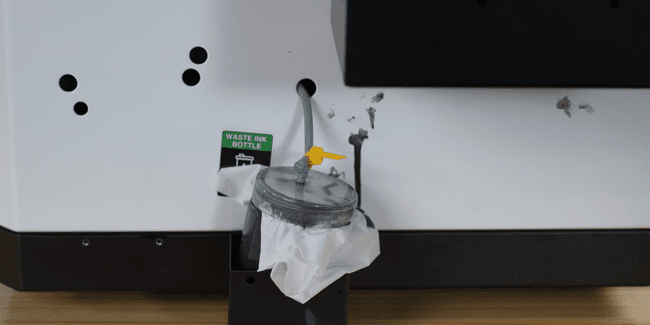
Securely tie off the waste ink tube to prevent any drips.
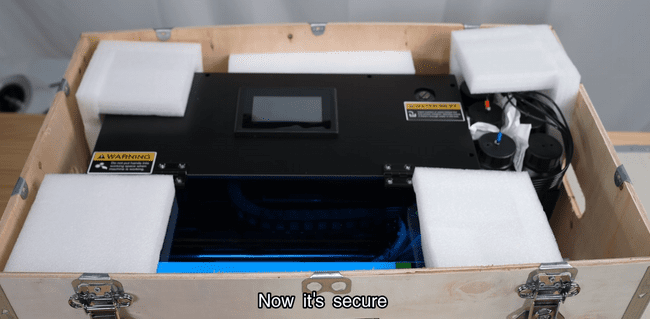
Place machine in the box, then inside a crate with foam padding.
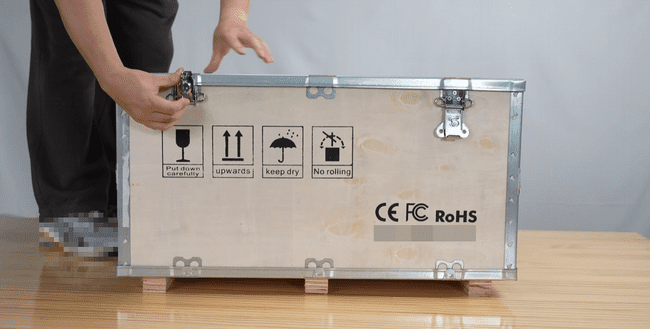
Secure the wooden crate. The printer is now ready for transport.