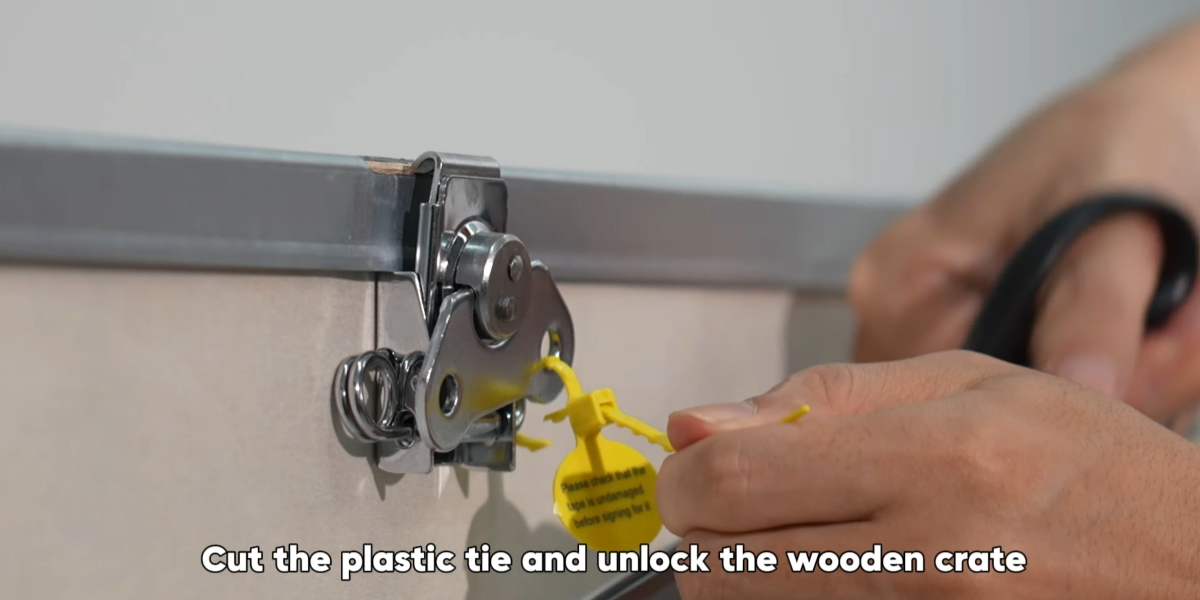
Cut the plastic tie and unlock the wooden crate.
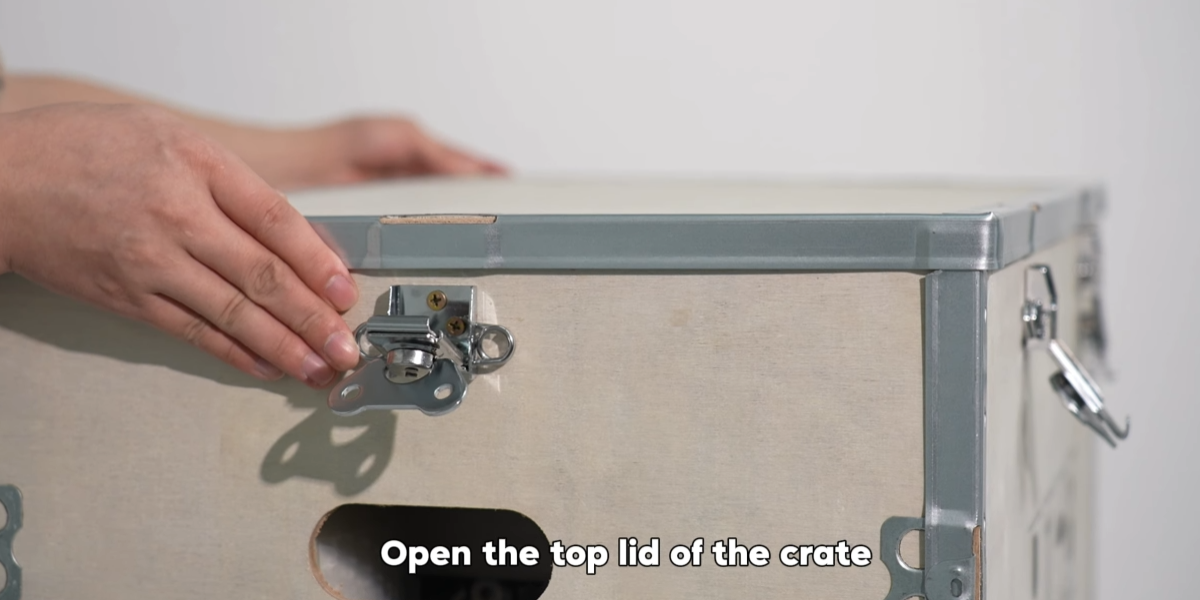
Open the top lid of the crate.
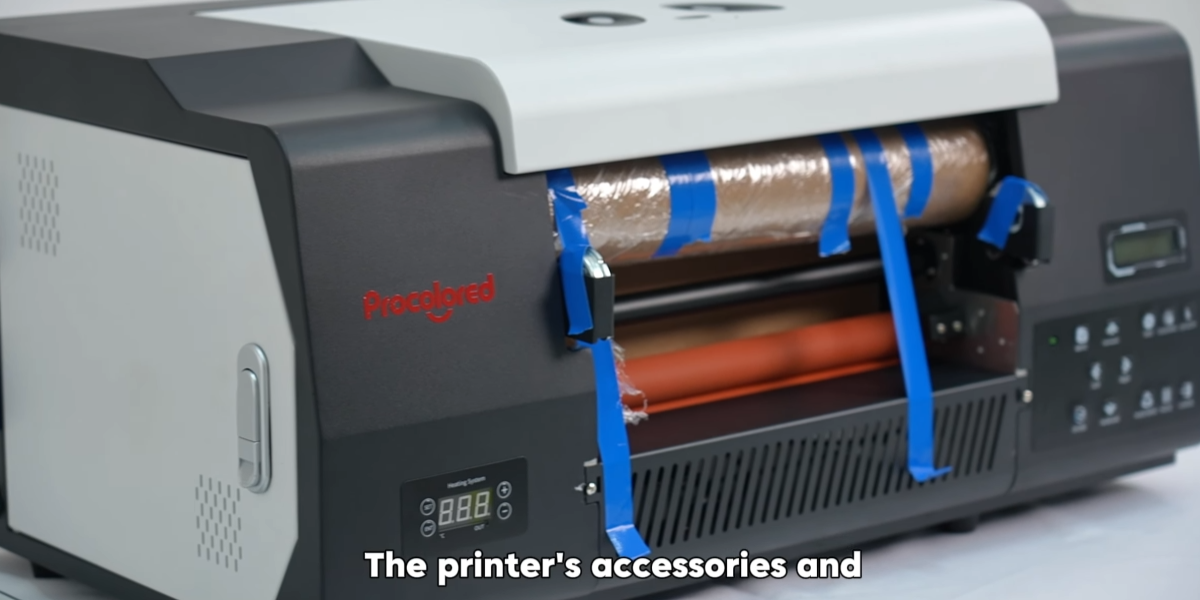
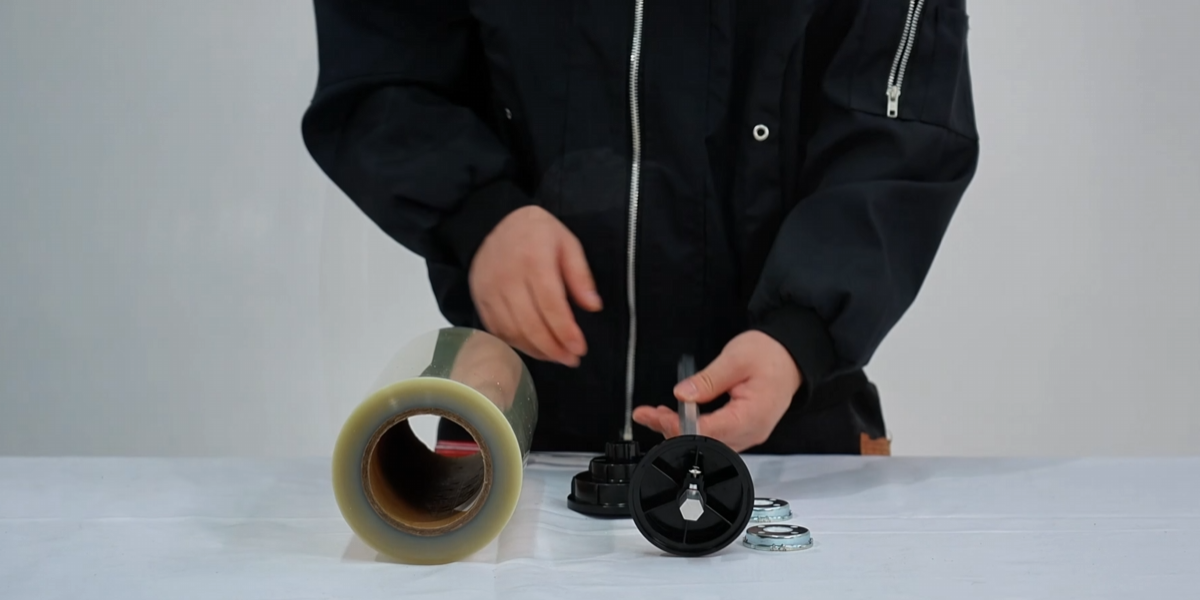
The printer's accessories and roll film rollers are placed inside.

Open the machine's cover.

Peel off the blue tape and take out the accessories.
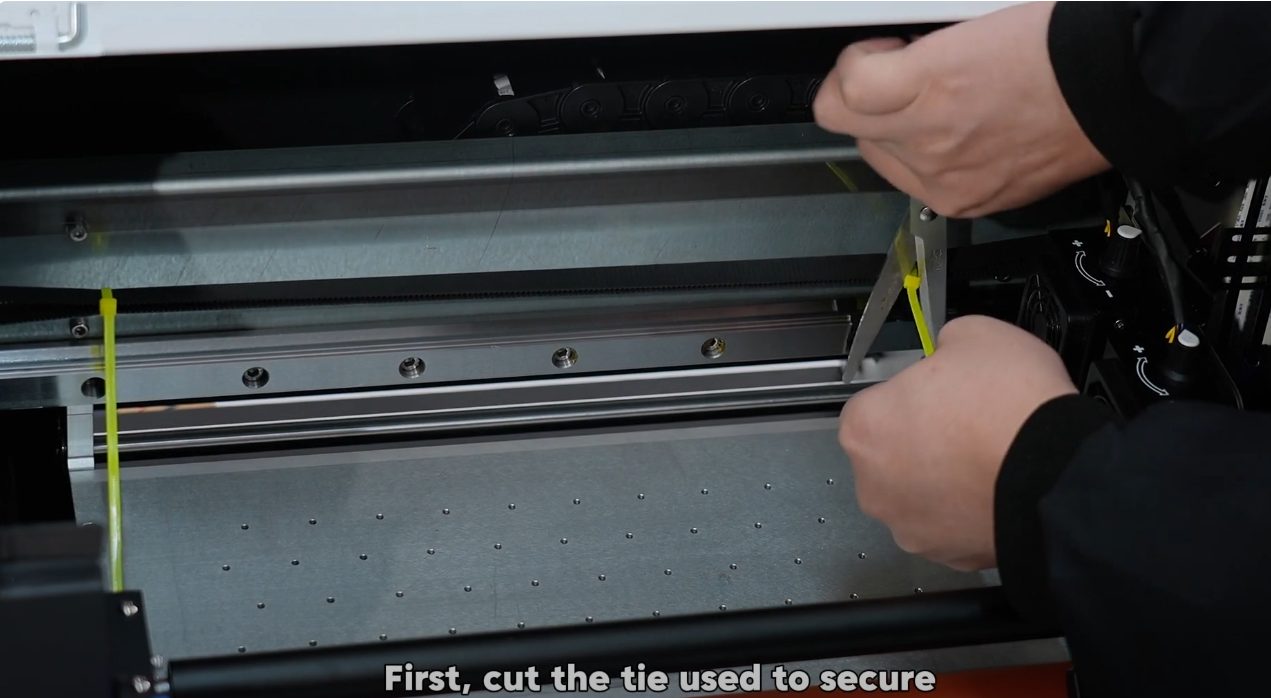
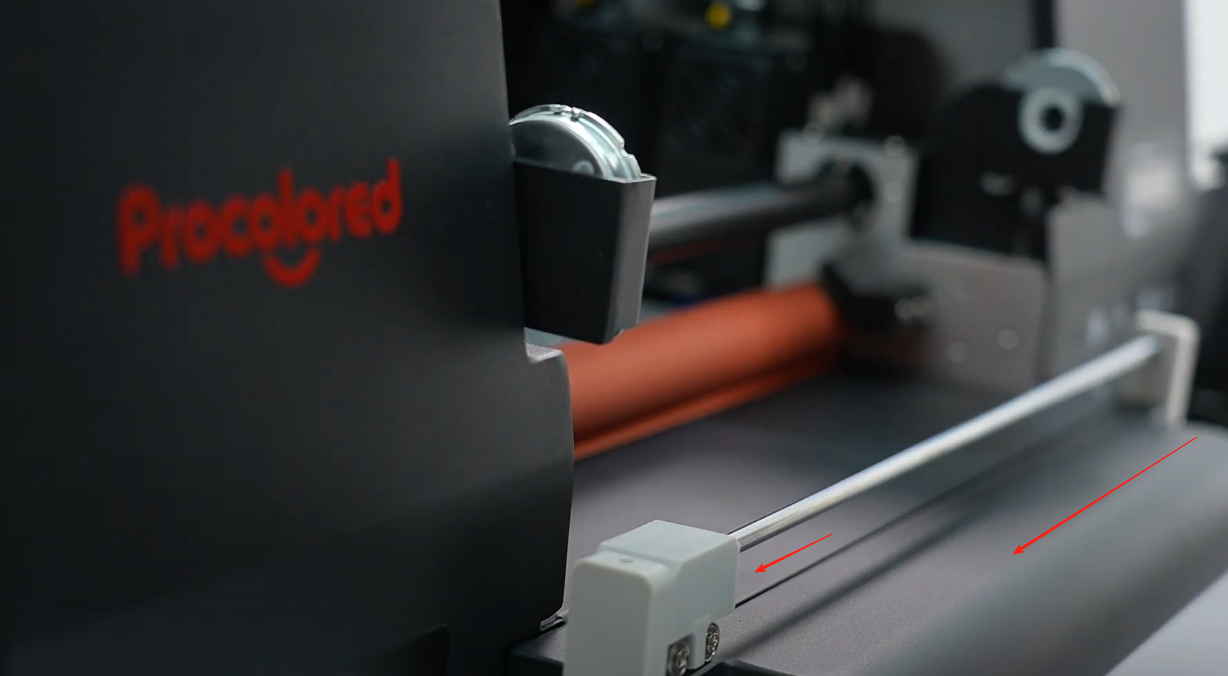
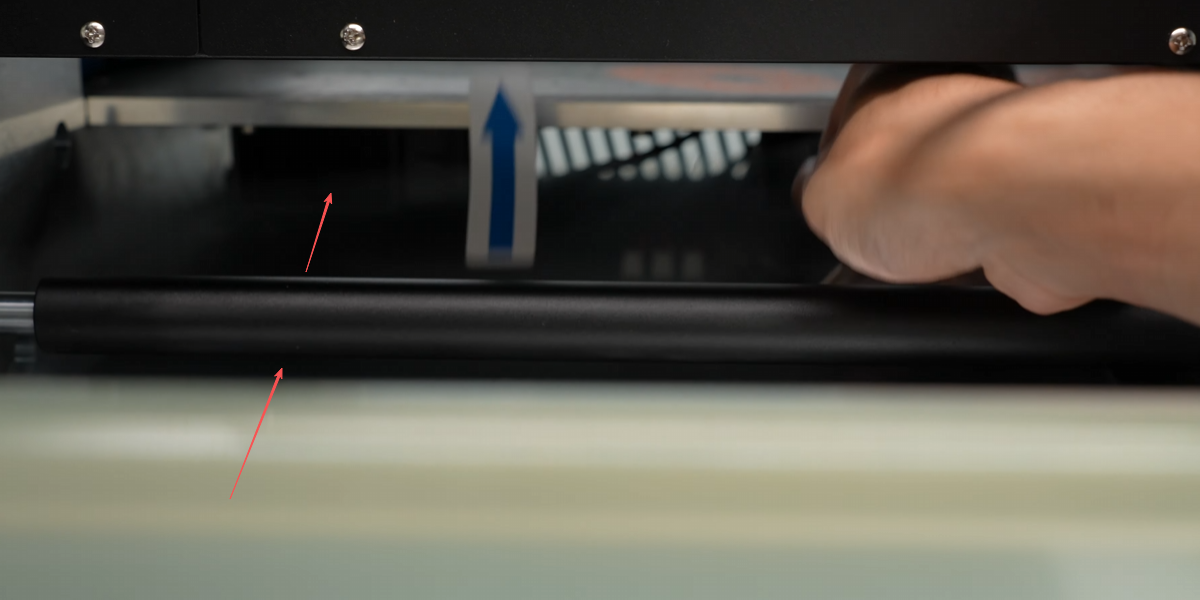
First, cut the tie used to secure the belt and prevent movement.
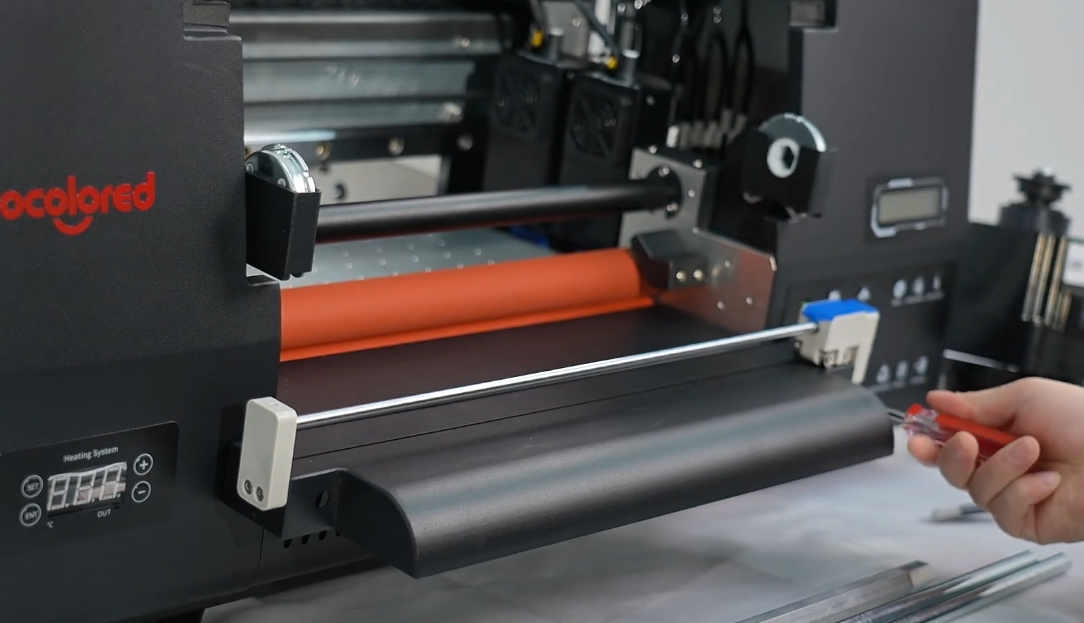
Hang the cutter tray at the front and secure it with a screwdriver.
Move the cutter to the left side.
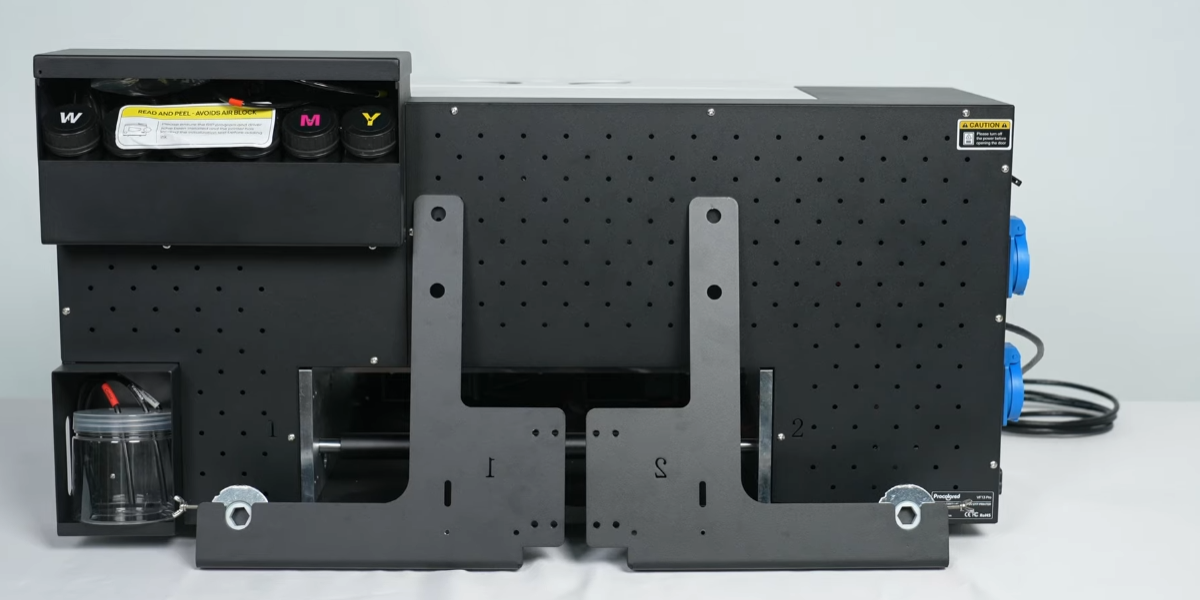
Install the A film holder at the back. Ensure the number matches the machine.
Secure holder with screws. Bracket #1 on the left, #2 on the right.
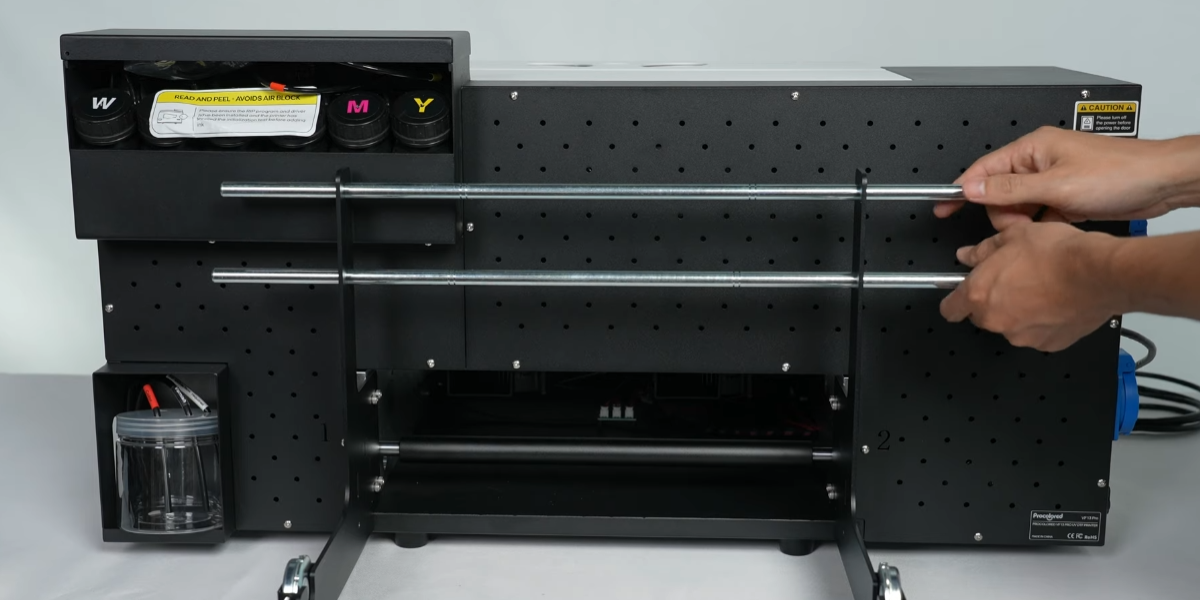
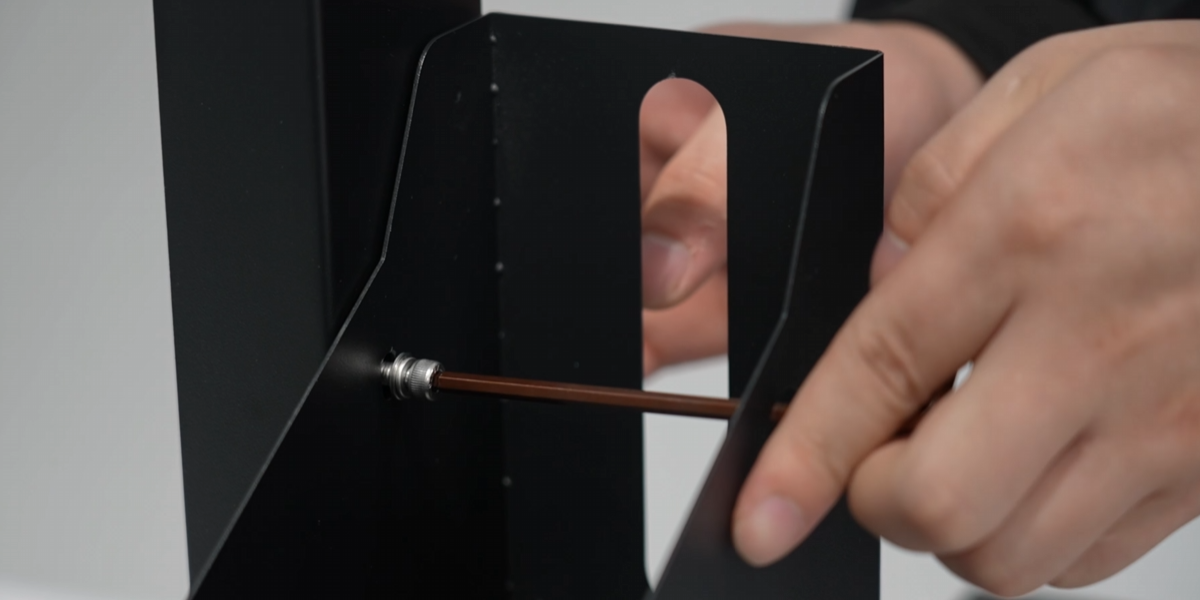
Pass the two rods through the bracket.
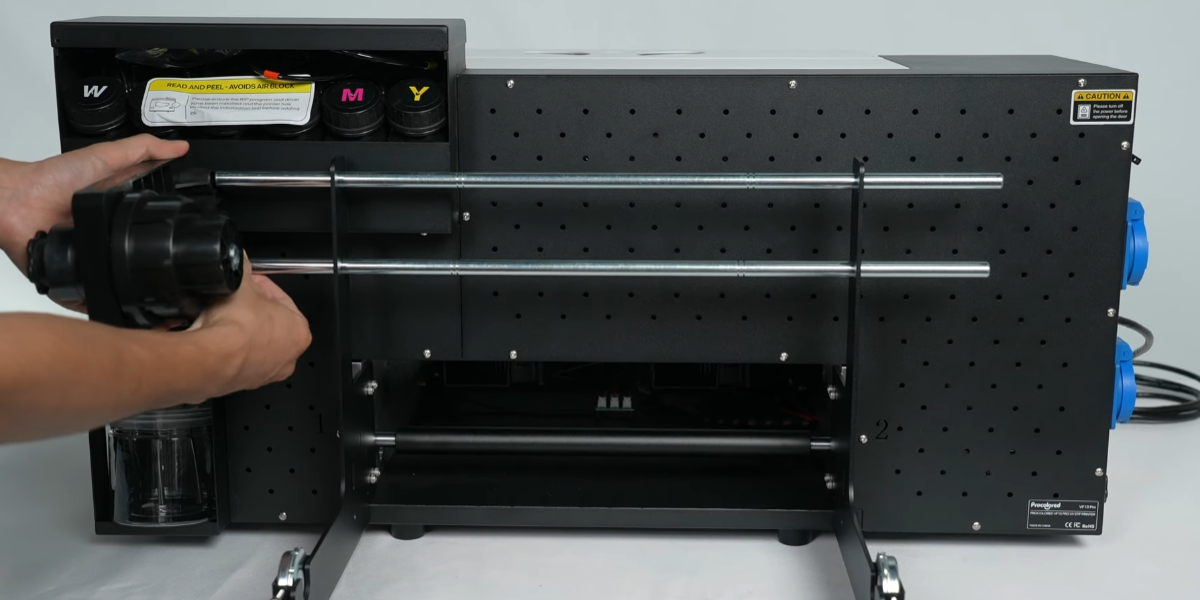
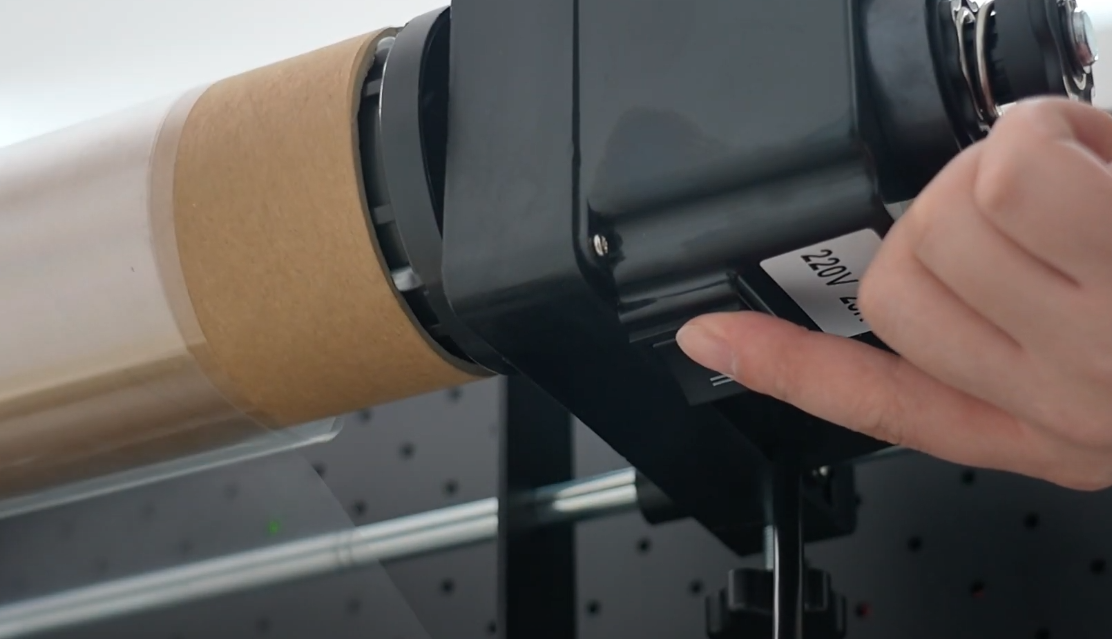
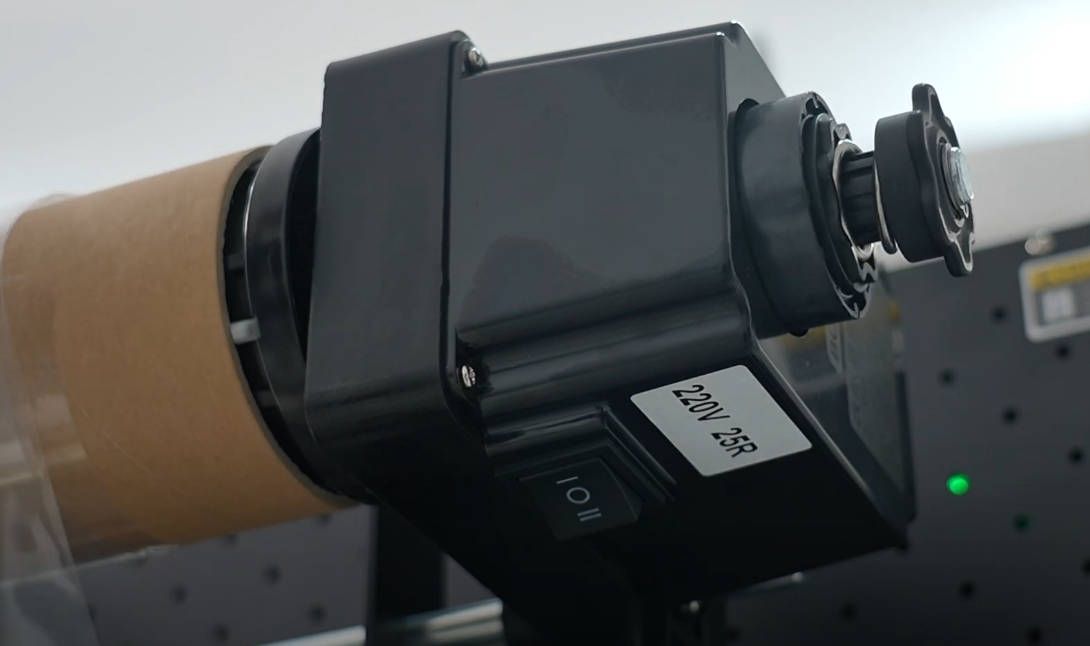
Install the protective film winding device and brown roller for A film.

Secure the winding device using the screws at the bottom.
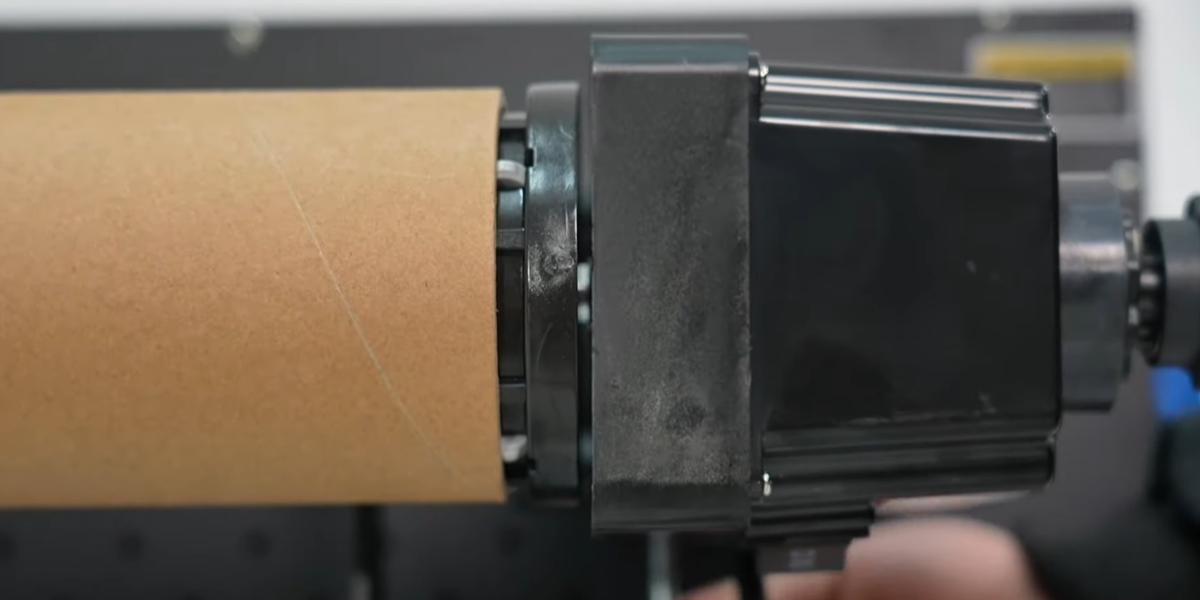
Ensure the motor side is installed on the right side.
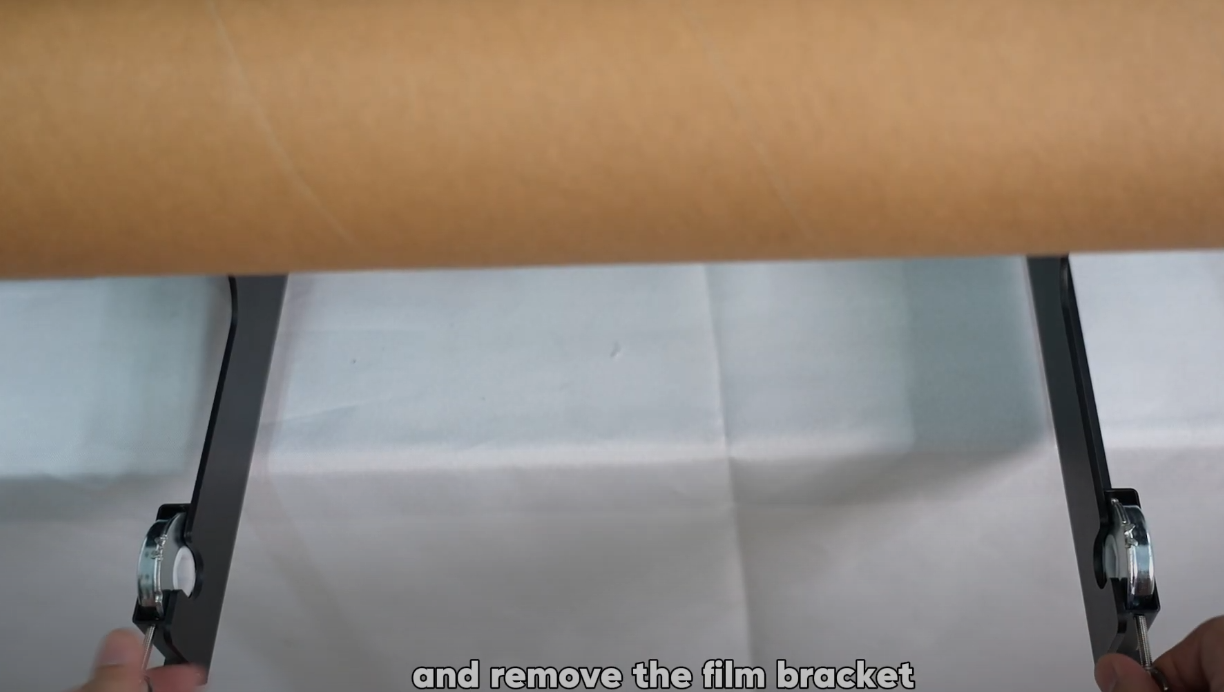
Remove the film bracket clips secured on the holder.
The gray film (A film) should be installed at the back of the machine.
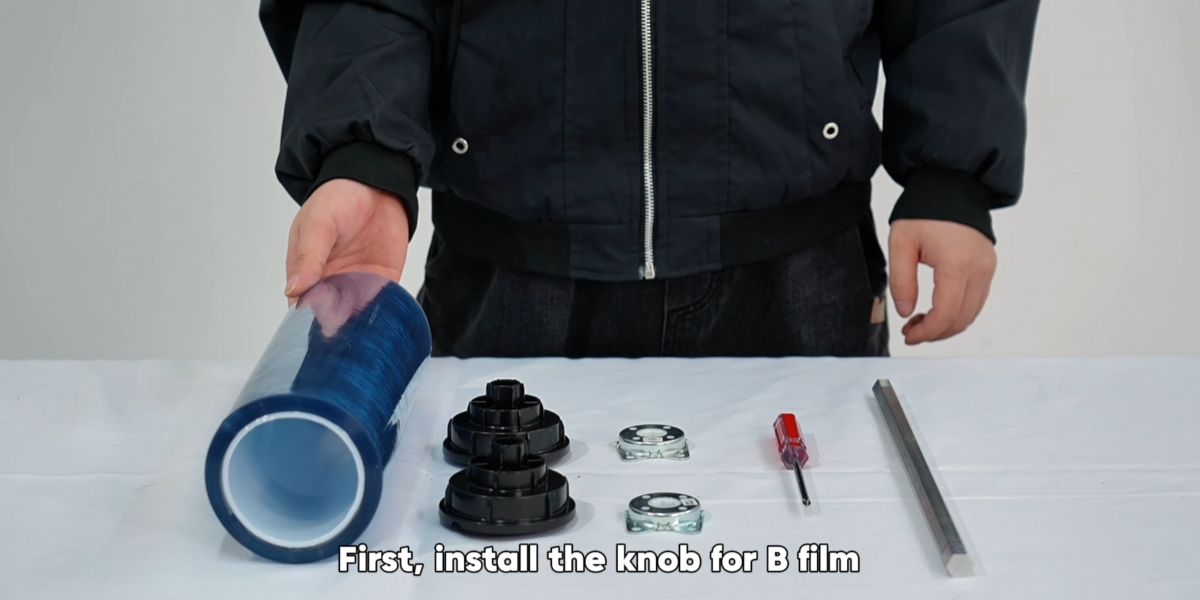
The blue film (B film) should be installed at the front of the machine.
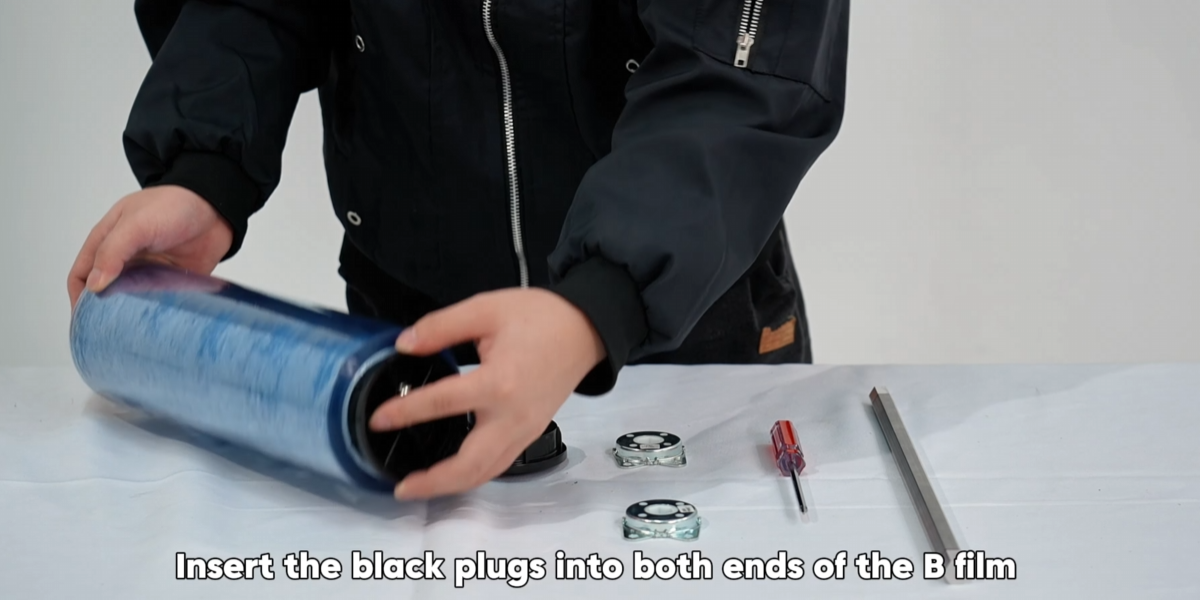
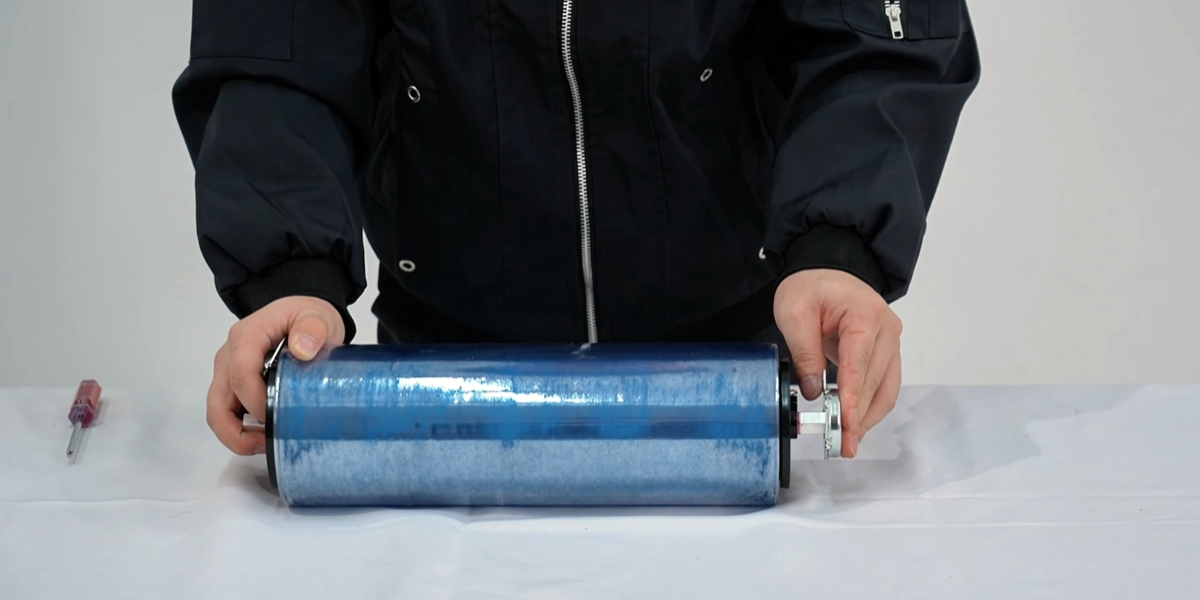
Install B film knob and insert black plugs into both ends.
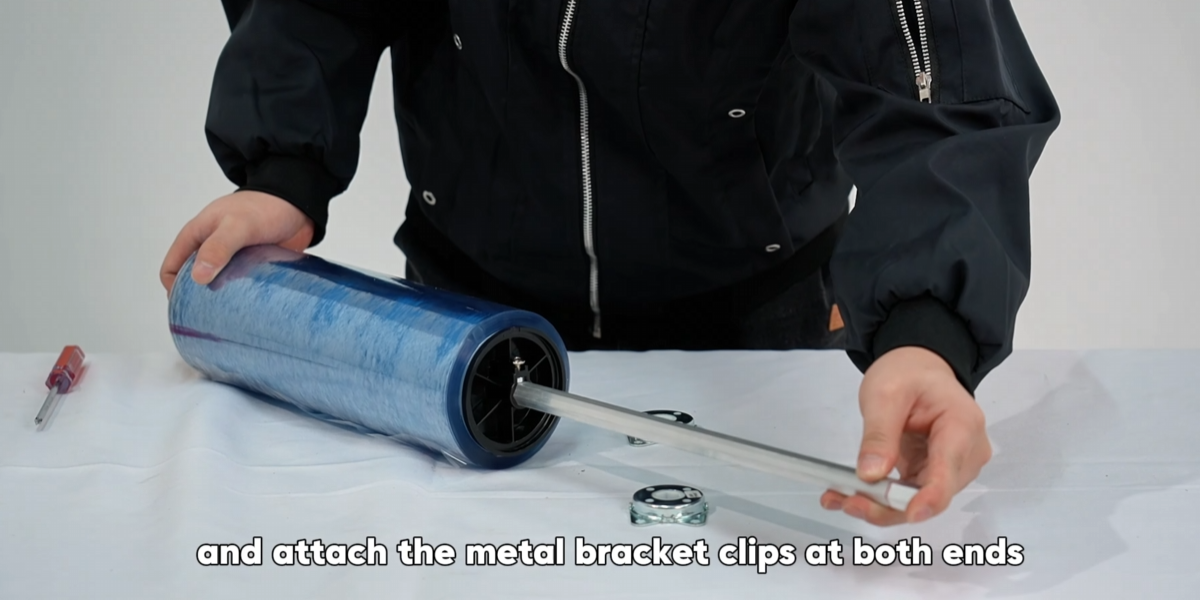
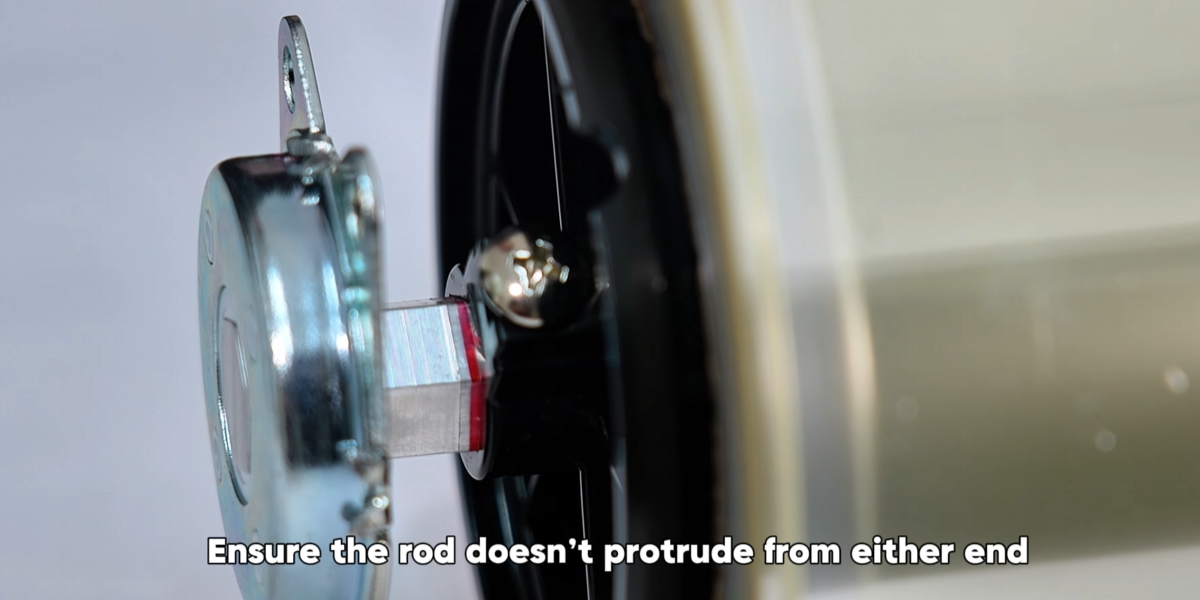
Pass metal rod through center and attach bracket clips at both ends.
Ensure the rod doesn't protrude from either end.
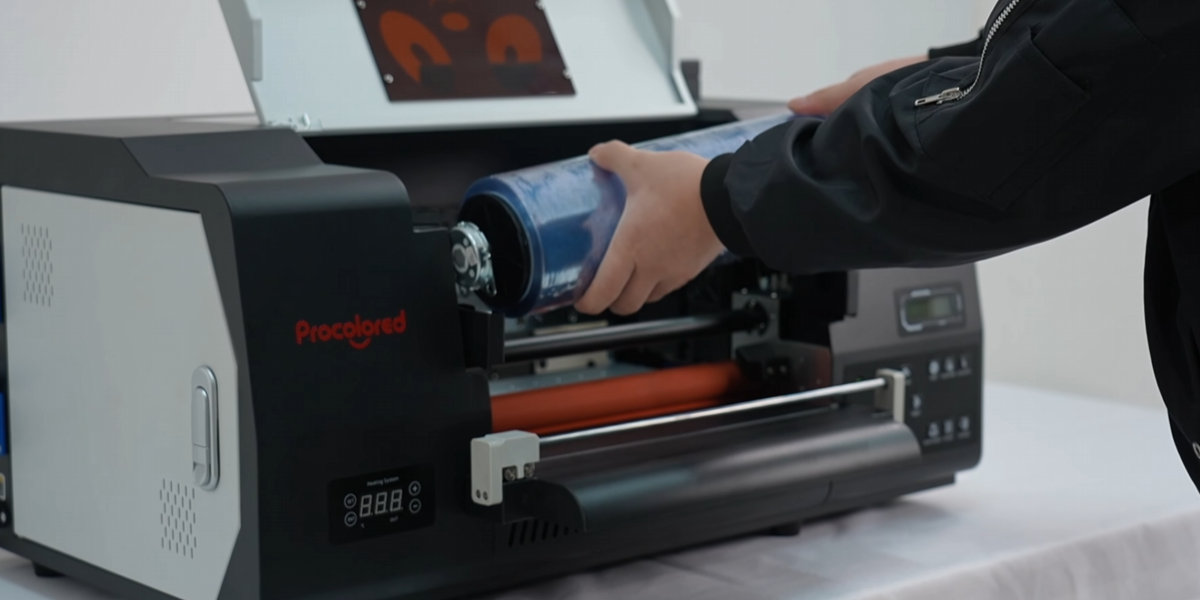
Place the installed B film onto the machine.
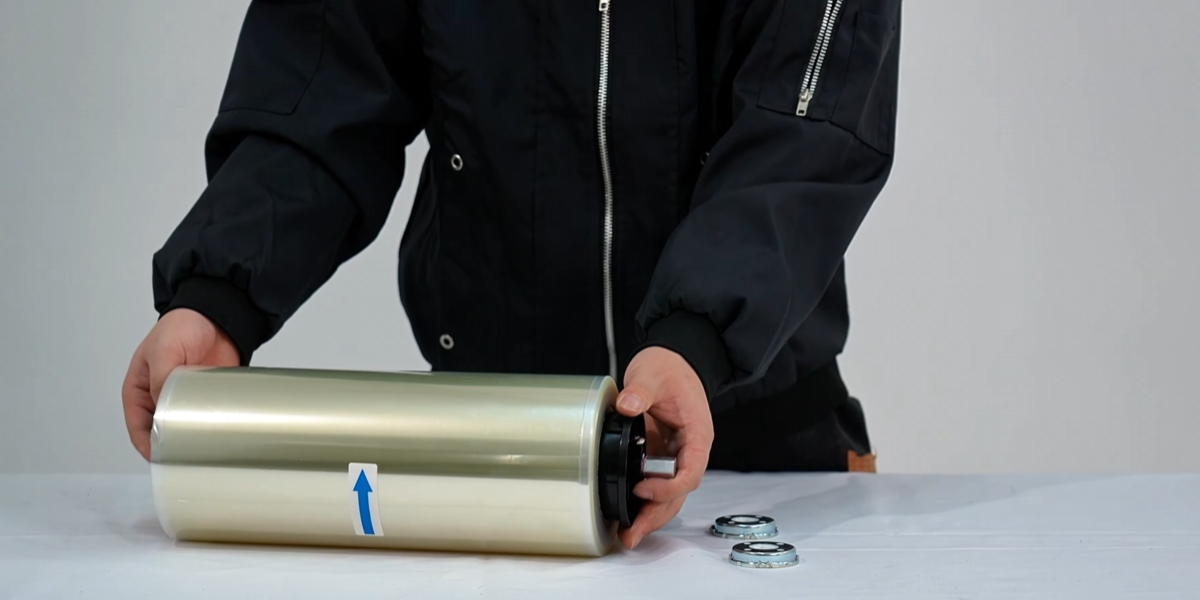
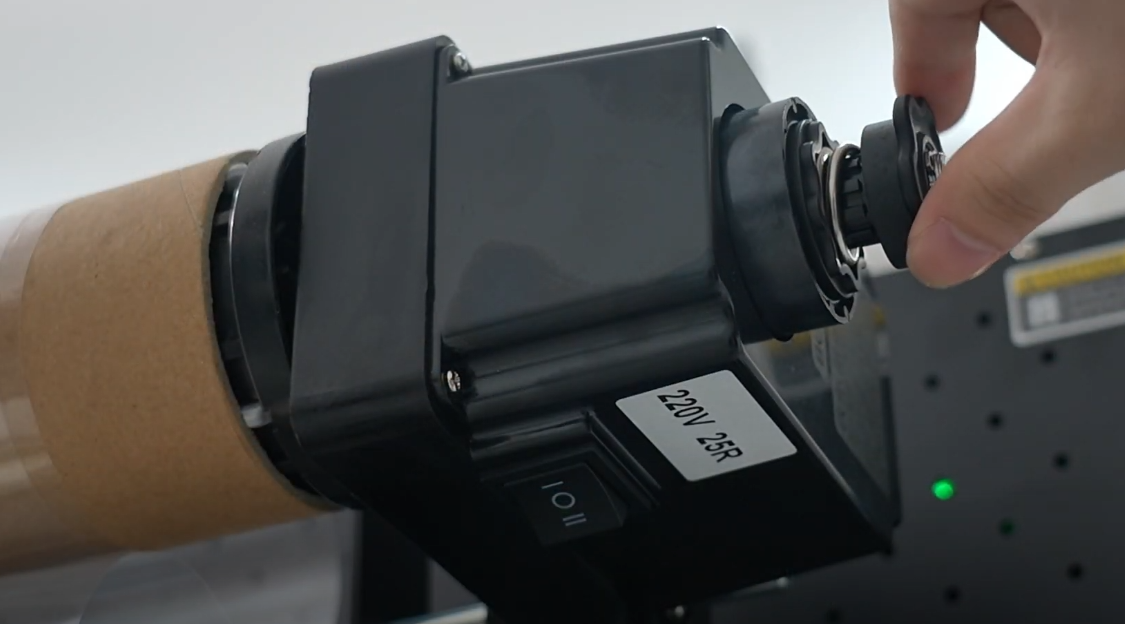
Then install the knob for A film.
Keep bearings symmetrical and A film roll centered. Process is similar to B film.
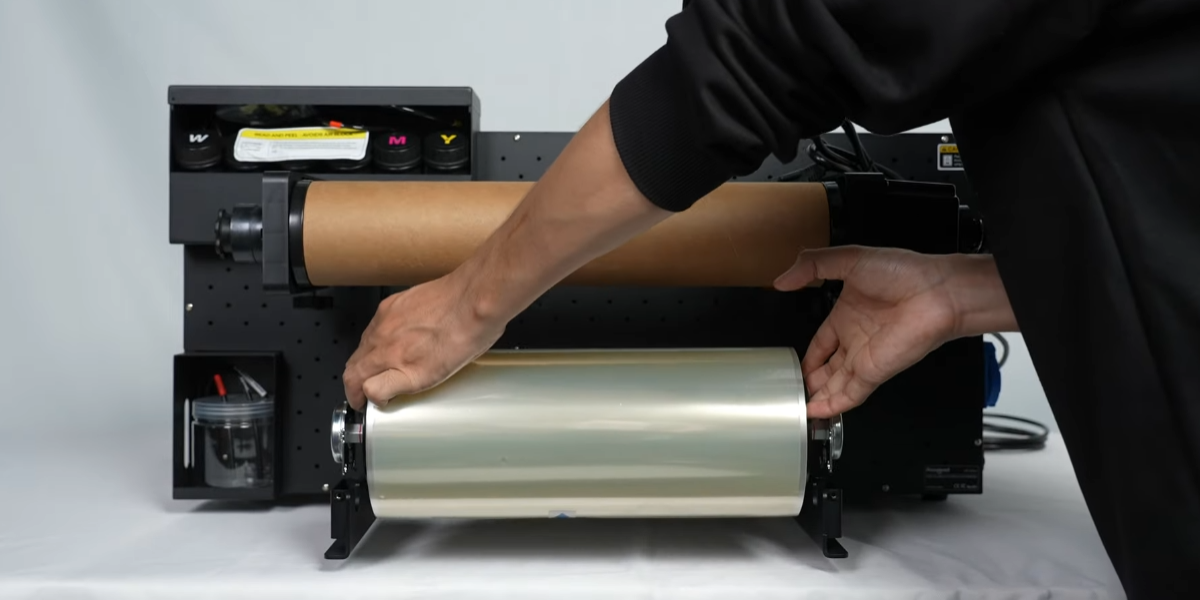
Place the installed A film onto the machine.
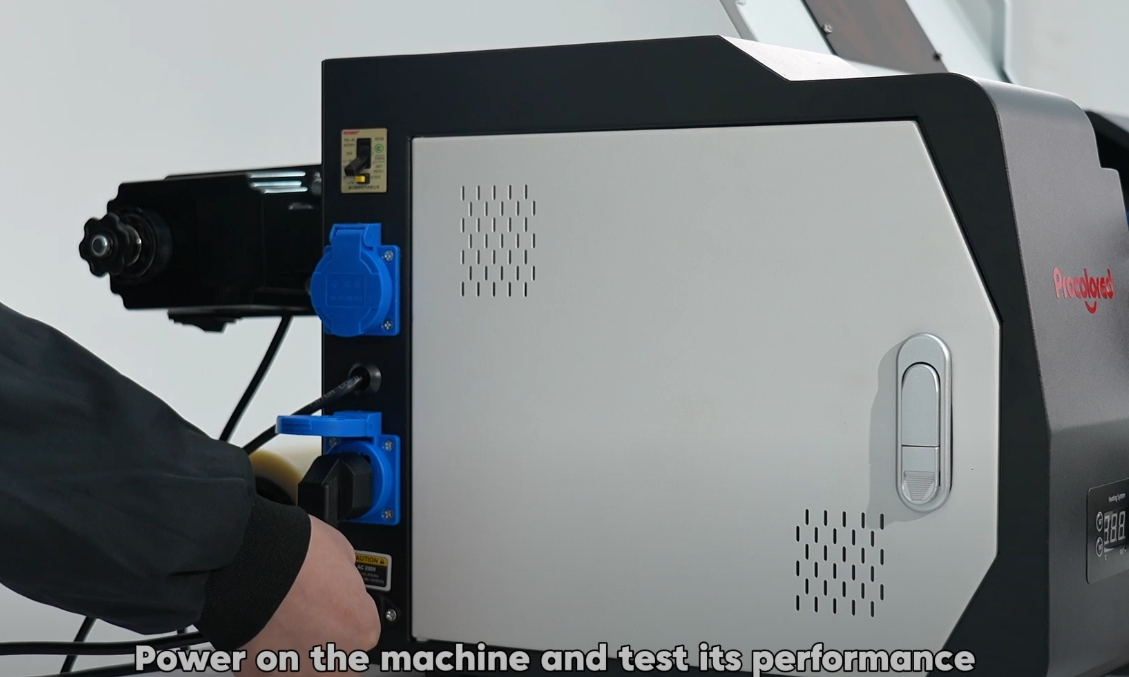
Power on the machine and test its performance.
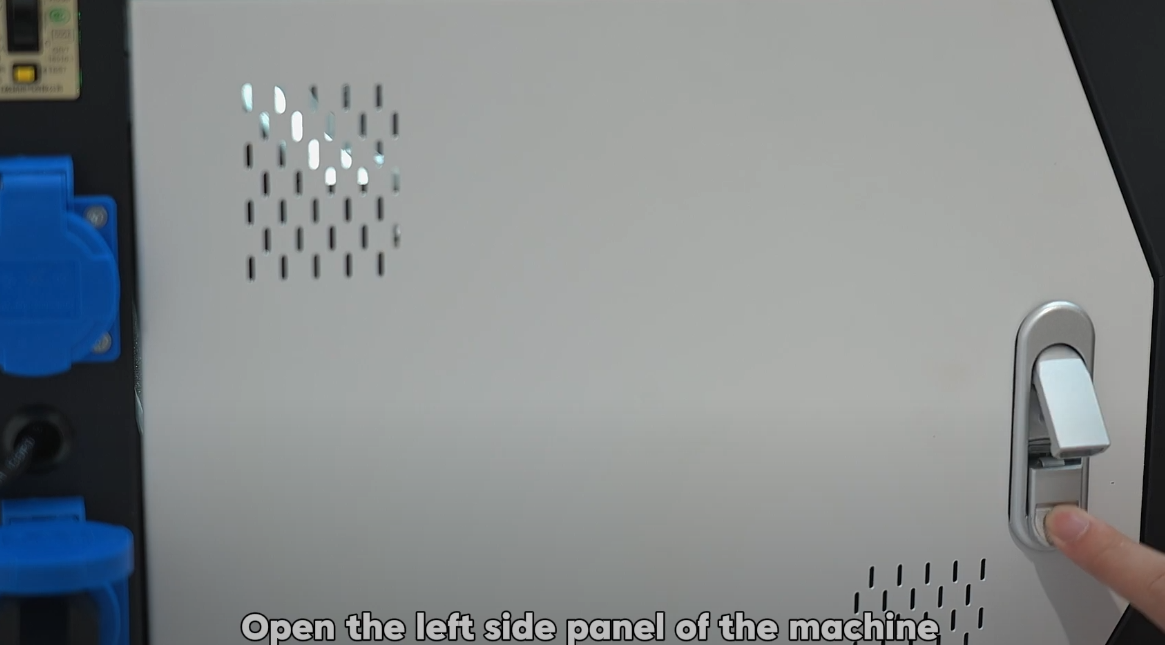
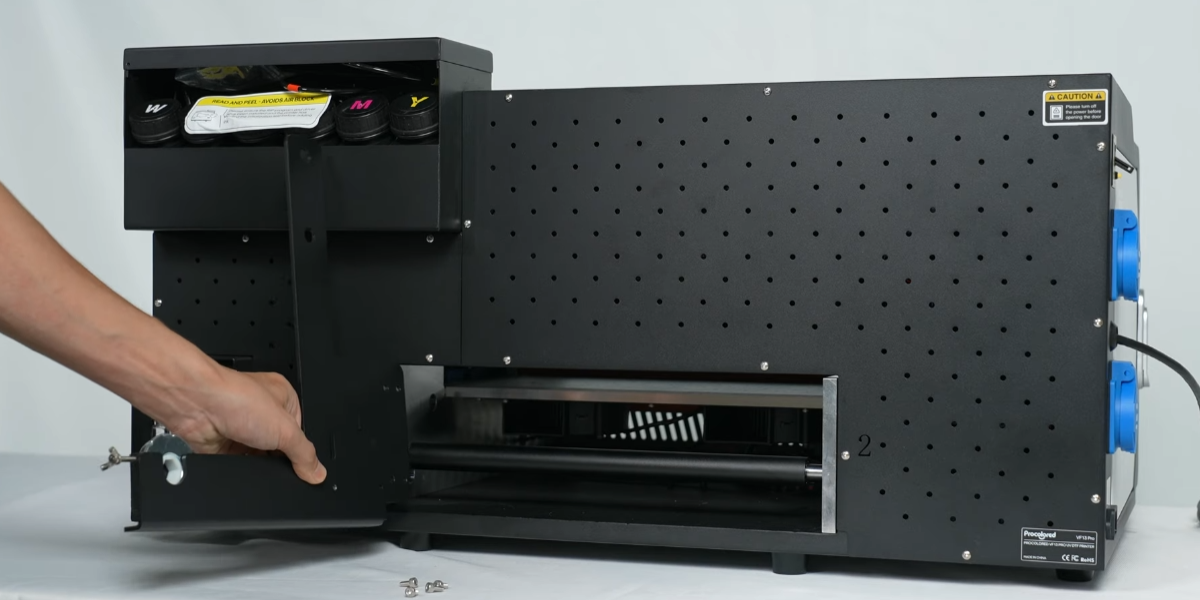
Open the left side panel of the machine.
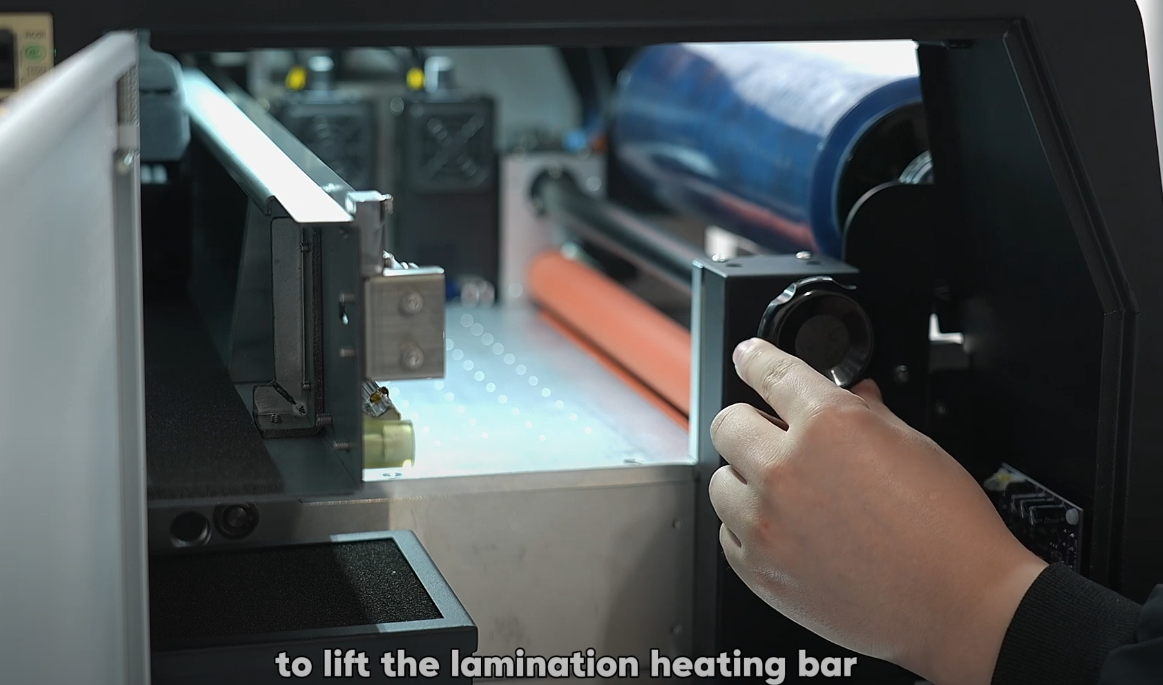
Rotate the button to the right to lift the lamination heating bar.
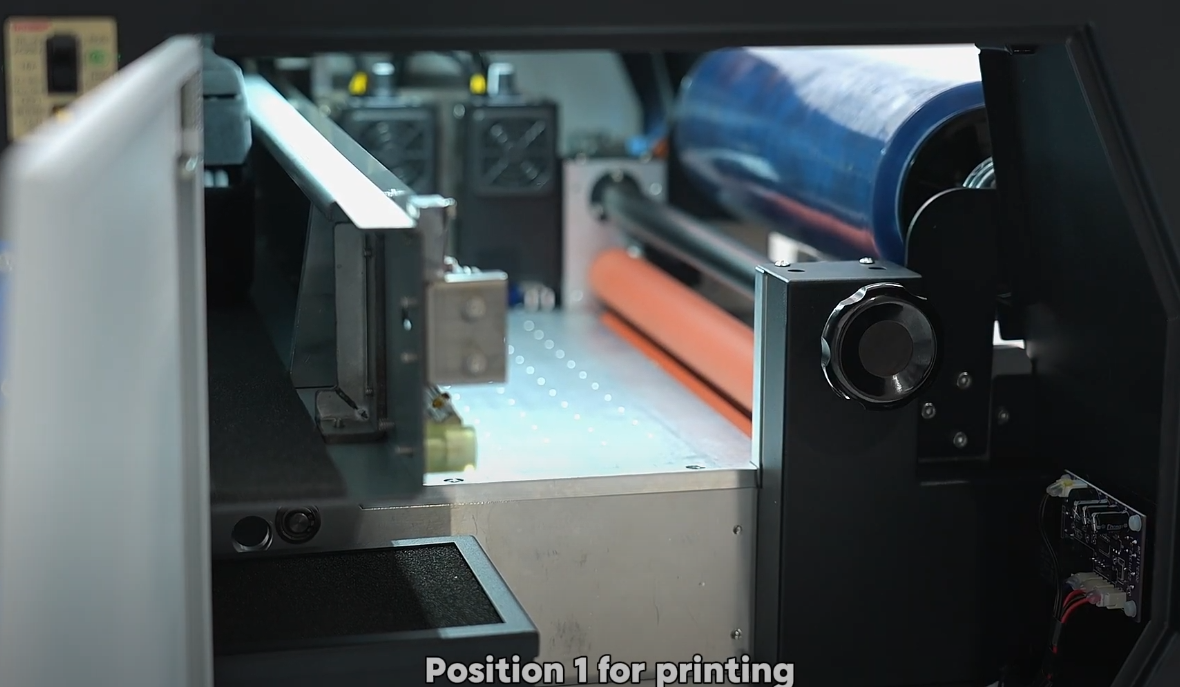
Settings: Pos 1 (Print), Pos 2 (Adjustment), Pos 3 (Passage).
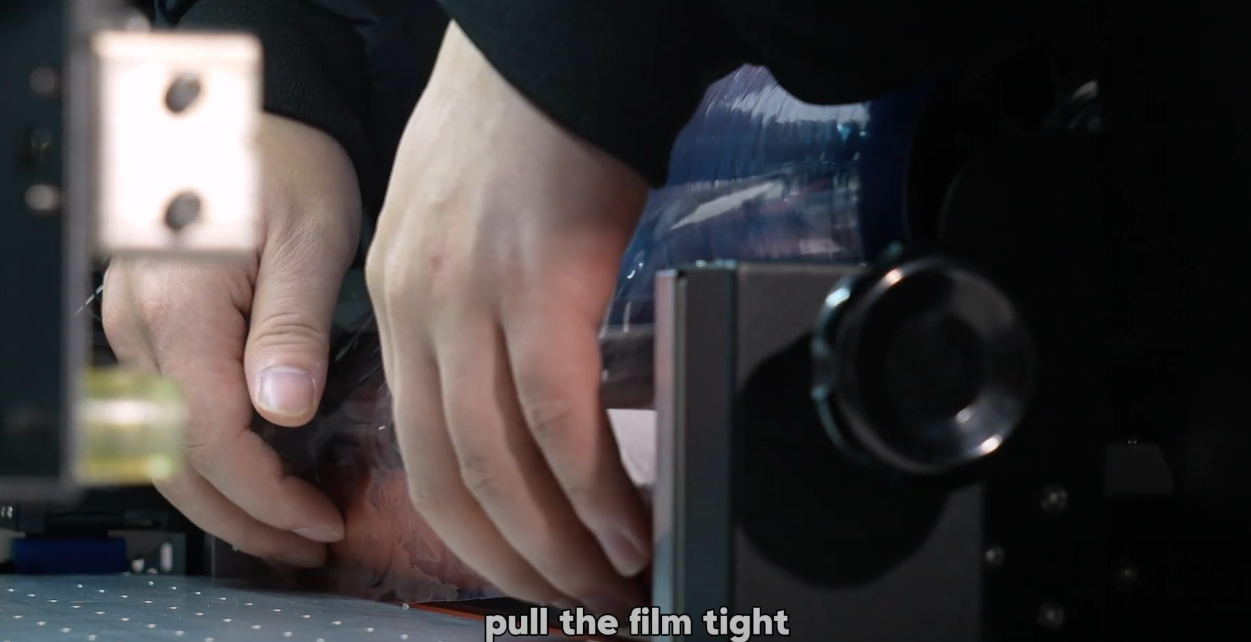
Pass B film through the lamination heating bar.
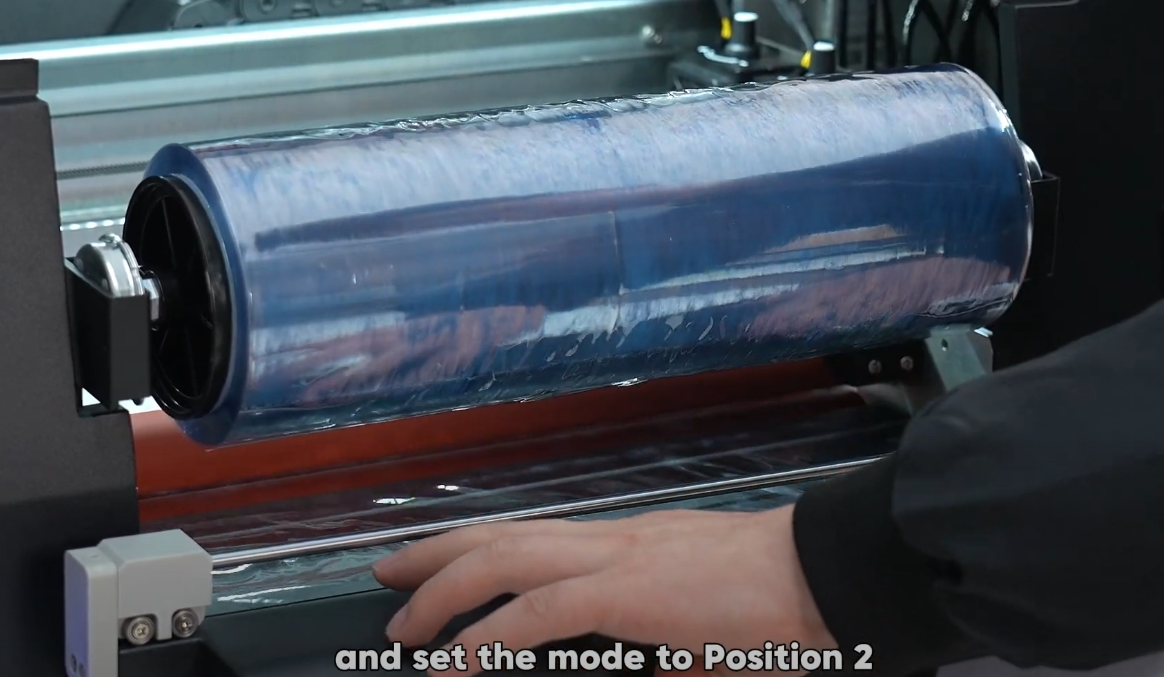
Pull the film tight and set the mode to Position 2.
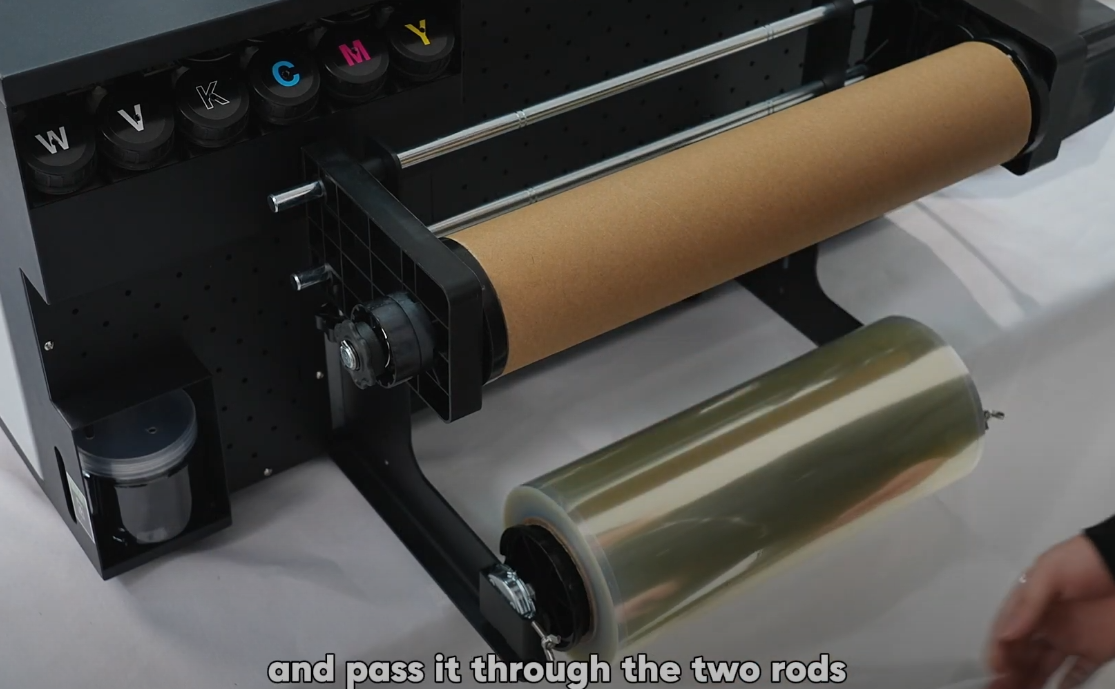
Feed the A film into the machine from the back.
Pass it through the black rod correctly.
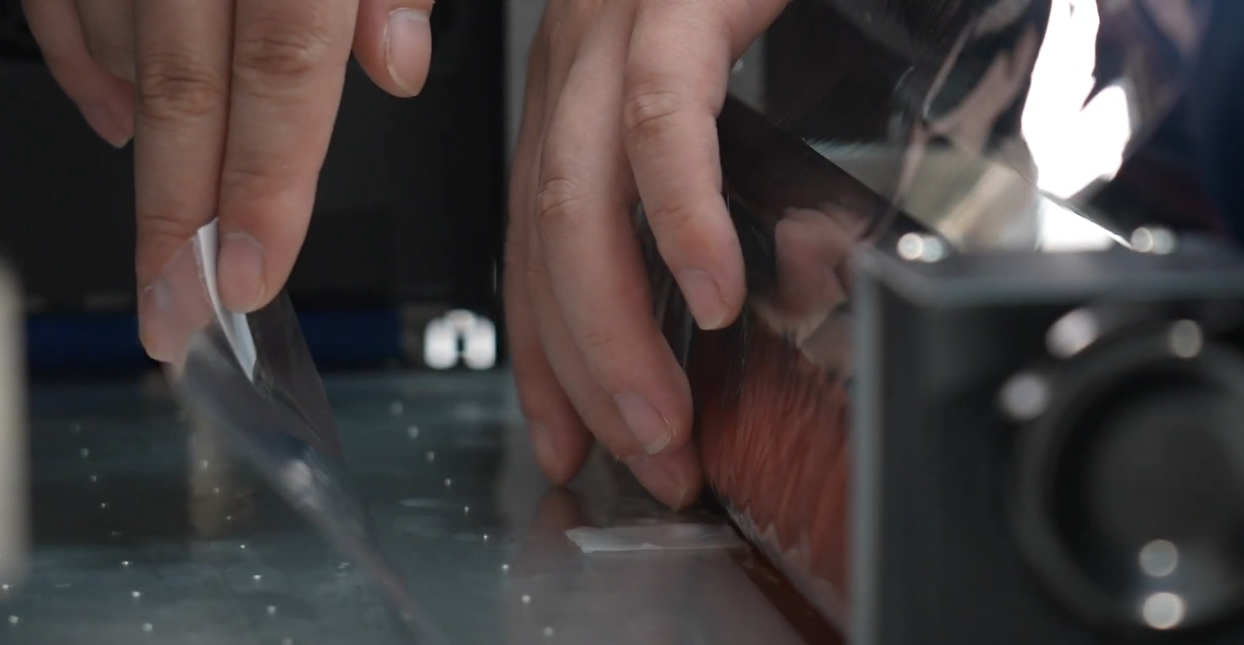
Peel protective film from A film and slide under lamination bar.
Press paper feed button to feed A and B films together.
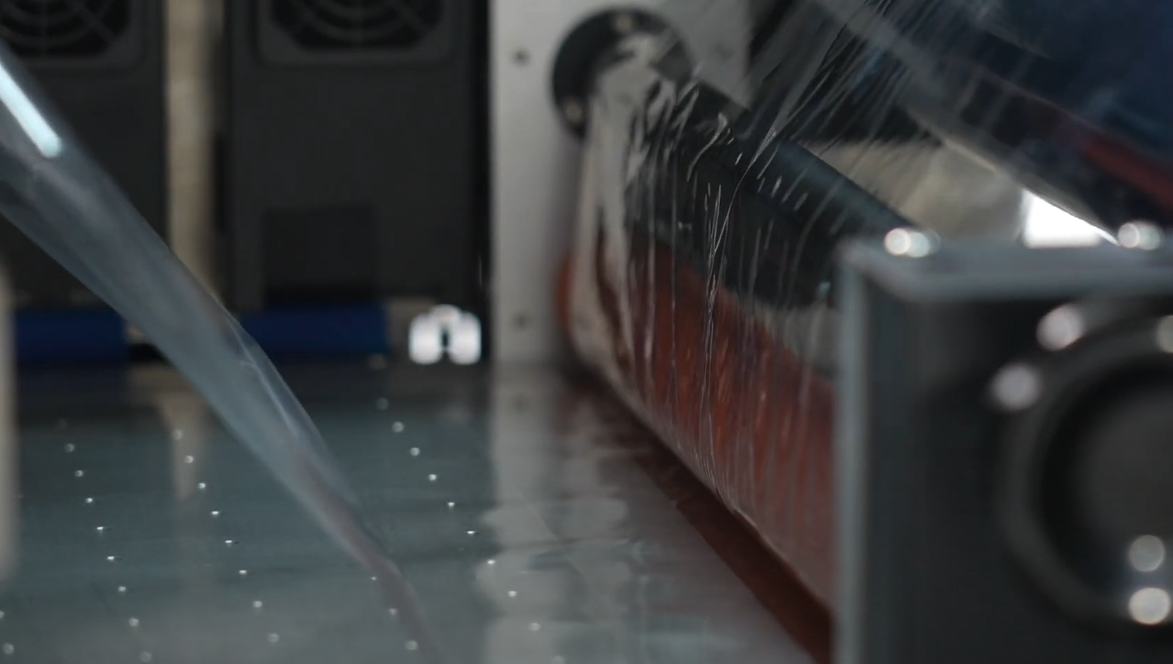
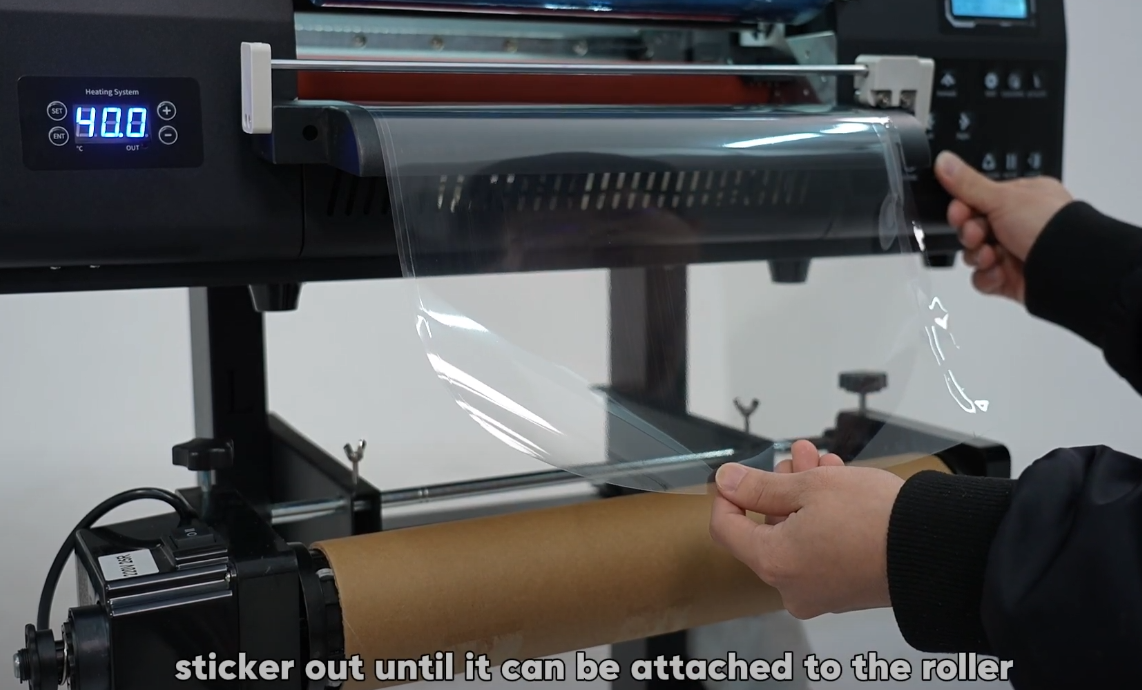
Pull A film's protective layer back and secure to the roll.
Turn on motor and ensure protective film winds tightly.
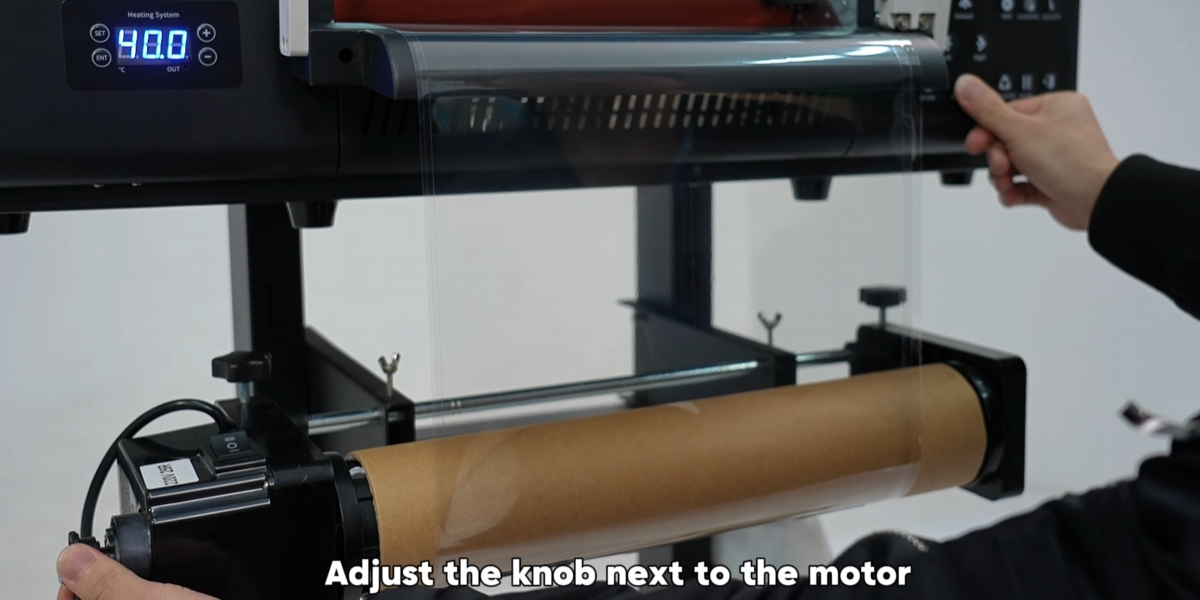
Adjust motor knob to set appropriate winding tension.
Balance tension: Too low causes lag; too high lifts A film.
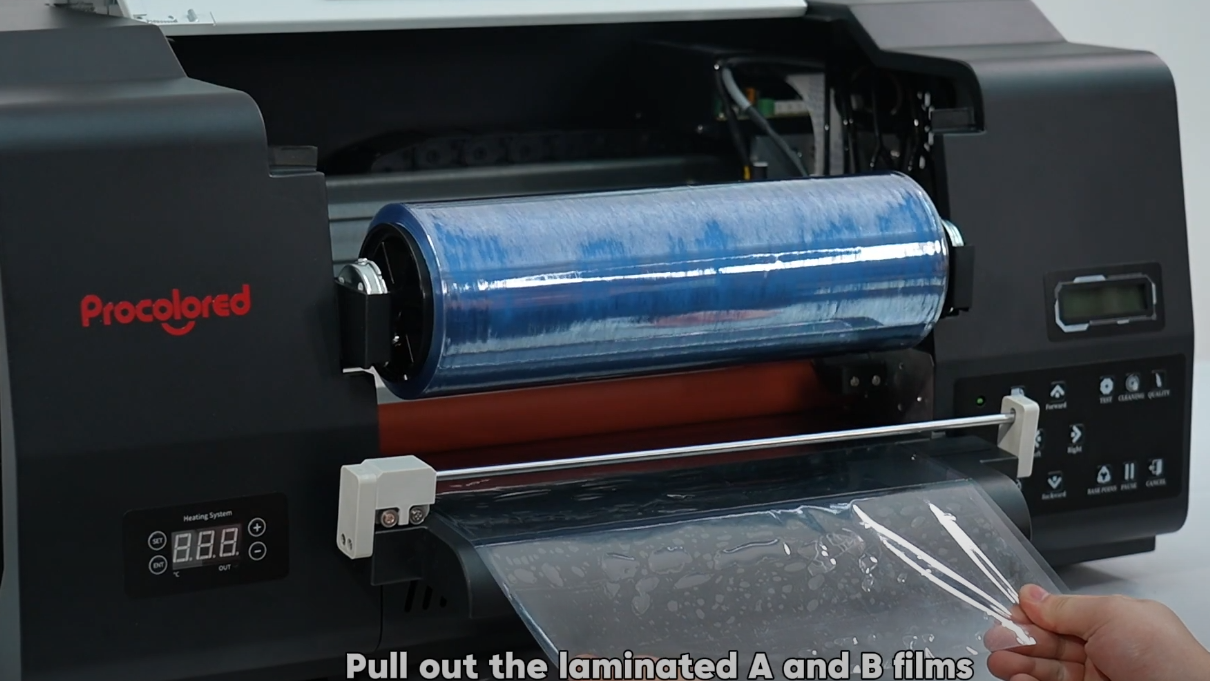
Pull out laminated films from the front of the machine.
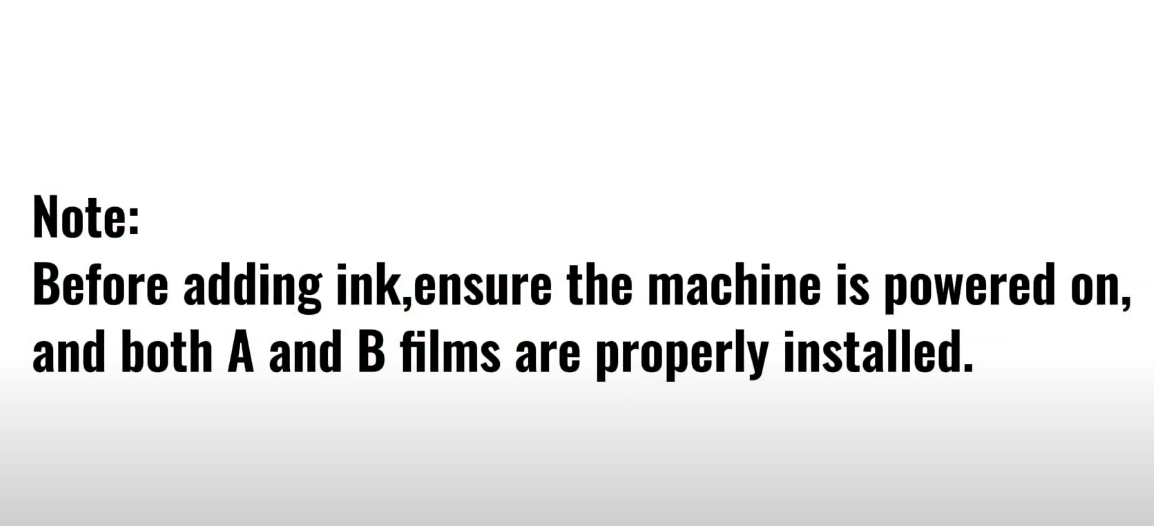
Note: Confirm films are installed BEFORE adding ink.
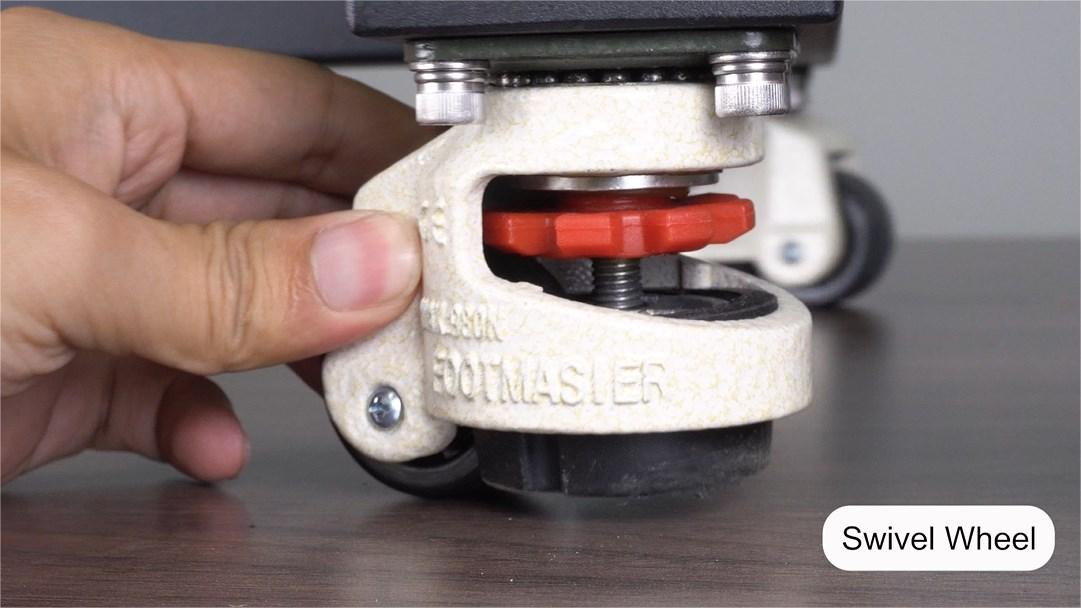
The stand is equipped with 4 swivel wheels for easy mobility.
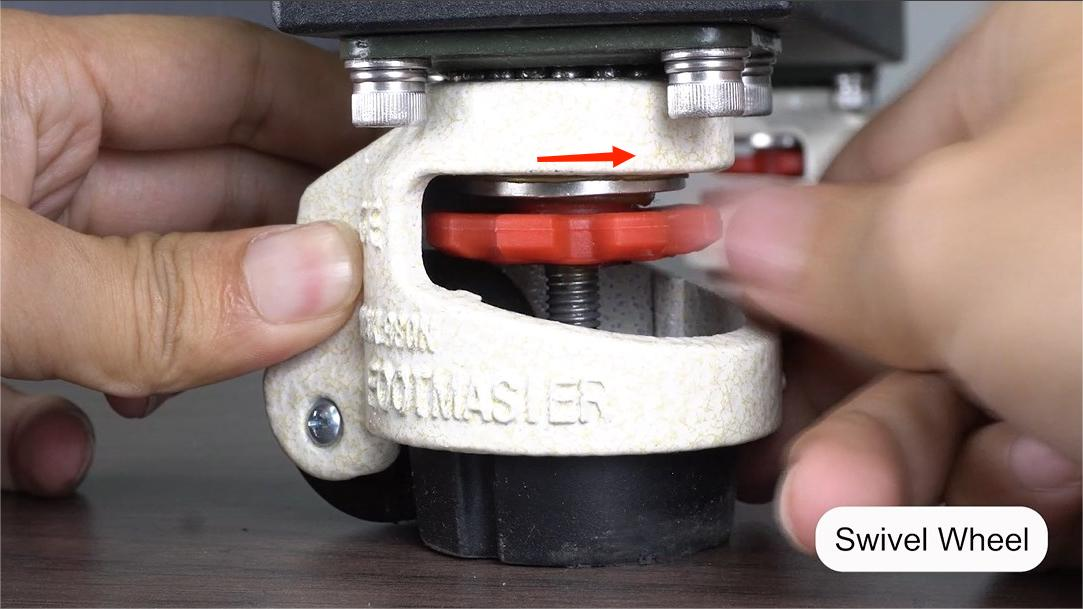
Rotate the gear clockwise to switch from rolling to standing mode.
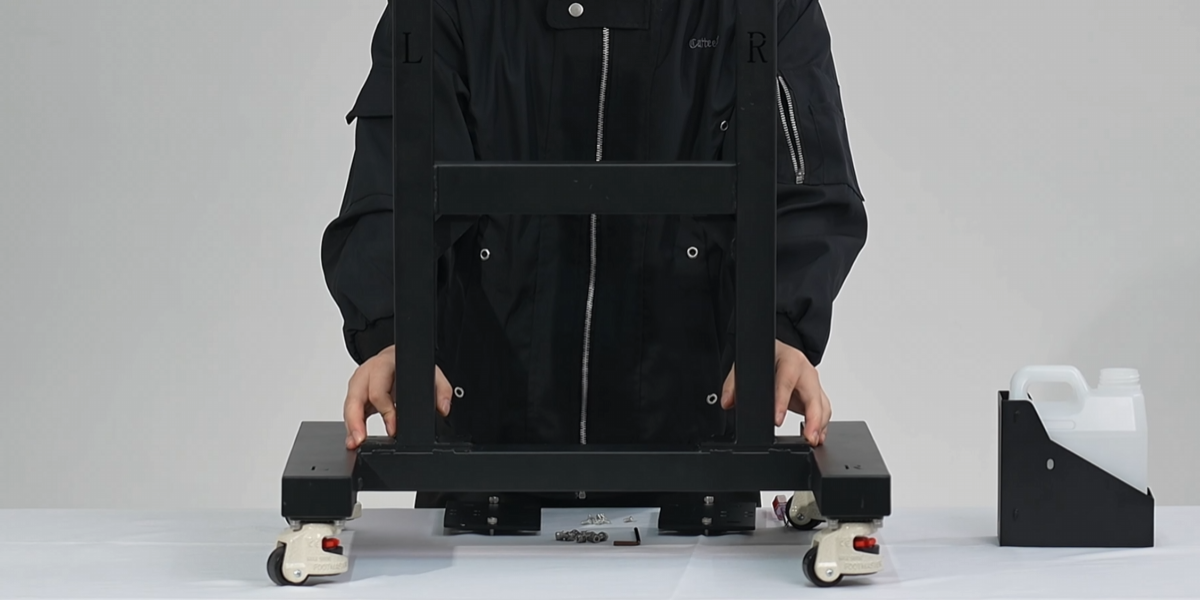
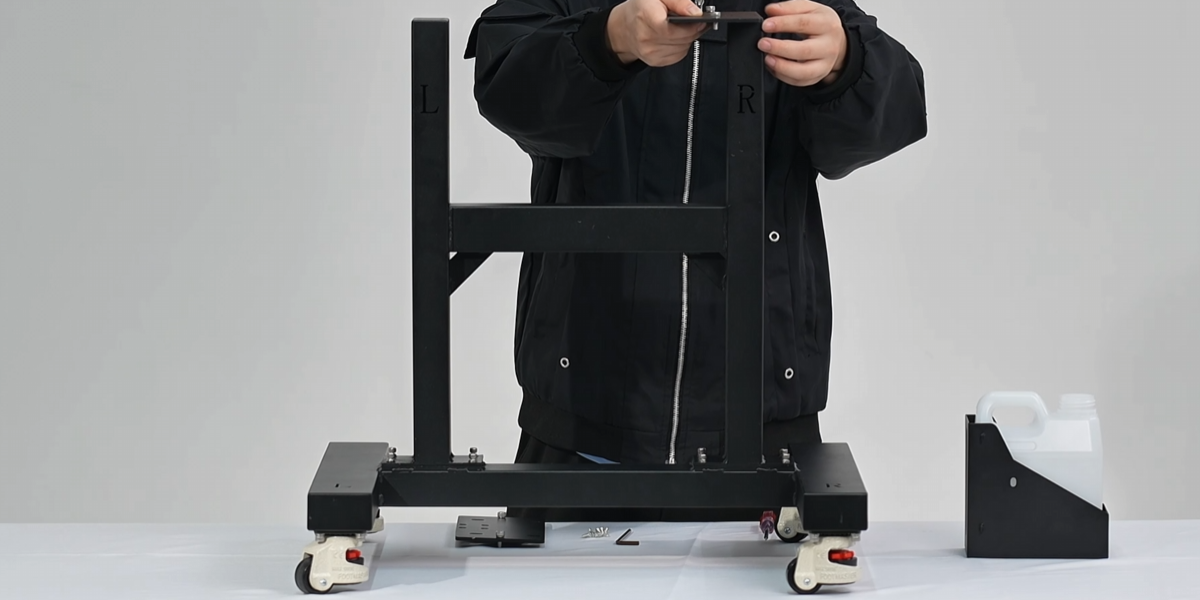
Install the H-shaped frame onto the stand base.
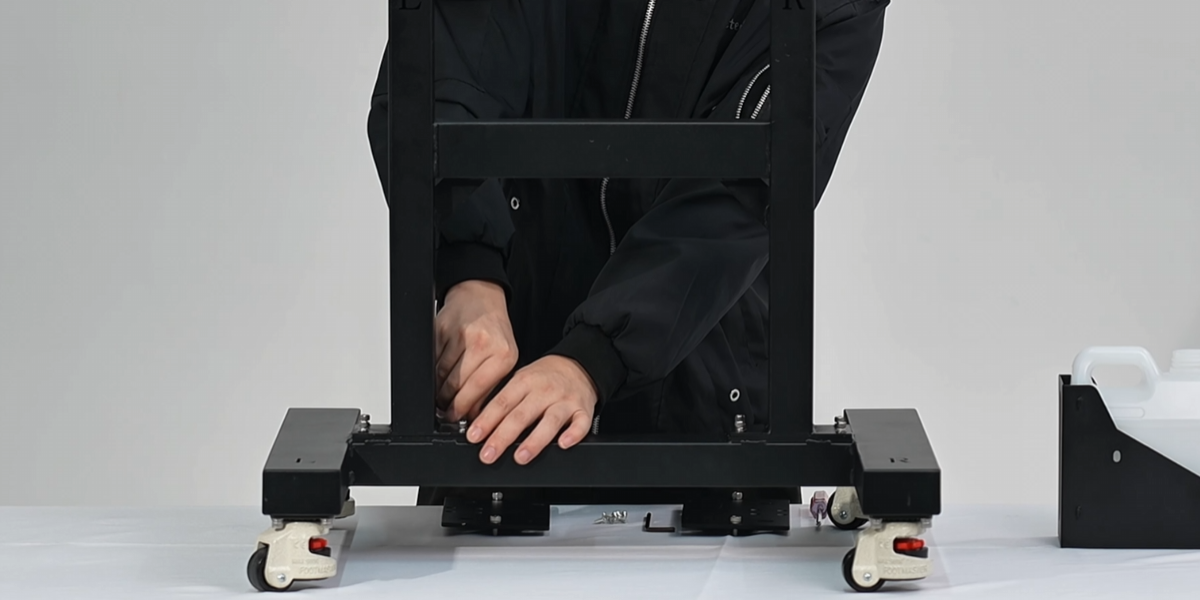
Match "L" and "R" labels on the frame with those on the base.
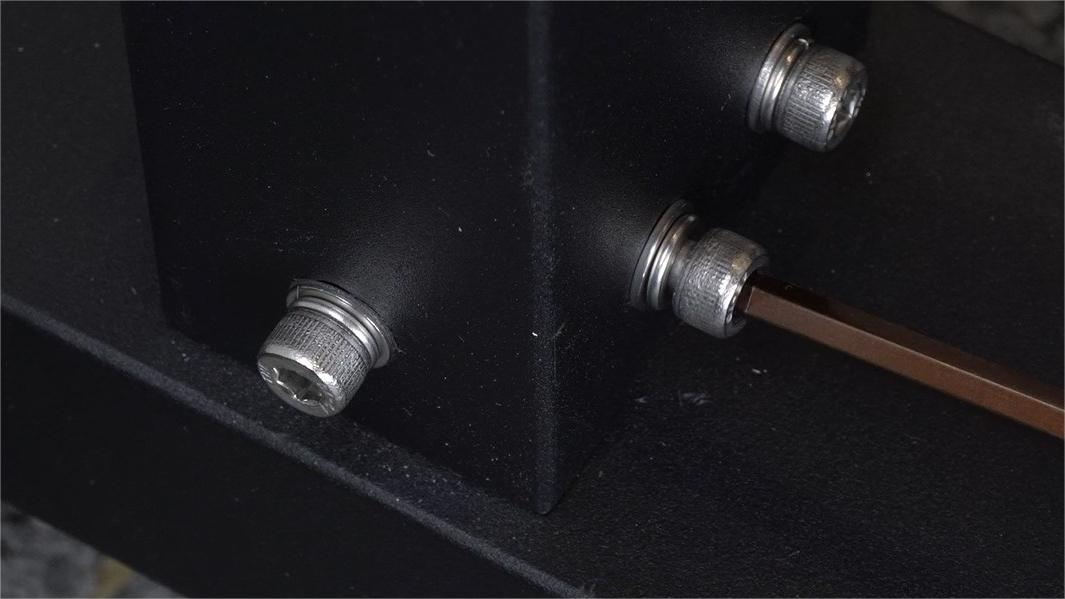
Fasten all screws securely using an Allen key.
Install the two metal plates onto the bracket to secure the printer.
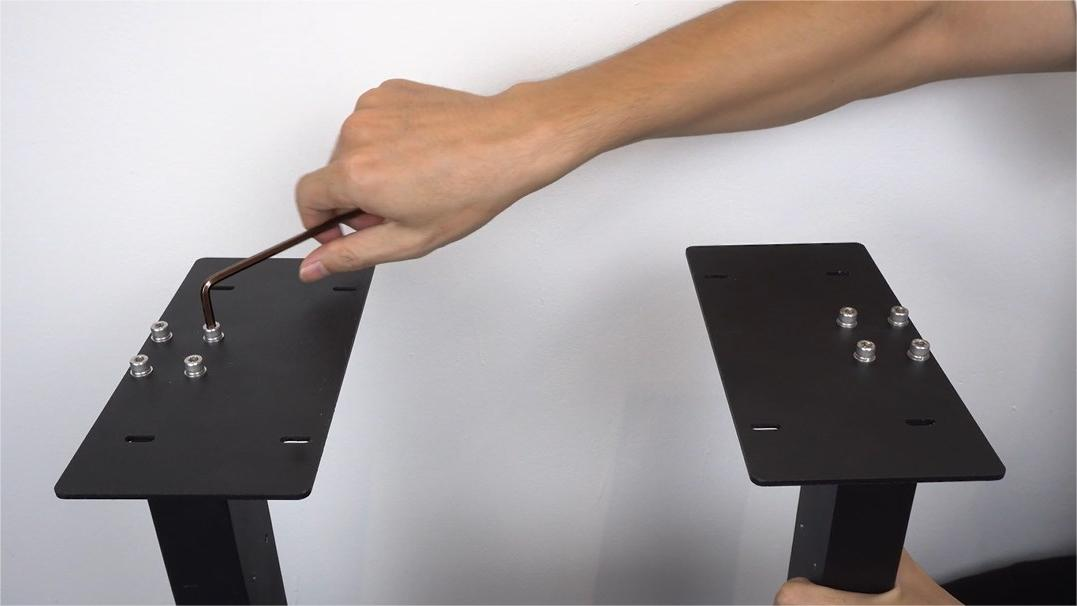
Ensure the metal plates extend inward and align with both sides.
Install the waste ink bottle bracket and secure it with screws.
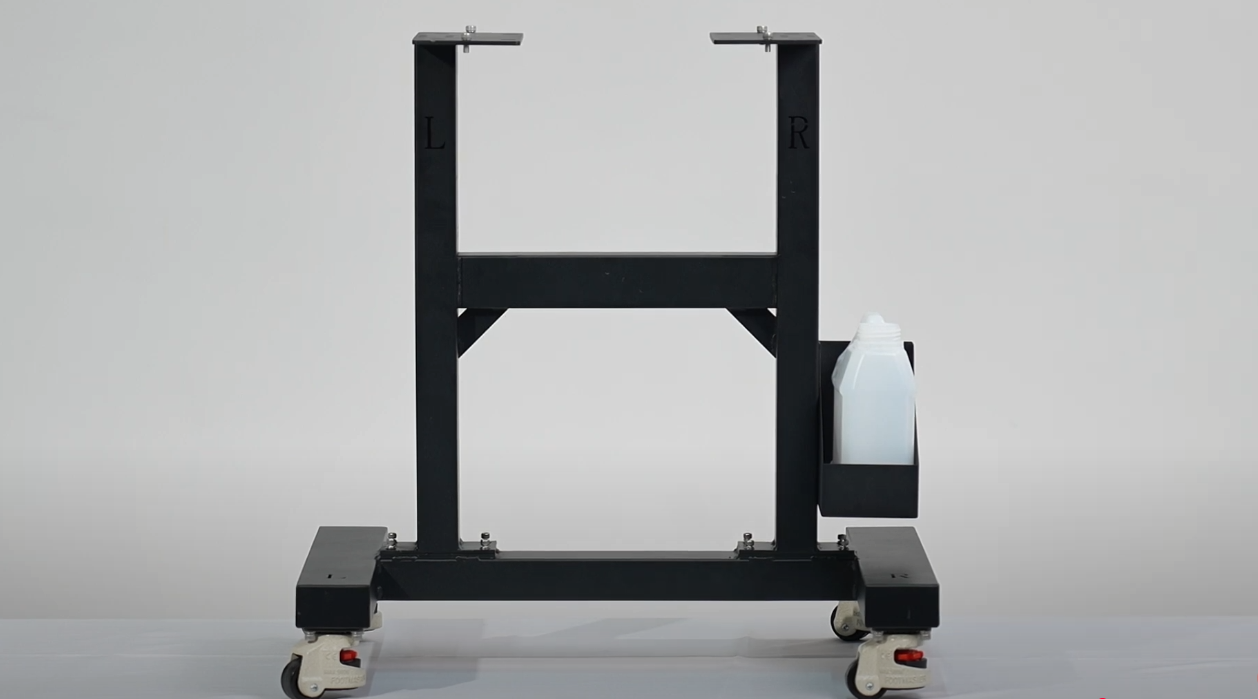
Place the waste ink bottle onto the bottle bracket.
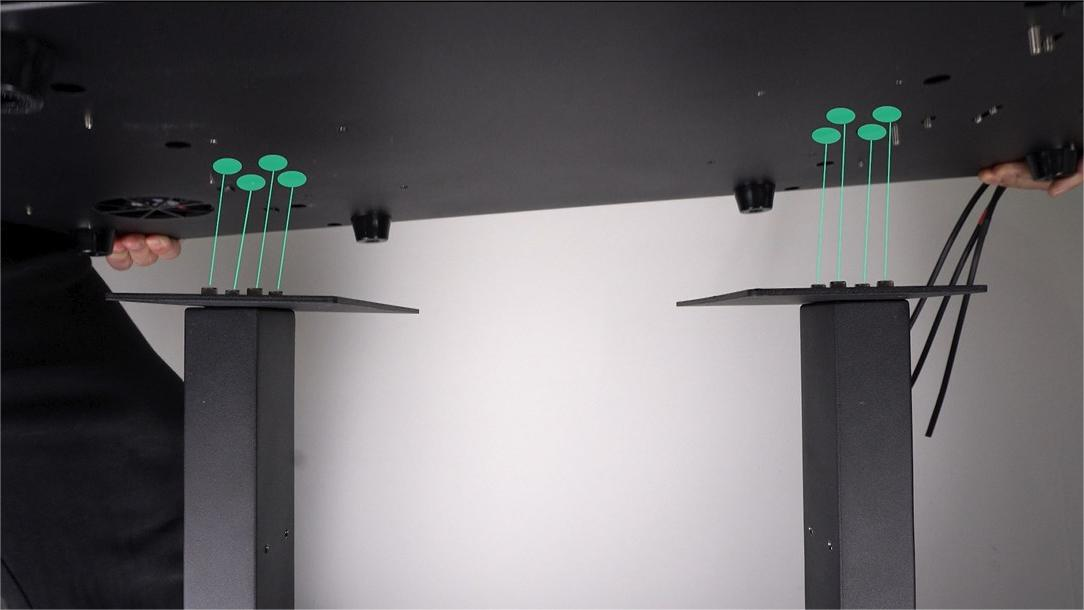
Align tray screw heads with the holes on the machine to mount the printer.
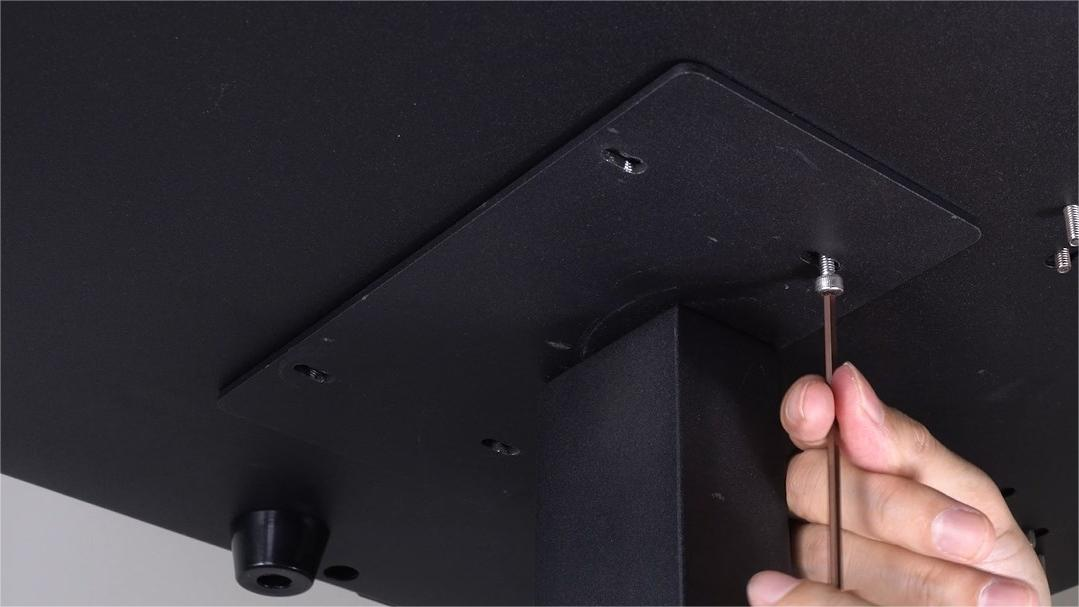
Use hex screws (without washers) to secure the printer to the trays.
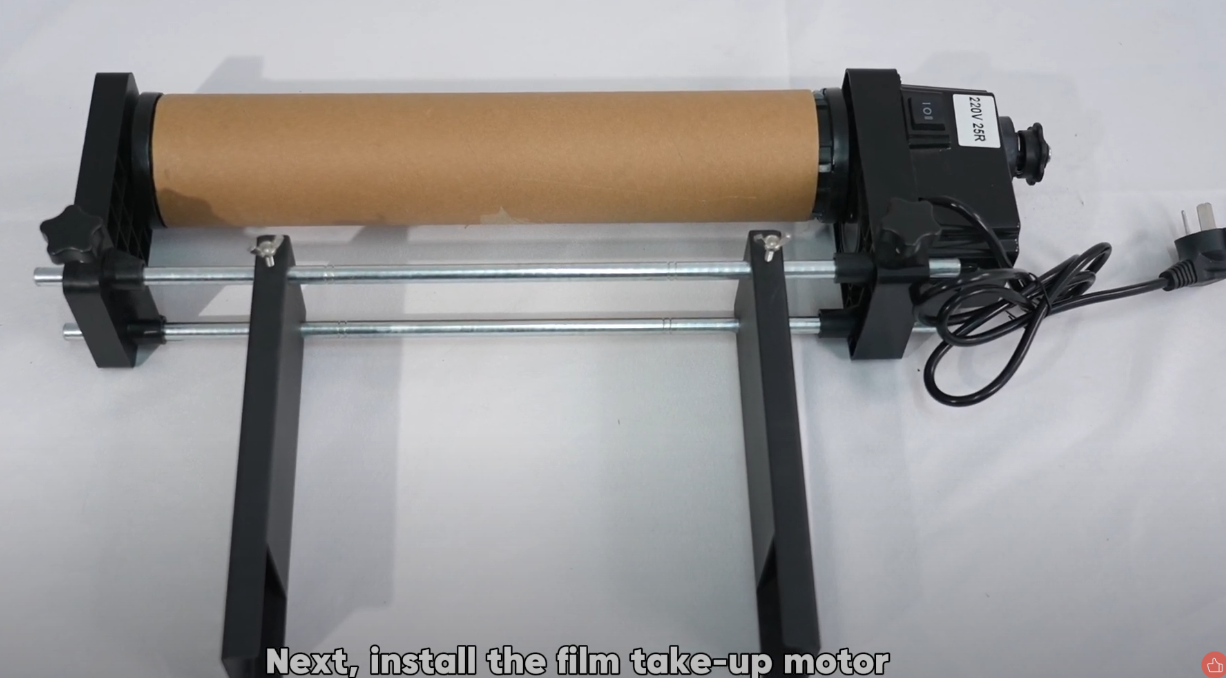
Install the film take-up motor onto the stand frame.

The assembly is similar to the A-film protective motor.
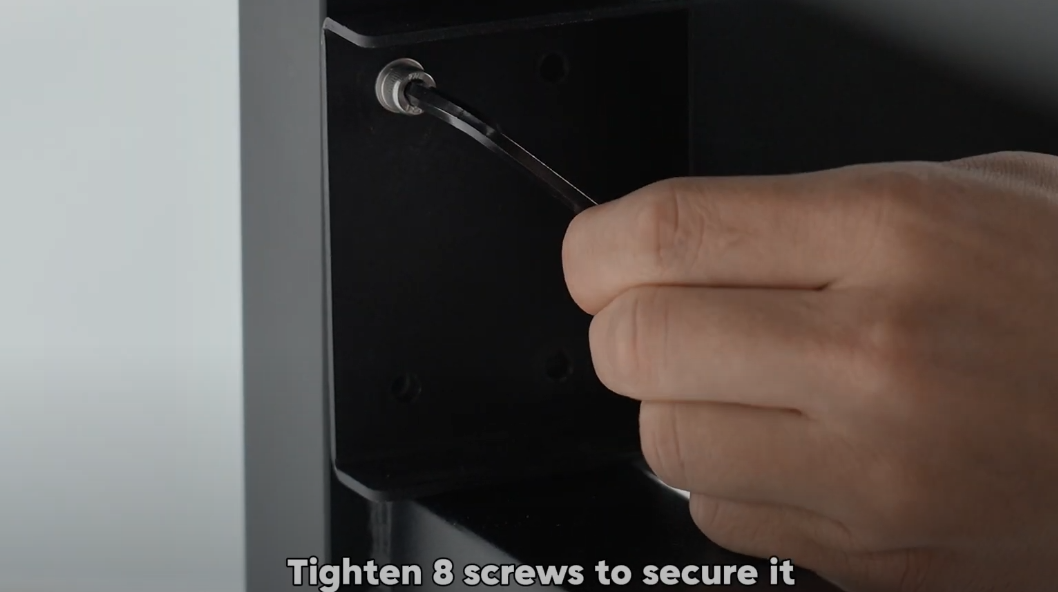
Tighten 8 screws to secure the take-up motor assembly.
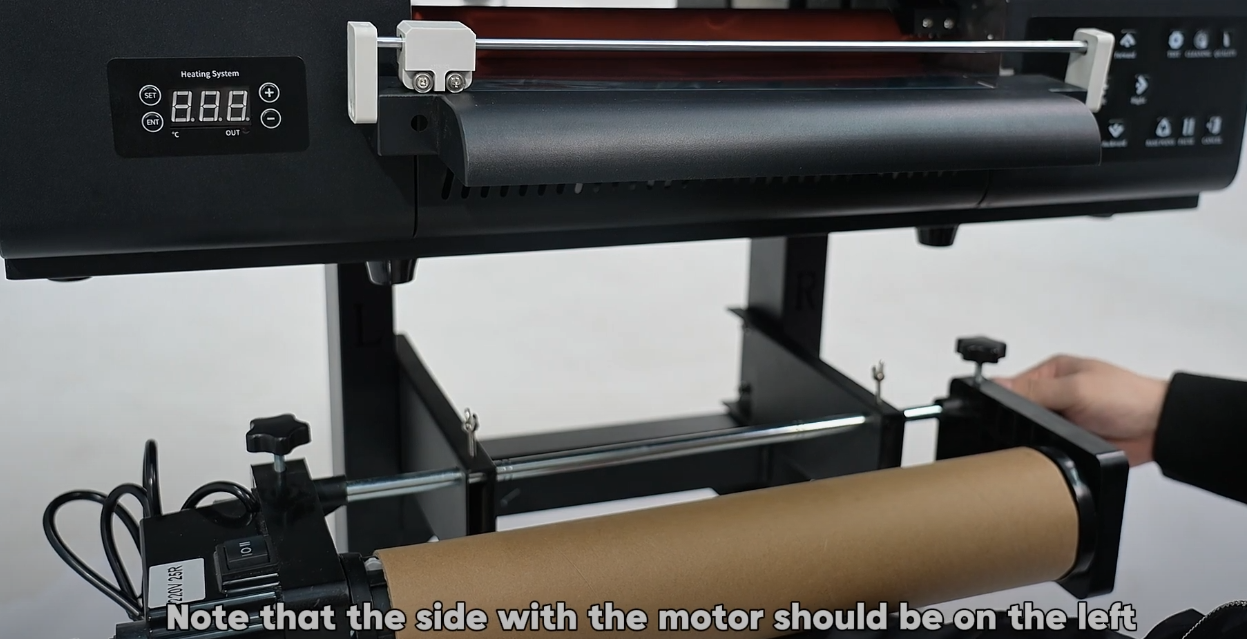
Motor side on the left. Align the roller with the B-film above.
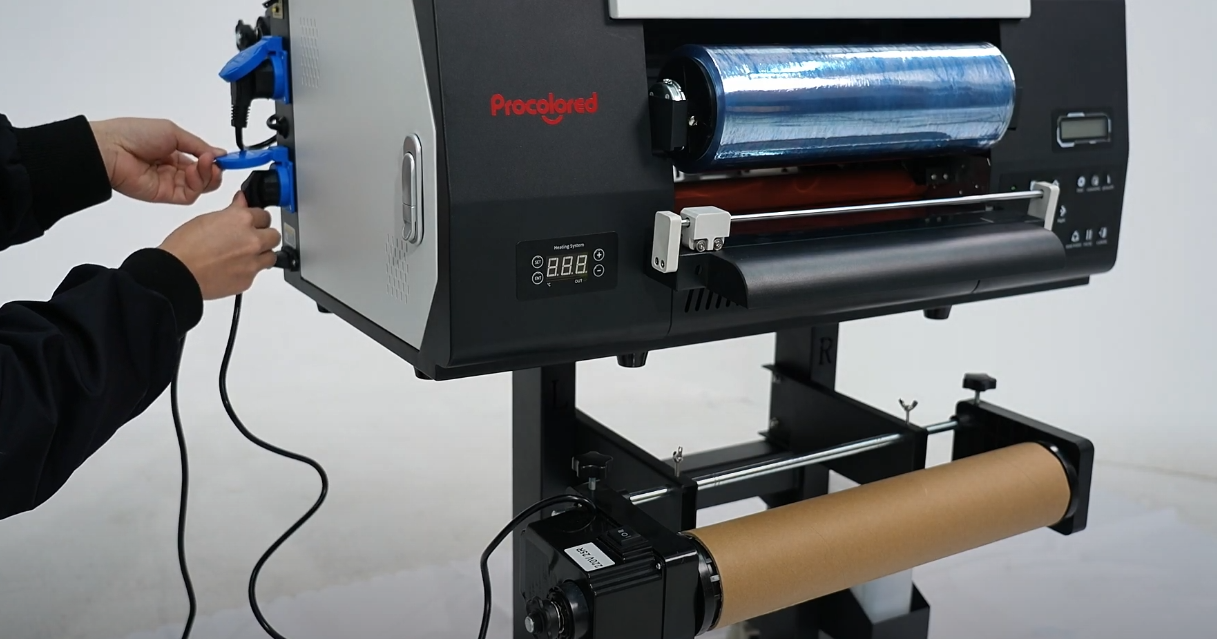
Connect motor power to the printer and turn the machine on.
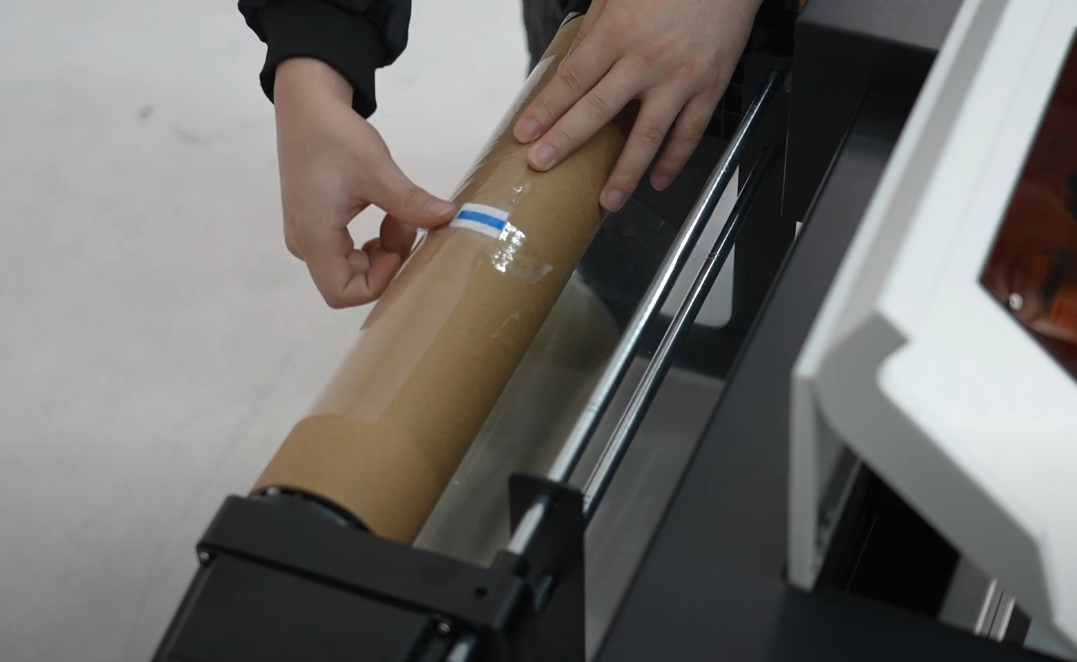
Hold the forward button until the film reaches the take-up roller.

Secure film with tape, then use the motor button to tighten it.

Test the take-up motor by feeding paper to ensure smooth operation.
Adjust the motor knob to control tension. Installation complete!