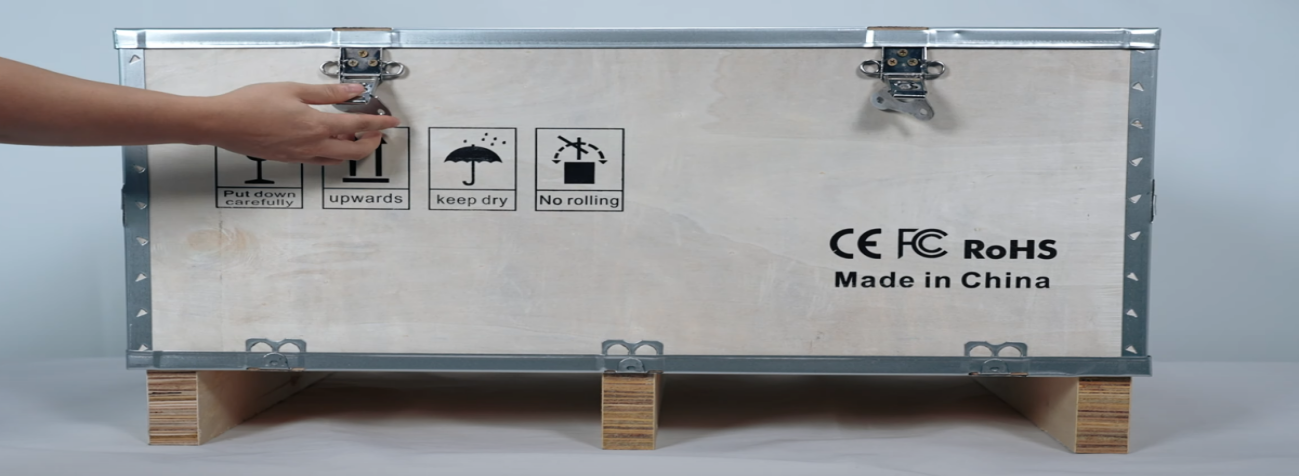
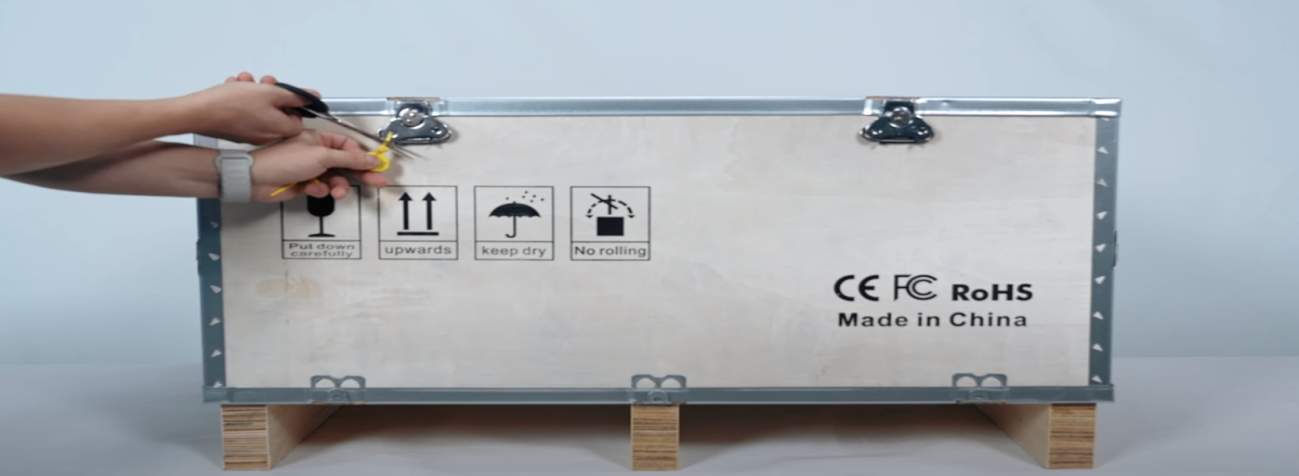
 01Remove the fixing cable tie. |
|
|
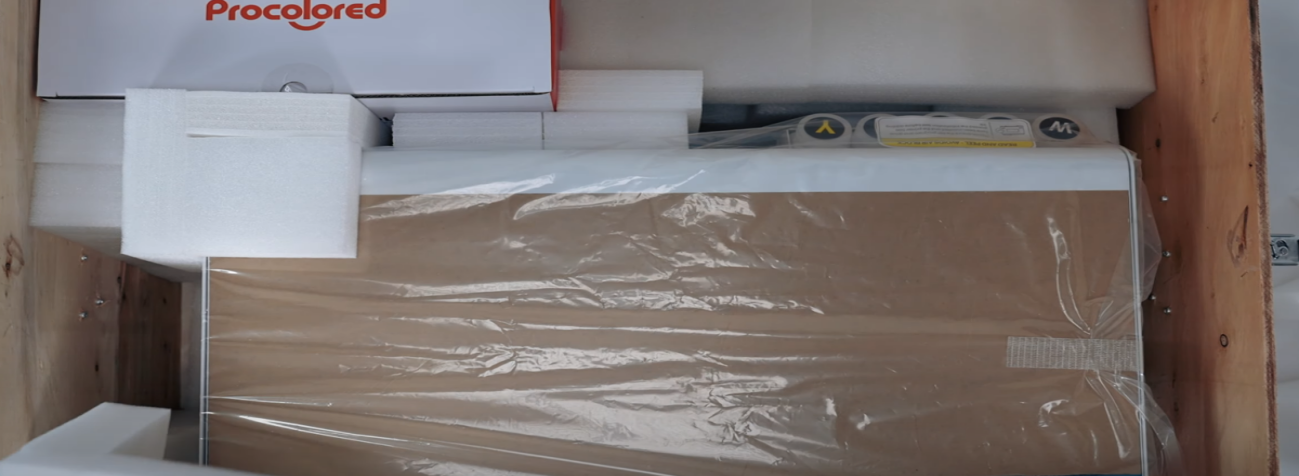 04Take out the filling sponge. |
 05This is the accessories package. |
|
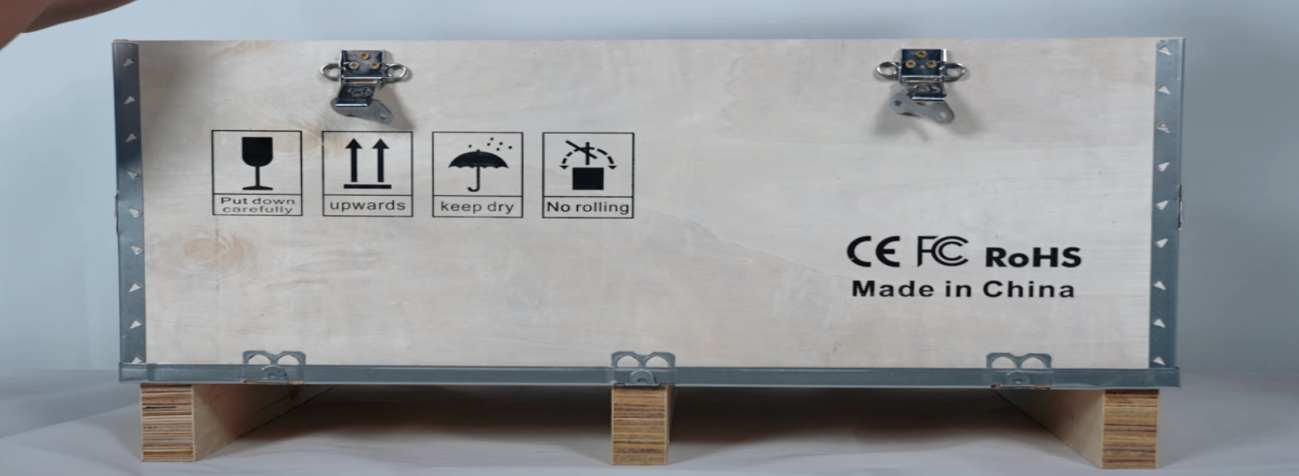
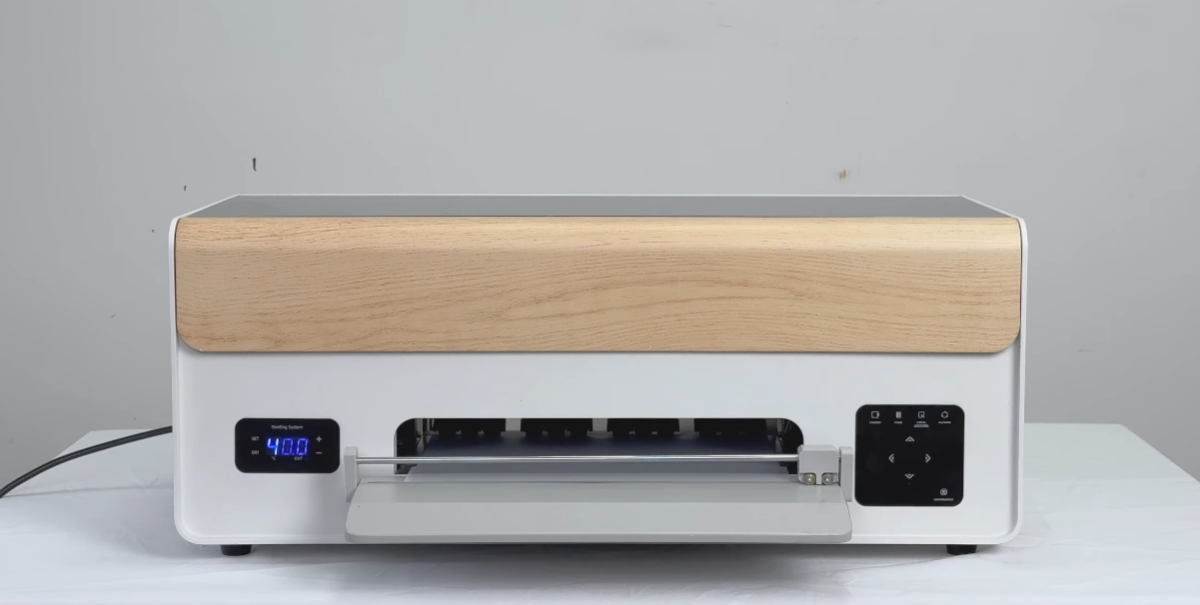 07Check if the exterior of the machine is intact. |
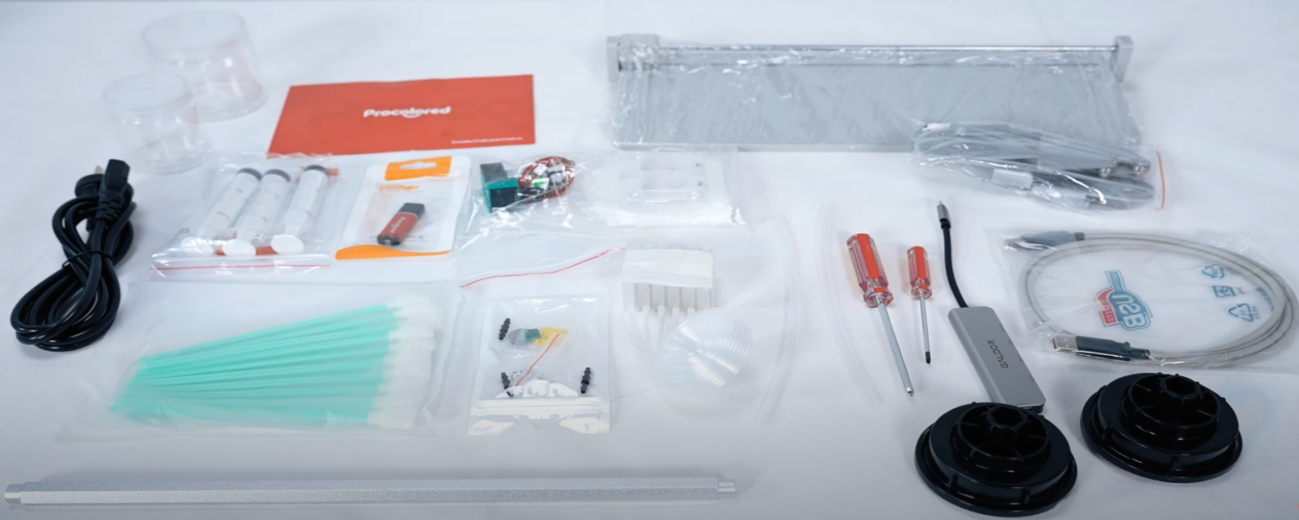 08Open the accessories package and check the accessories. |
|
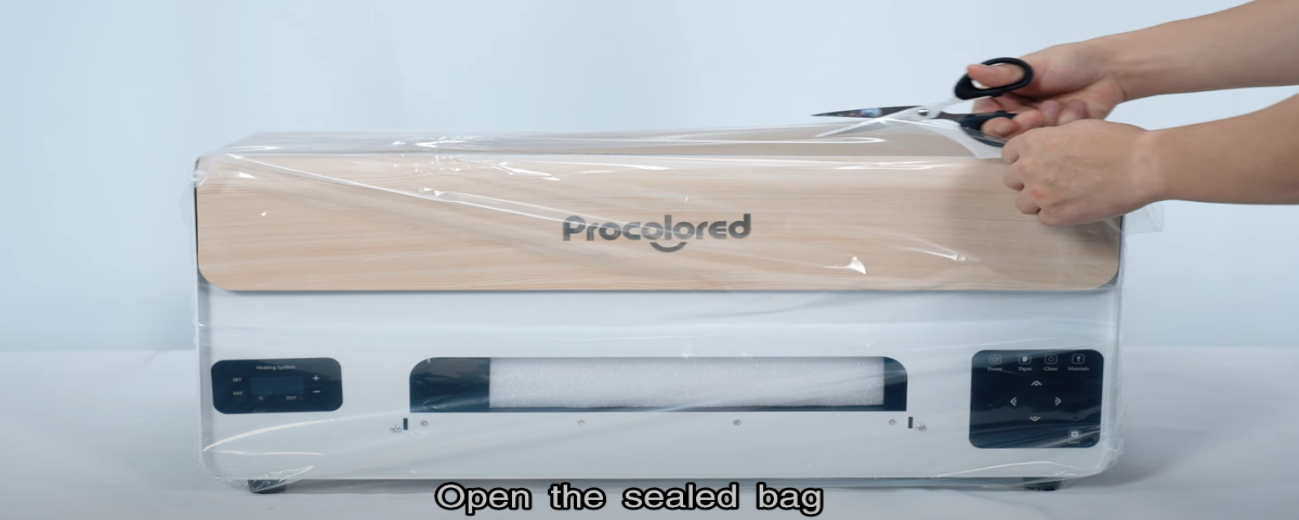
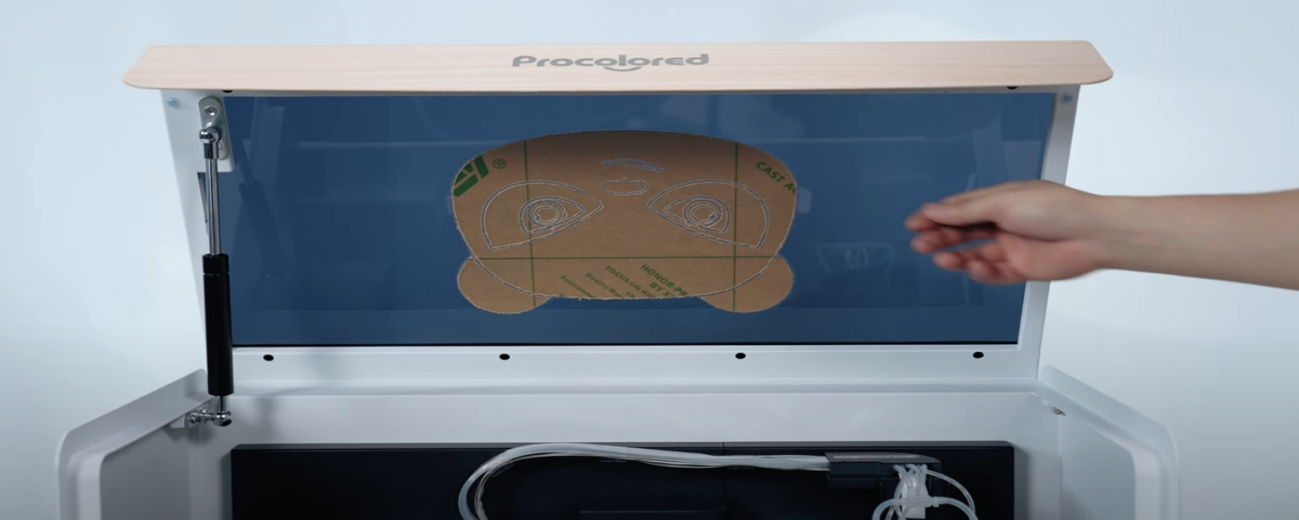
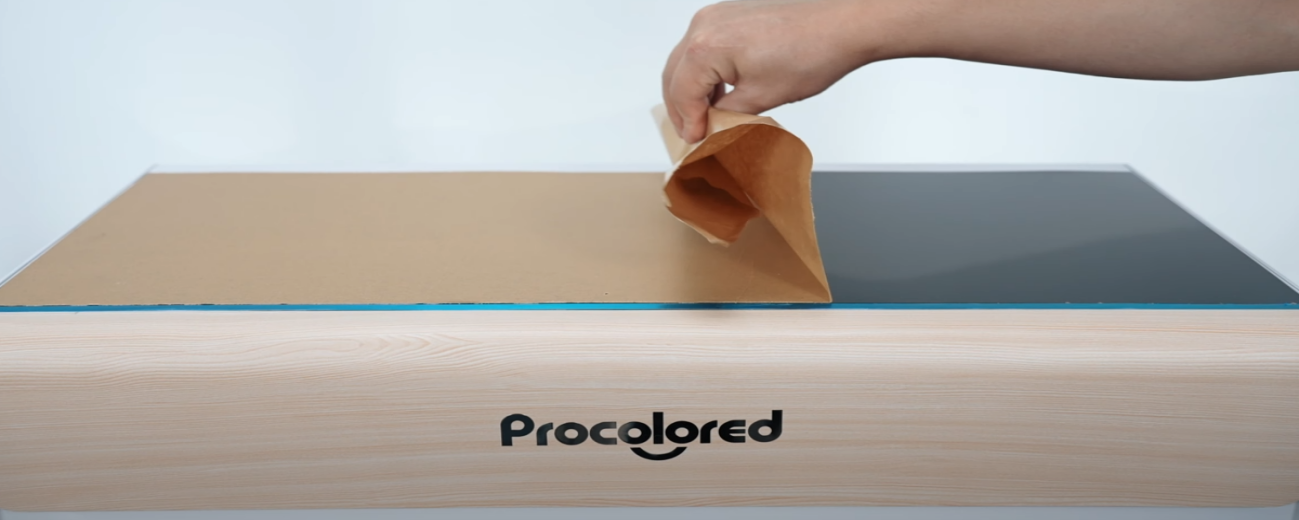 10Peel off the protective film. |
|
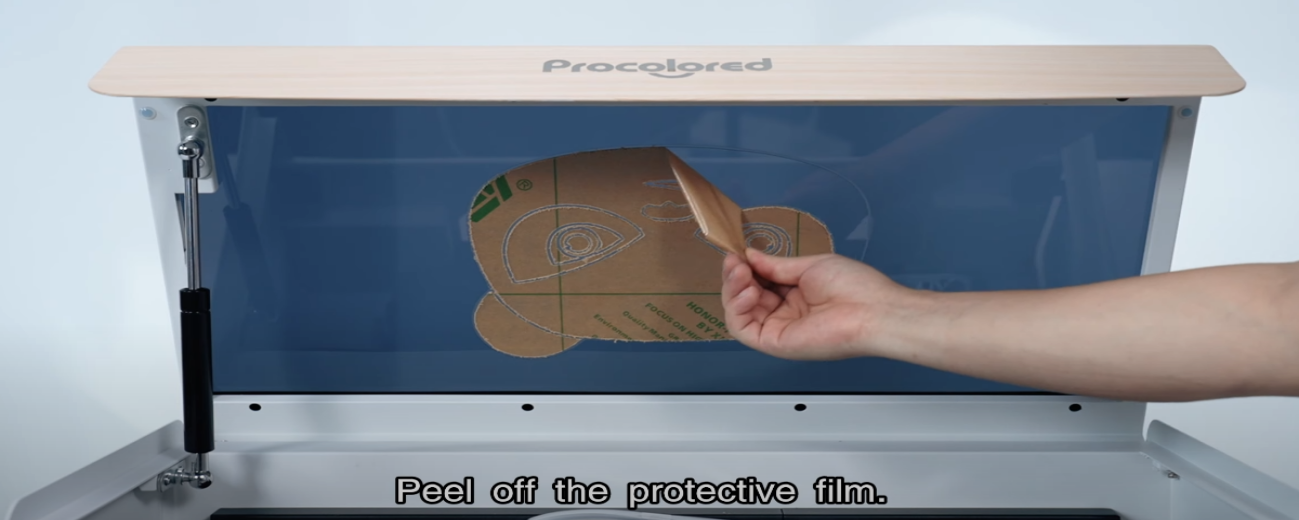 12Peel off the protective film inside. |
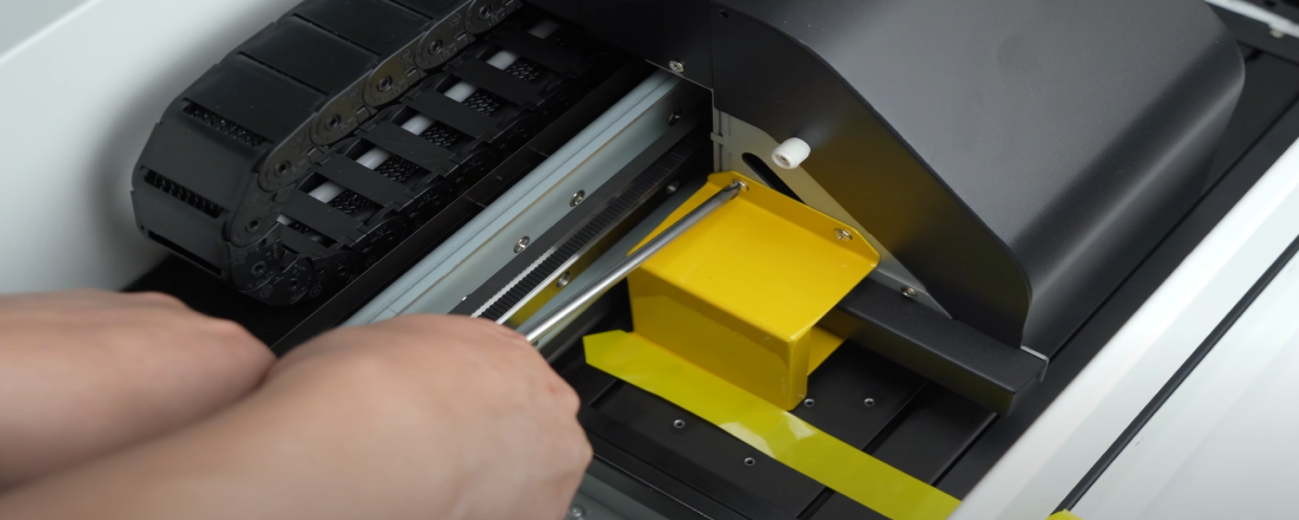 13Remove the yellow buckle that secures the ink cart. |
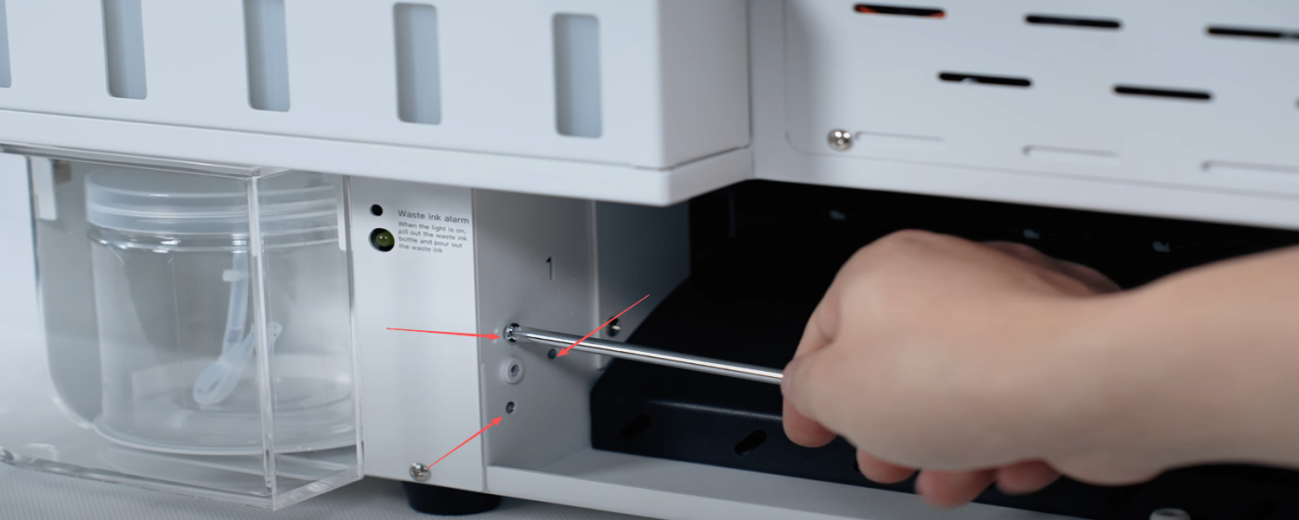
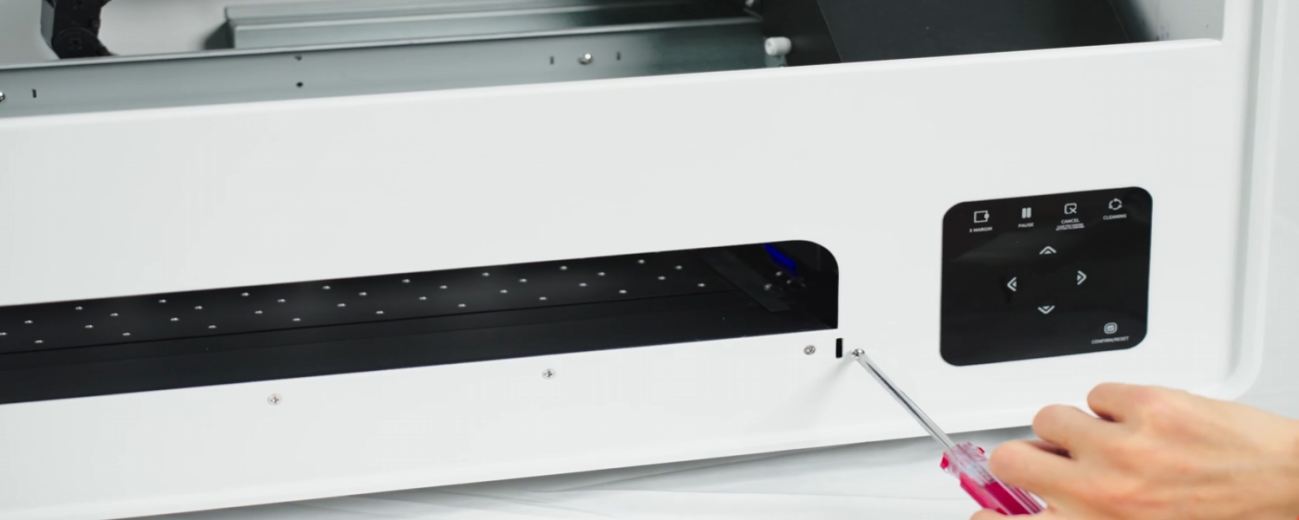 14Loosen the two front screws of the machine. |
 15Position the tray and securely tighten the screws. |
 16Insert the power cord and data cable. |
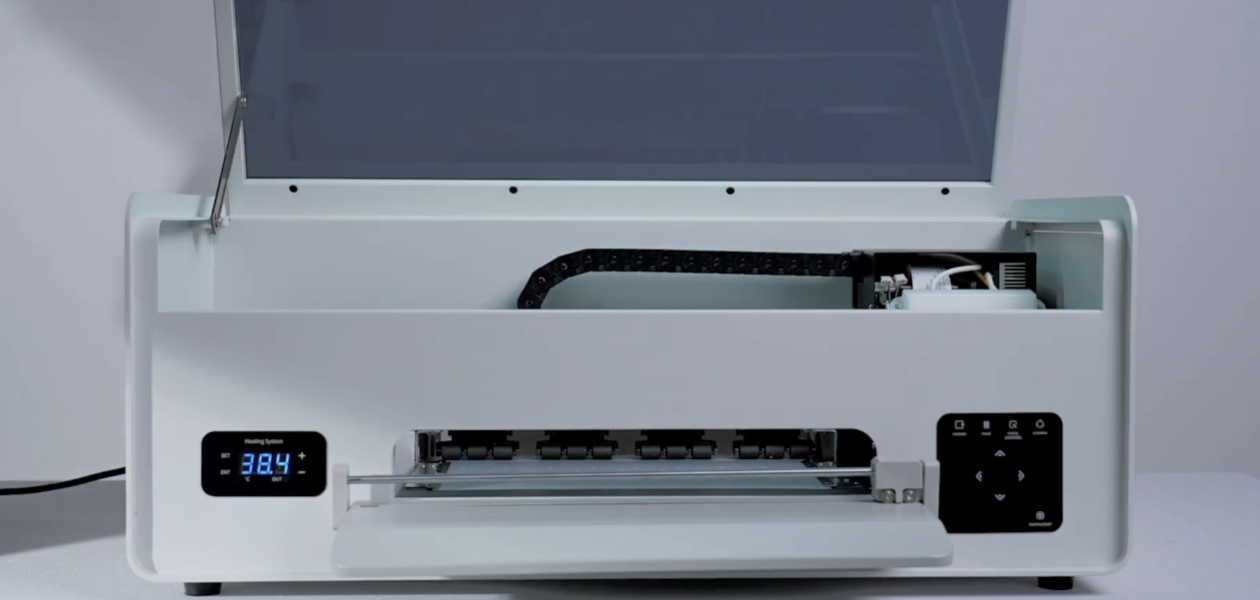
 17Start installing the film paper. |
|
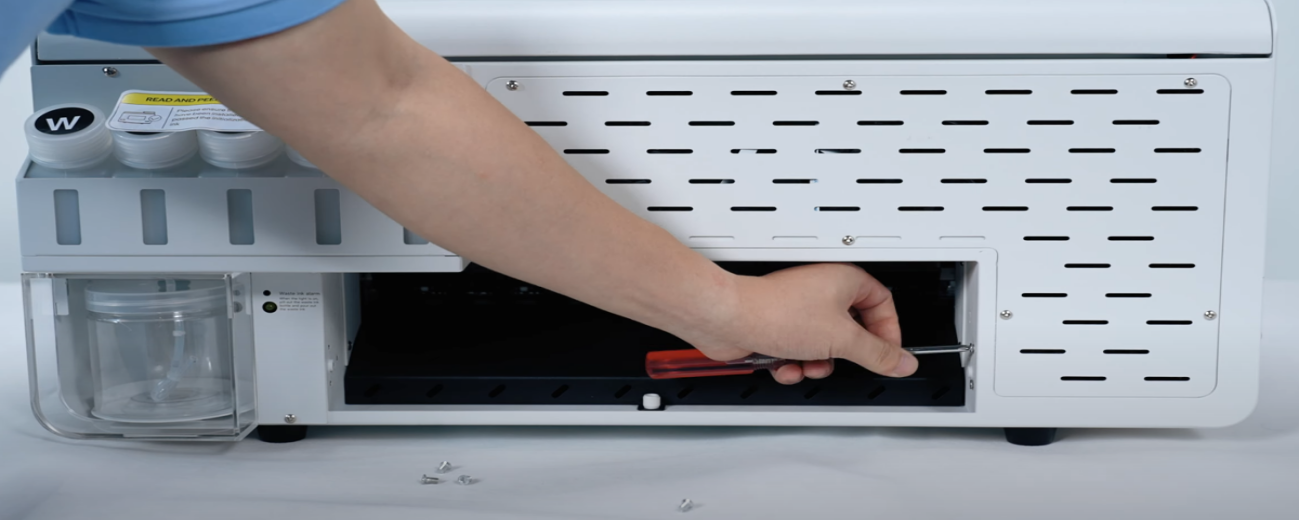 19Remove the screws on the right side as well. |
|
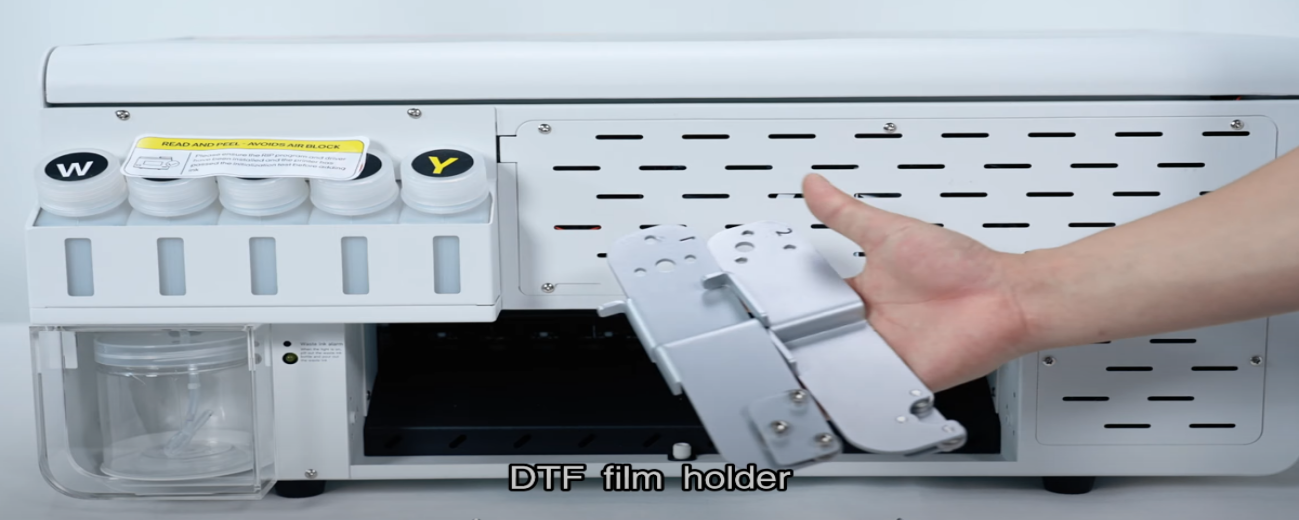
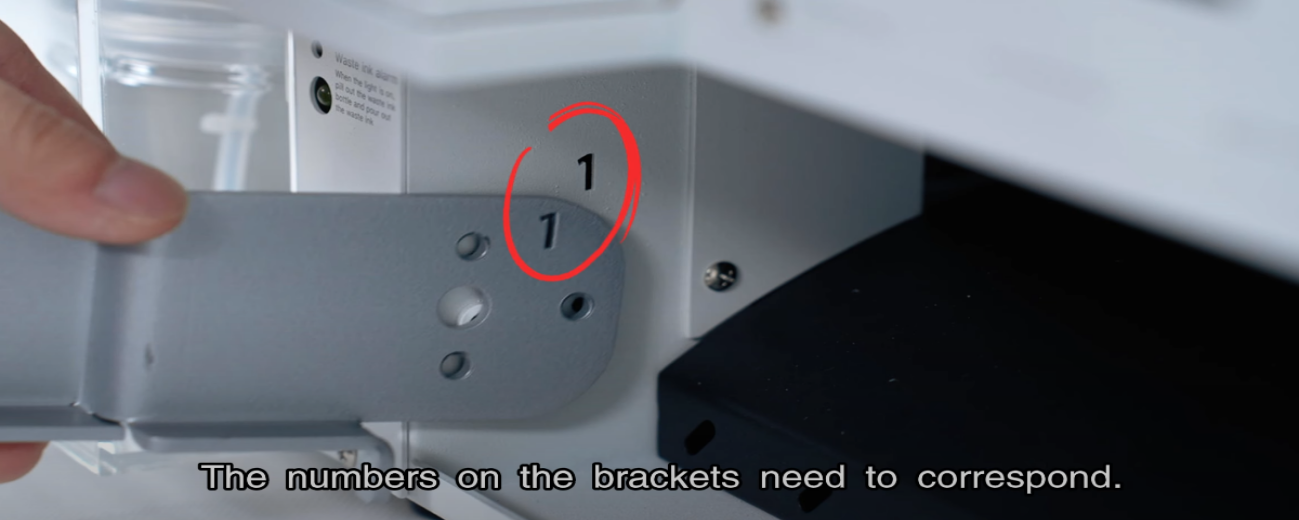 21The numbers on the brackets need to correspond. |
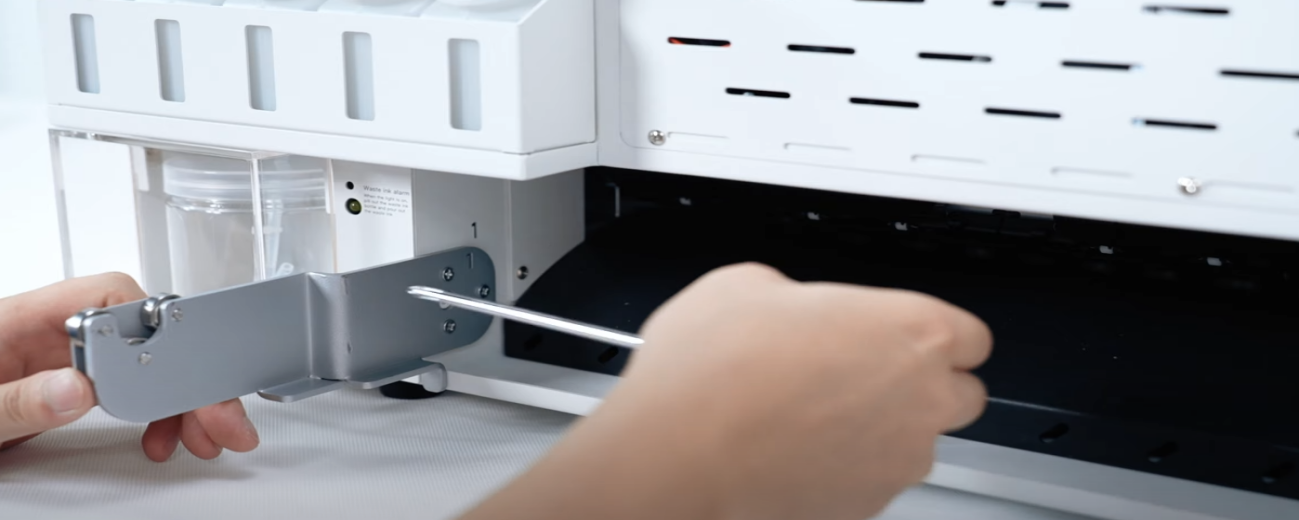 22Install the screws to fix the bracket. |
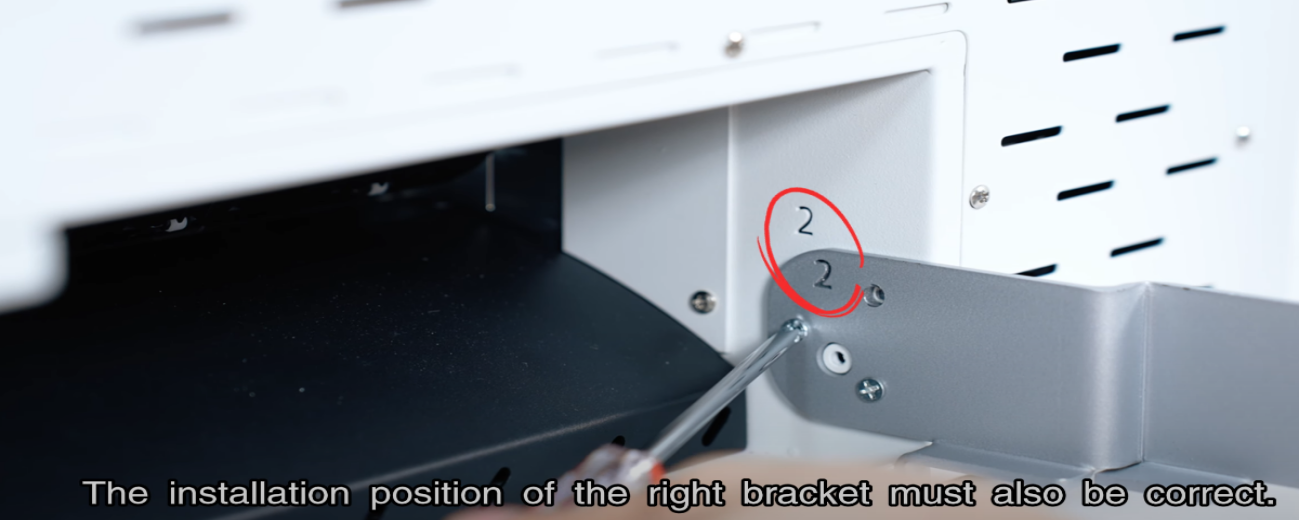 23The right bracket installation position must also be correct. |
 24Bracket installation is complete. |
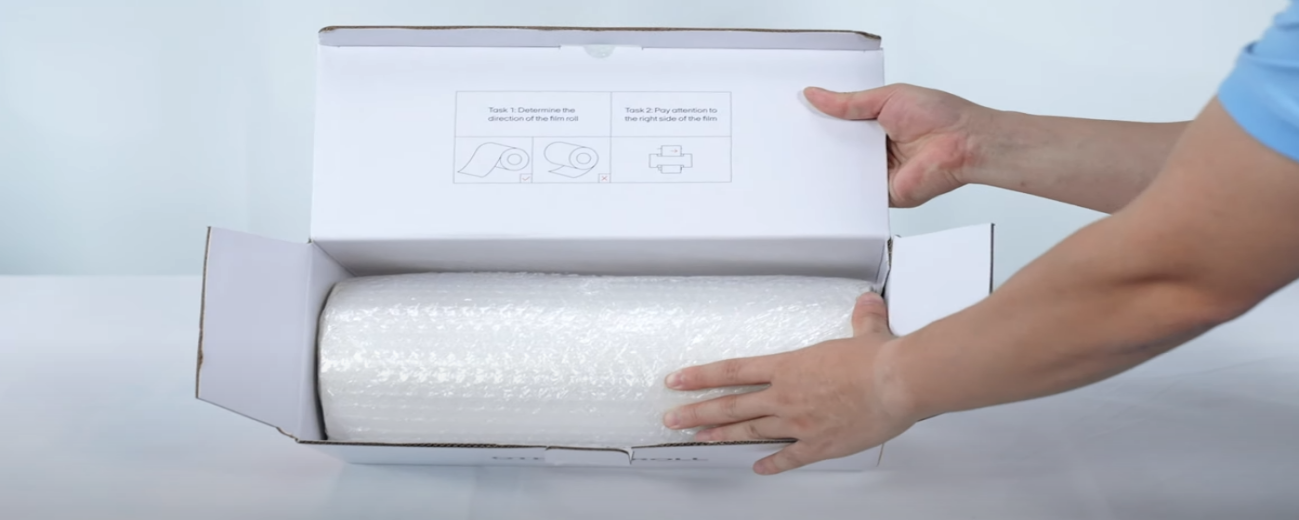
 25Open the film paper package. |
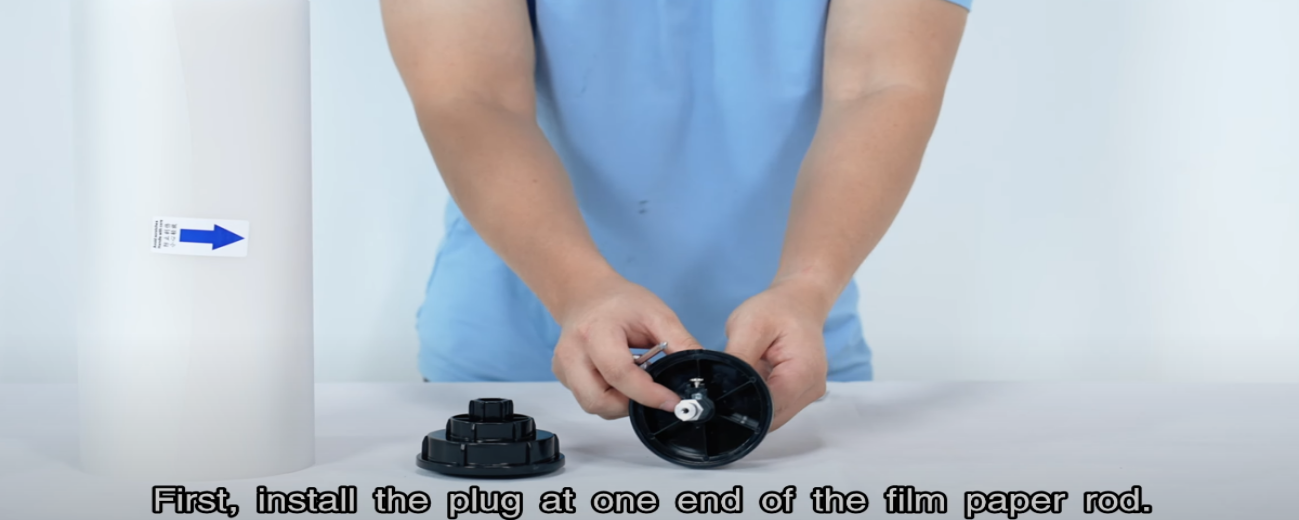 26Install the plug at one end of the film paper rod first. |
 27Pass through the middle of the film paper. |
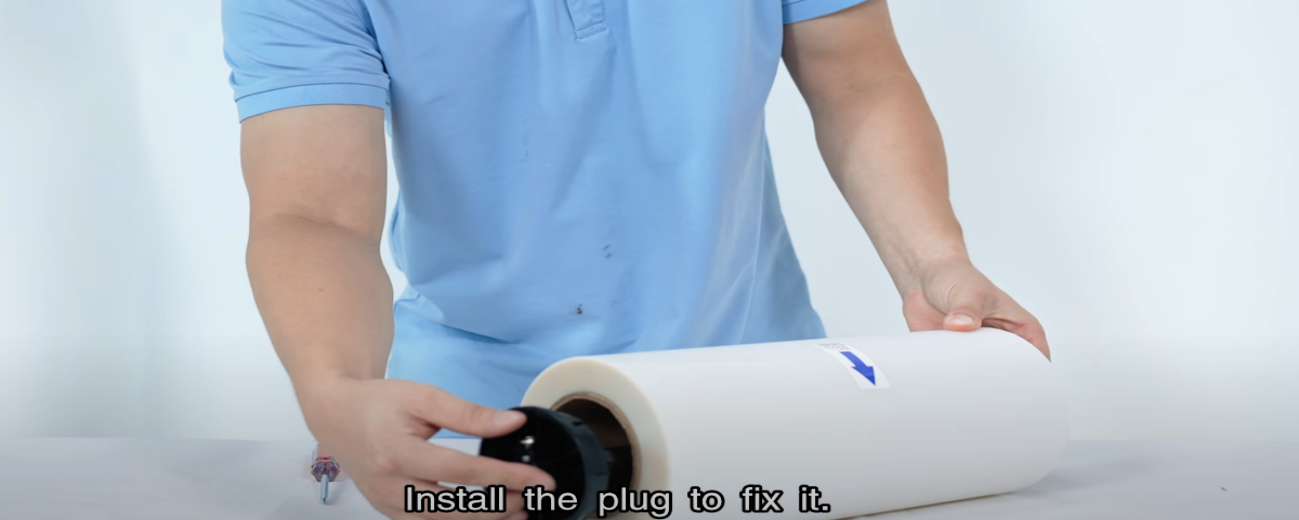 28Install the plug to fix it. |
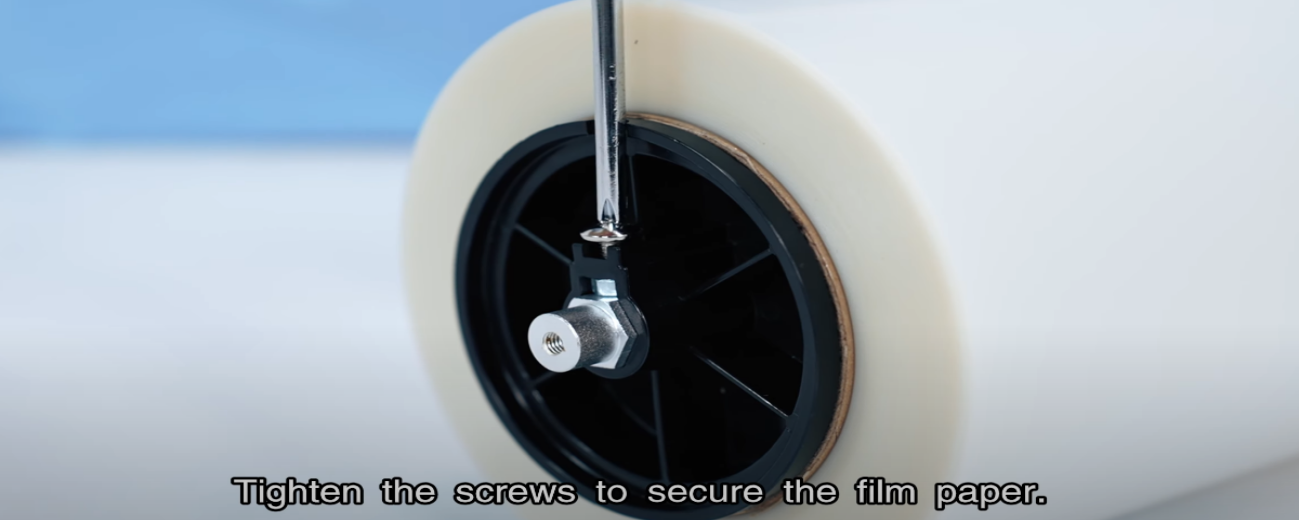 29Tighten the screws to secure the film paper. |
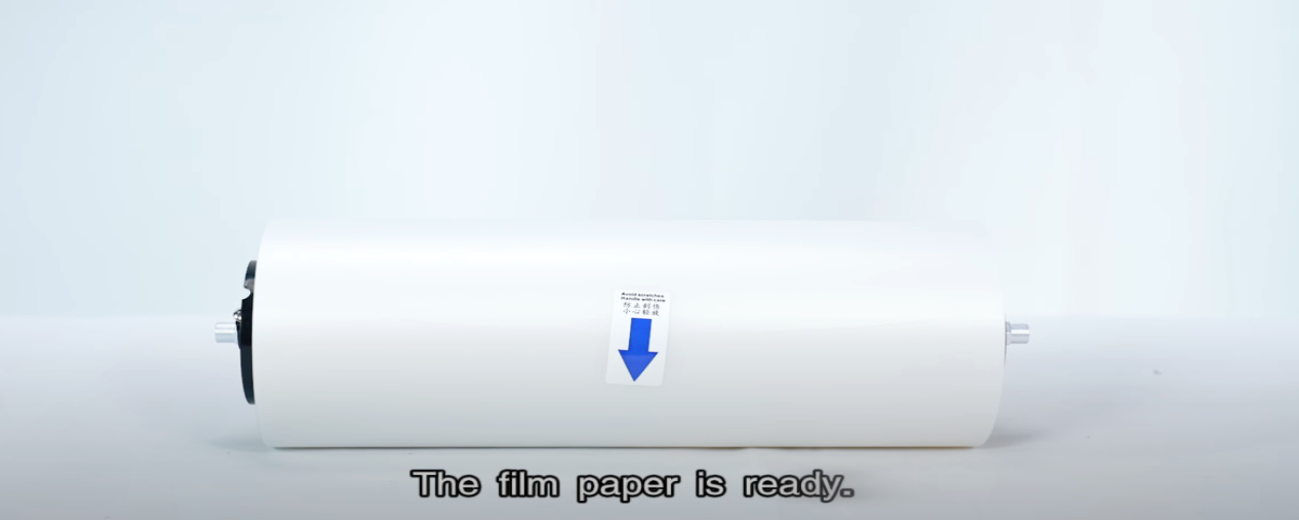 30The film paper is ready. |
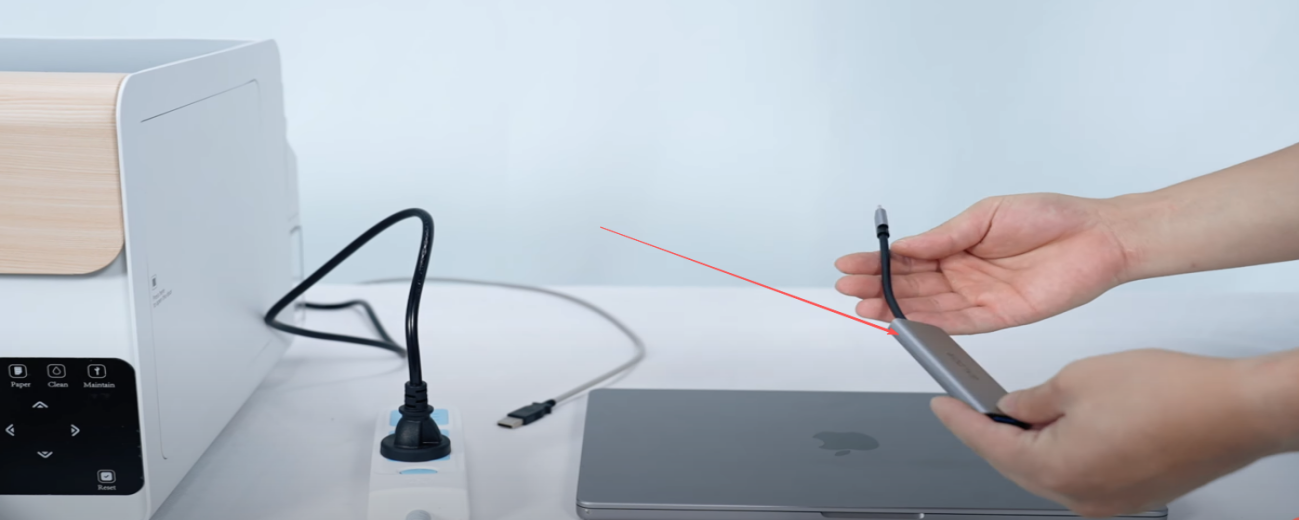
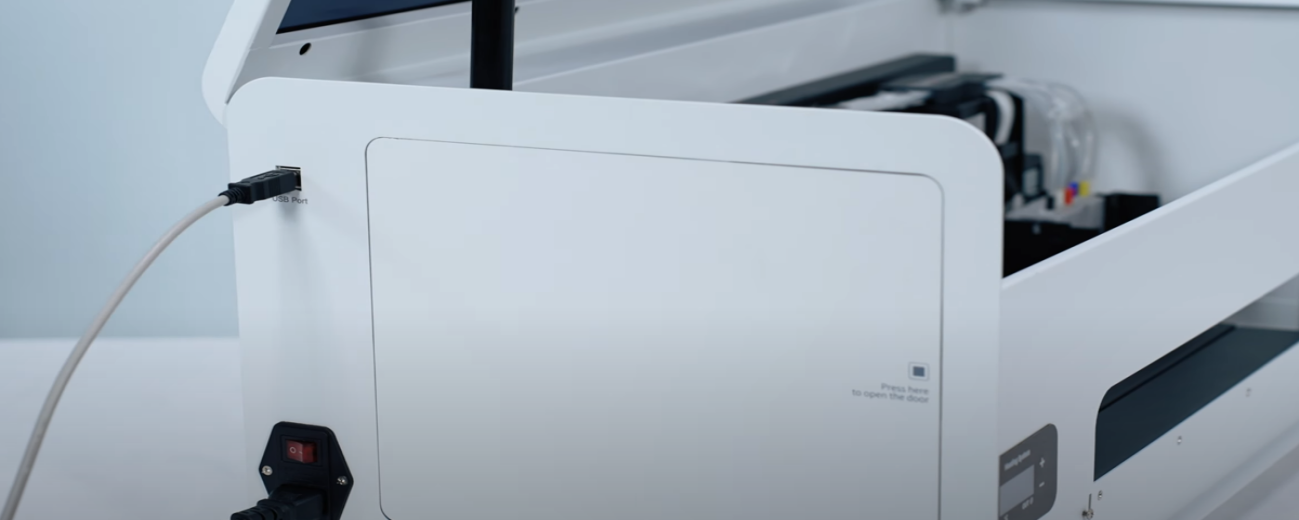
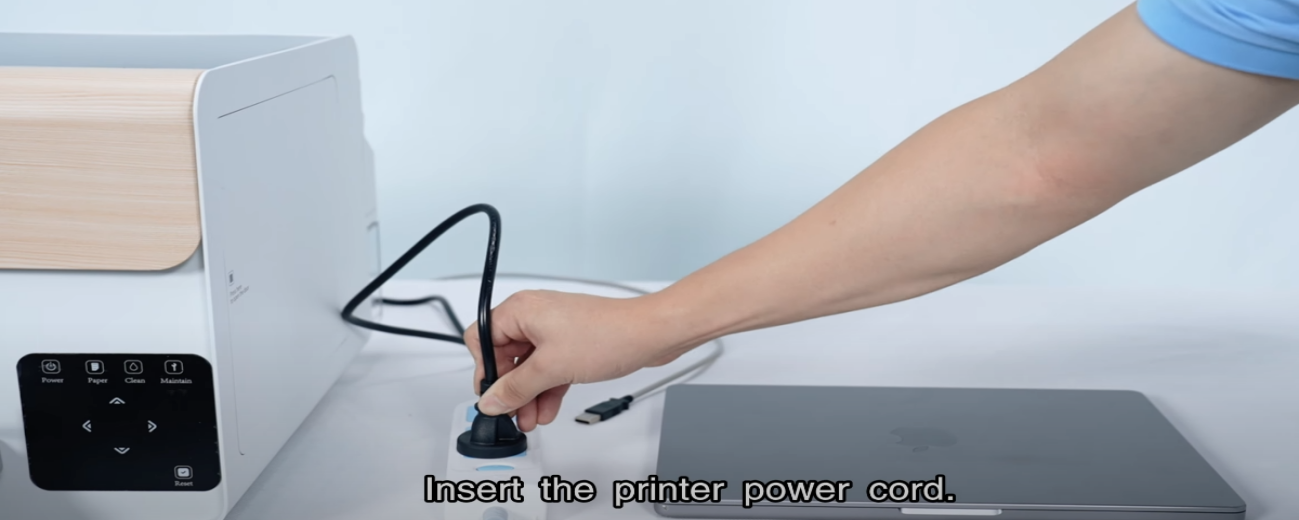 31Insert the printer power cord. |
|
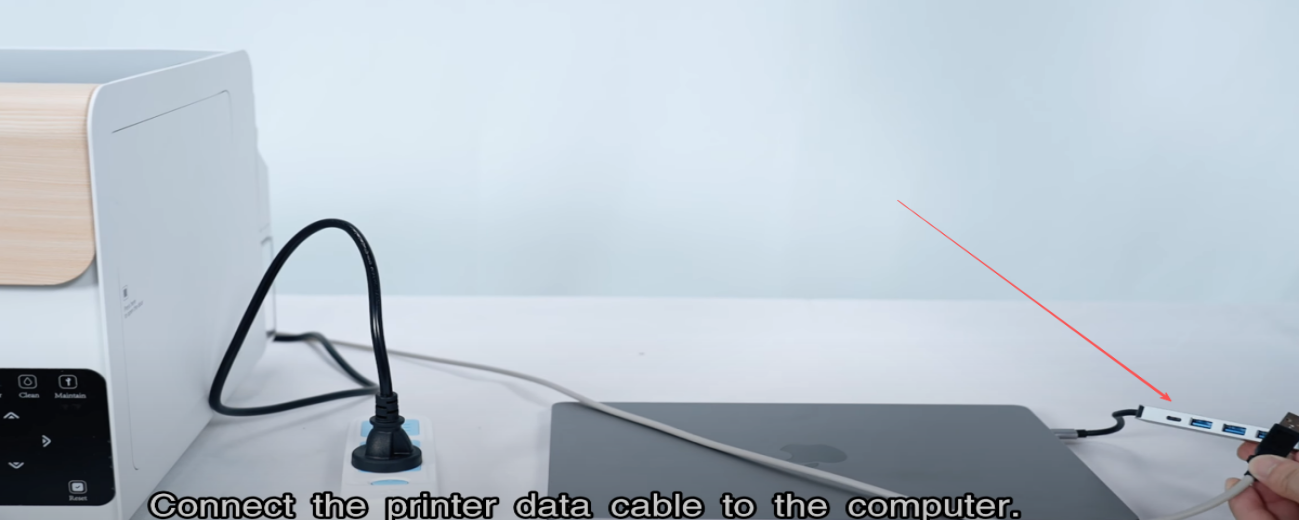 33Connect the printer data cable to the computer. |
|
 35Put the film paper on the bracket. |
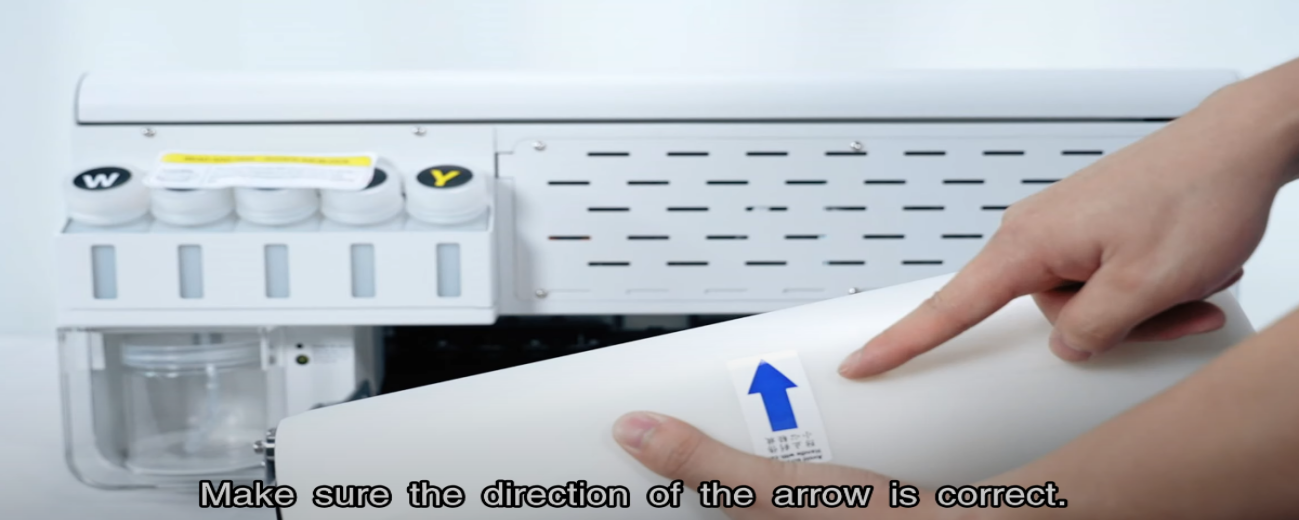 36Make sure the direction of the arrow is correct. |
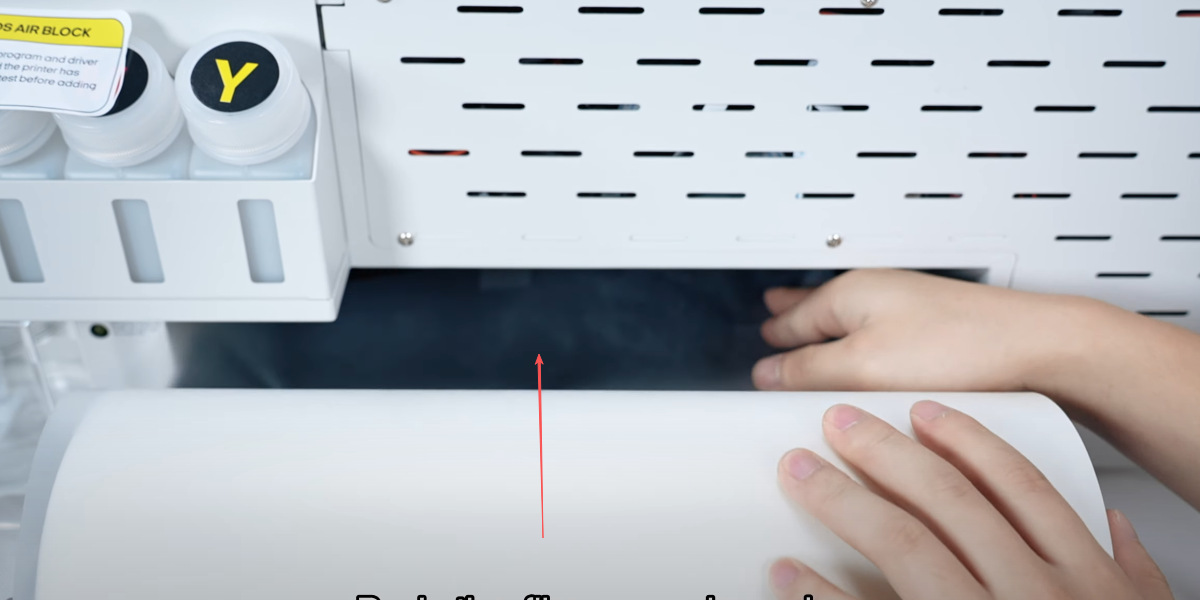 37Push the film paper inward. |
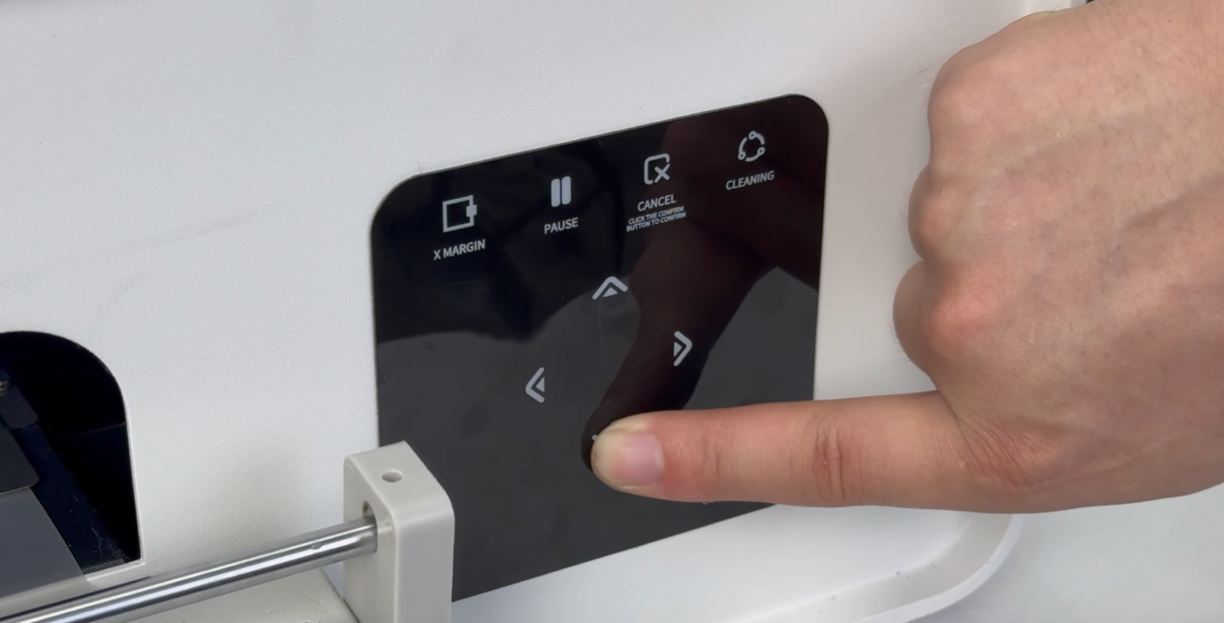 38While pushing film from the back, press the paper feeding button on the front — the film will move out. |
|