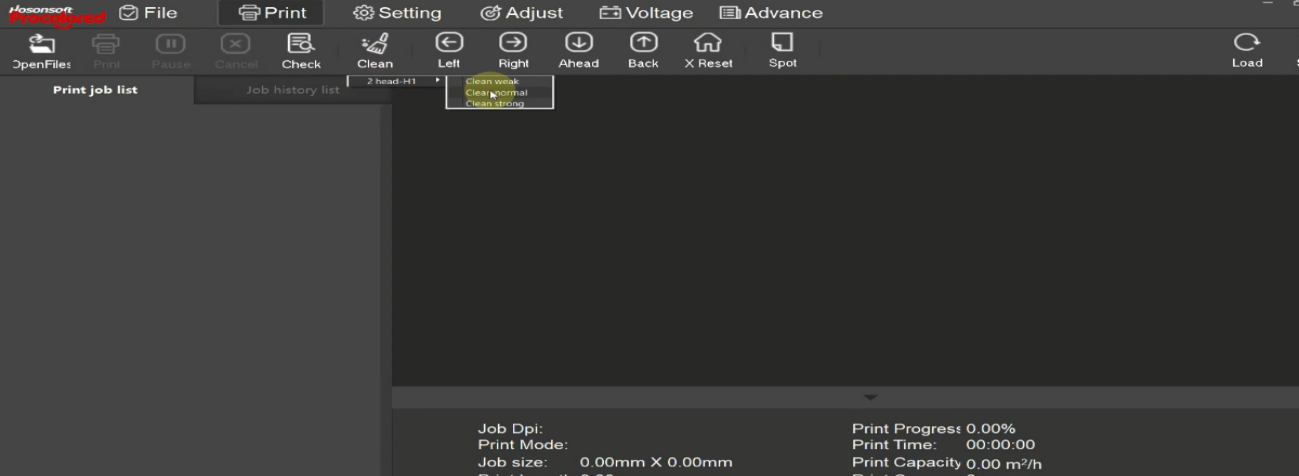
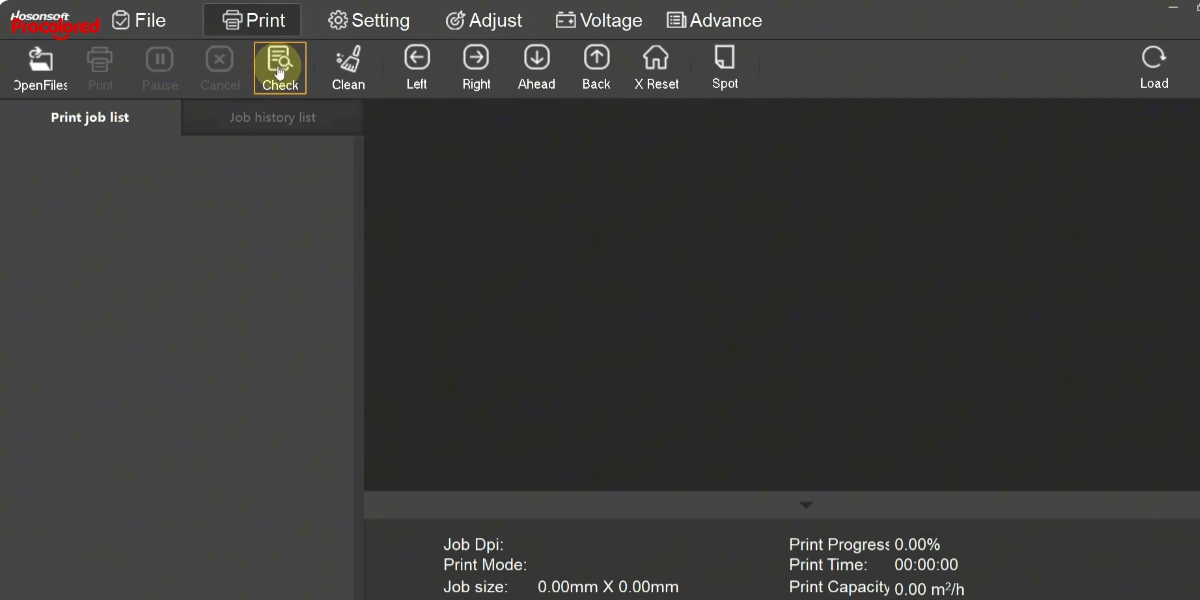
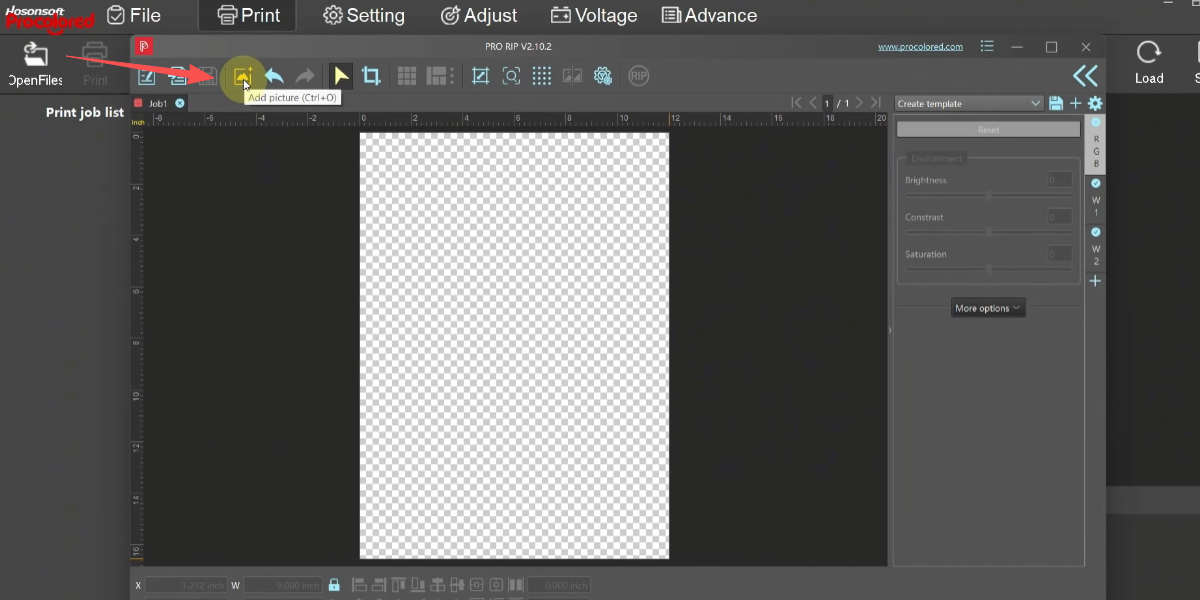
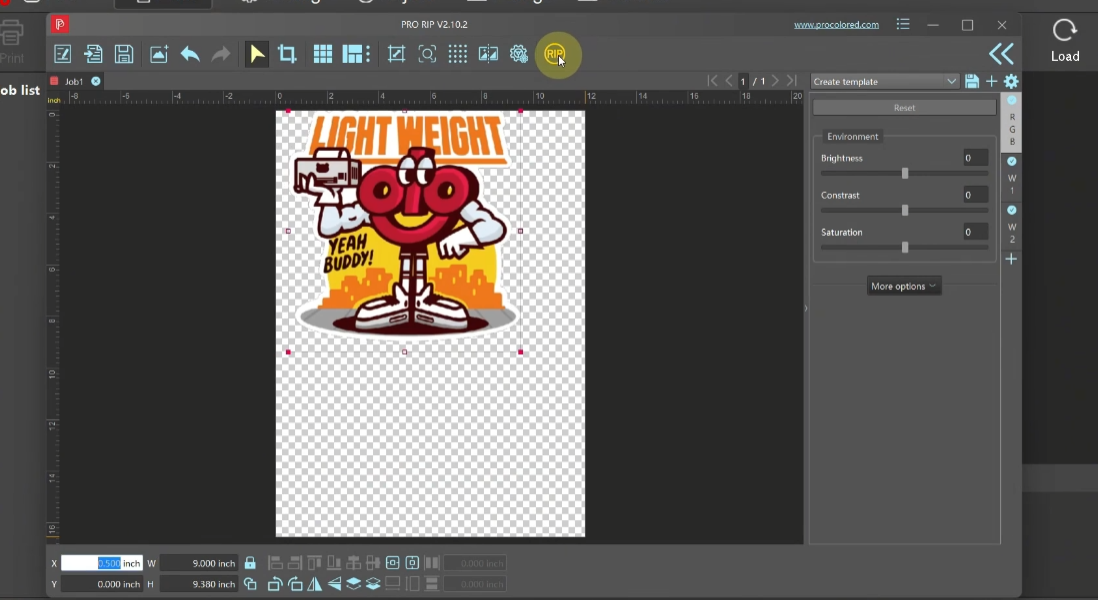
01Open the PRO RIP software. |
|
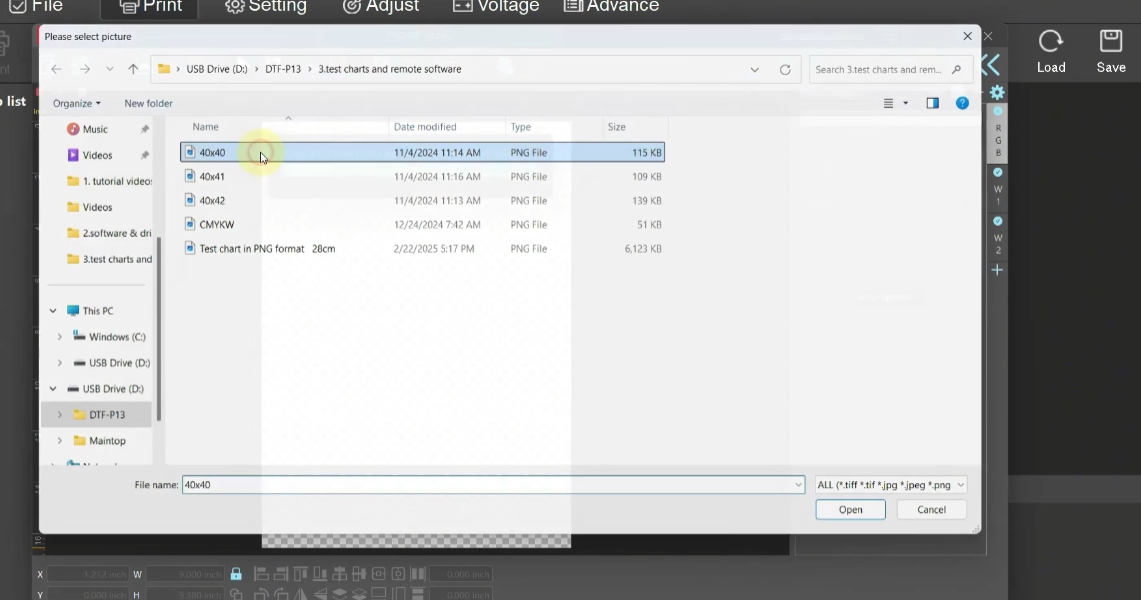
 03Add a PNG format image. |
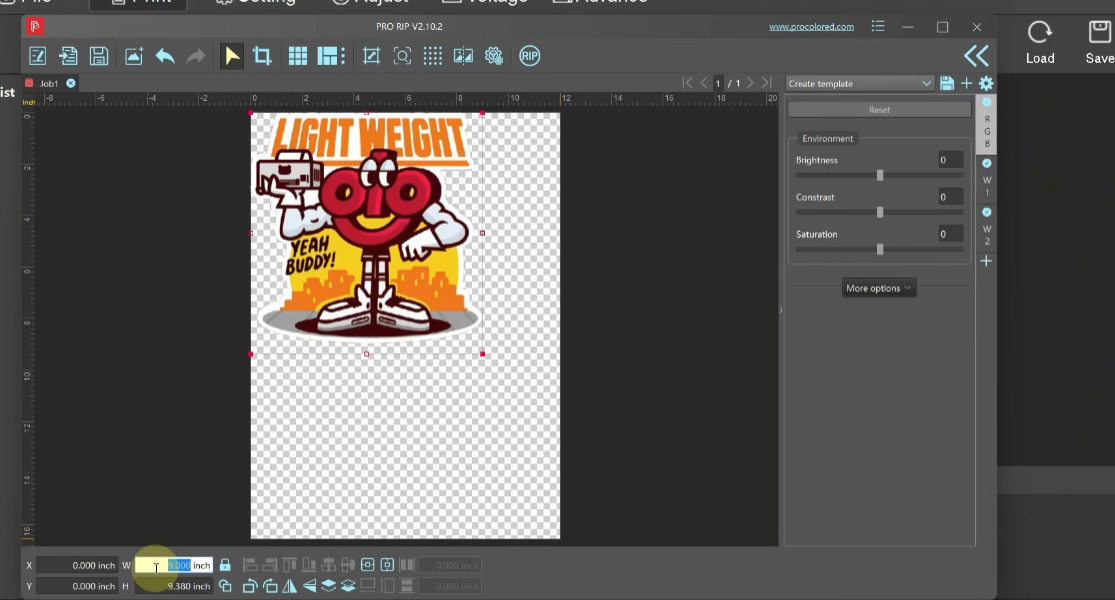
 04Adjust the image position. |
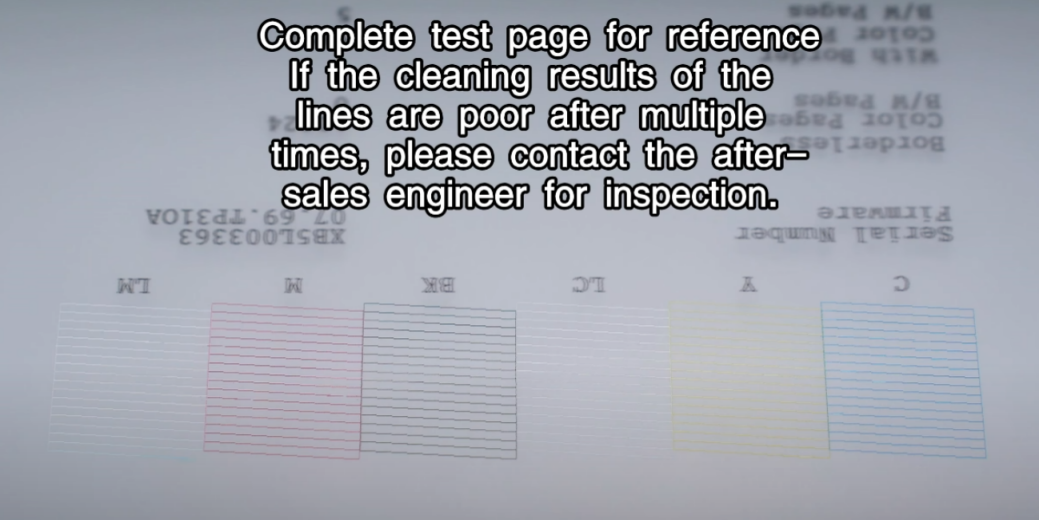
 05Before printing, print a test page to confirm the print head status. |
 06Start printing the test page. |
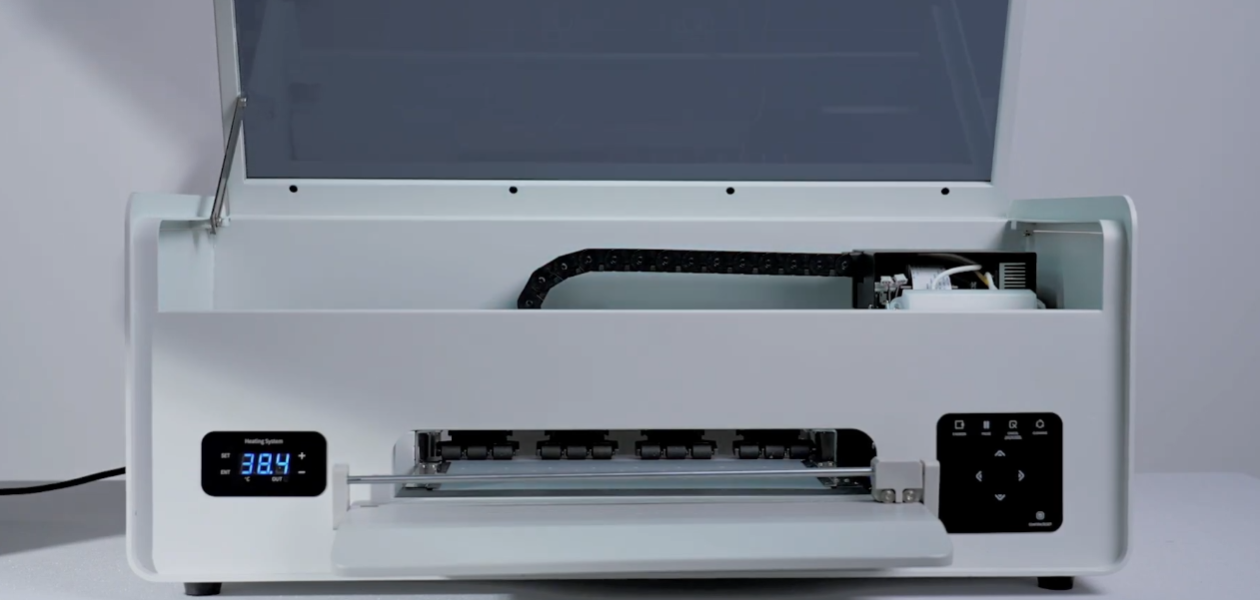
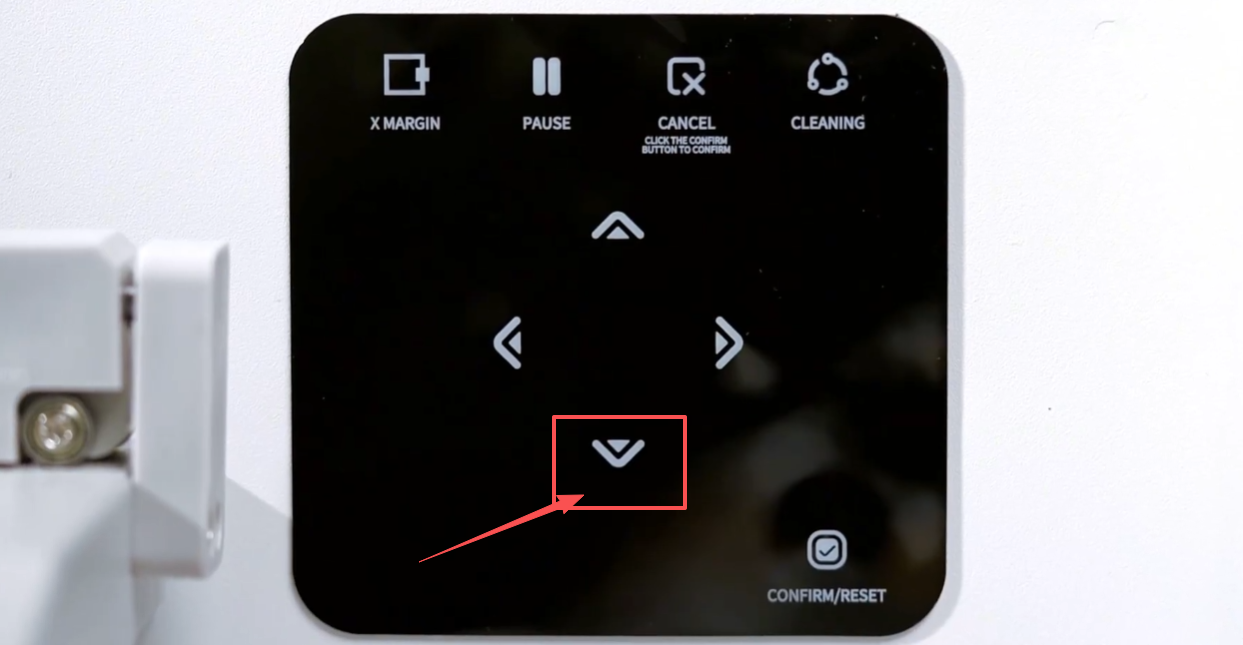 07Press and hold the down arrow button to remove the film paper. |
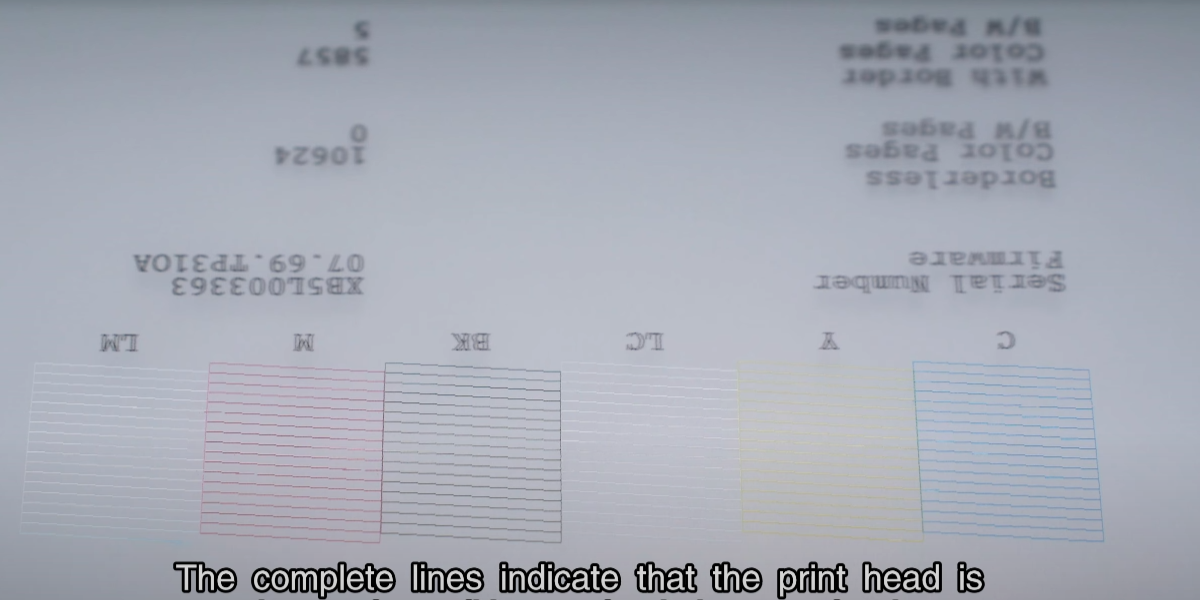 08Complete lines indicate the print head is in good condition — start printing. |
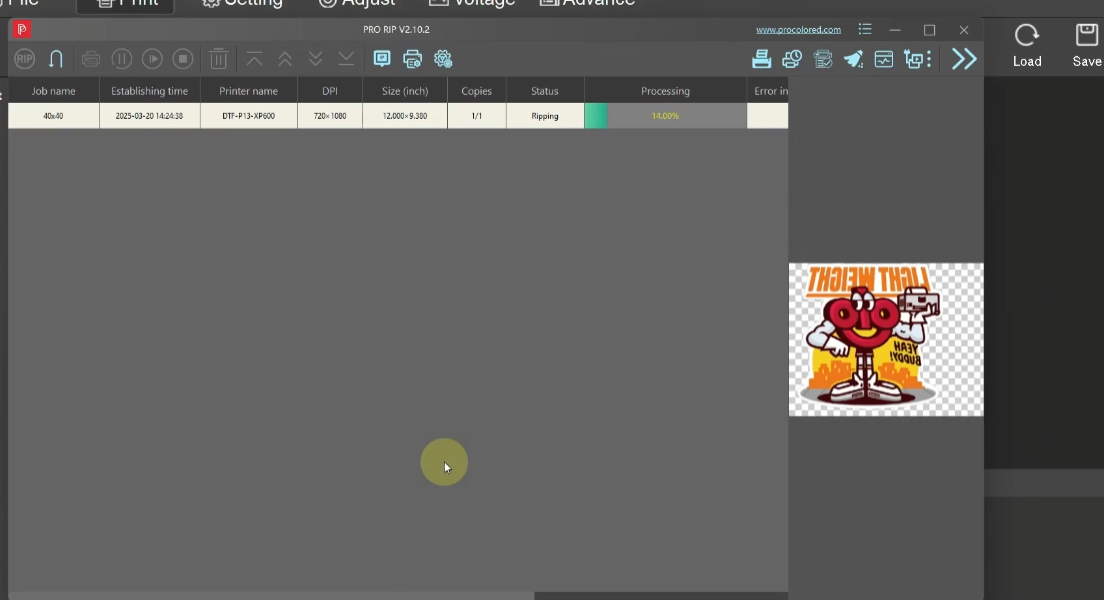
 09Click RIP to send the print task. |
 10After image processing, the printer starts printing. |
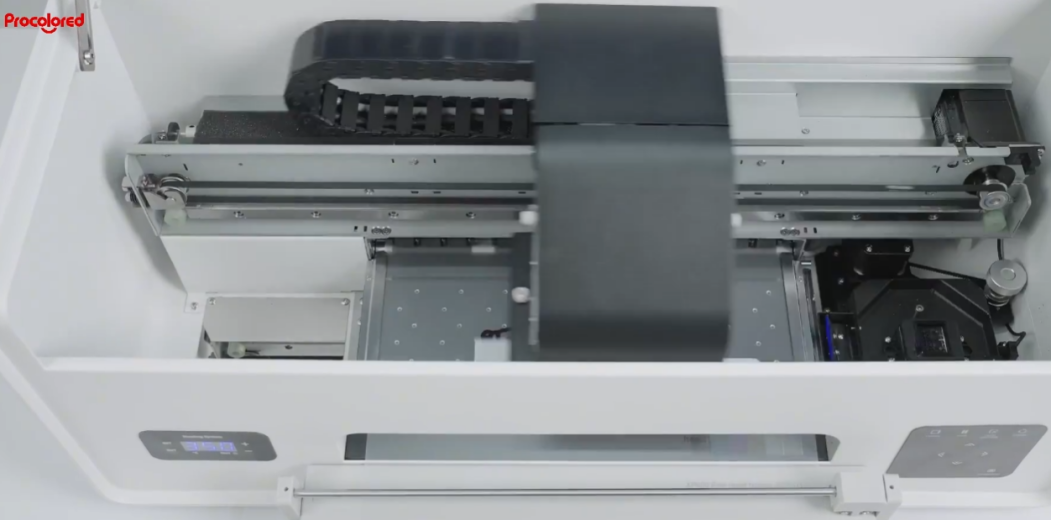 11The print head moves and starts printing. |
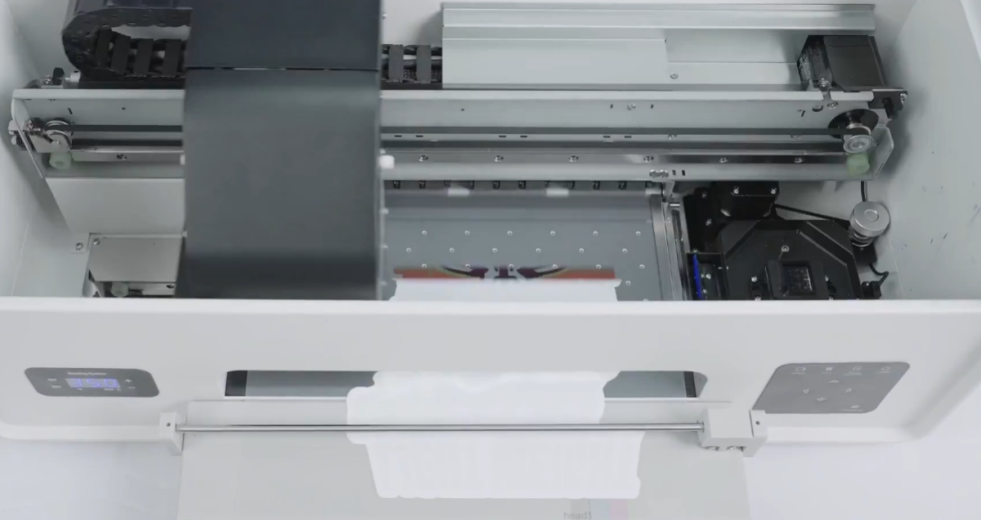 12Waiting for pattern printing to complete. |
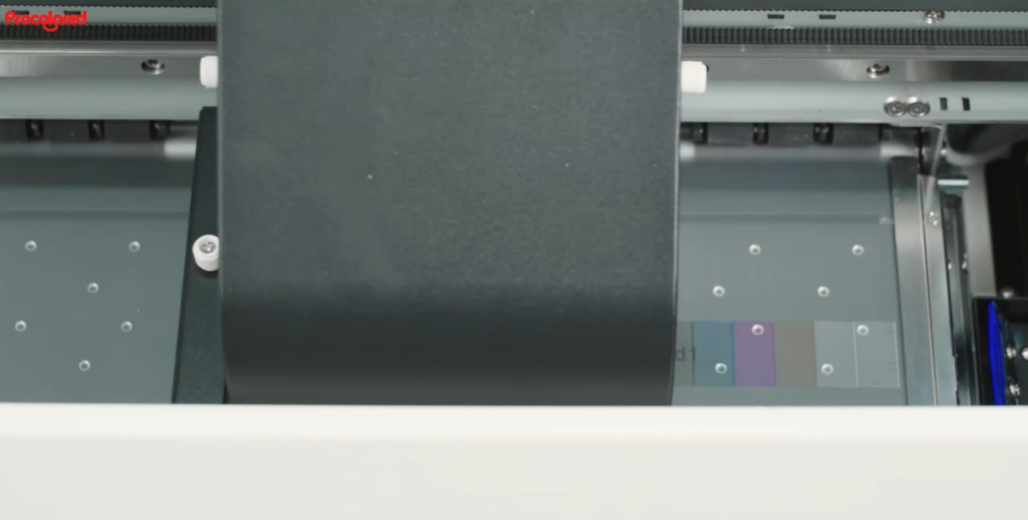
 13Long press the down arrow button to advance the film paper. |
 14Cut off the film paper. Pattern printing complete — next step is to add adhesive powder and bake. |
|