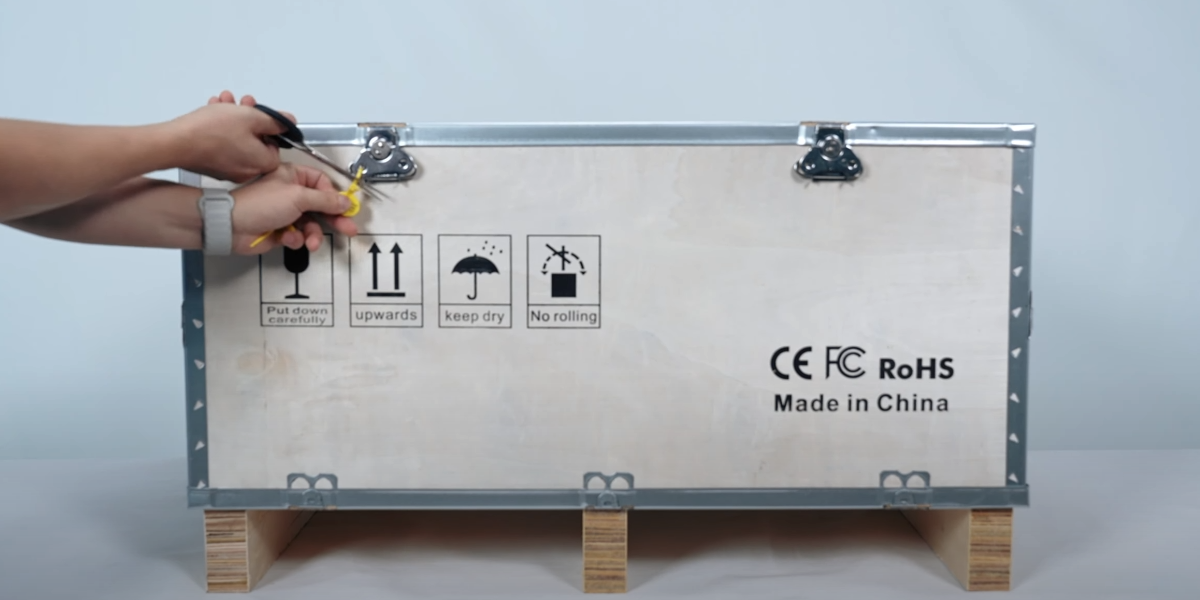
Remove the fixing cable tie.
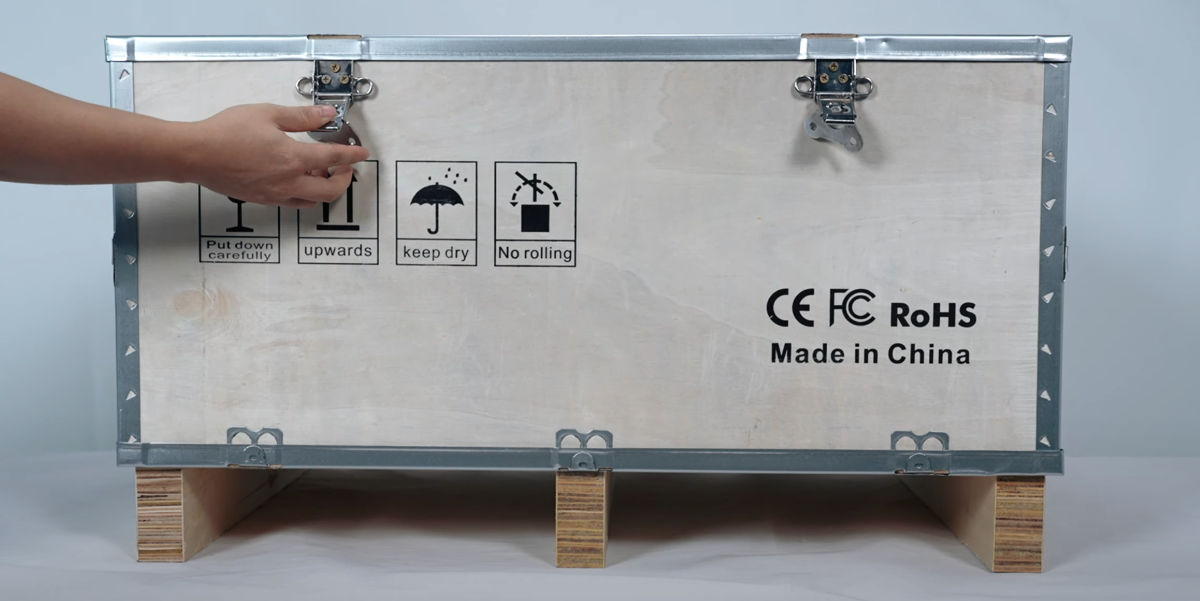
Open the fixing lock.
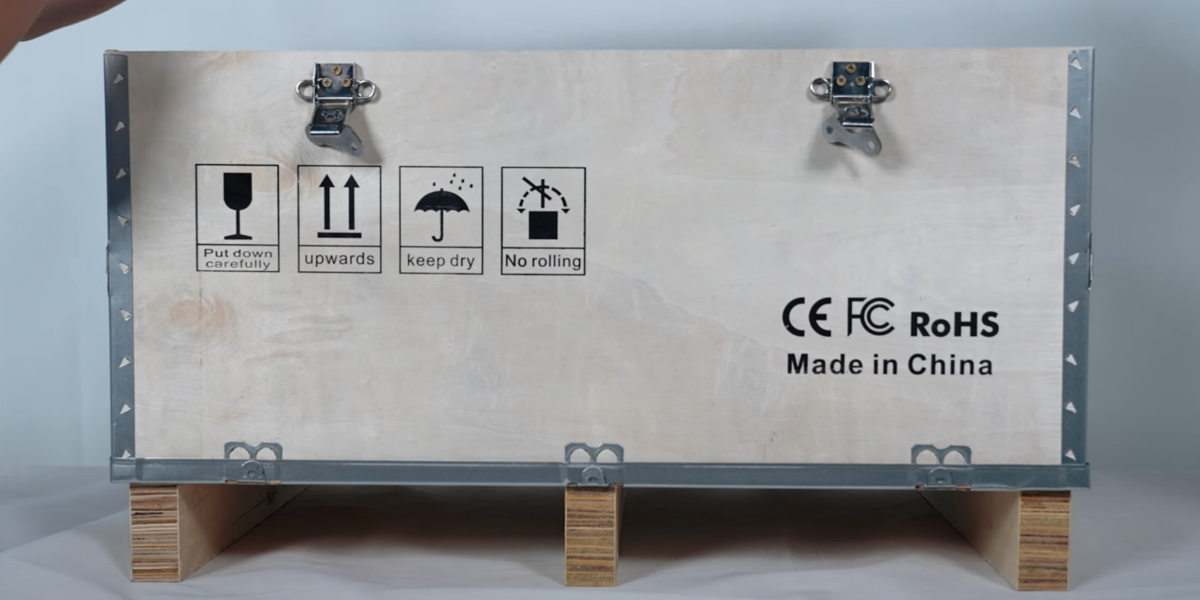
Open the cover.
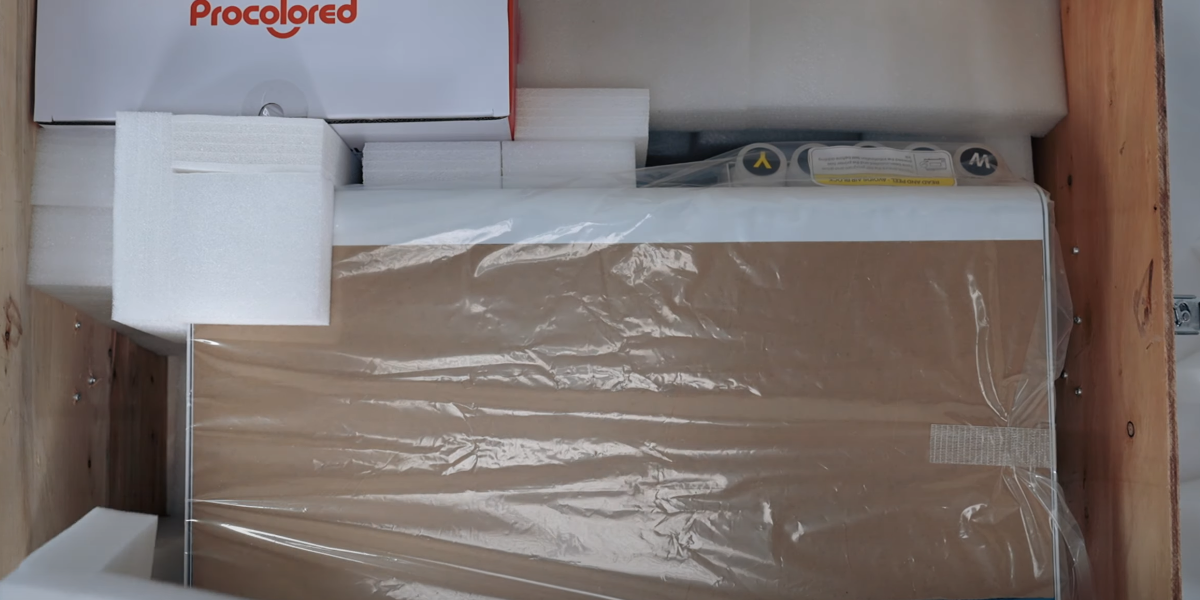
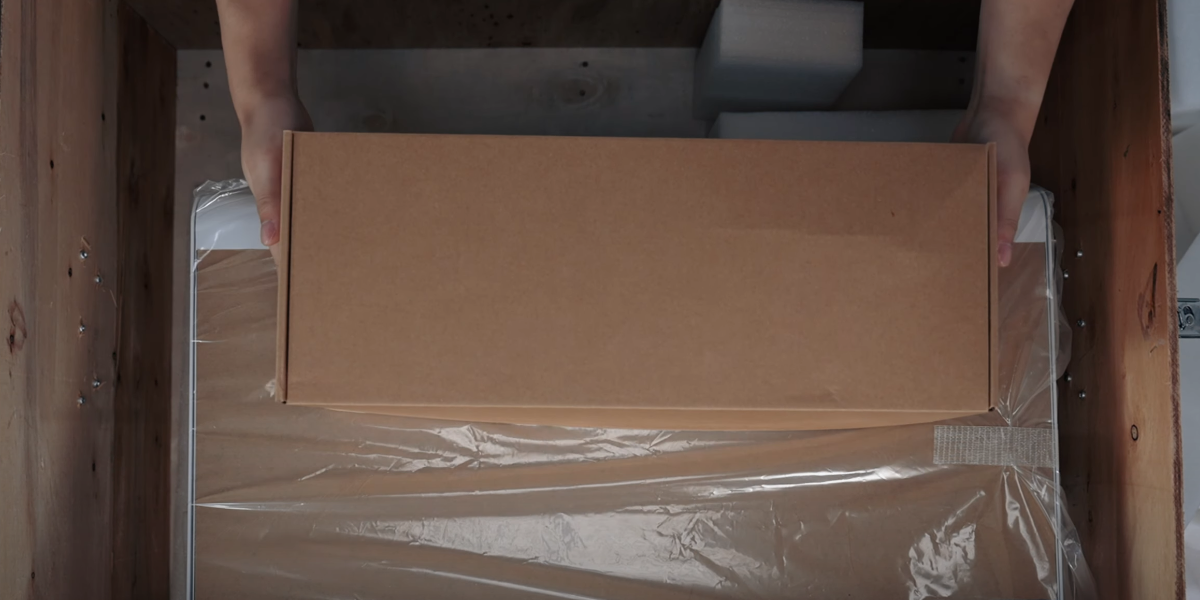
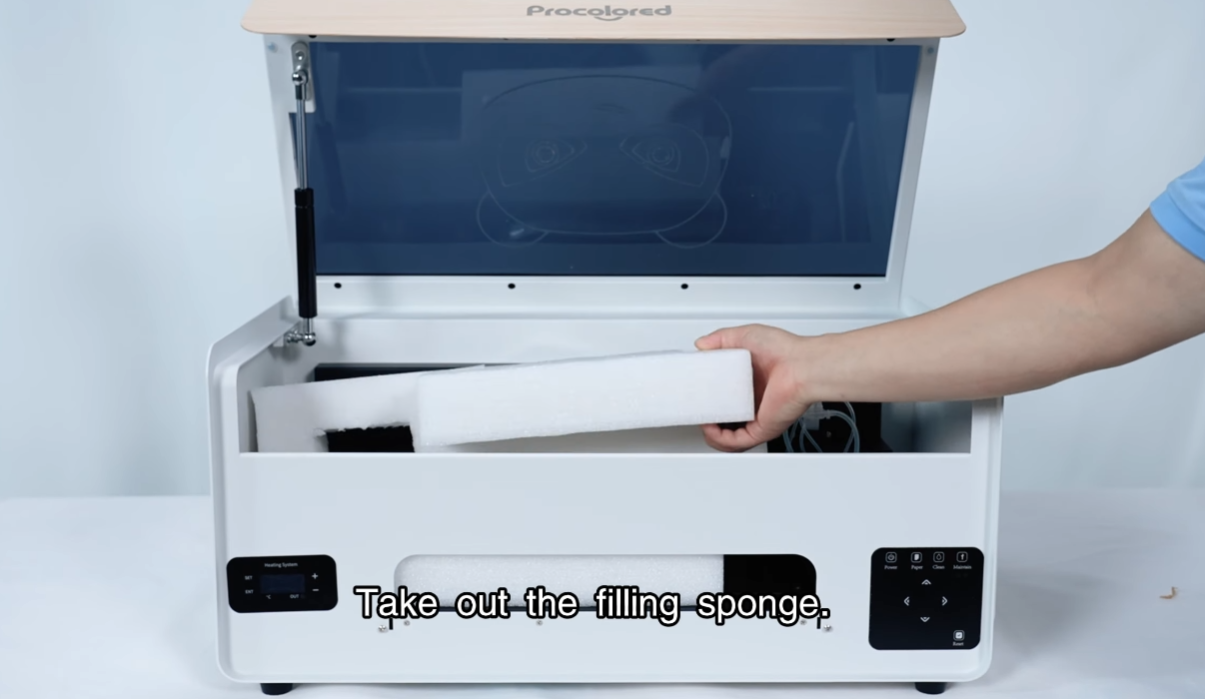
Take out the filling sponge.
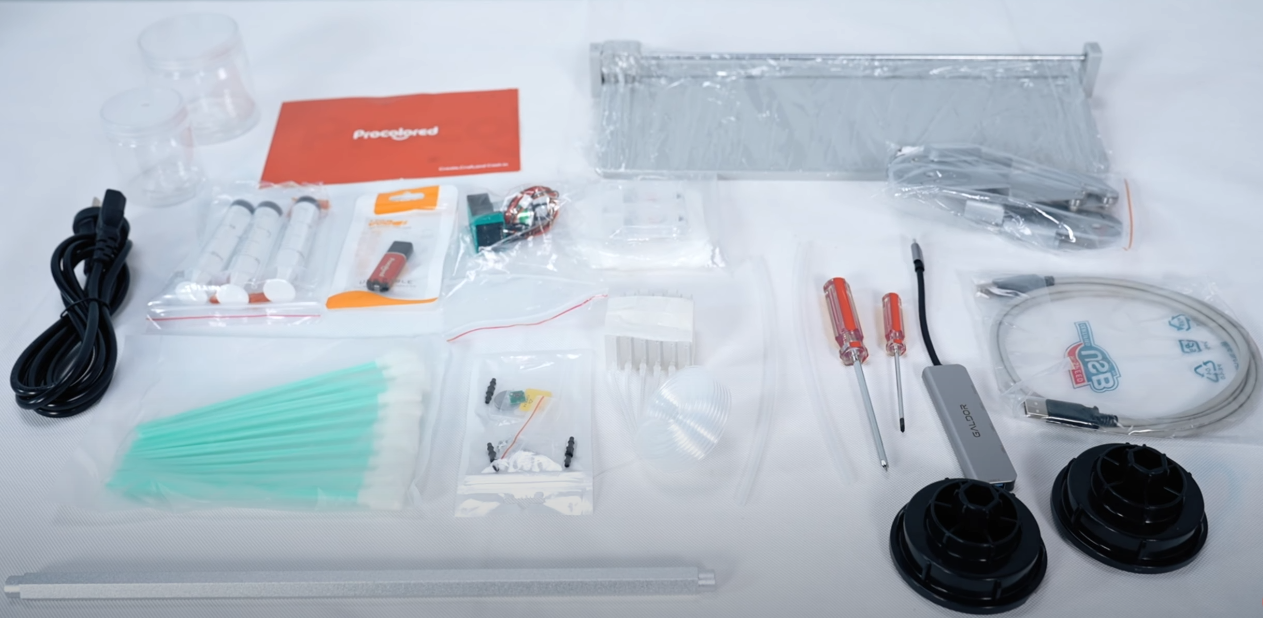
This is the accessories package.
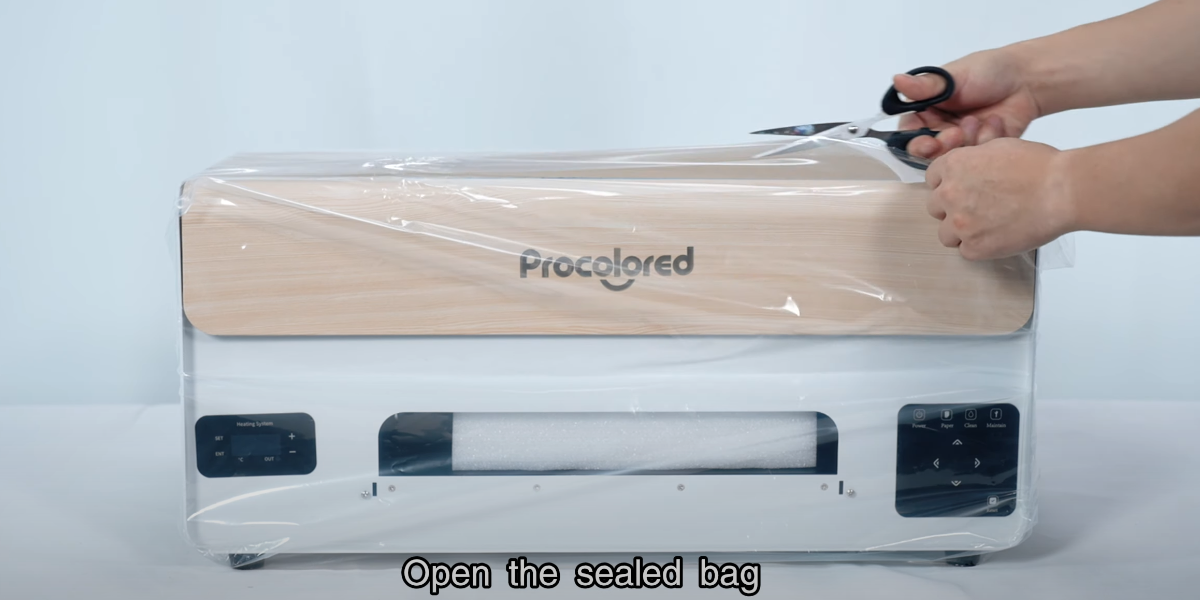
Open the sealed bag.
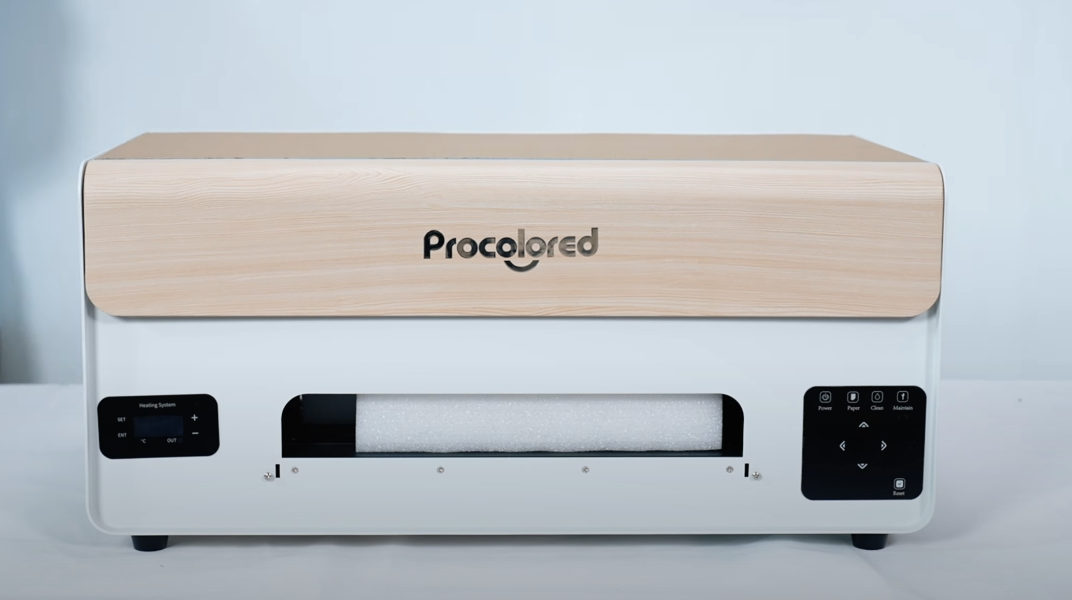
Check if the exterior of the machine is intact.
Open the accessories package and check the accessories.
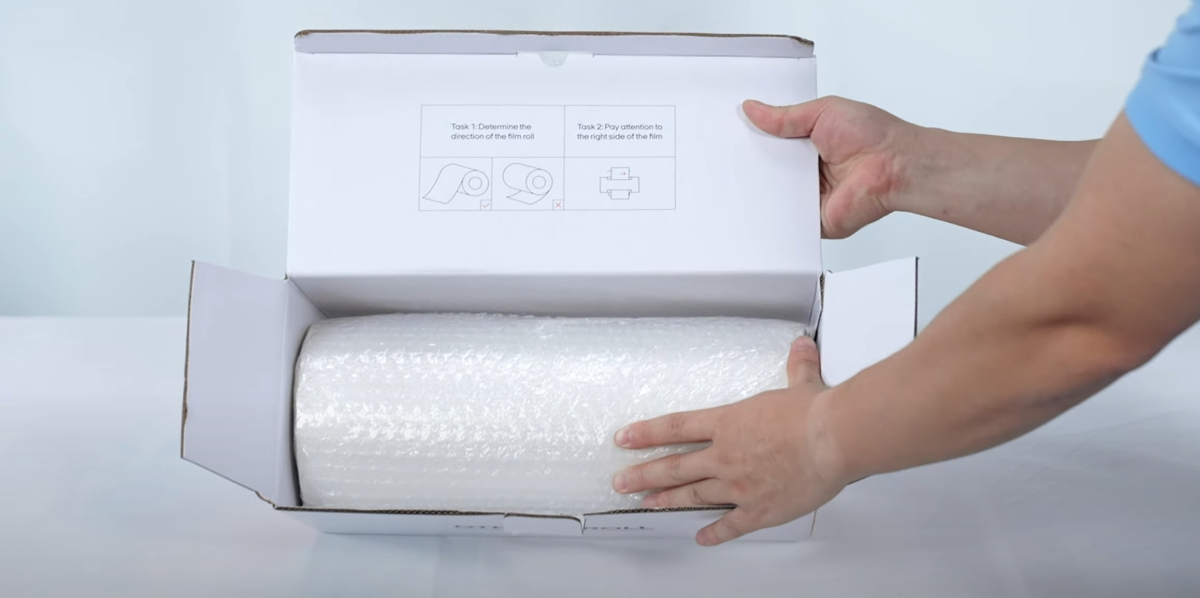
Take out the DTF film.
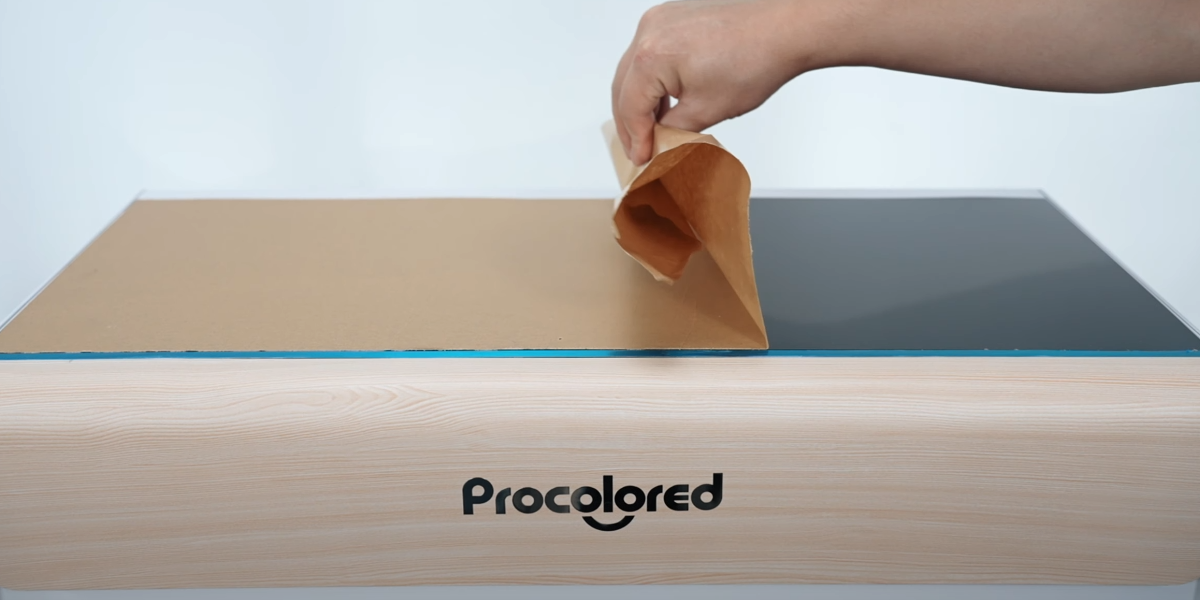
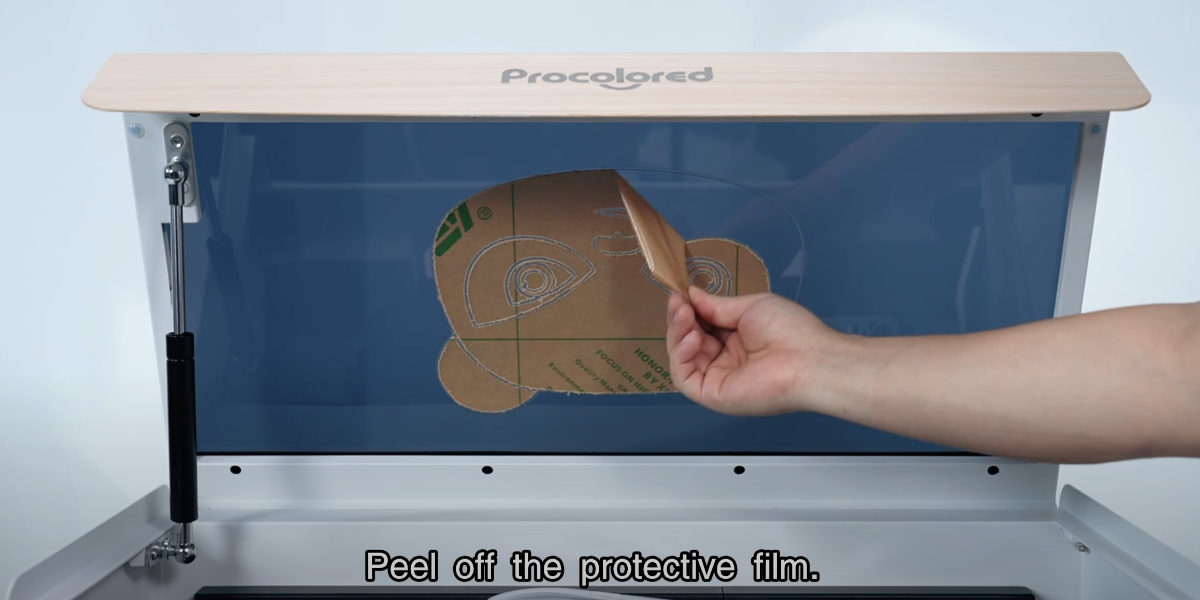
Peel off the protective film.
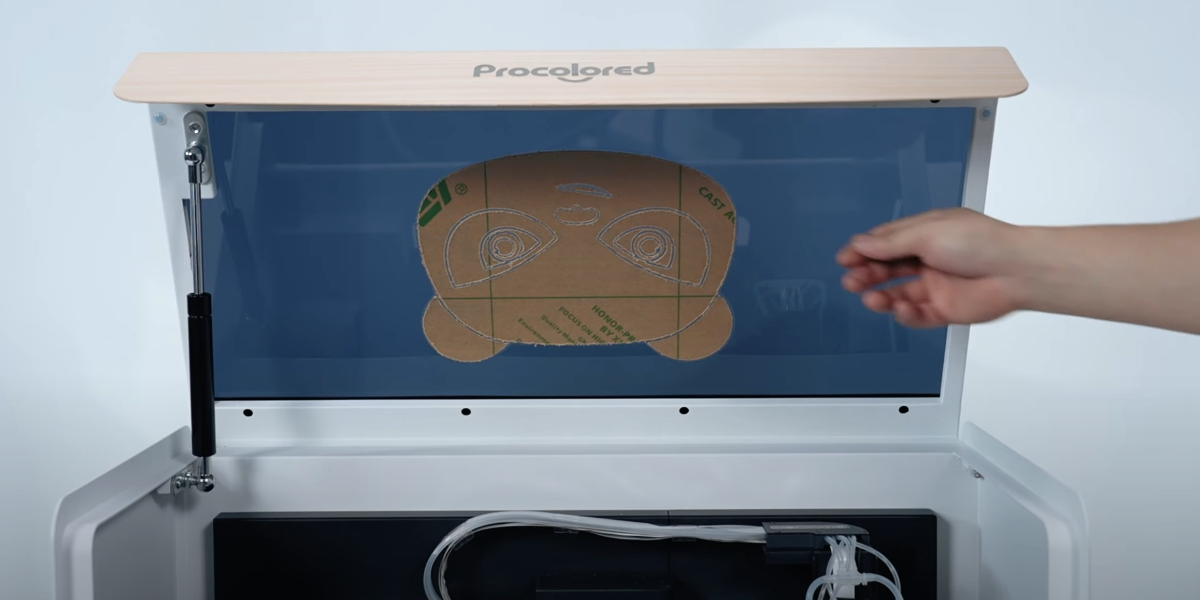
Open the top cover.
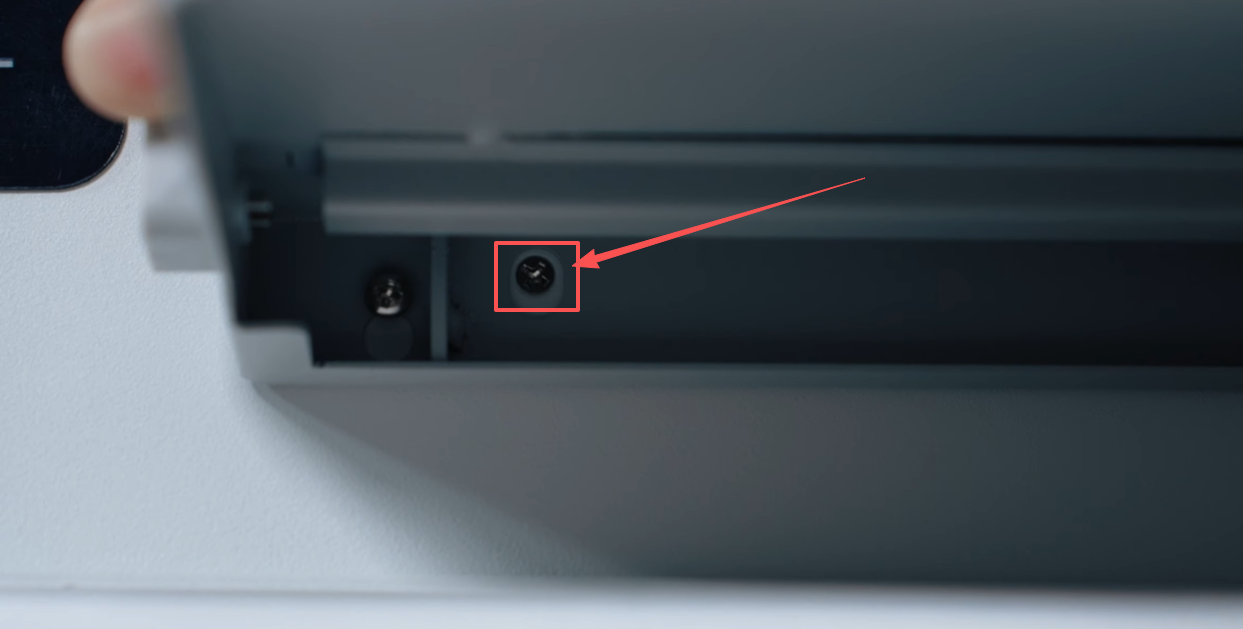
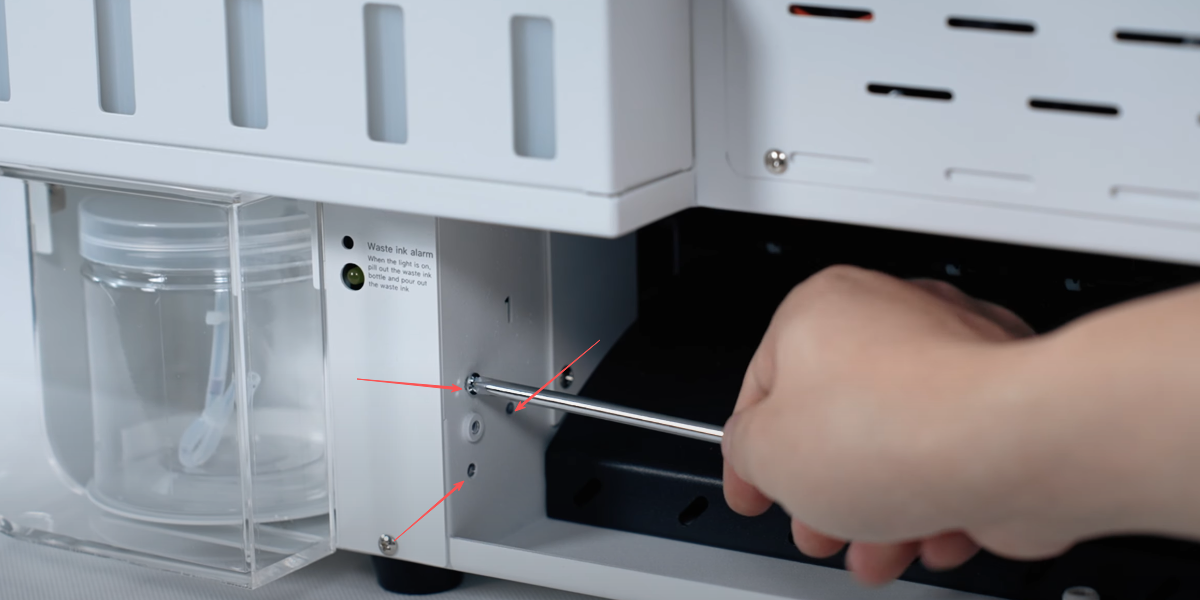
Loosen the two front screws of the machine.
Position the tray, and securely tighten the screws.
Insert the powder cord and data cable.
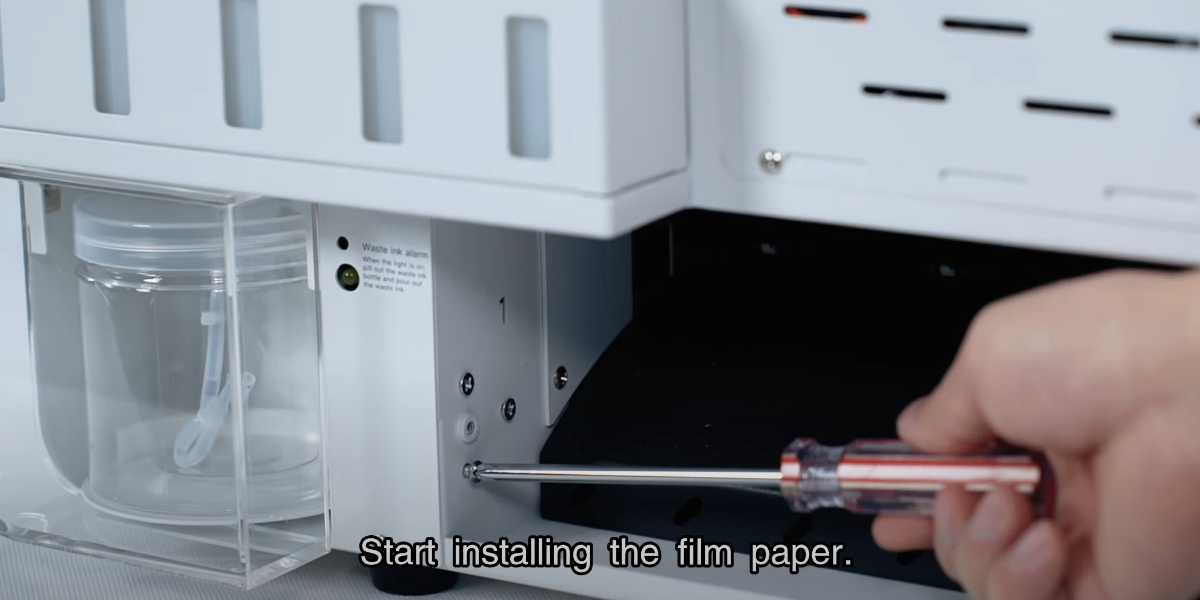
Start installing the film paper.
Unscrew the screws.
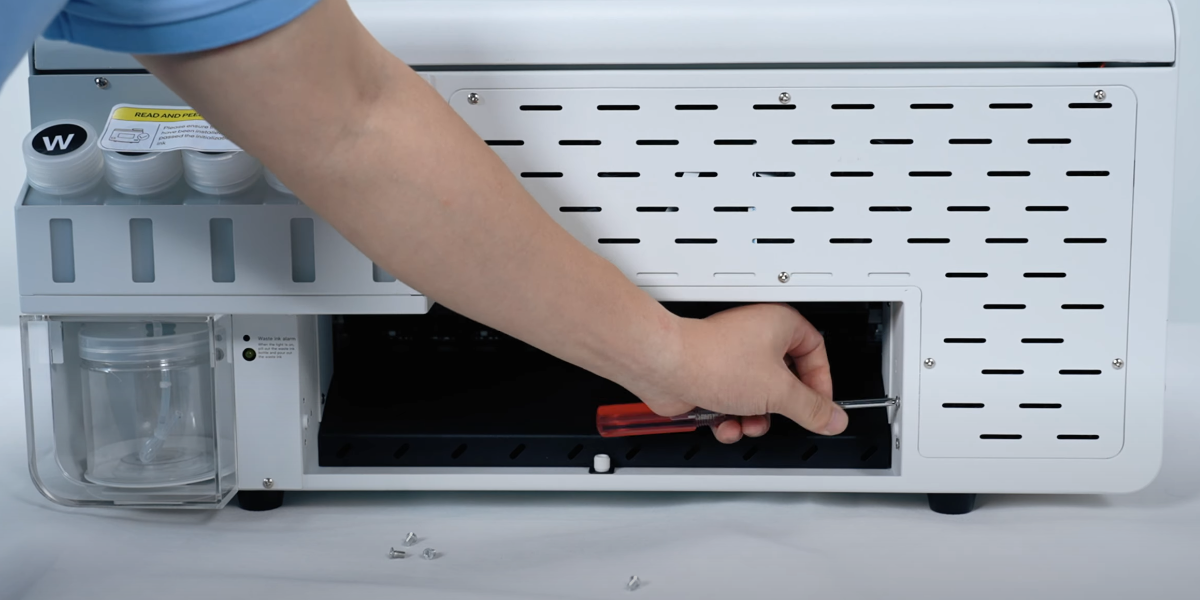
The screws on the right side should also be taken off.
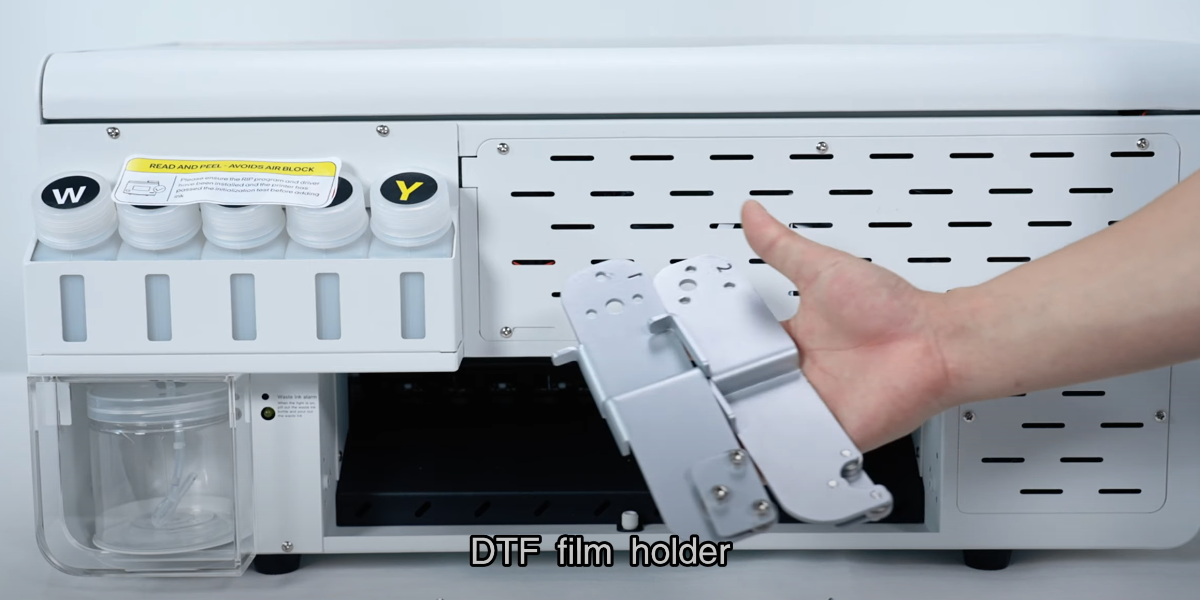
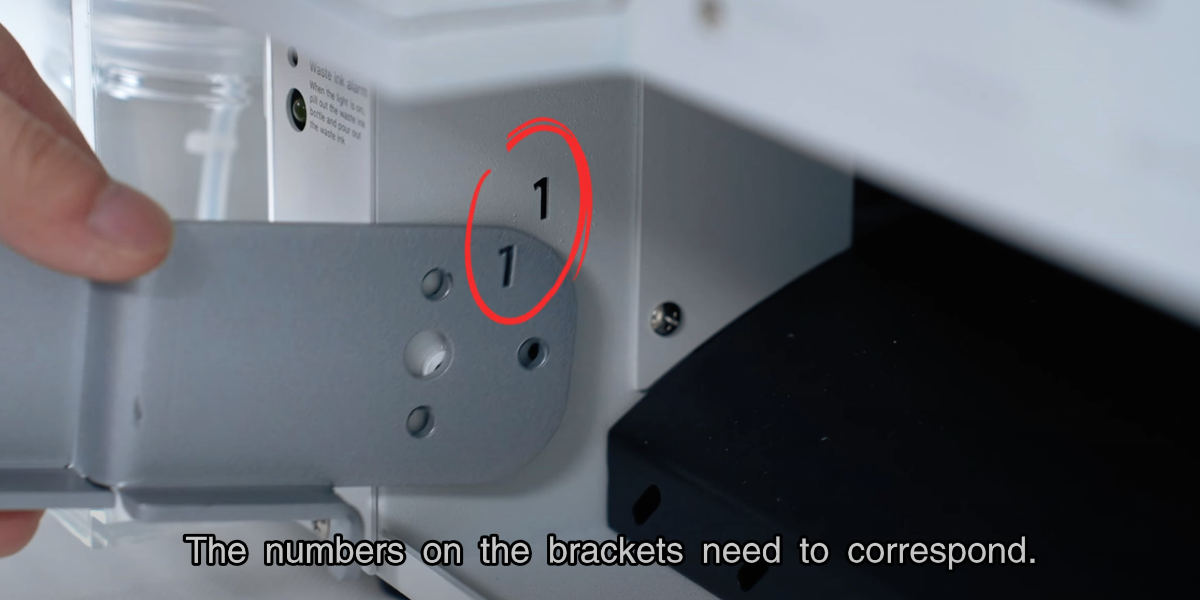
DTF film holder.
The numbers on the brackets need to correspond.
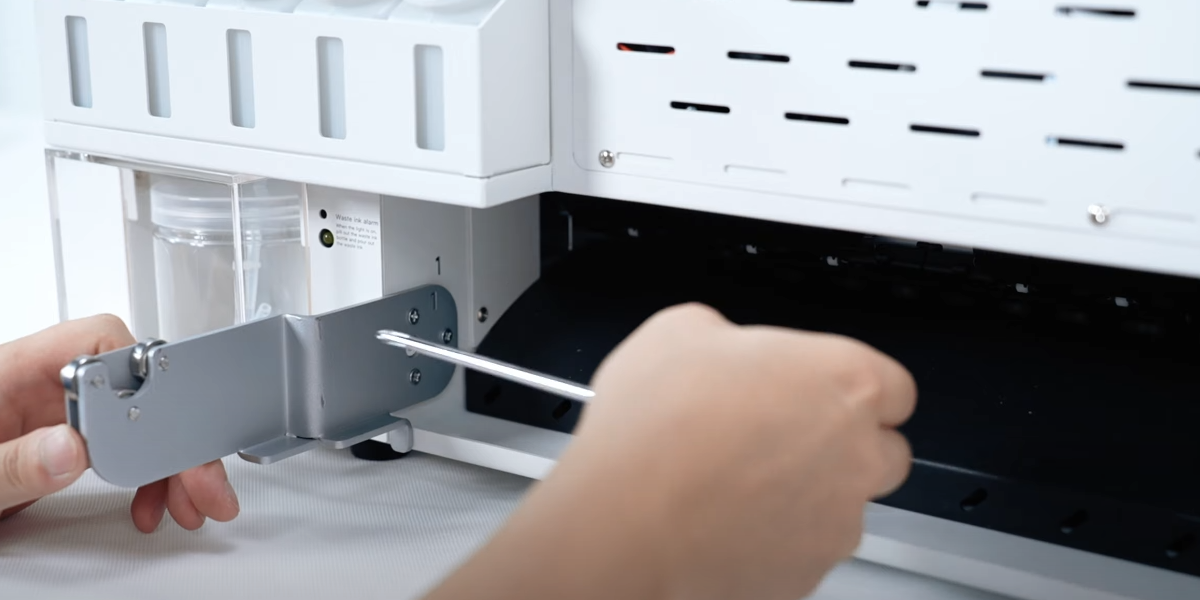
Install the screws to fix the bracket.
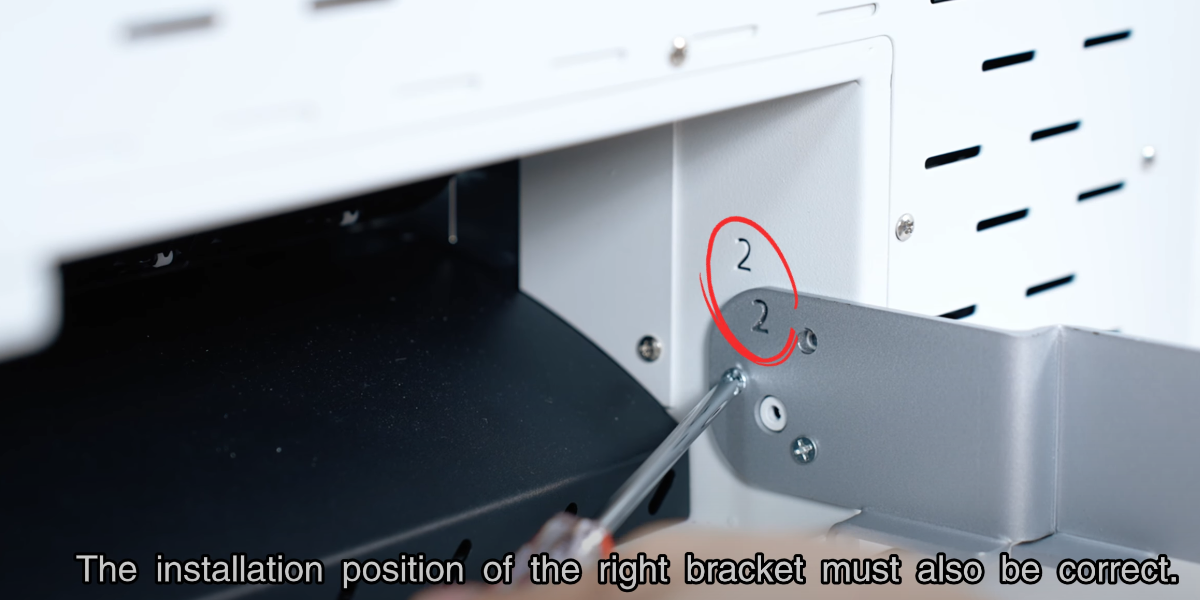
The installation position of the right bracket must also be correct.
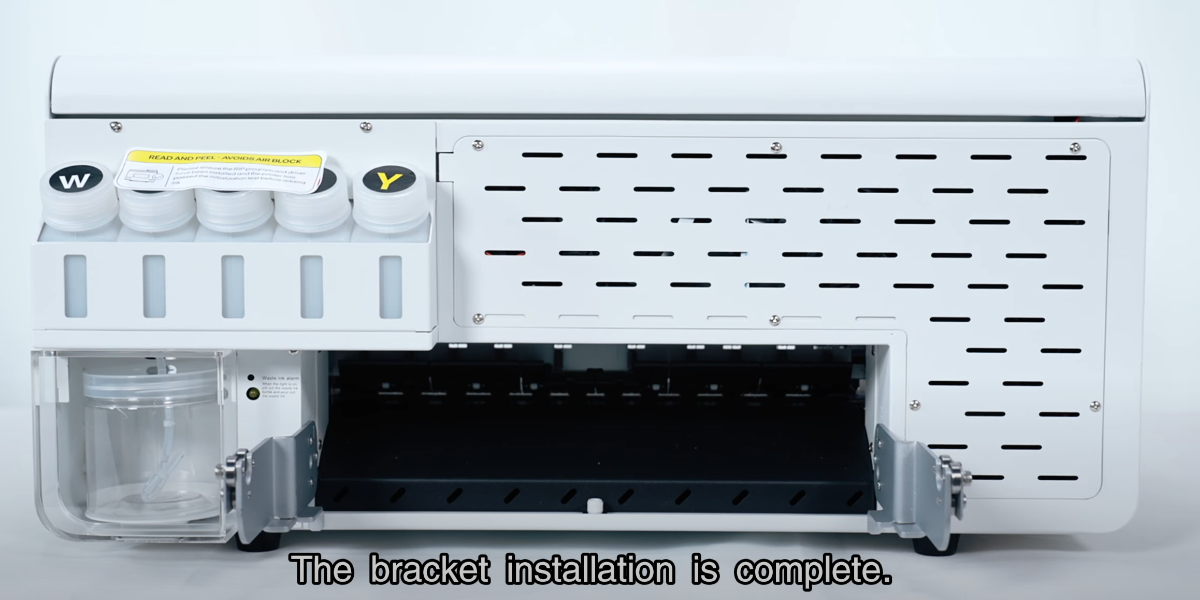
The bracket installation is complete.
Open the film paper package.
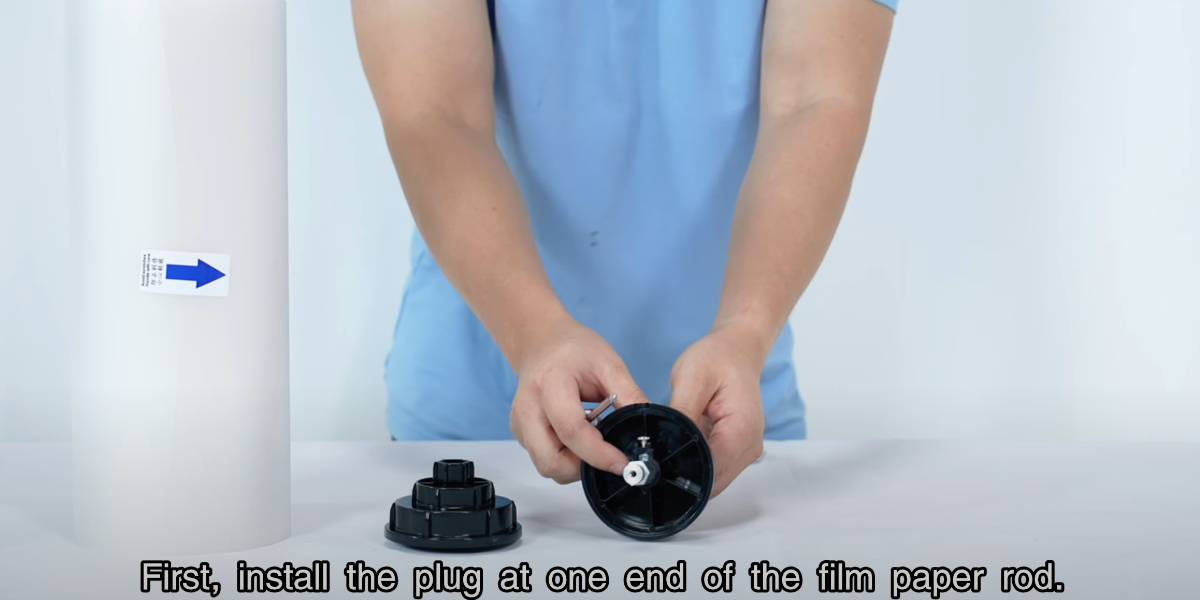
First, install the plug at one end of the film paper rod.
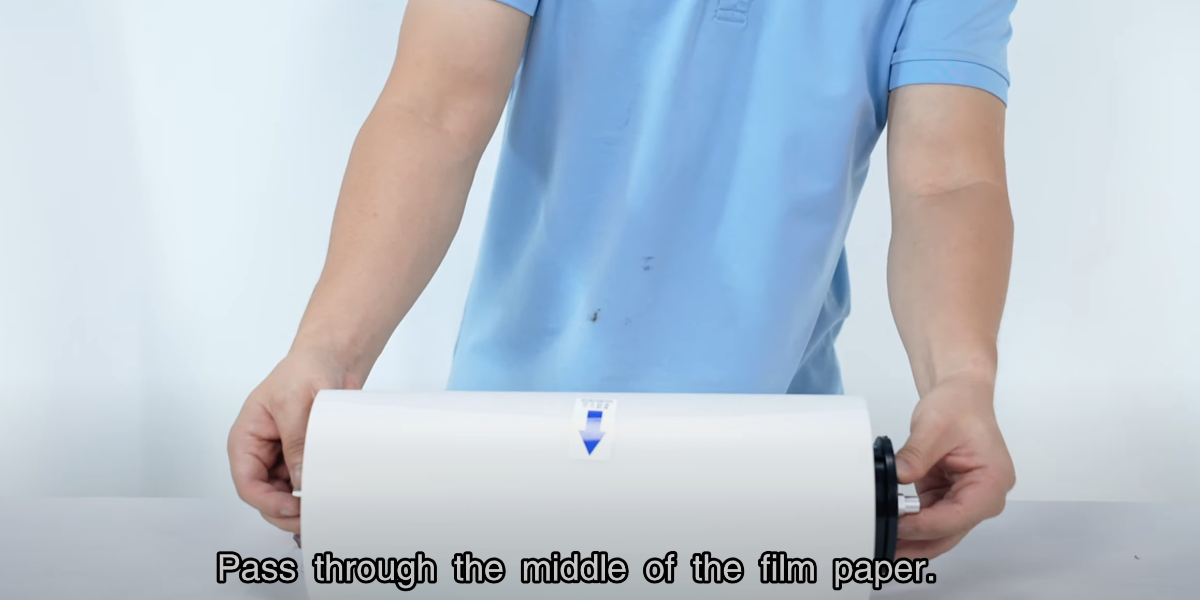
Pass through the middle of the film paper.
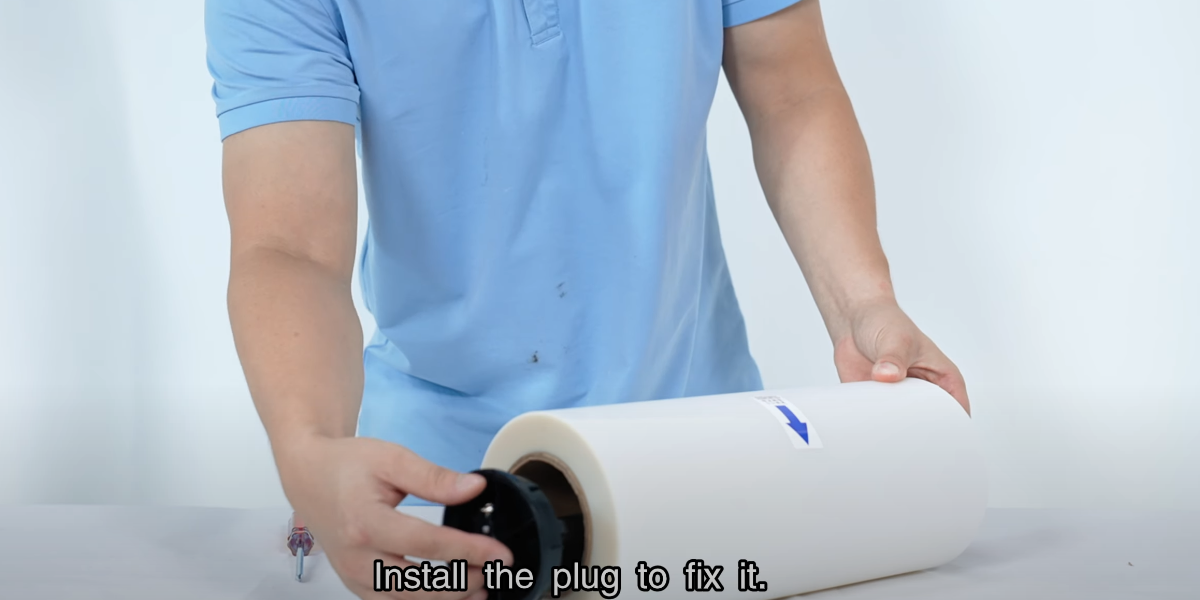
Install the plug to fix it.
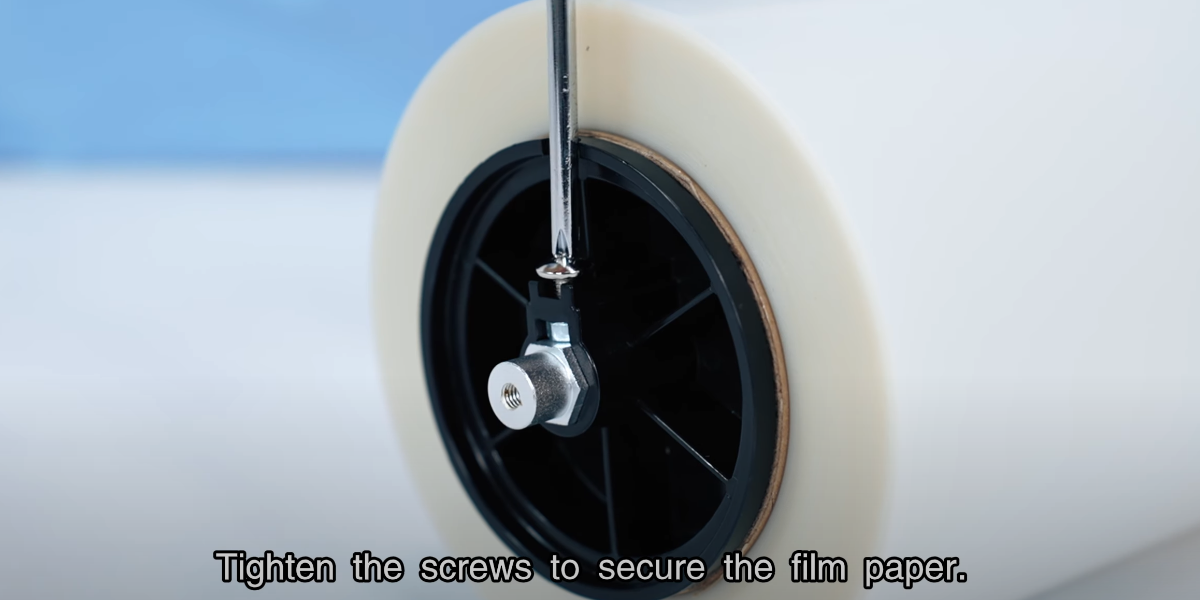
Tighten the screws to secure the film paper.
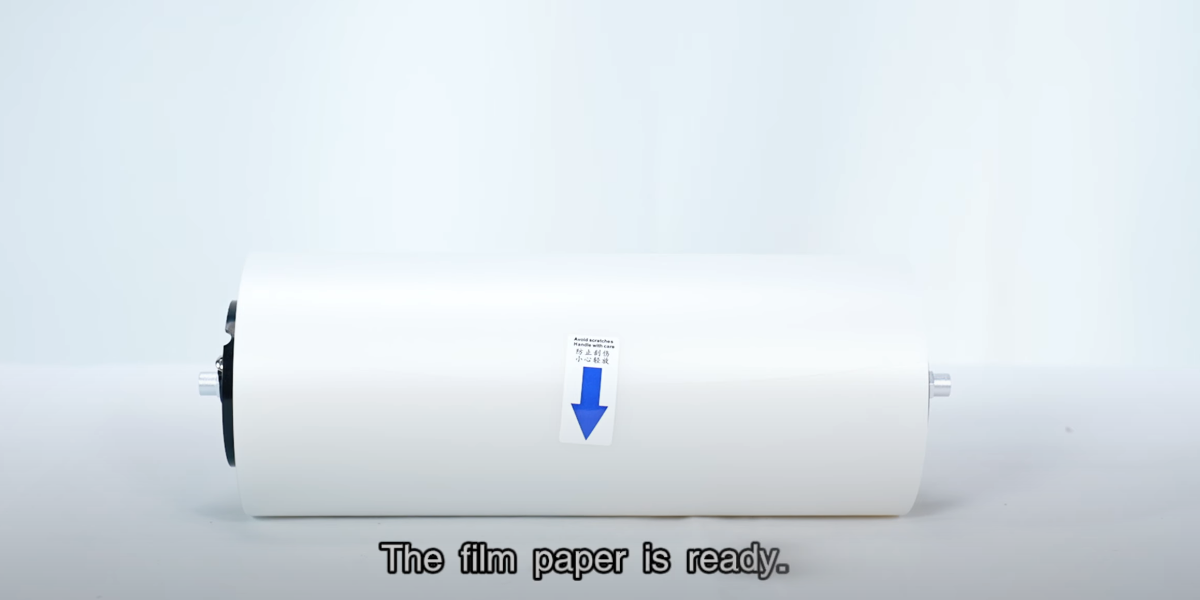
The film paper is ready.
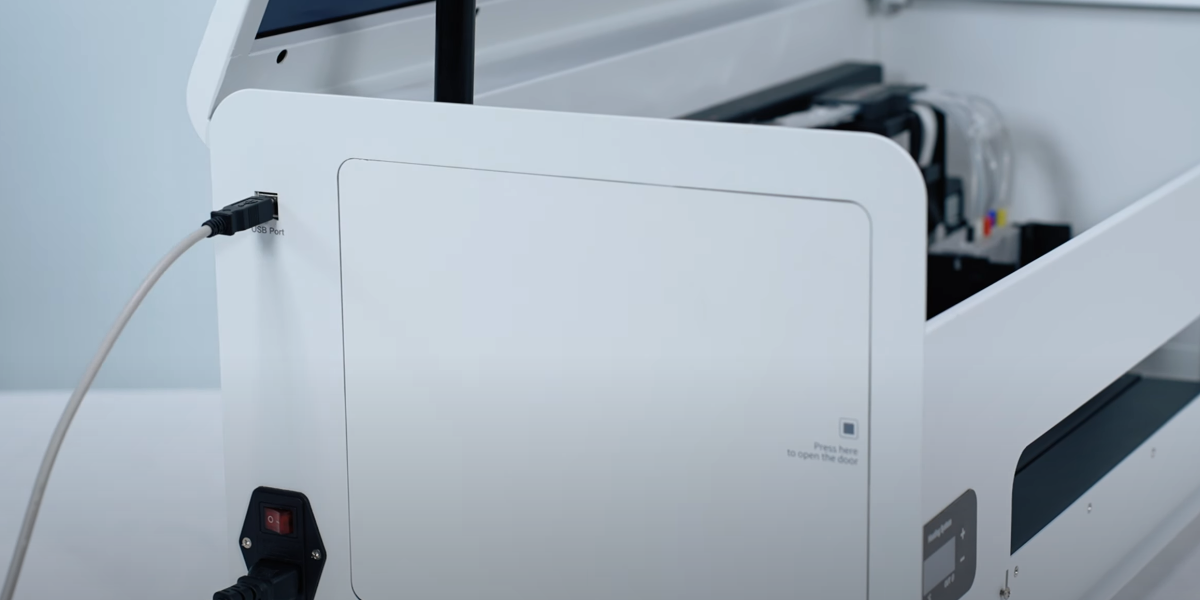
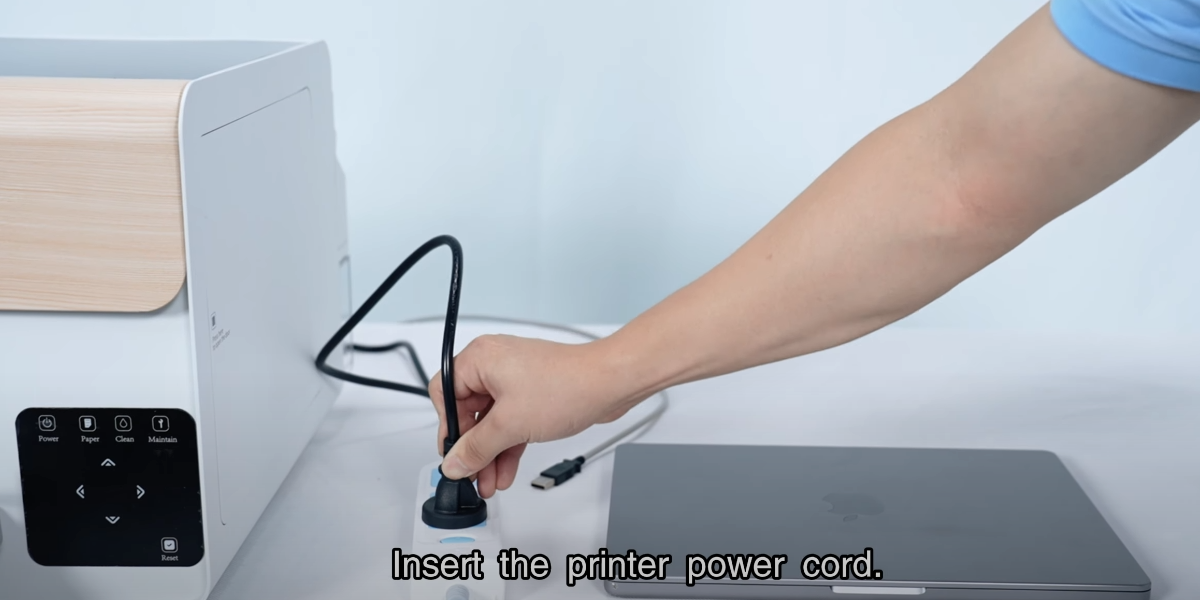
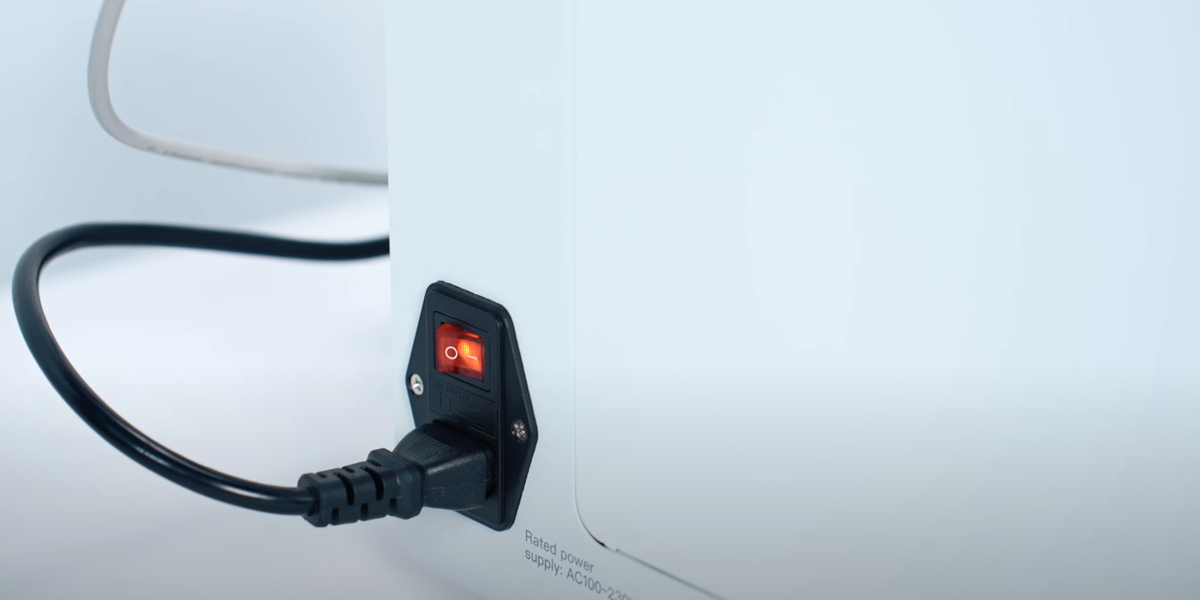
Insert the printer power cord.
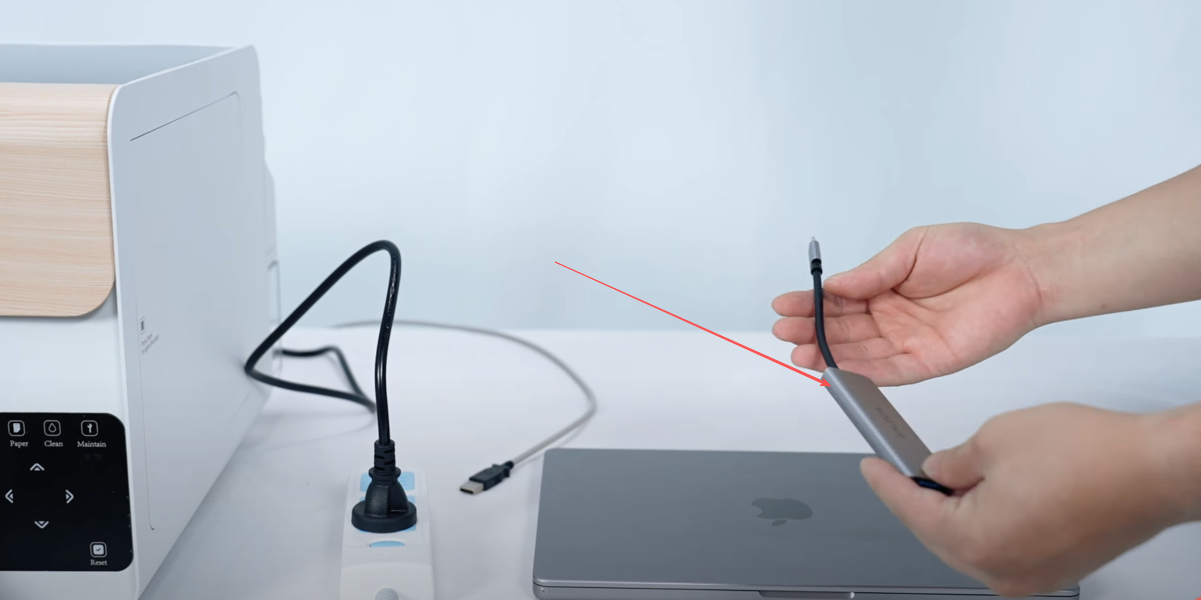
Insert the adapter.
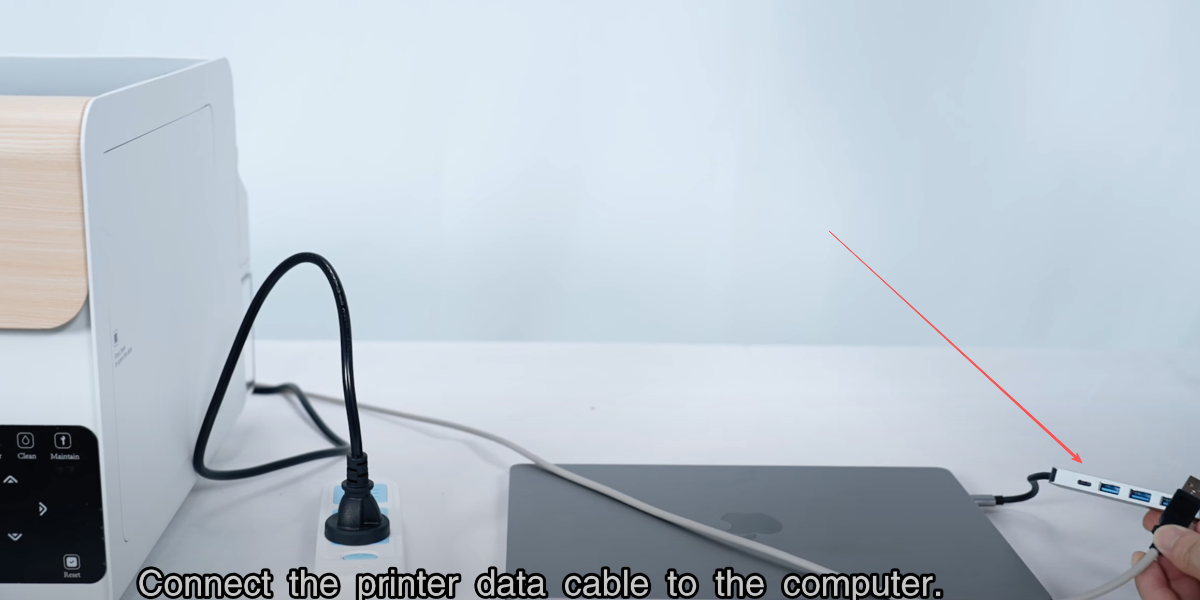
Connect the printer data cable to the computer.
Turn on the printer.
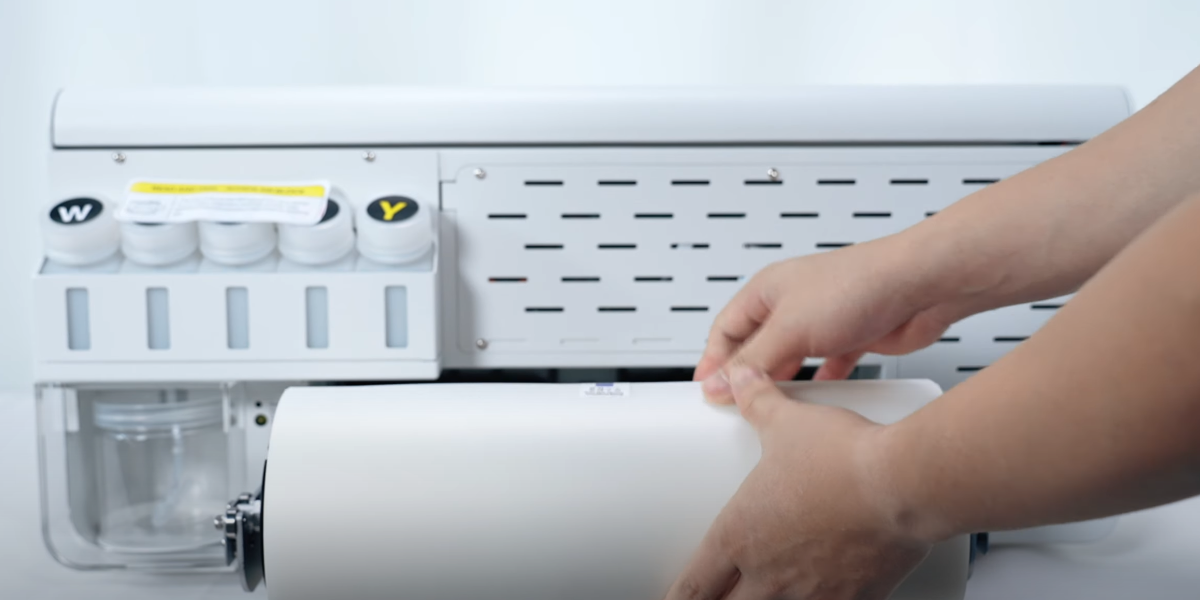
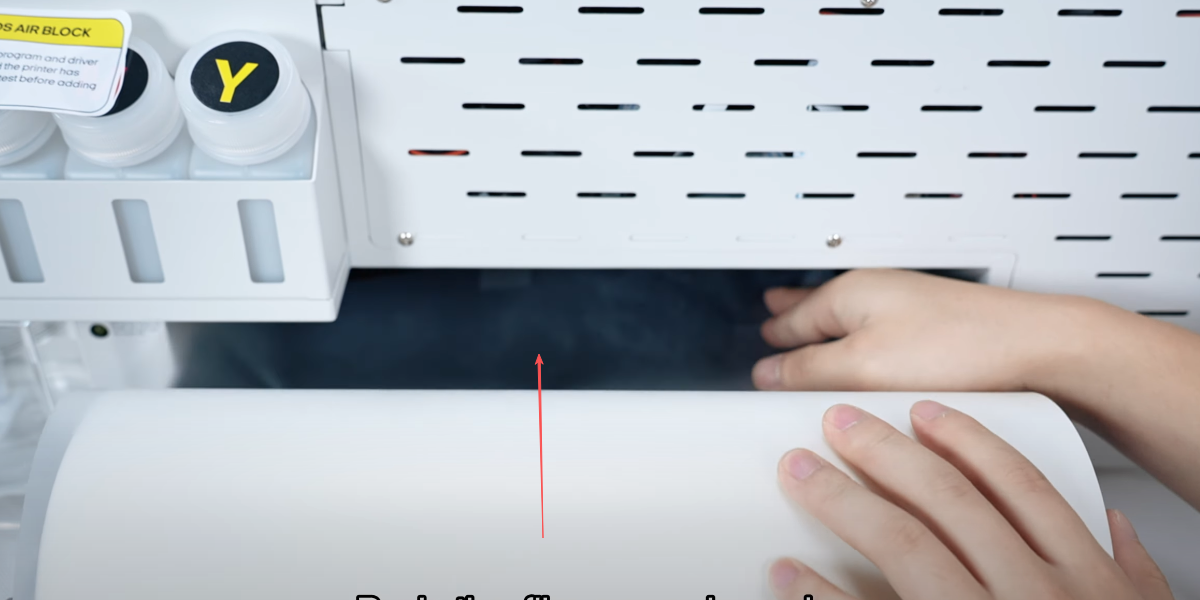
Put the film paper on the bracket.
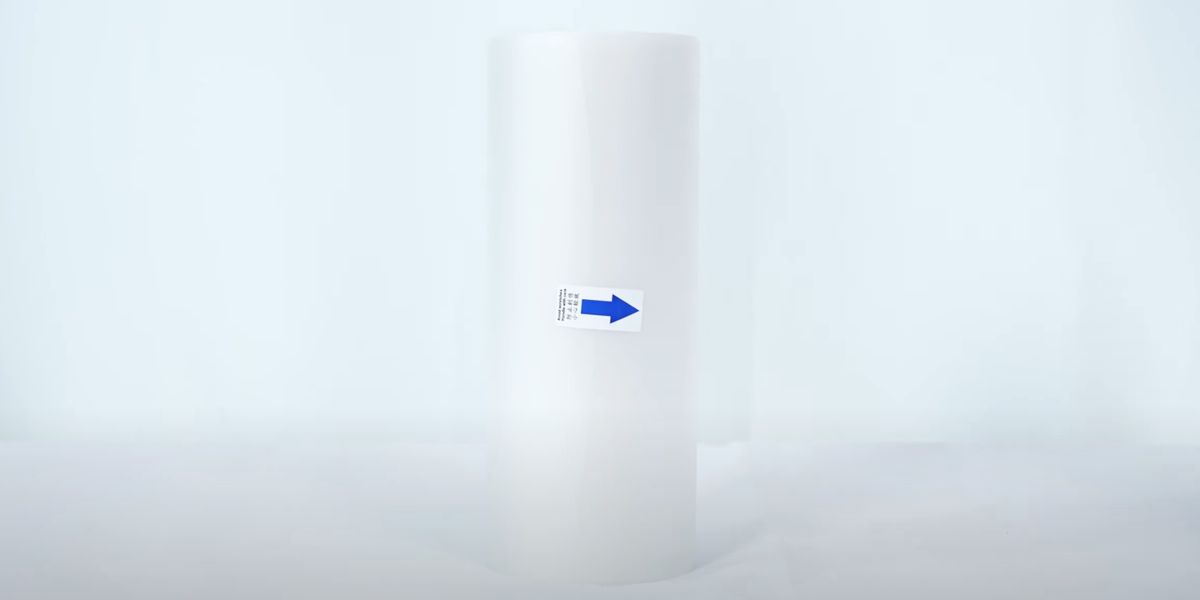
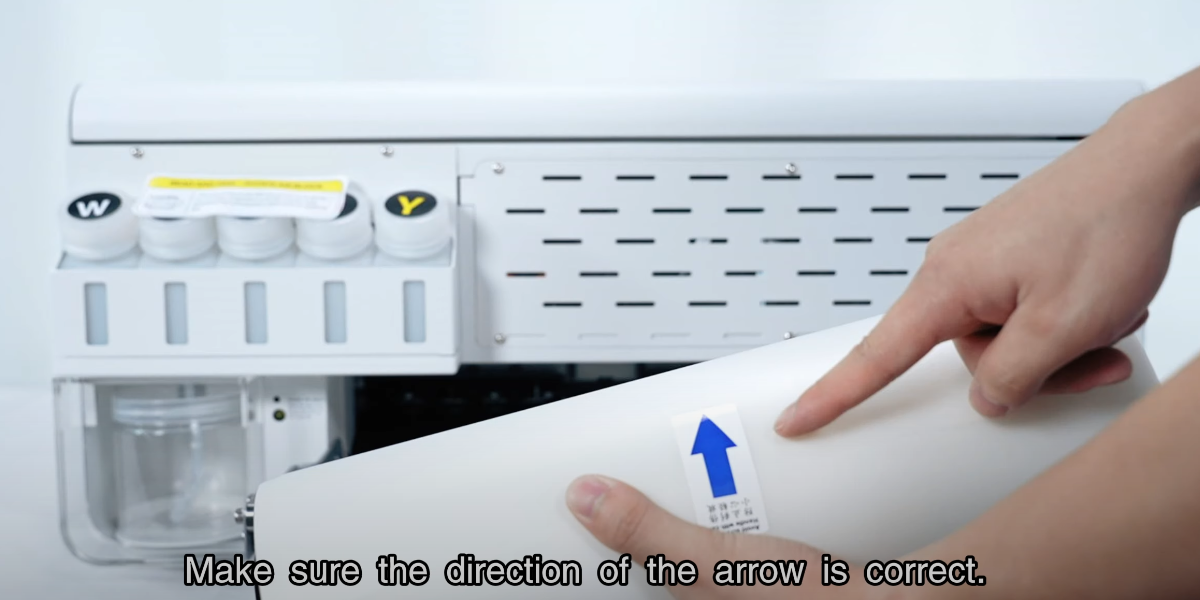
Make sure the direction of the arrow is correct.
Push the film paper inward.
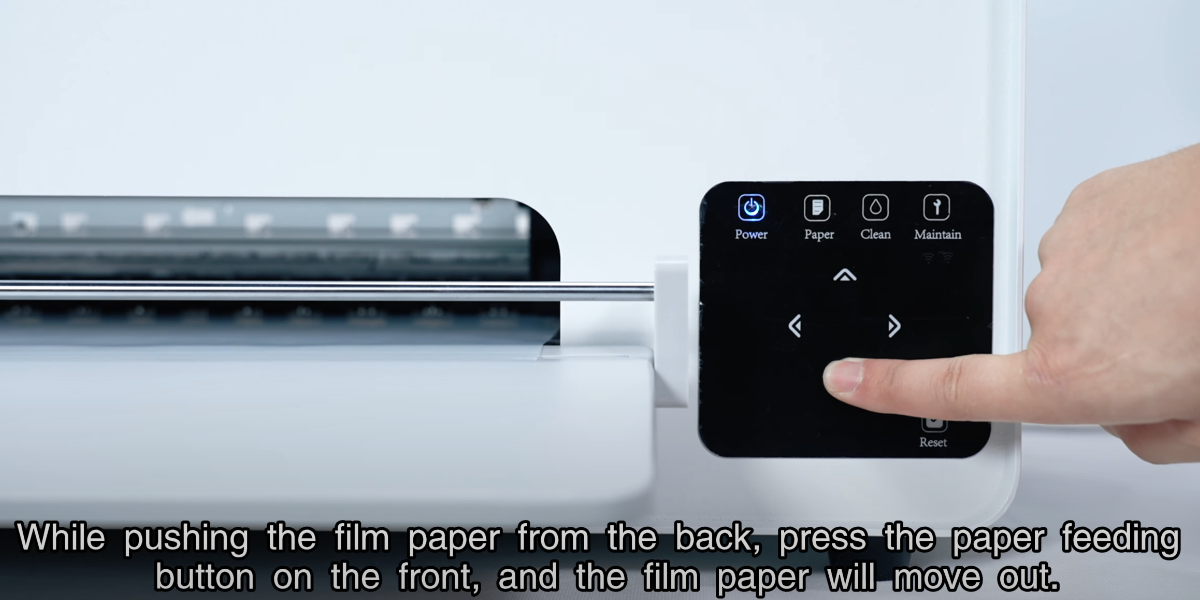
While pushing the film paper from the back, press the paper feeding button on the front, and the film paper will move out.
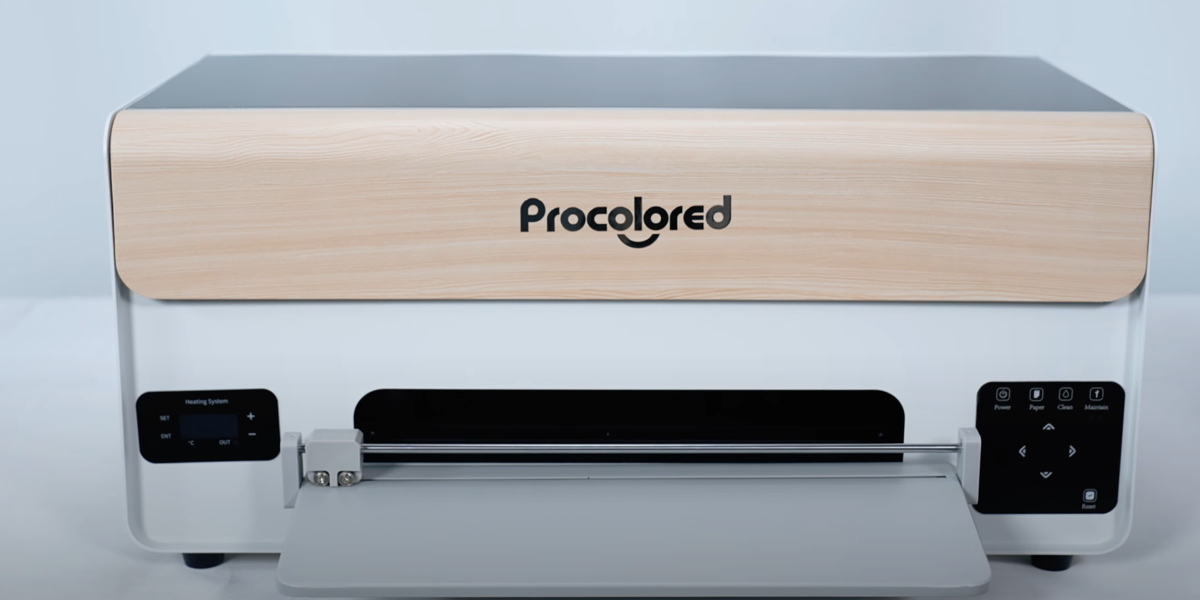
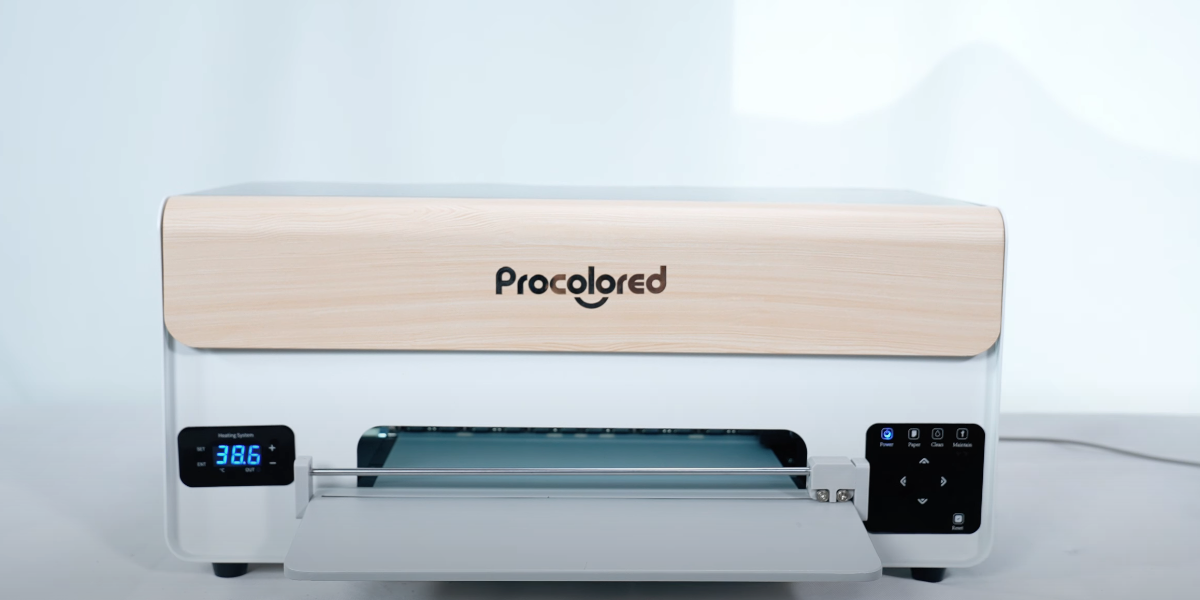
Installation is complete.
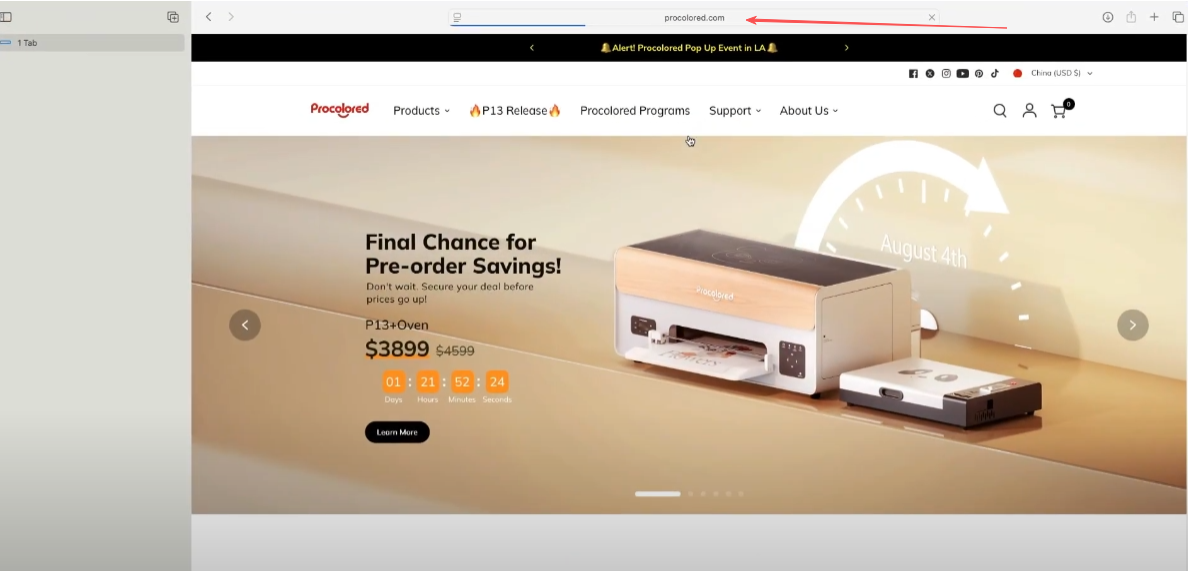
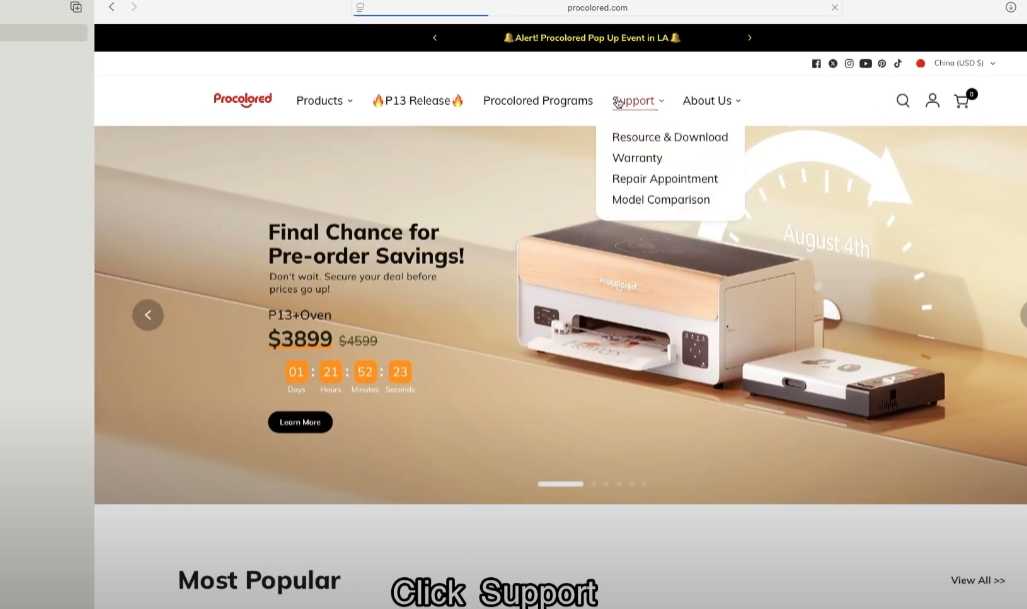
Enter the official website by inputting. Visit Procolored Official Website
Click Support.
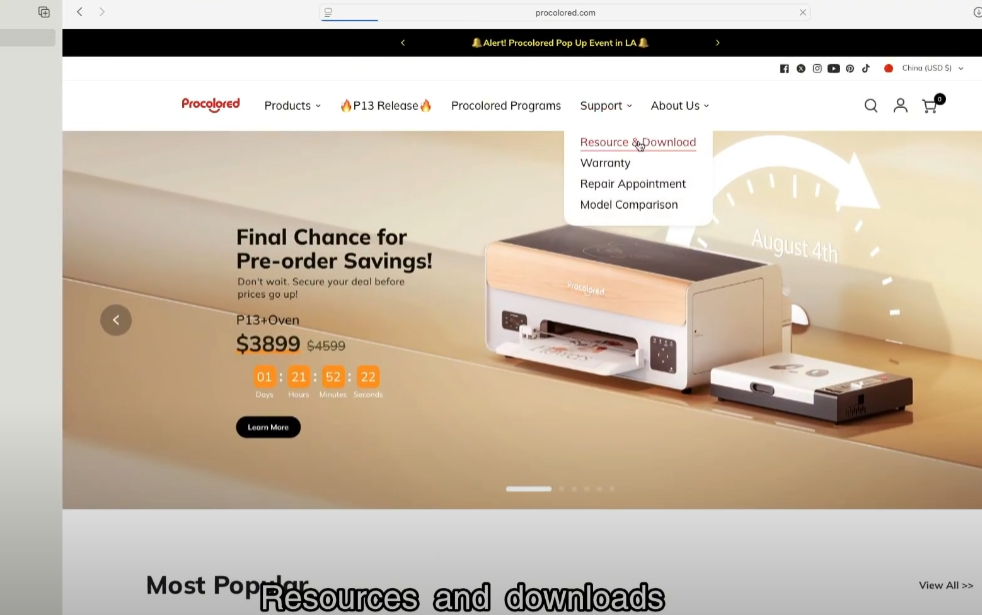
Resources and downloads.
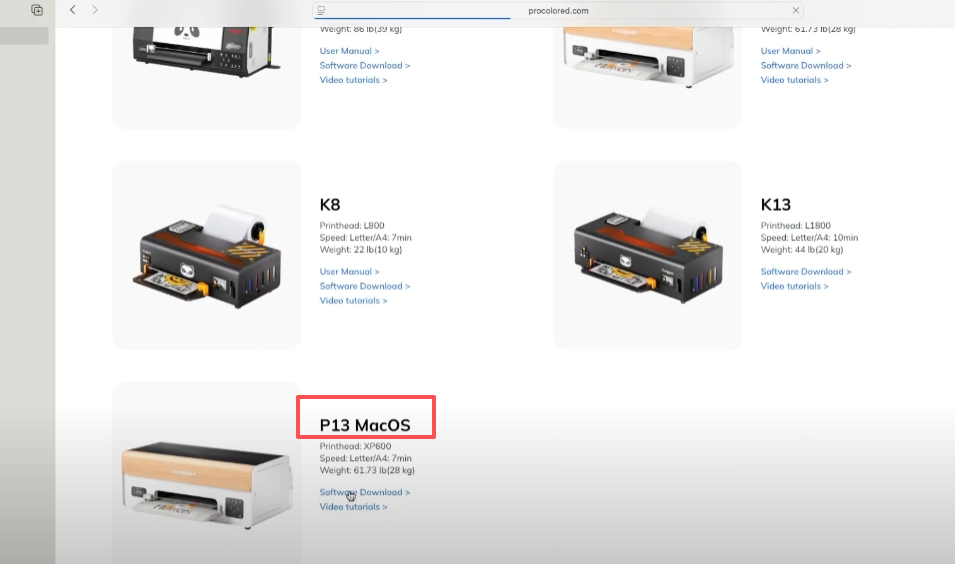
Find P13 Mac Version.
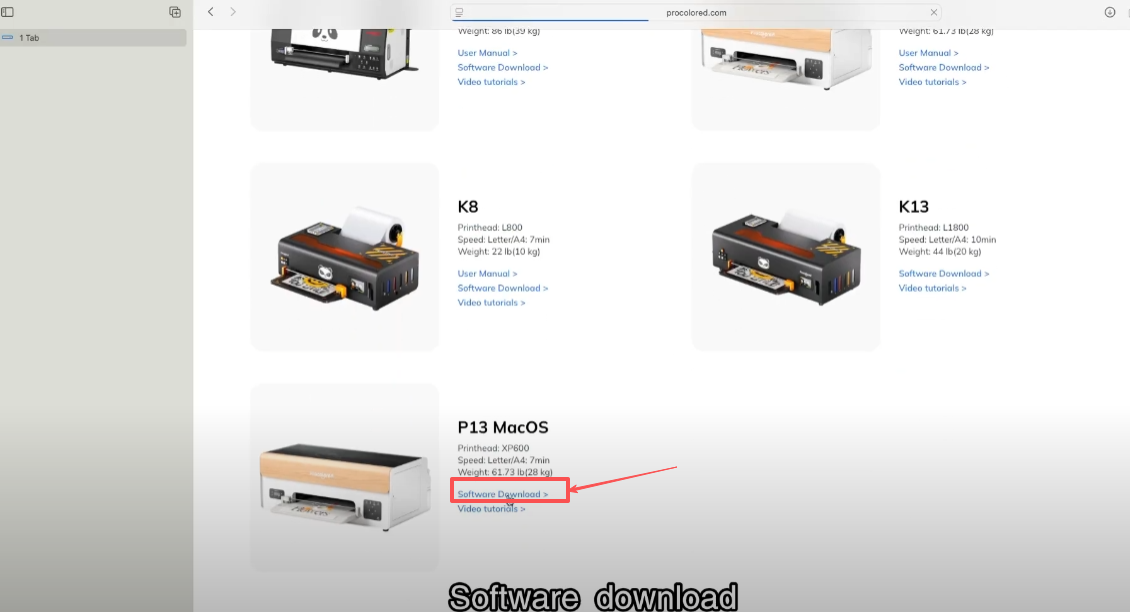
Download the software and driver.
Check all the content and then click Download.
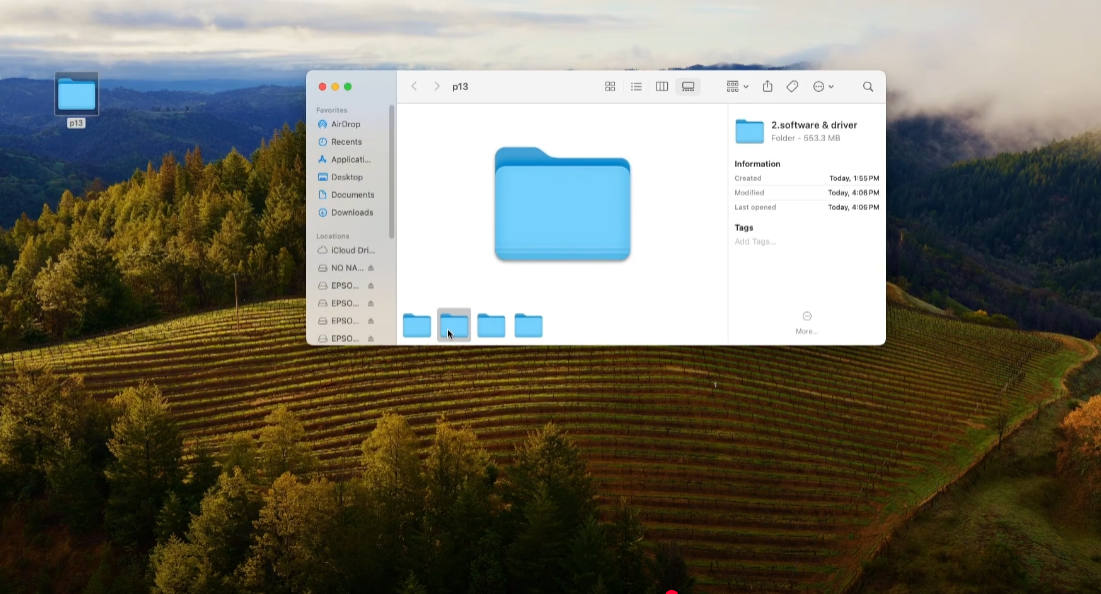
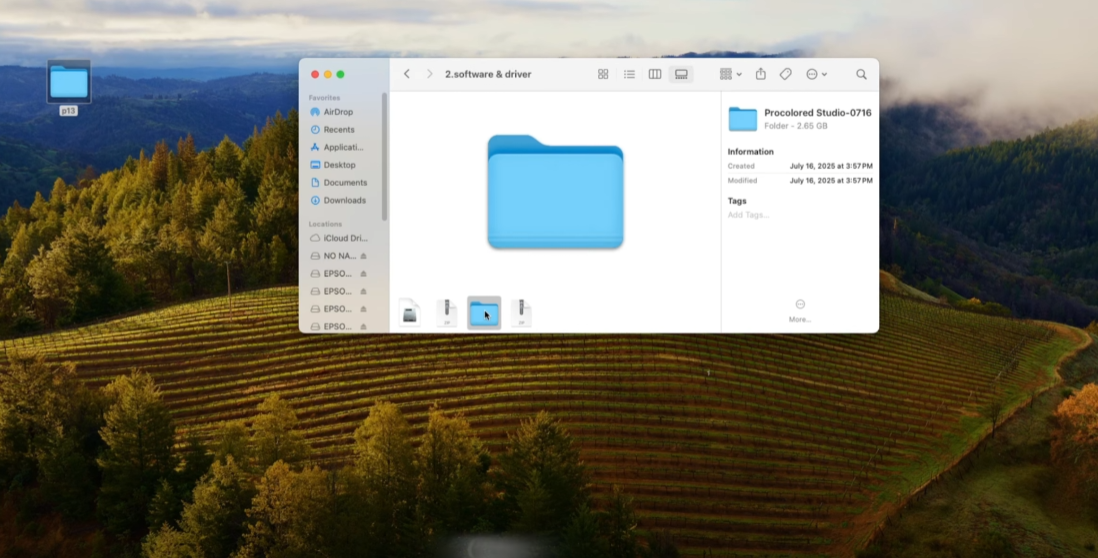
Open the folder after the download is complete.
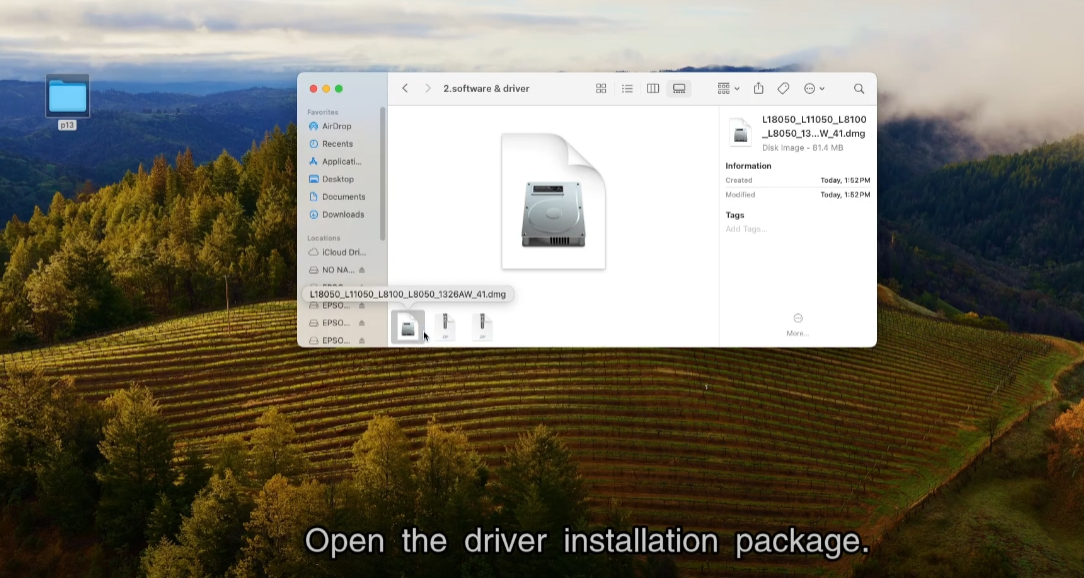
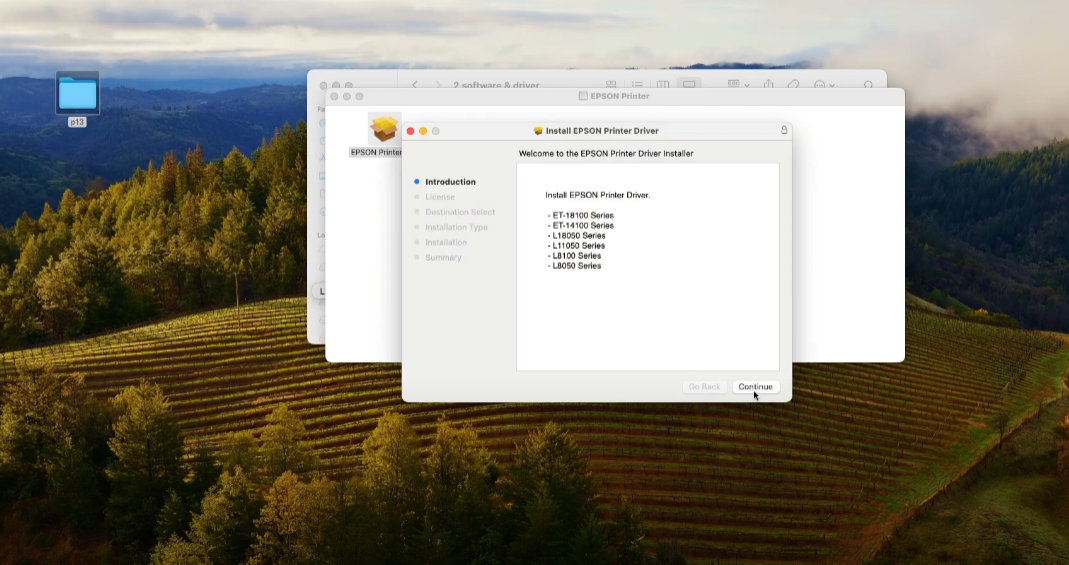
Open the driver installation package.
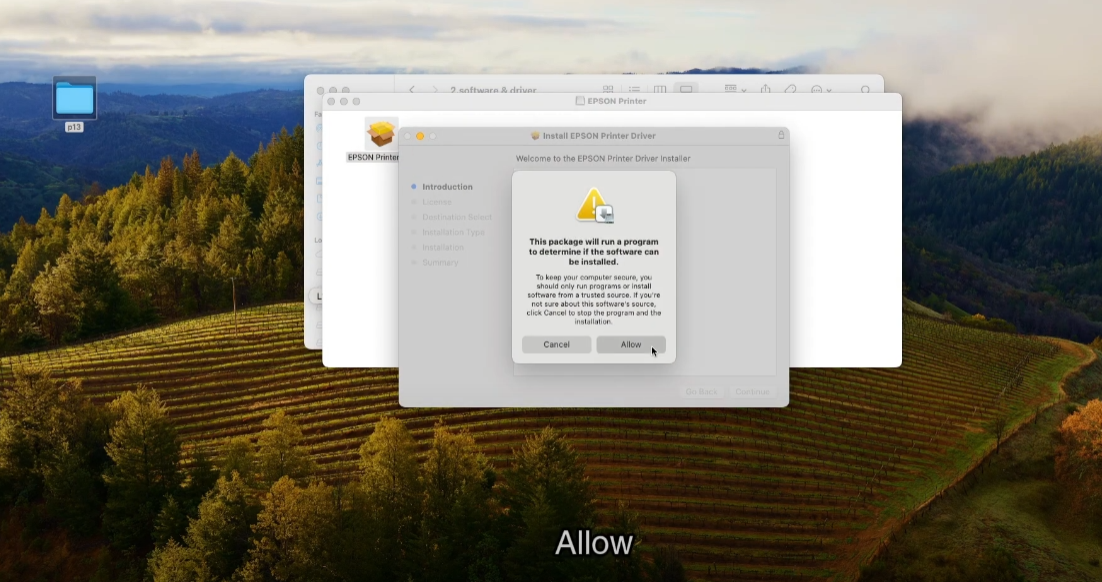
Allow.
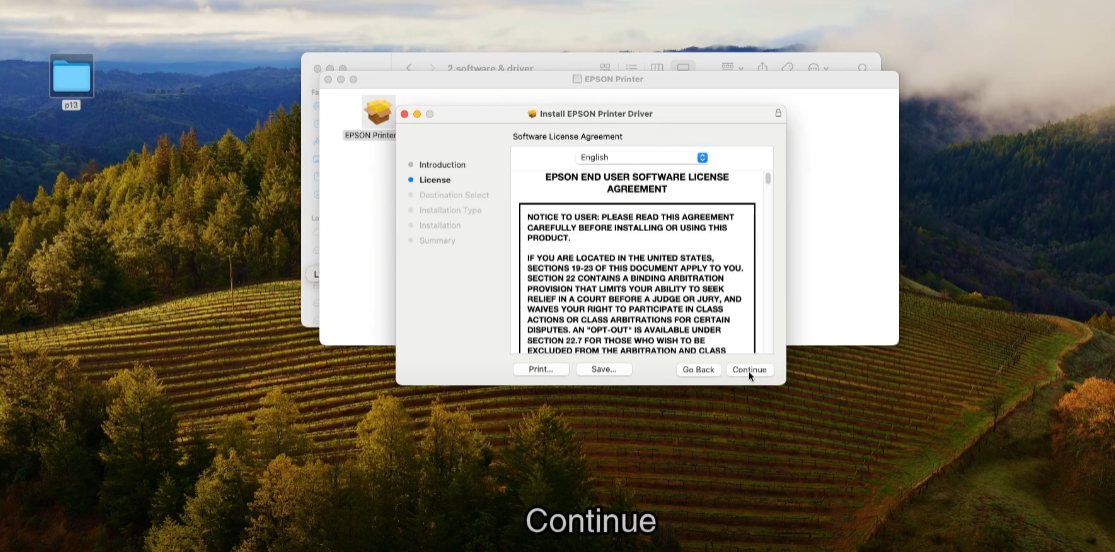
Continue.
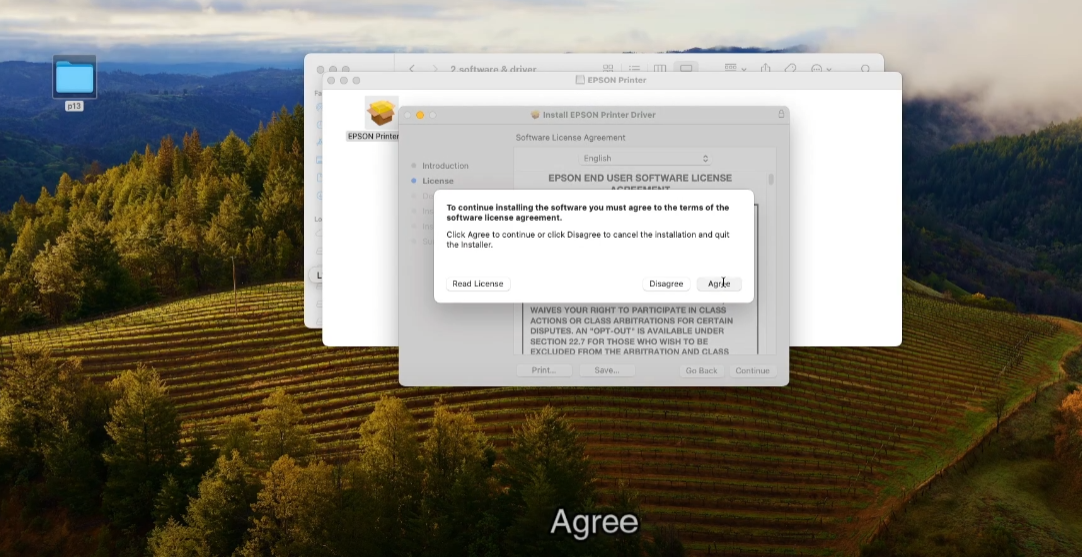
Agree.
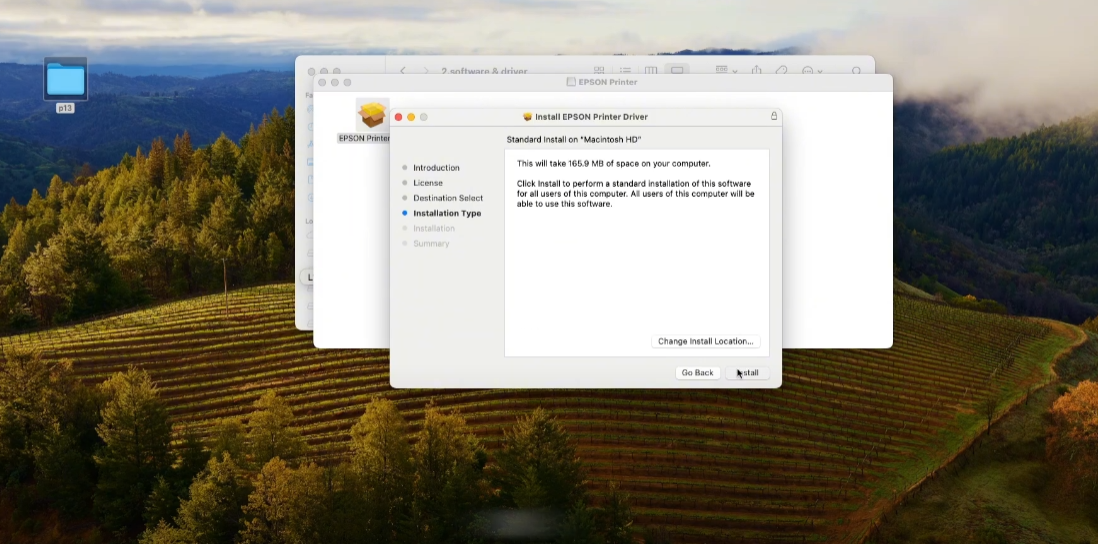
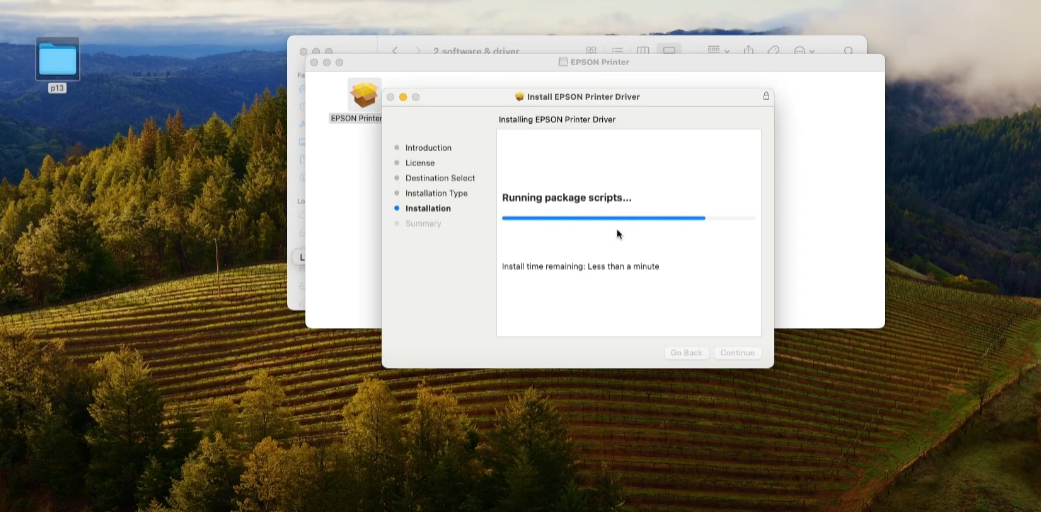
Installation.
Processing.
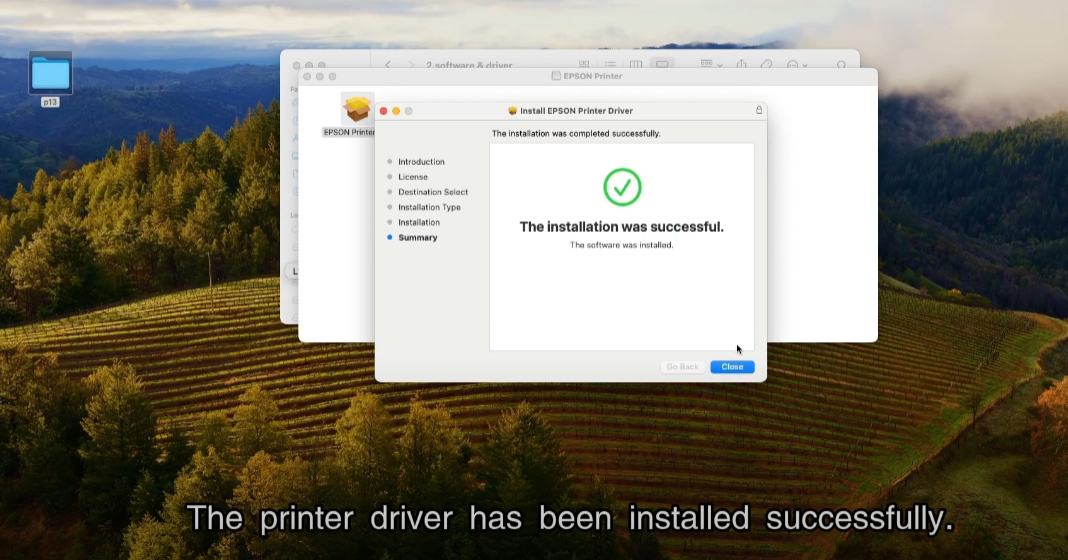
The printer driver has been installed successfully.
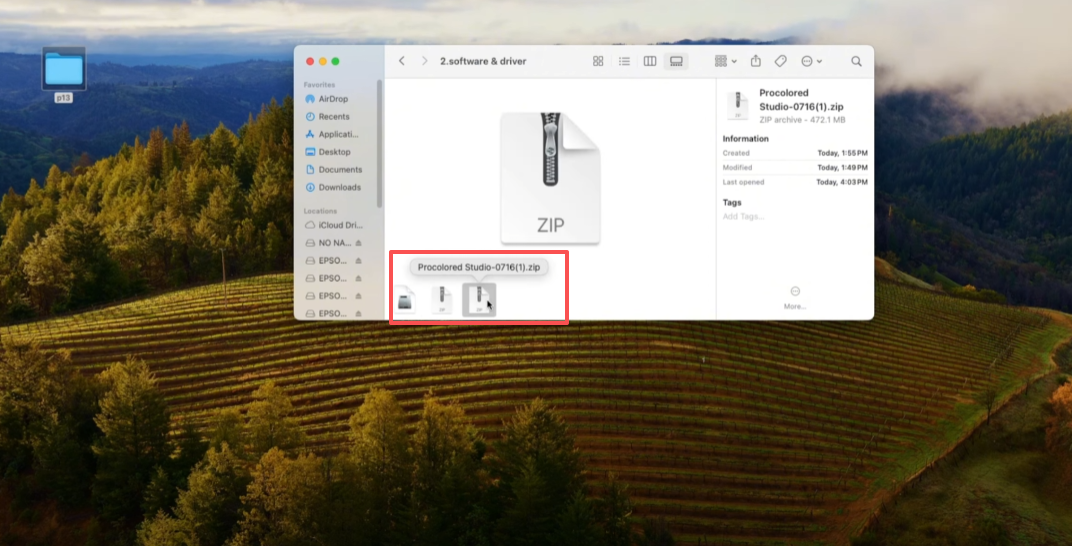
Open the downloaded file.
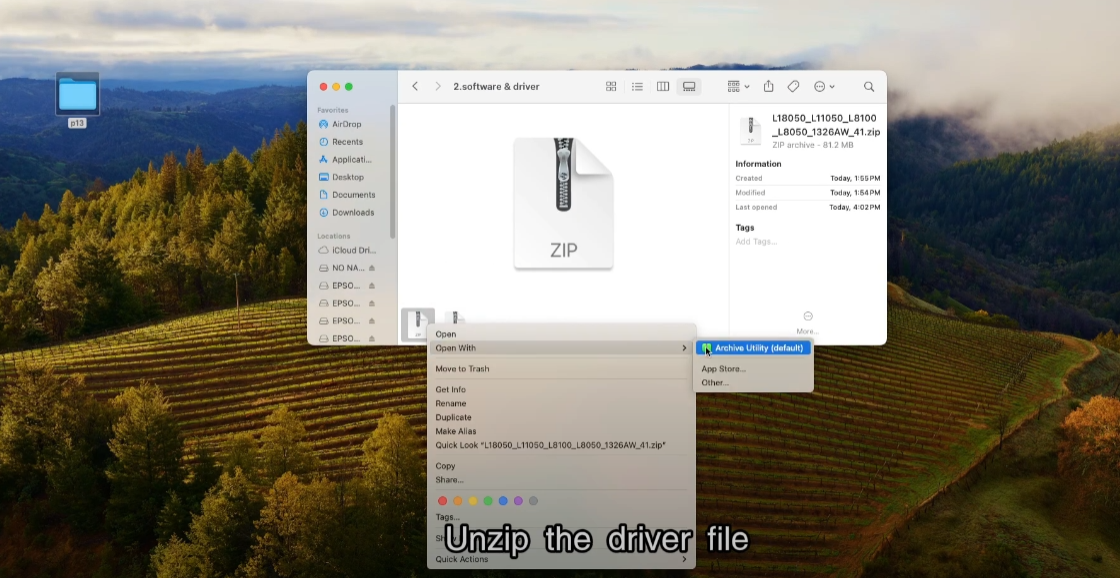
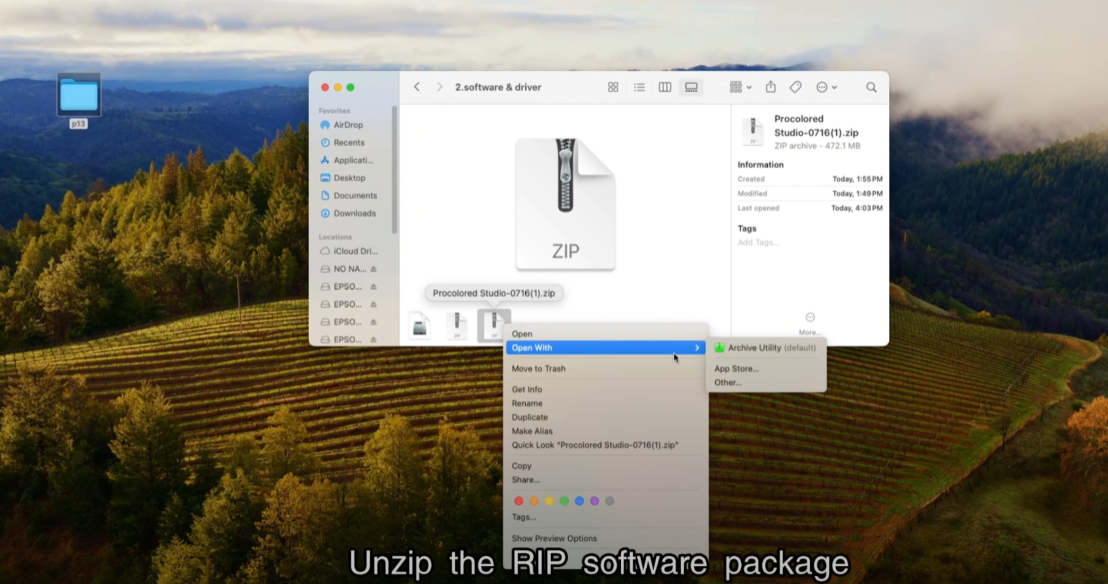
Unzip the RIP software package.
Open the folder.
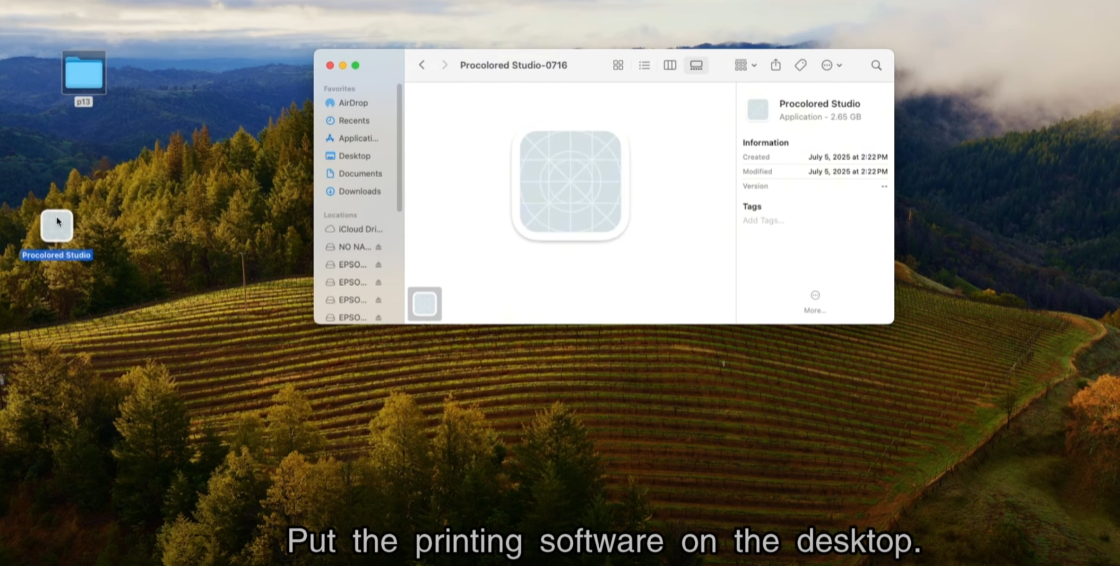
Put the printing software on the desktop.
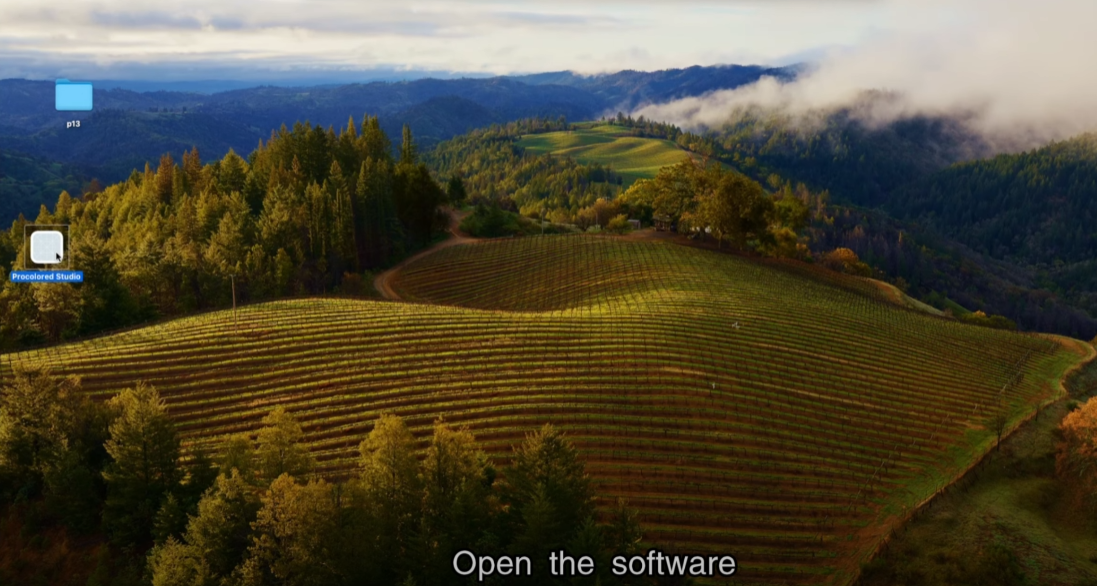
Open the software.
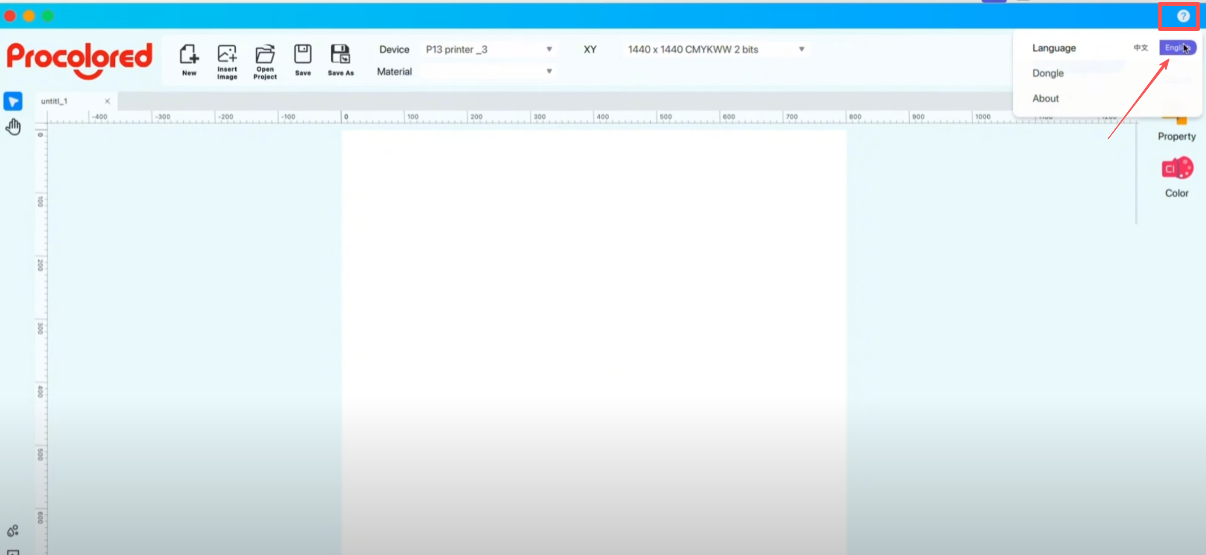
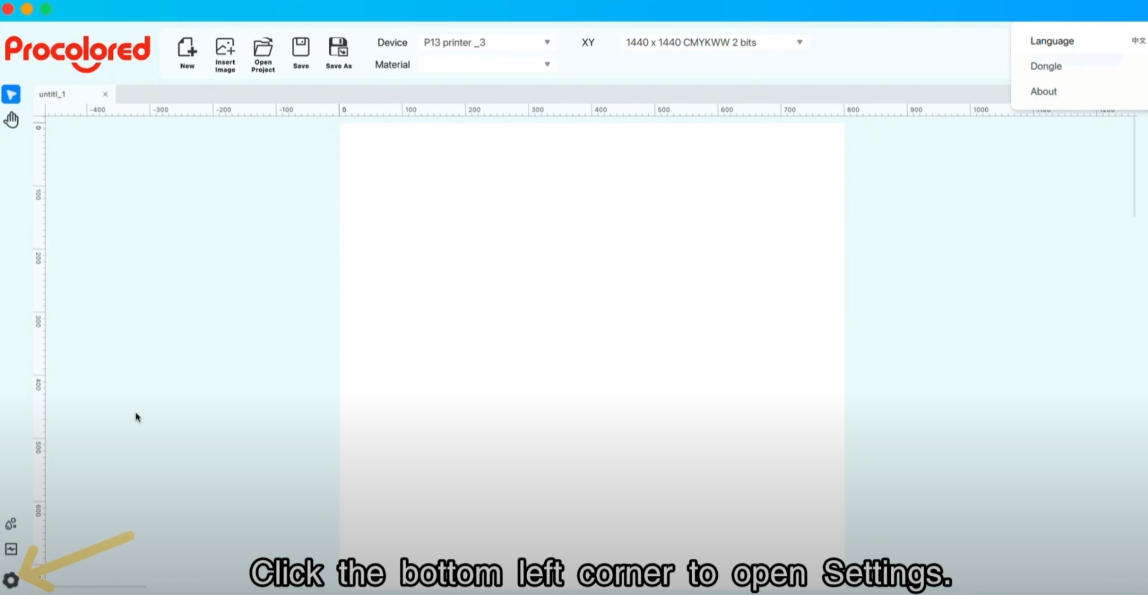
Set the language to English in the upper-right corner.
Click the bottom left corner to open settings.
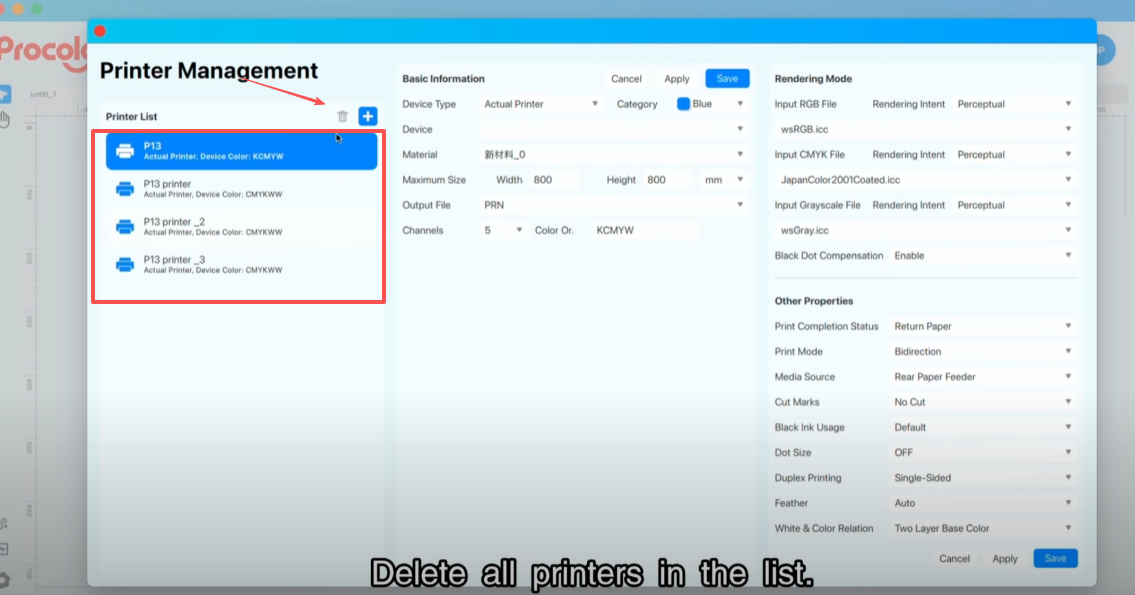
Delete all the printers in the list.
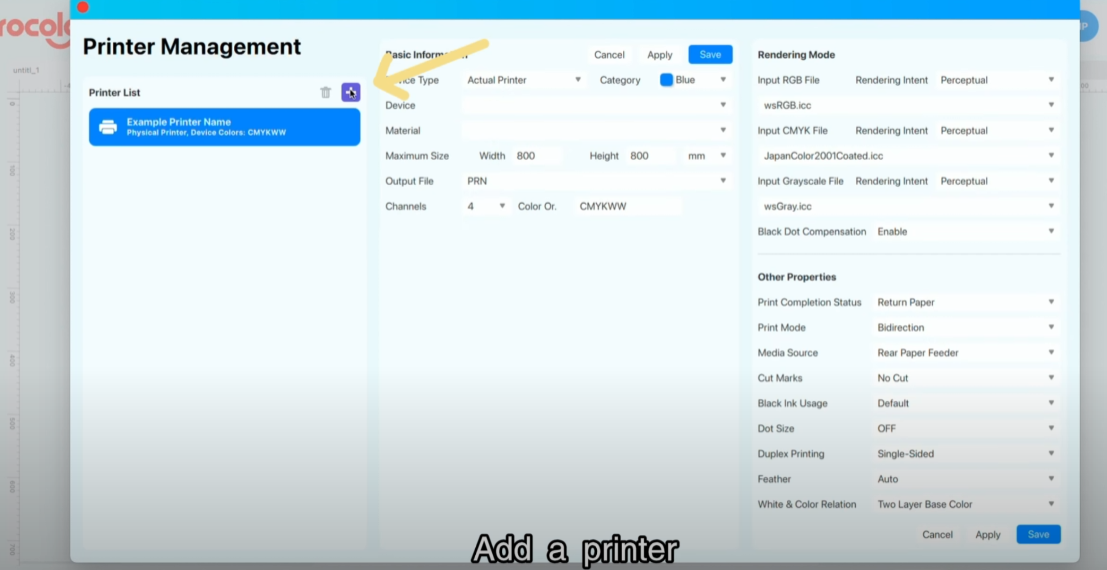
Add a printer.
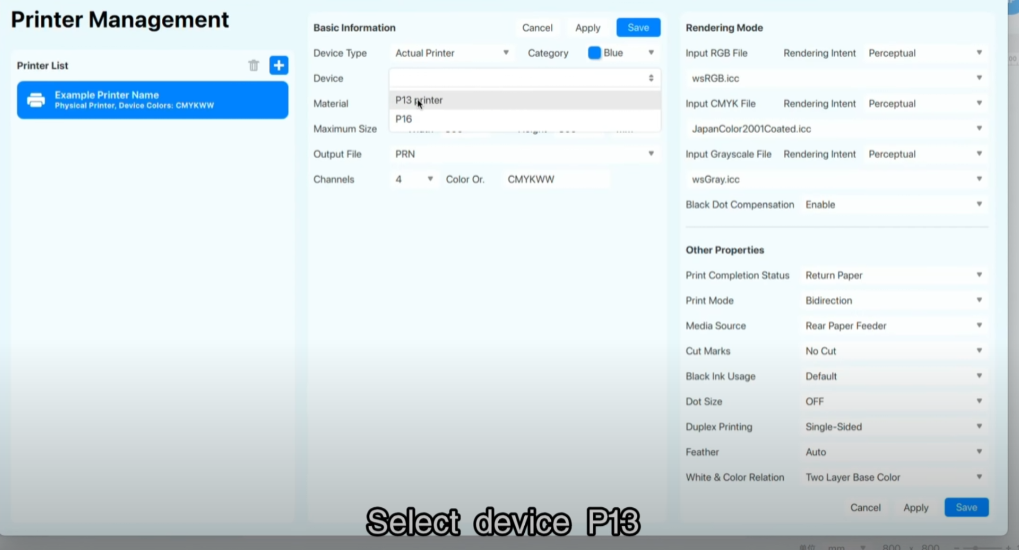
Select device P13.
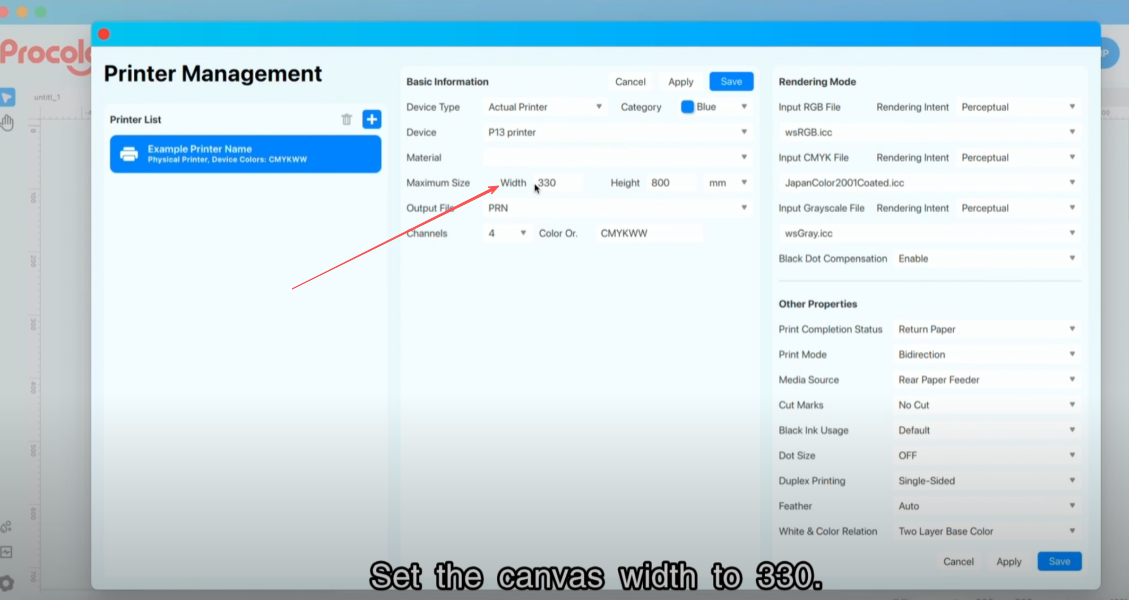
Set the canvas width to 330.
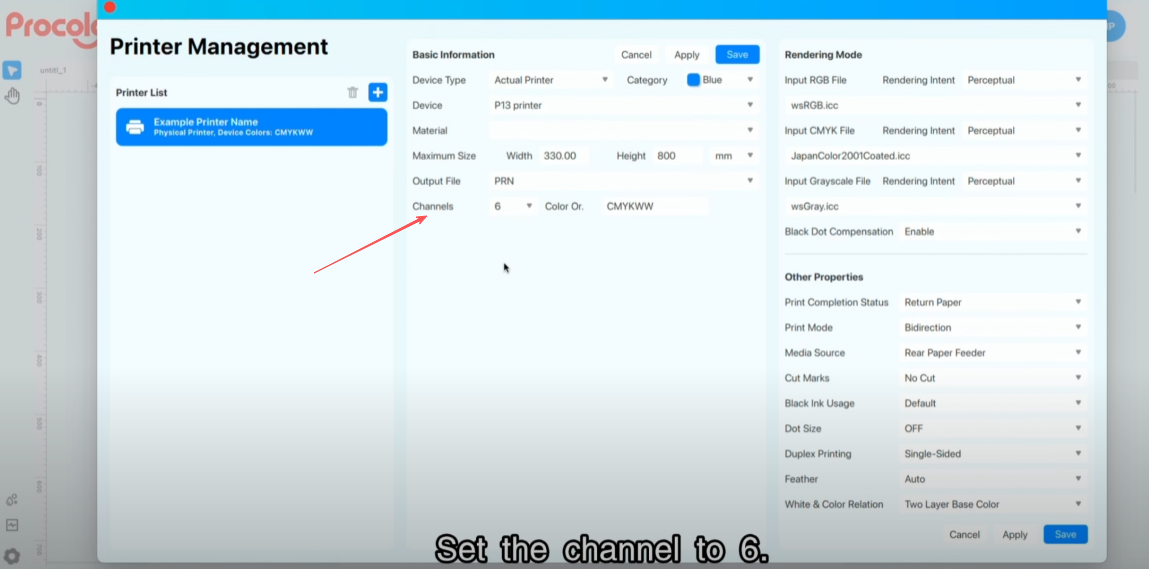
Set the channel to 6.
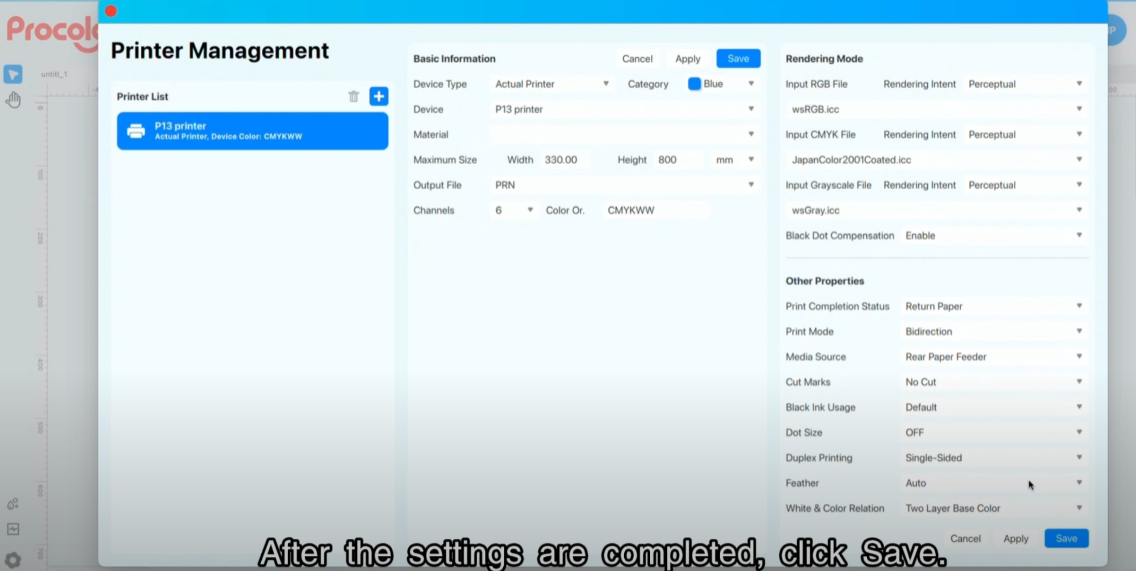
After the settings are completed, click Save.
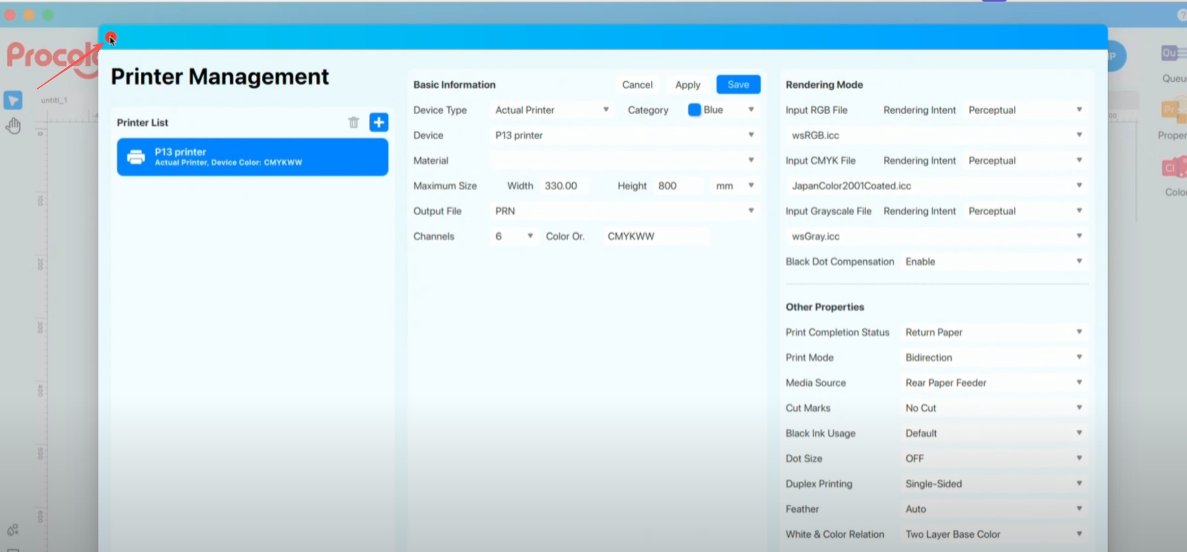
Close the settings page.
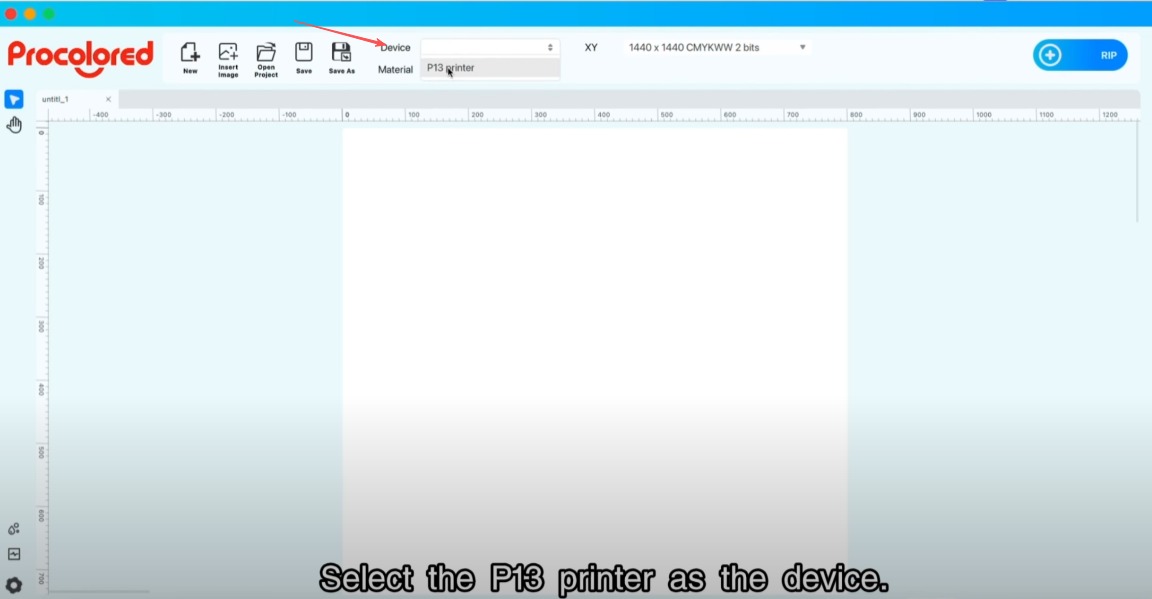
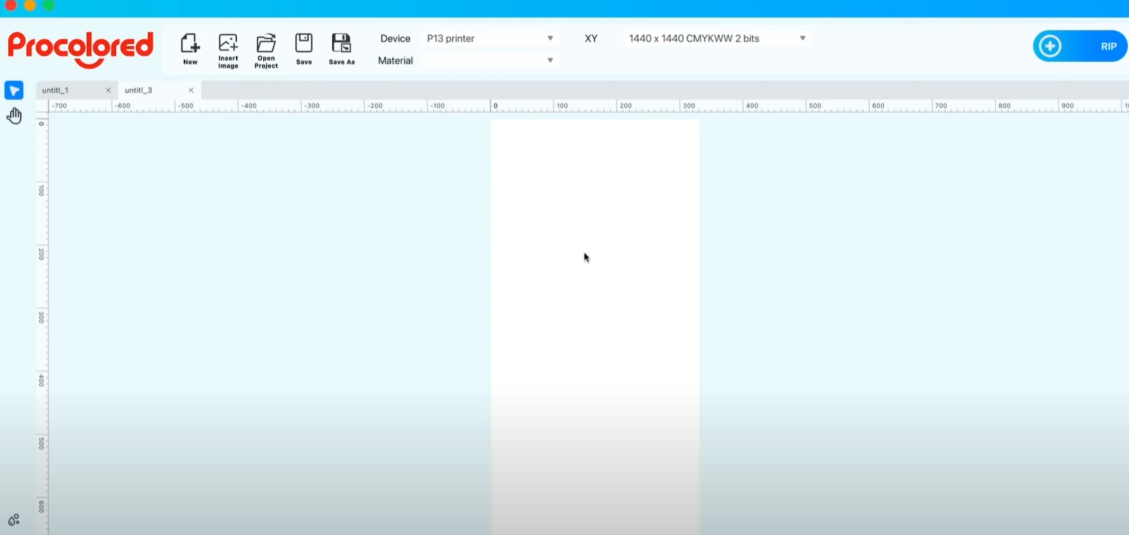
Select the P13 printer as the device.
The printing software setup is complete.