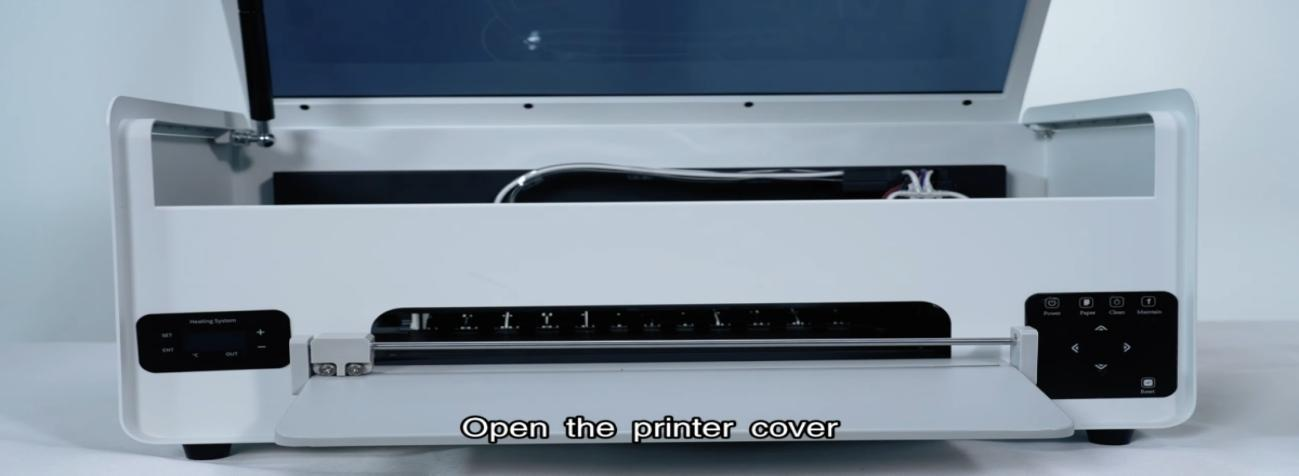
Turn off the printer power then open the printer cover.
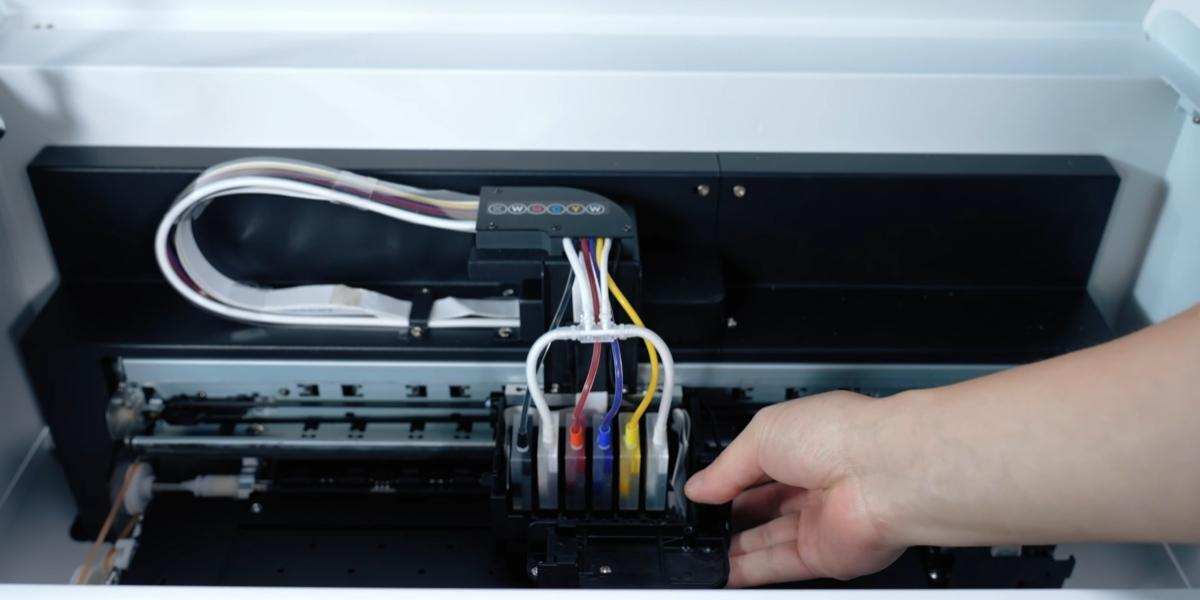
Move the ink cart to the middle position.
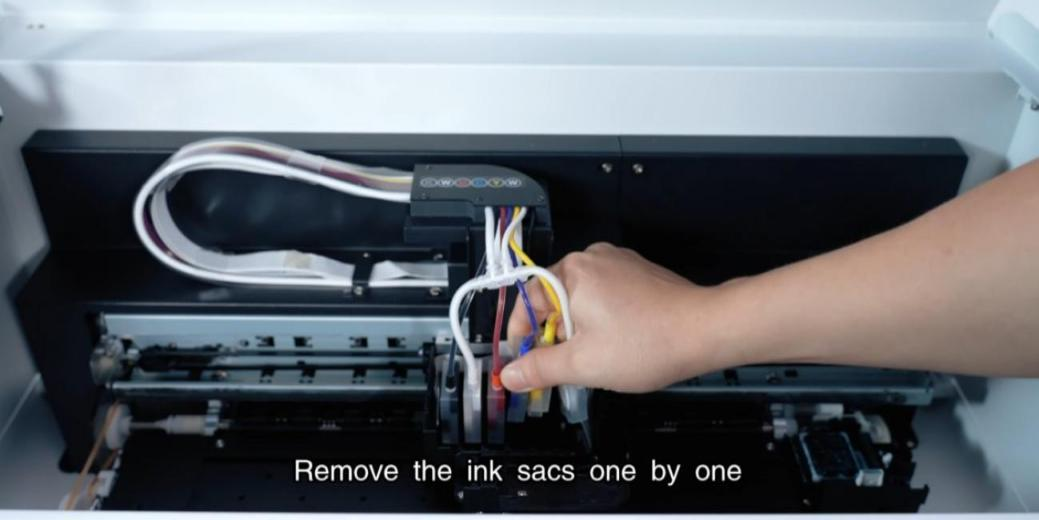
Remove the ink sacs one by one.
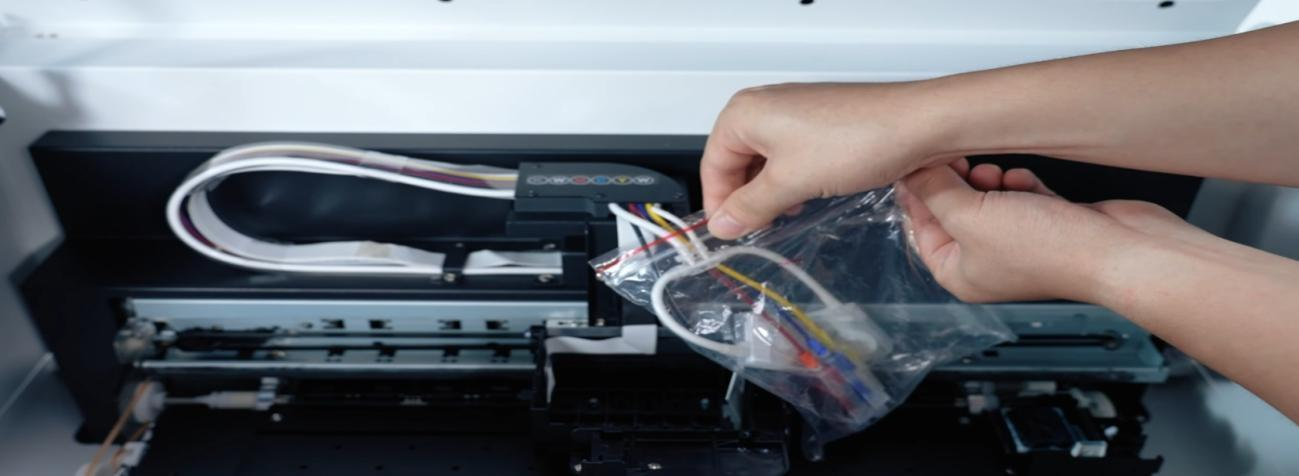
Pack the ink bag in a sealed bag and seal it to prevent leakage.

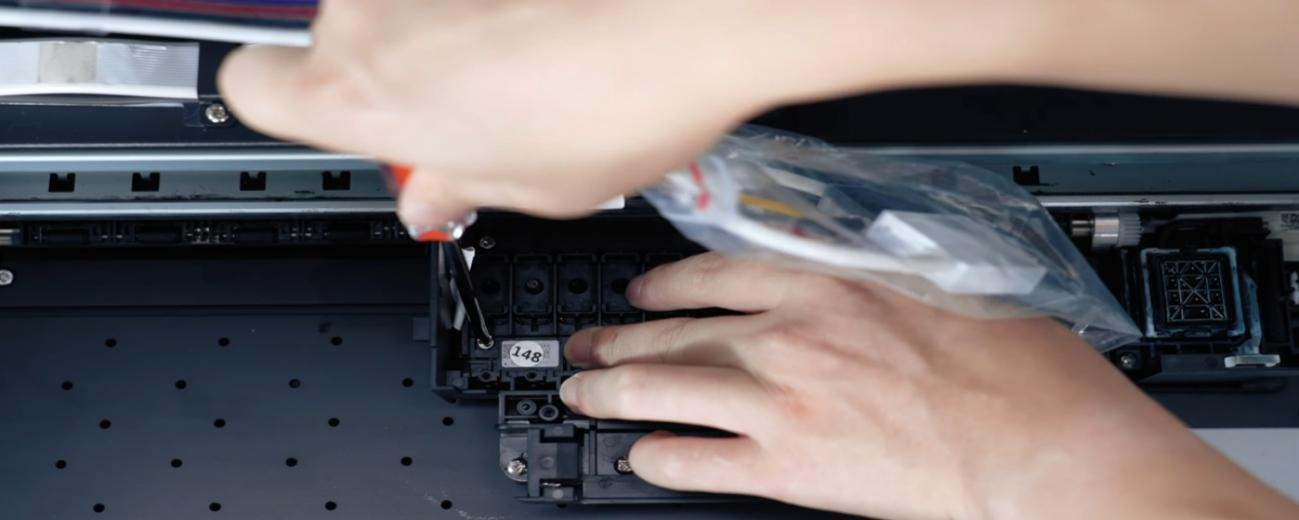
Remove the four screws that secure the print head.
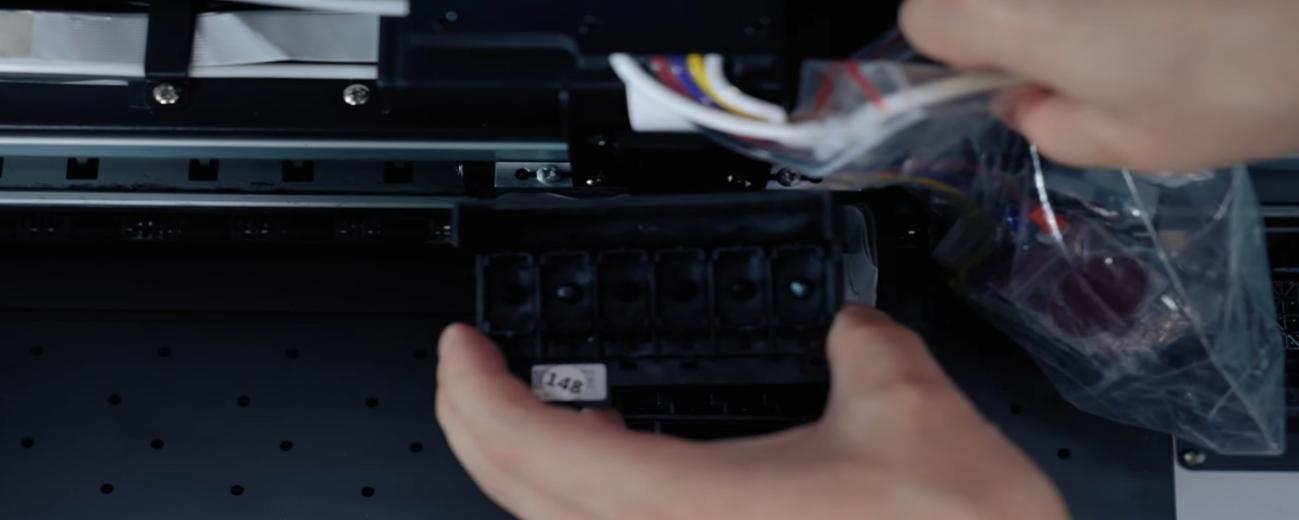
Then take out the print head.
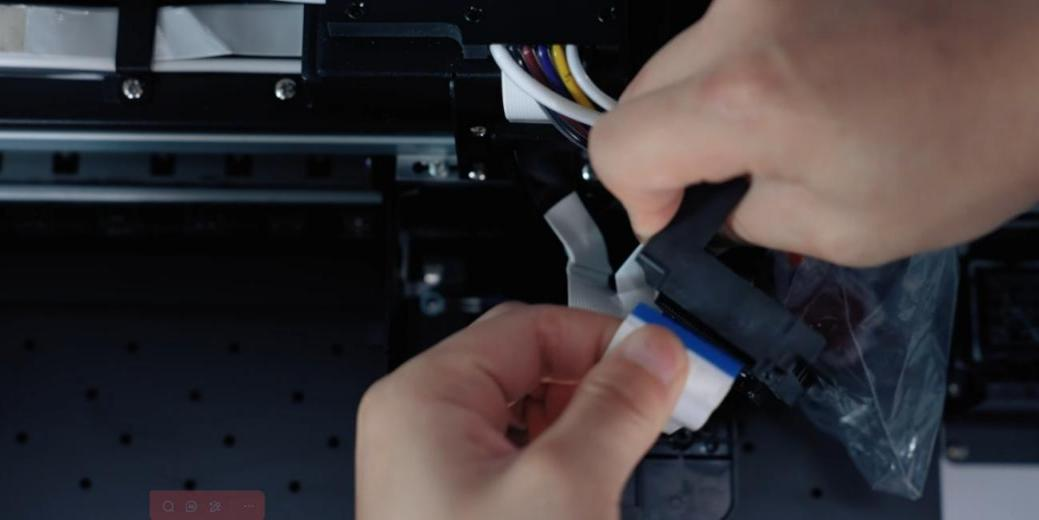
Pull out the cables on both sides of the print head.
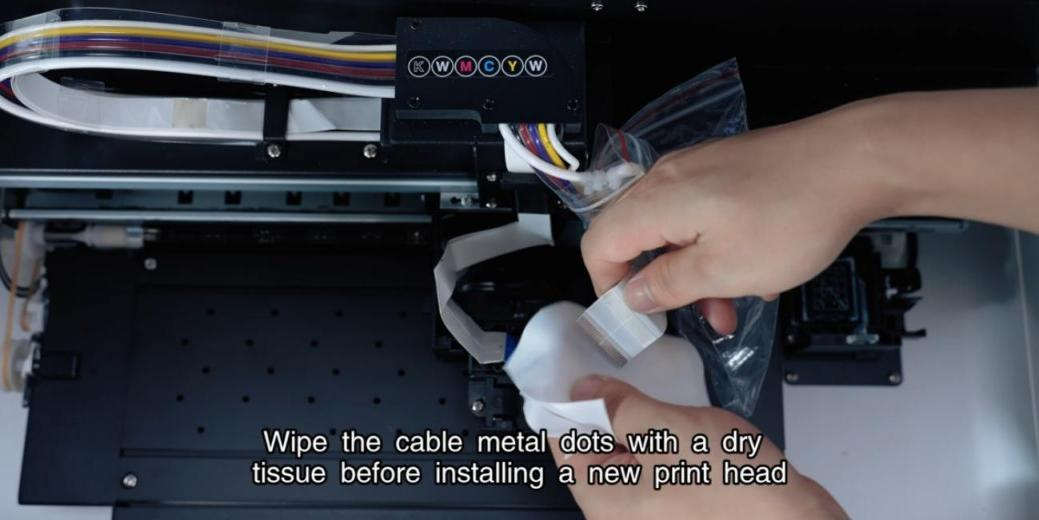
Wipe the cable metal dots with a dry tissue before installing a new head.
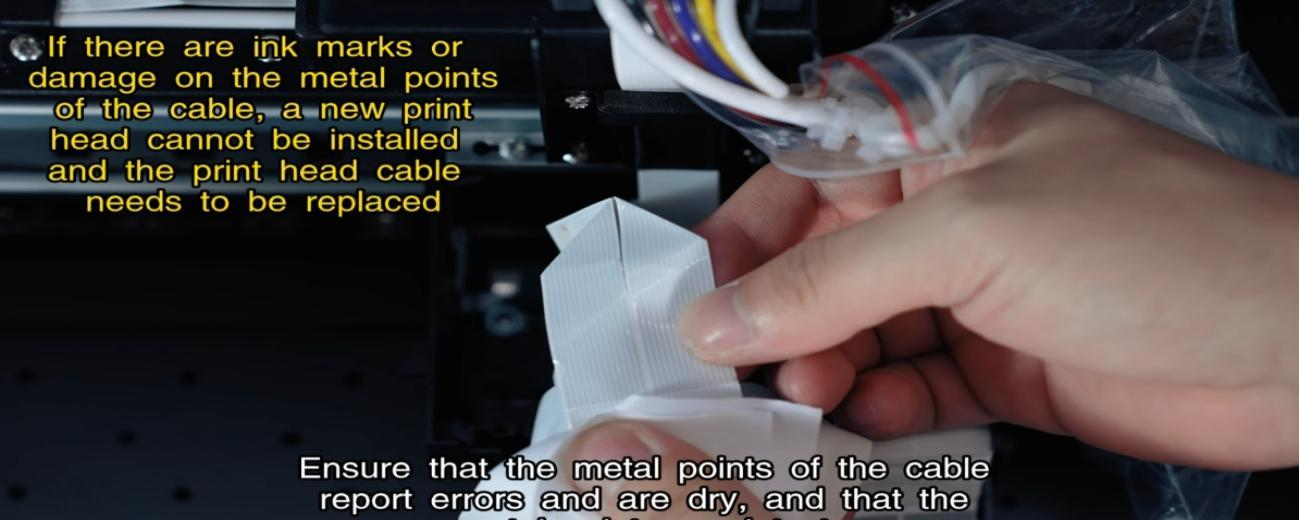
Ensure the metal points are dry and intact before proceeding.
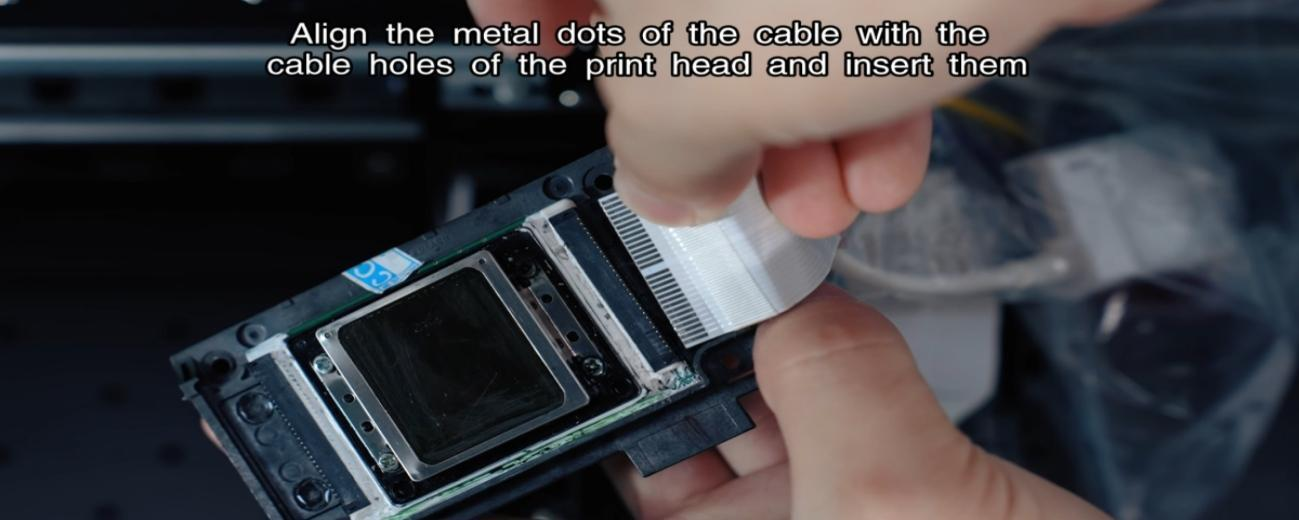
Insert the cables into the new print head, aligning the metal dots.
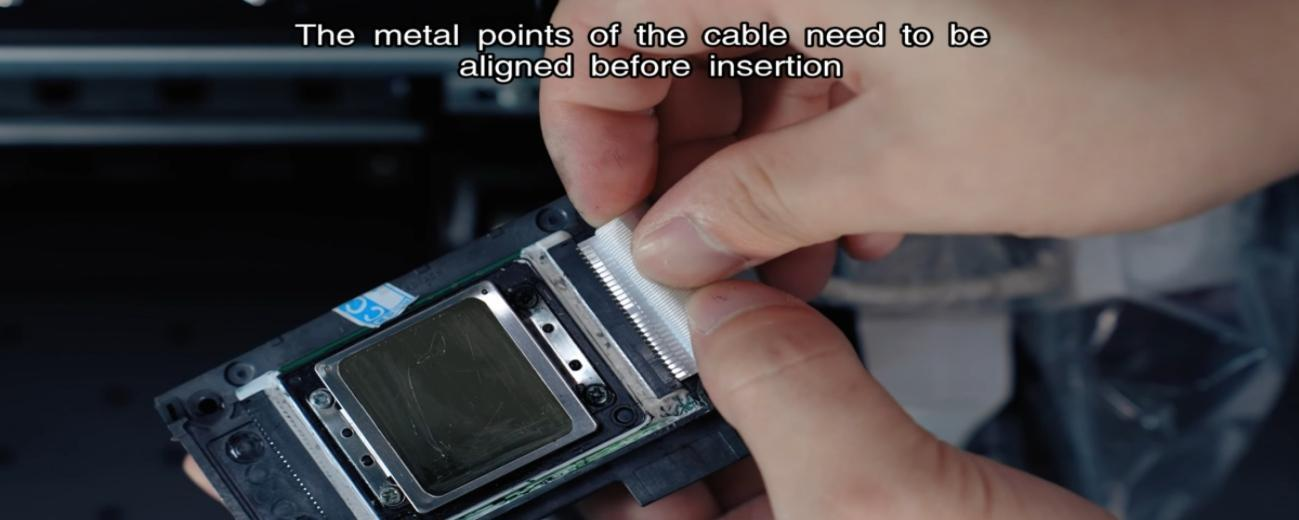
The metal points of the cable need to be aligned before insertion.
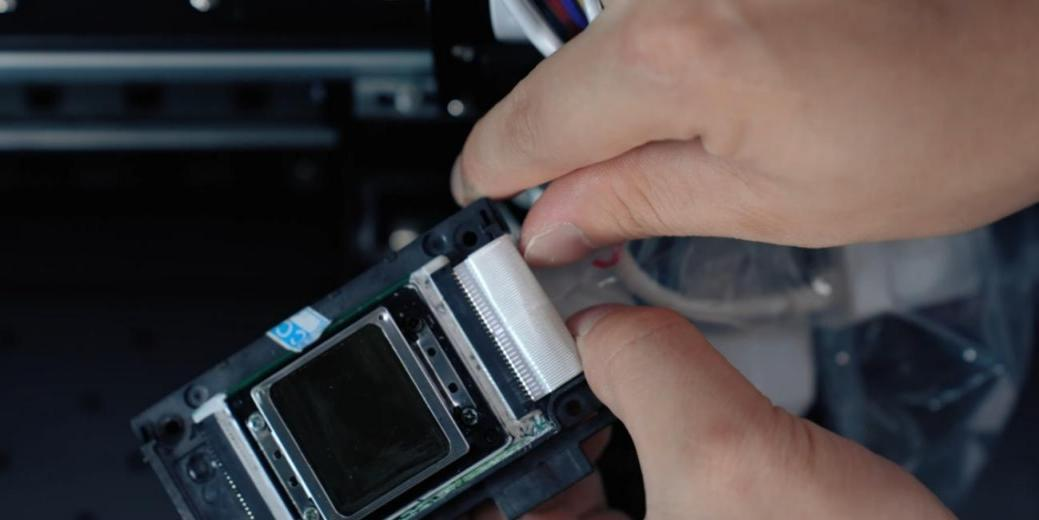
Check if inserted properly and send a photo to the engineer for confirmation.
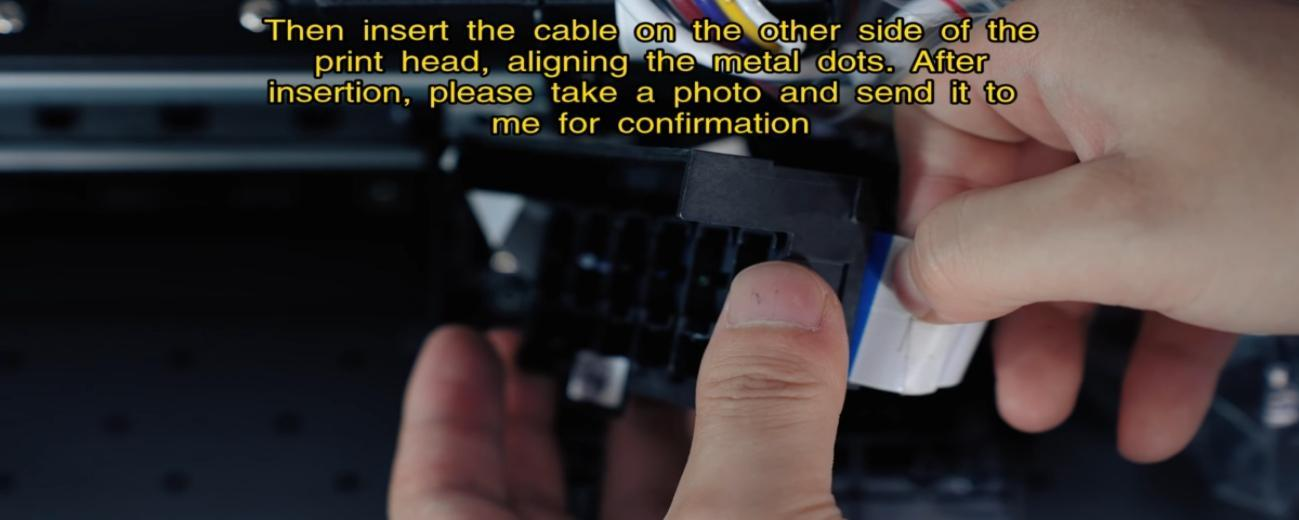
Insert the other side cable and send a photo to the engineer for confirmation.
Then fix the four screws of the print head.
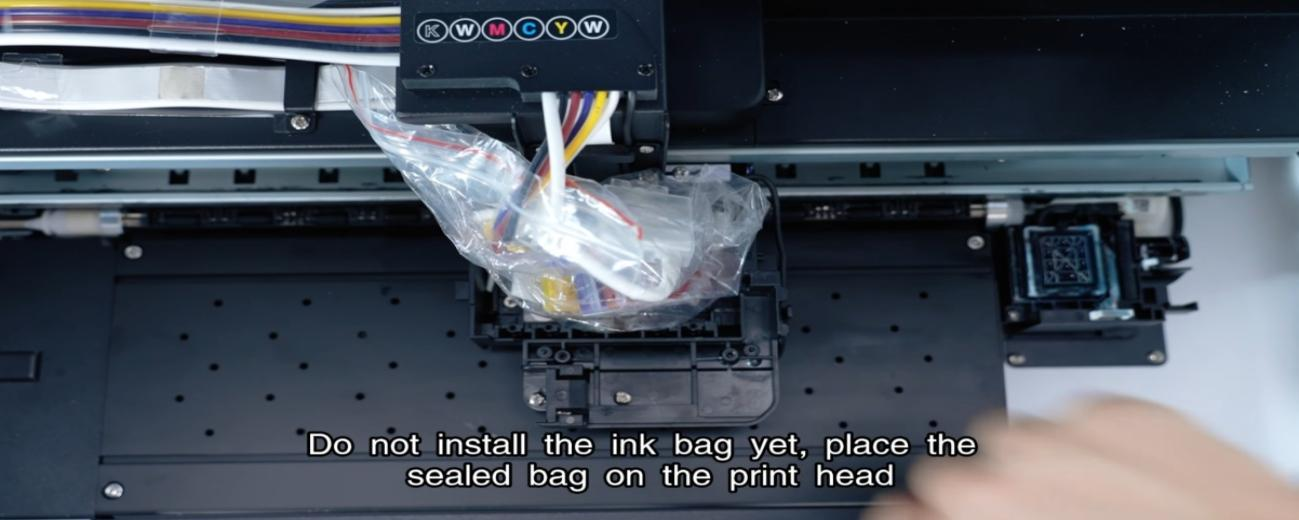
Do not install ink bags yet; place the sealed bag on the print head.
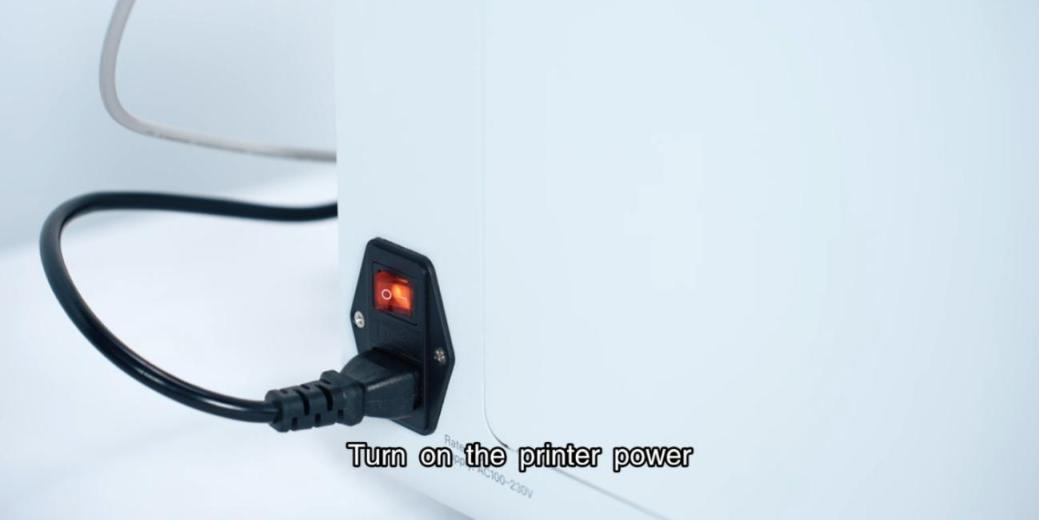
Turn on the power.
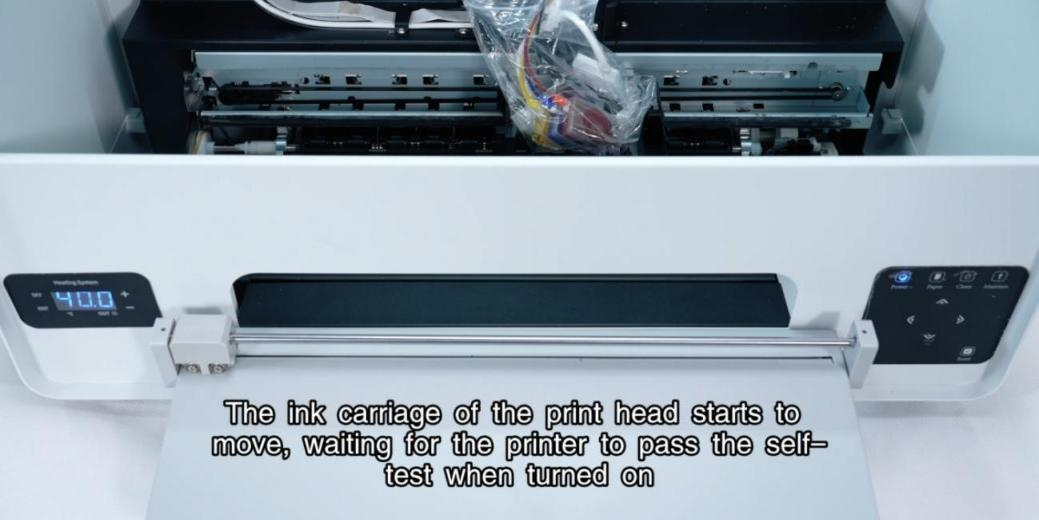
Wait for the printer to pass the self-test when turned on.
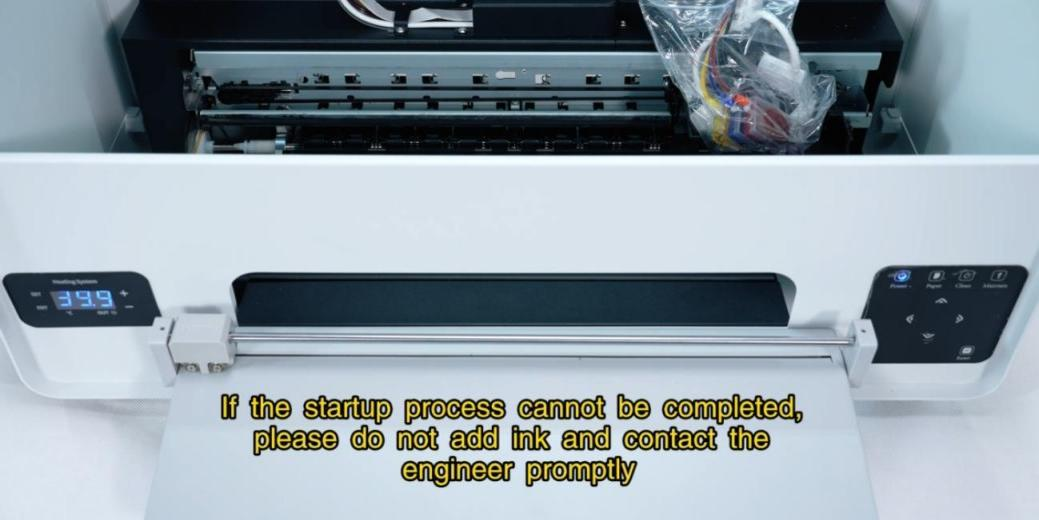
If startup cannot be completed, do not add ink and contact the engineer.
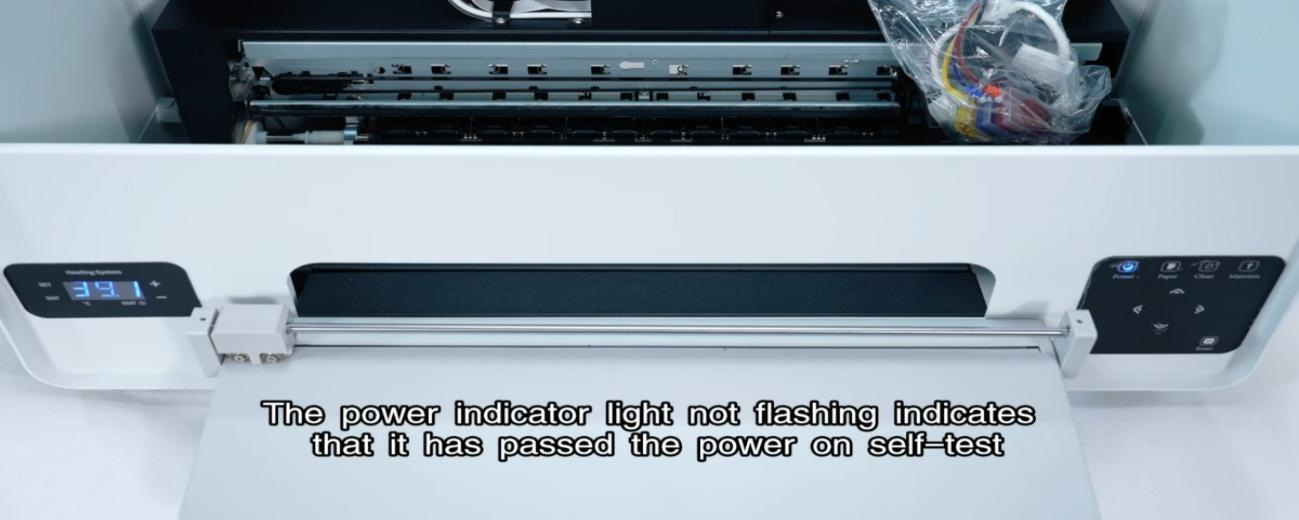
Indicator light not flashing indicates passing the self-test.
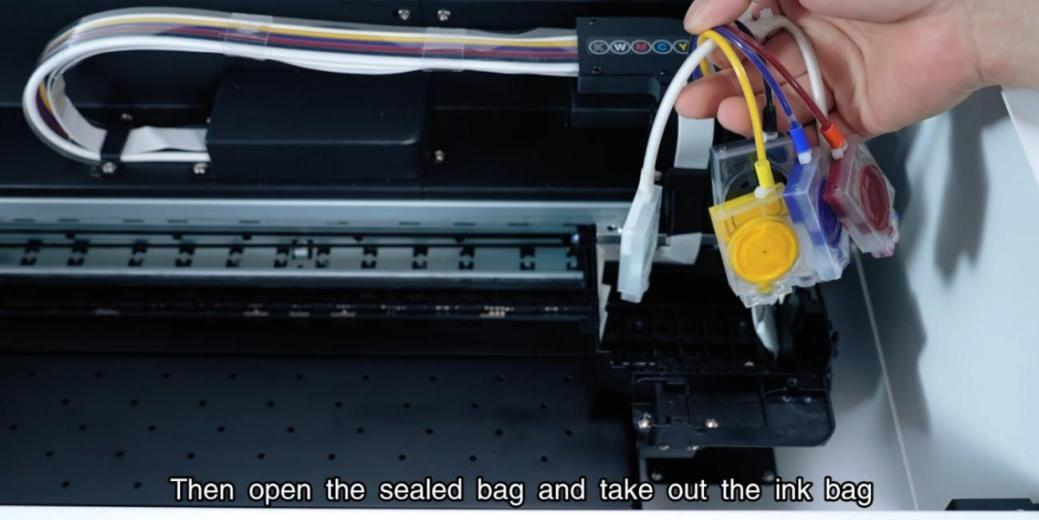
Then open the sealed bag and take out the ink bag.
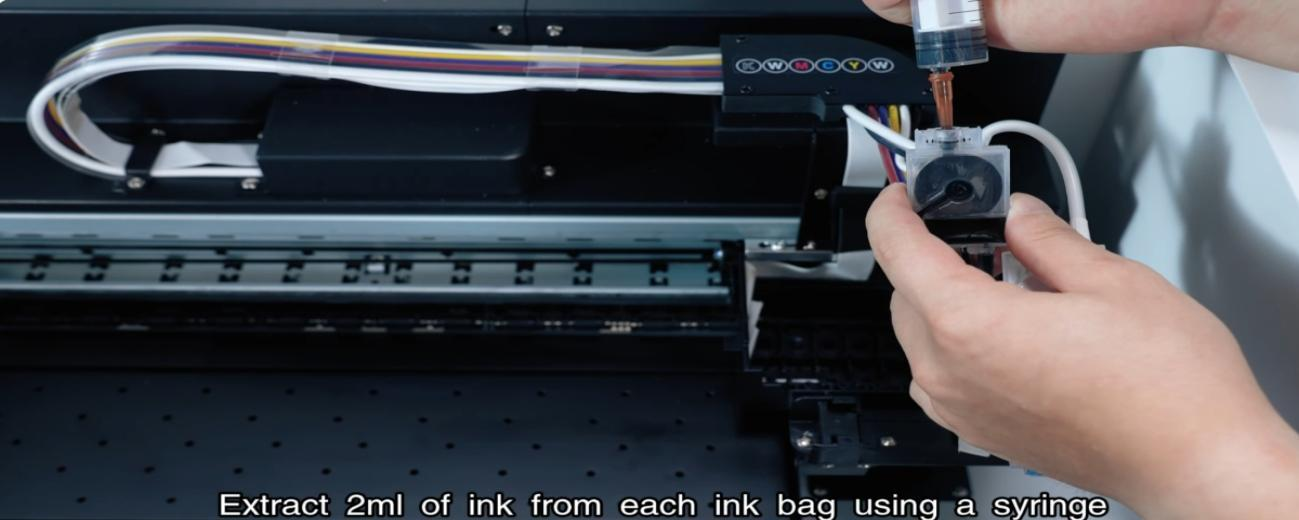
Extract 2ml of ink from each ink bag using a syringe.
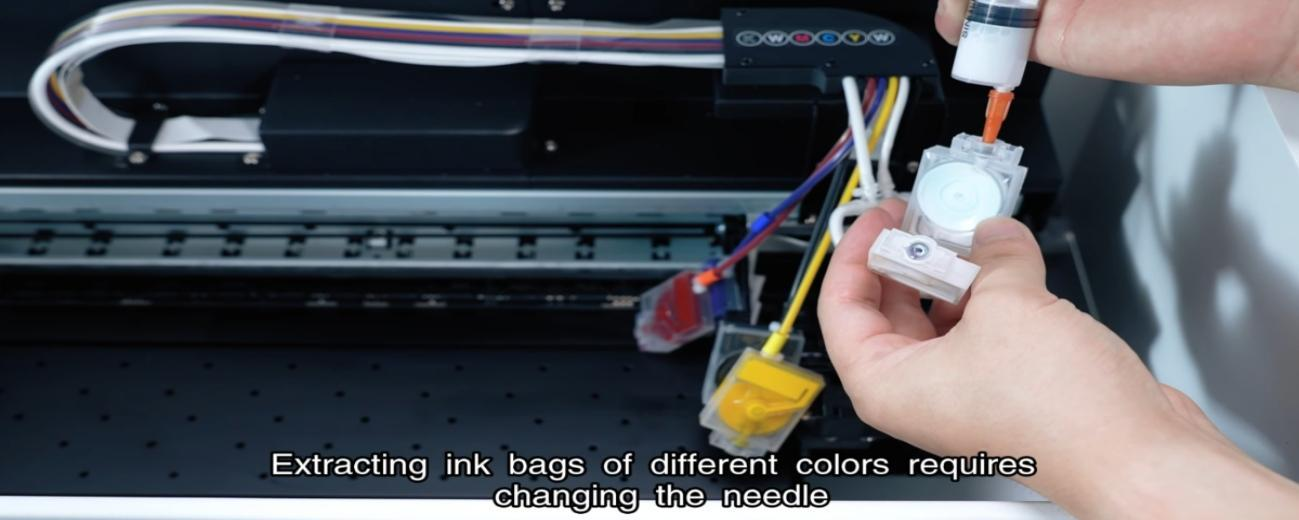
Extracting ink bags of different colors requires changing the needle.
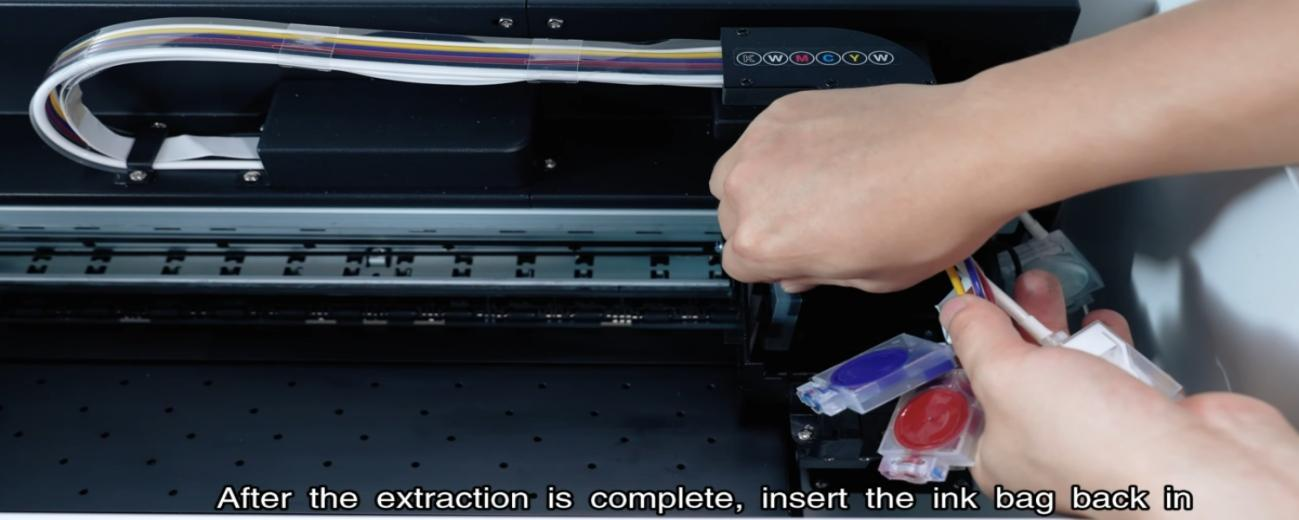
After the extraction is complete, insert the ink bag back in.
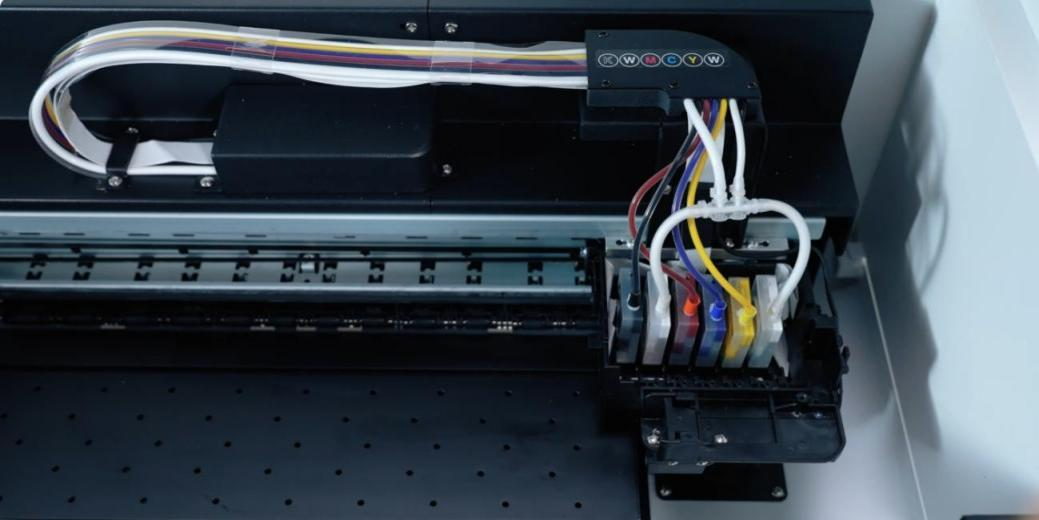
The insertion order from left to right is KWMCYW.
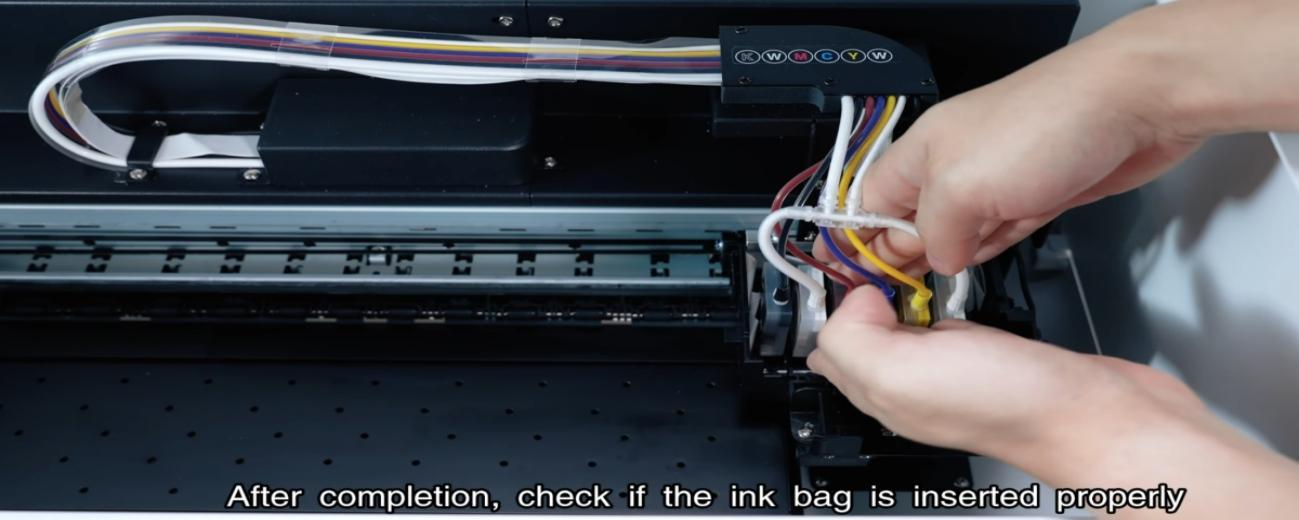
After completion, check if the ink bag is inserted properly.
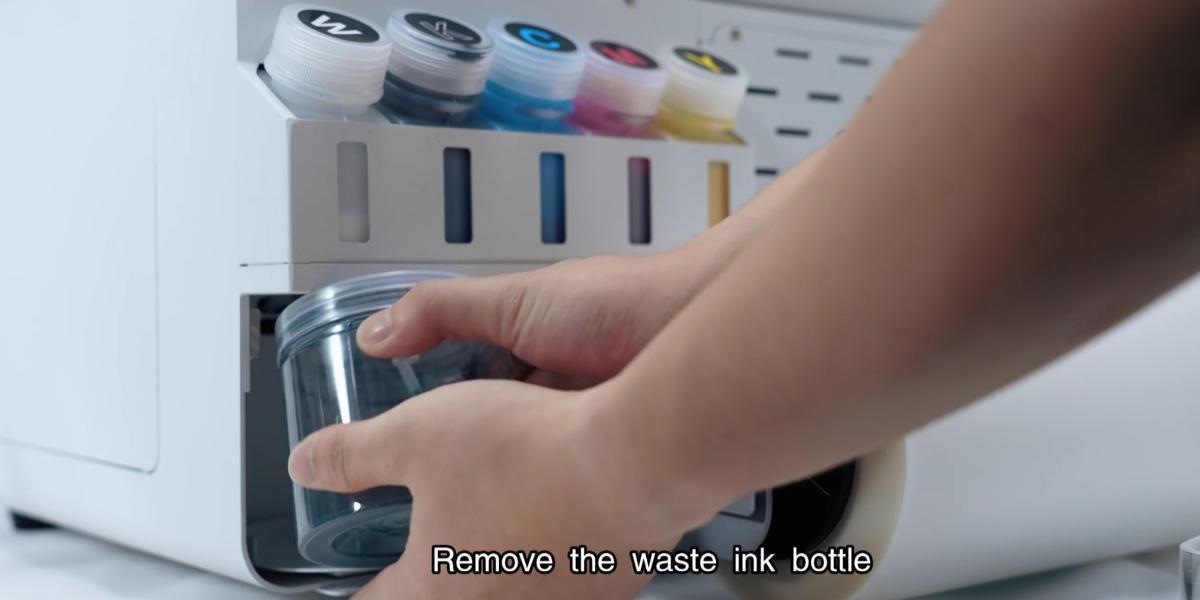
Remove the waste ink bottle.
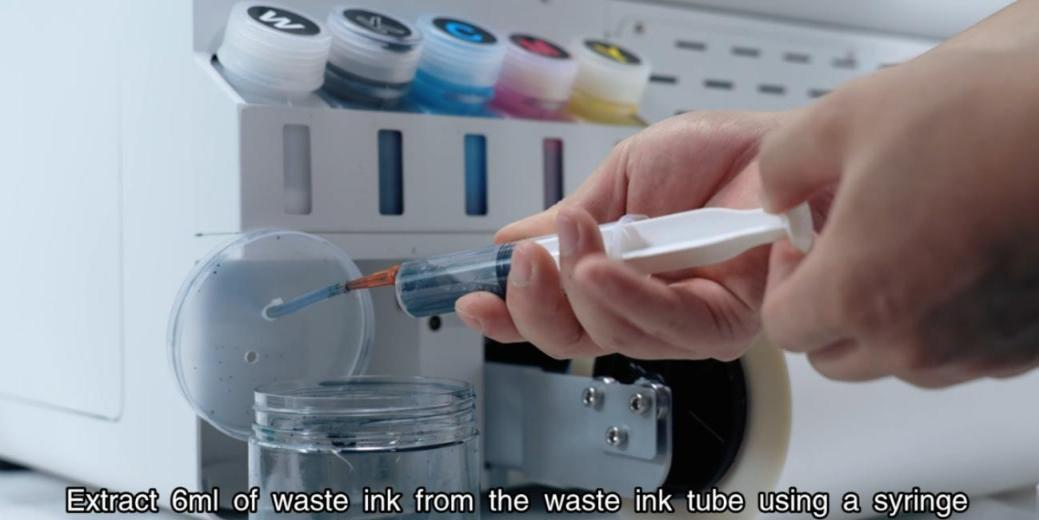
Extract 6ml of waste ink from the tube using a syringe.
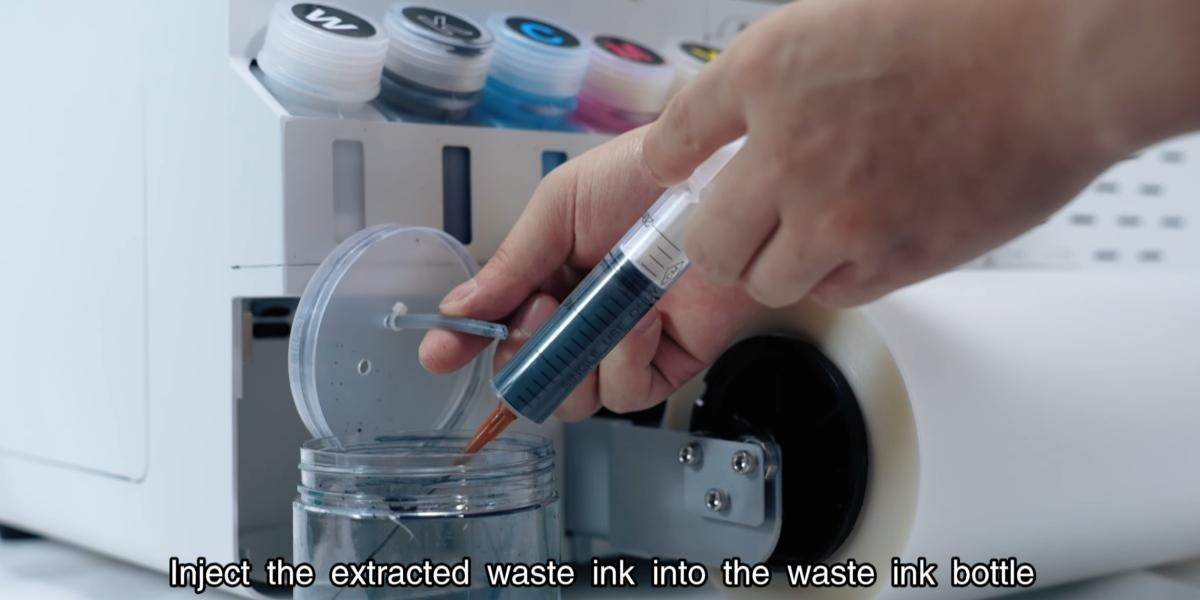
Inject the extracted waste ink into the waste ink bottle.

Cover the waste ink bottle cap.
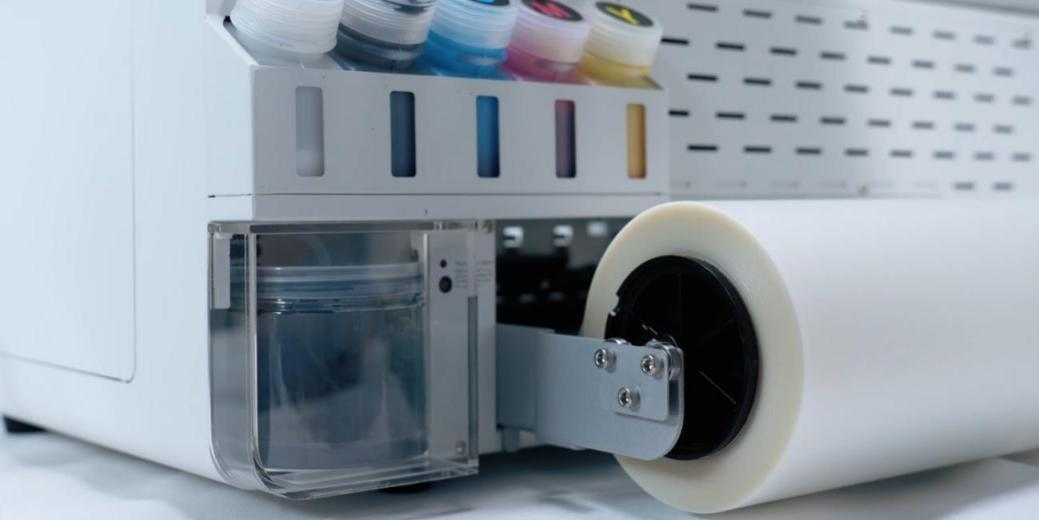
Put back to the corner.
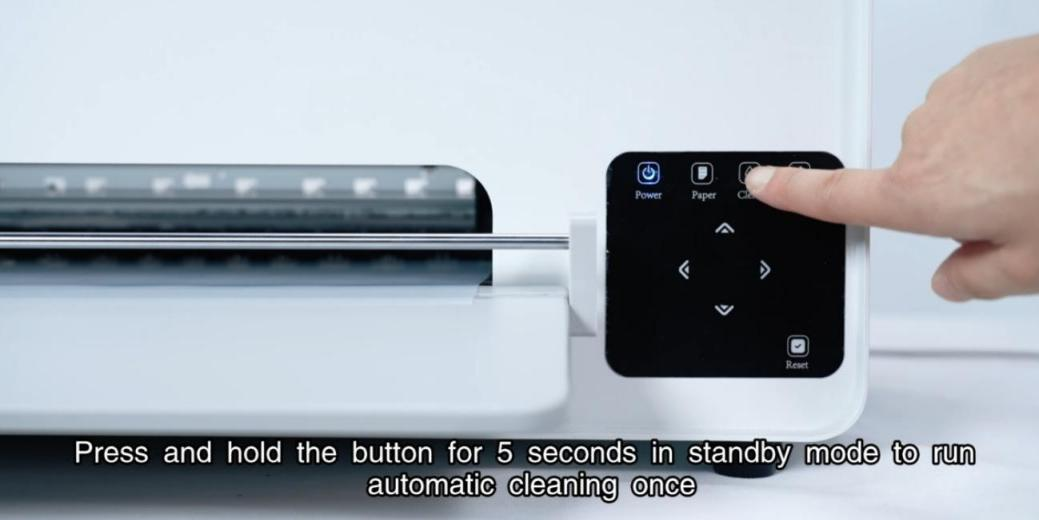
Hold the button for 5s in standby mode to run automatic cleaning.
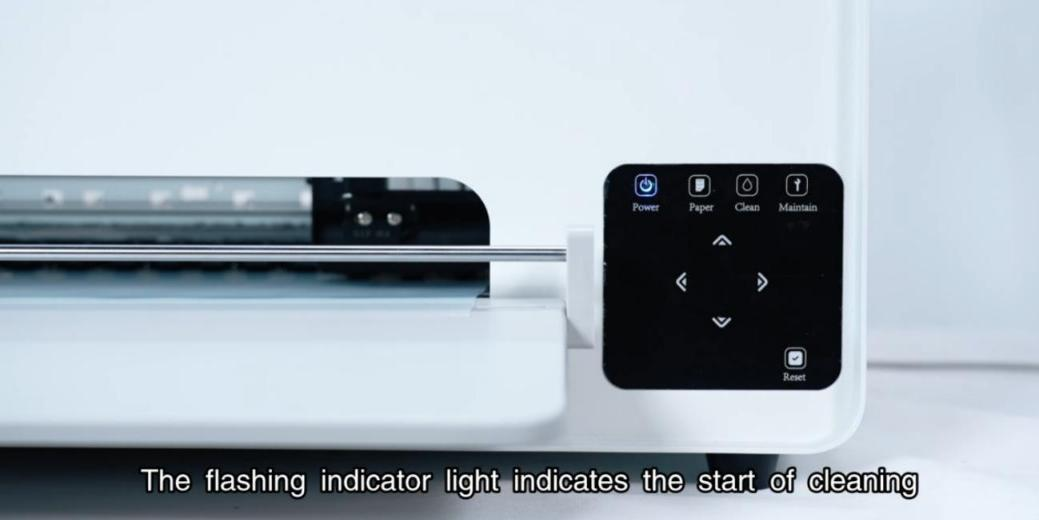
The flashing indicator light indicates the start of cleaning.

During cleaning, the waste ink tube will discharge waste ink.
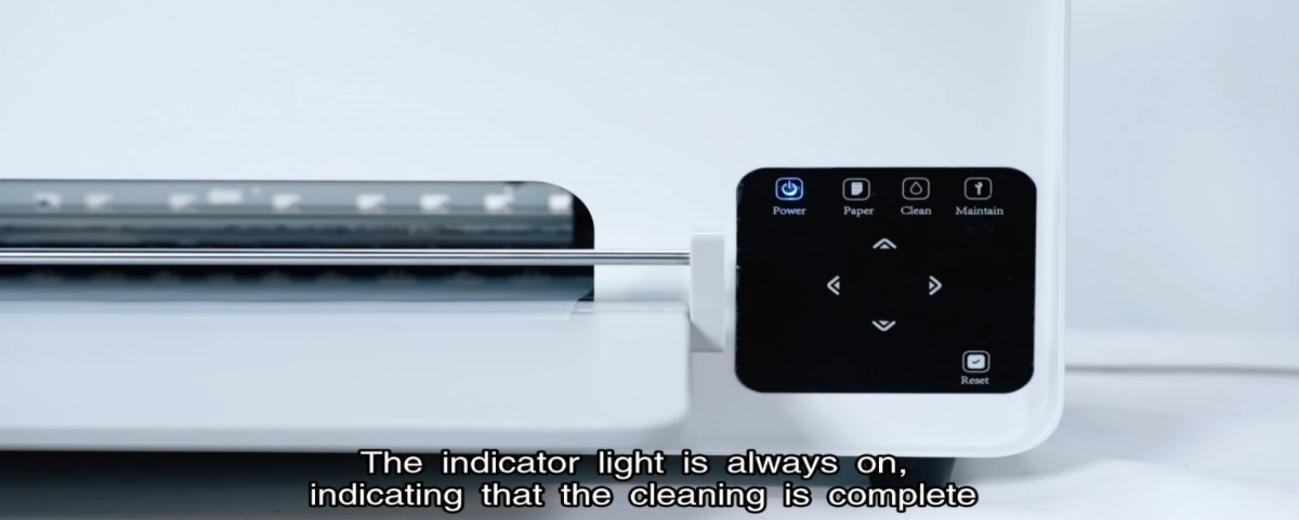
The indicator light is always on, indicating that cleaning is complete.
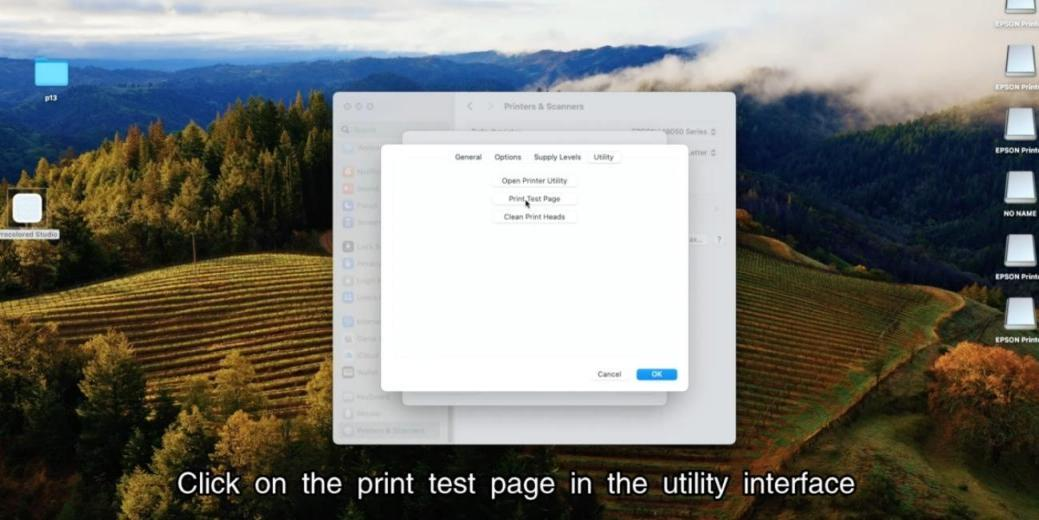
Click on the print test page in the utility interface.
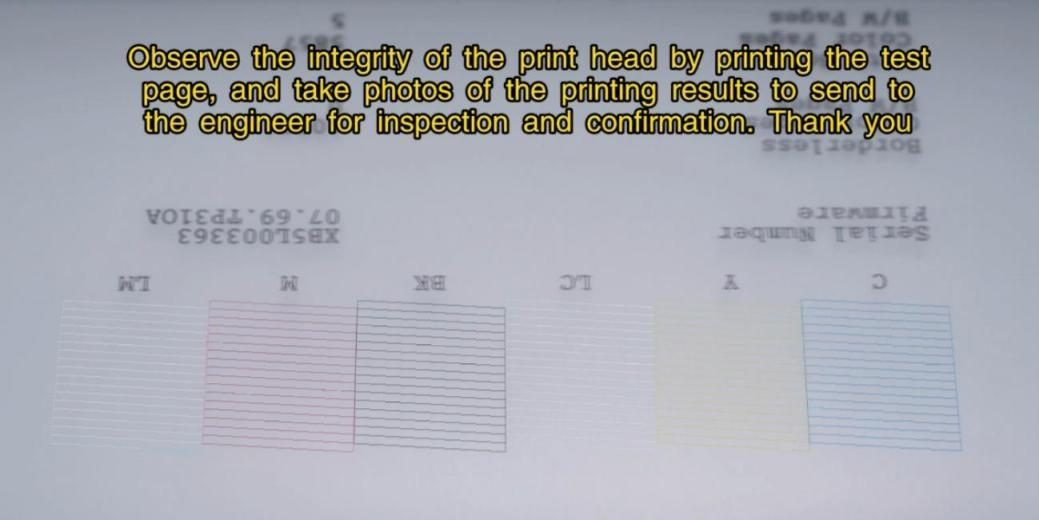
Observe print head integrity and send photos to the engineer for confirmation.