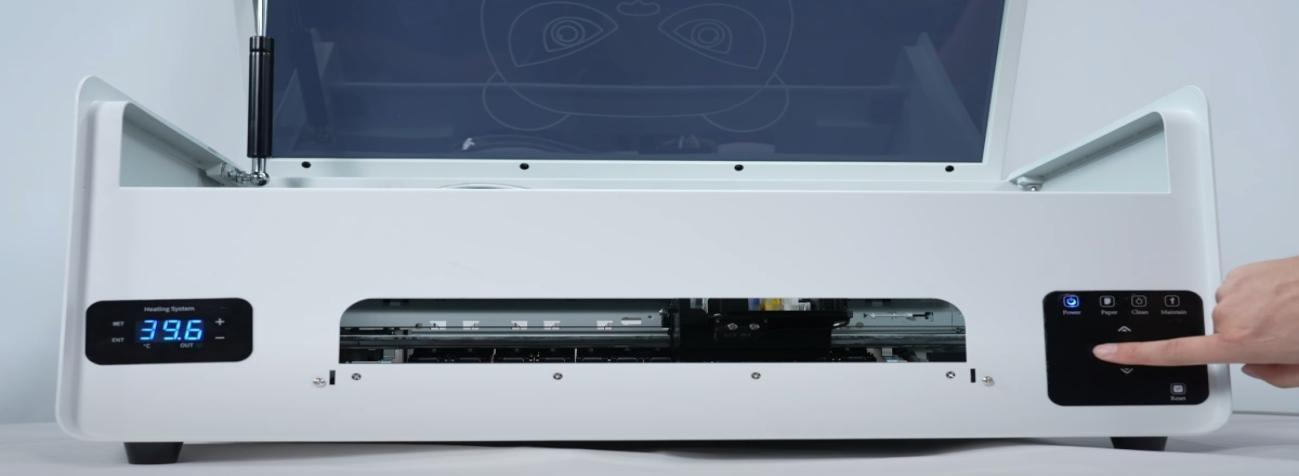
Take away the cutting platform. Long press the left arrow button to move the ink cart to the middle position.
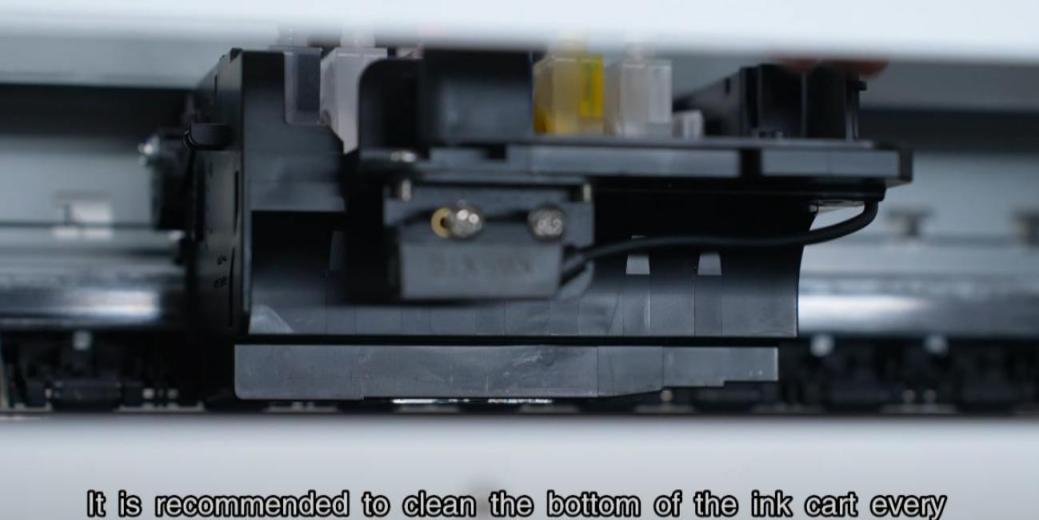
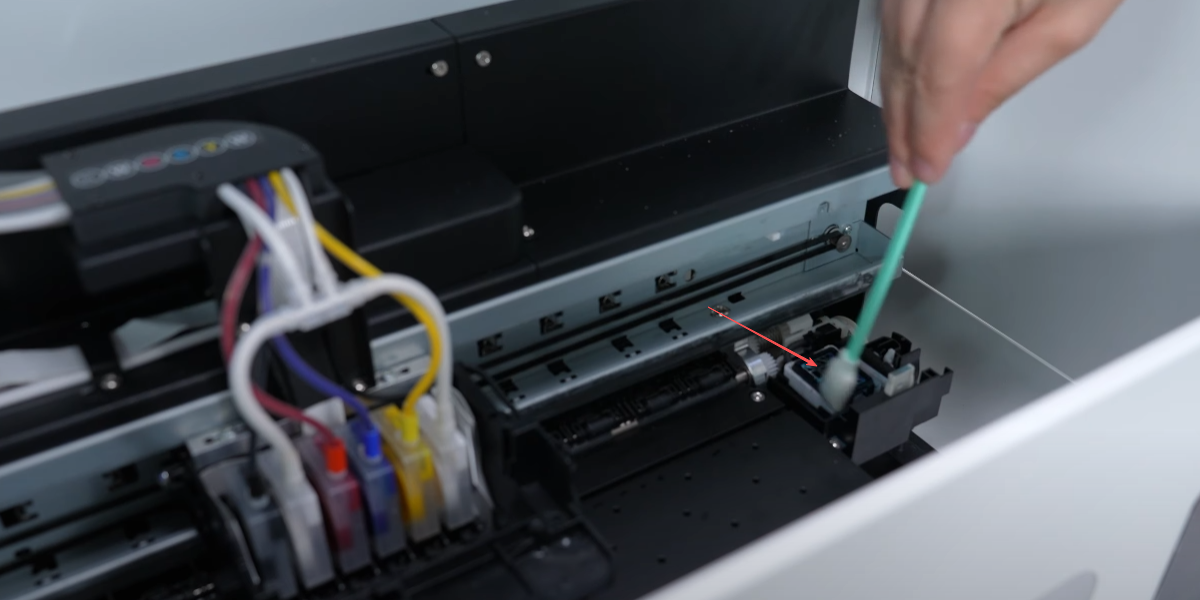
Turn off the printer power. It is recommended to clean the bottom of the ink cart every half month using a long cotton swab and clean water.
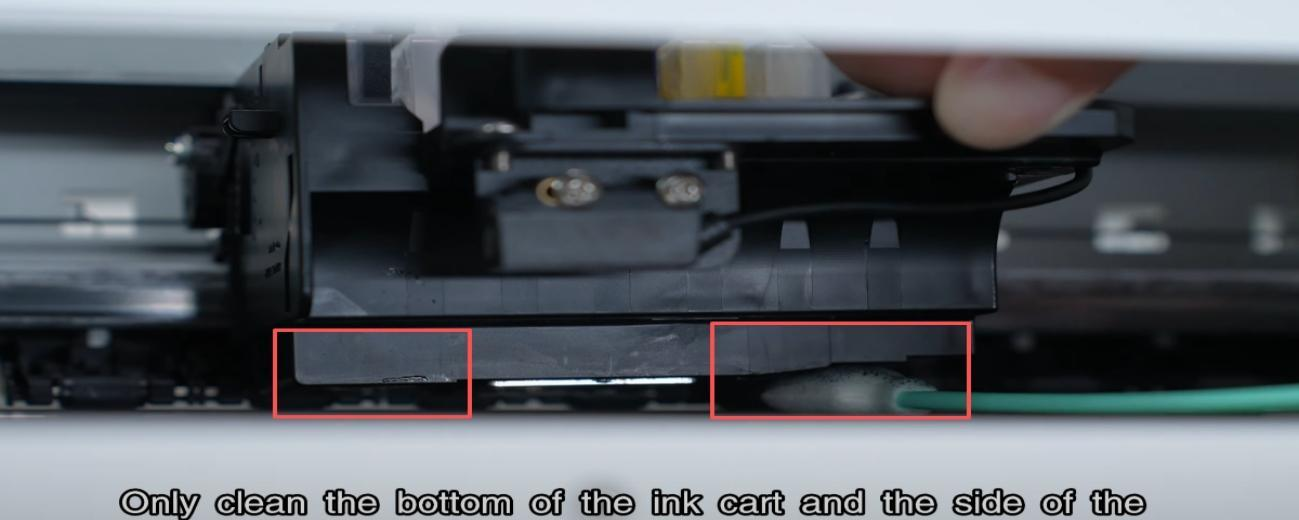
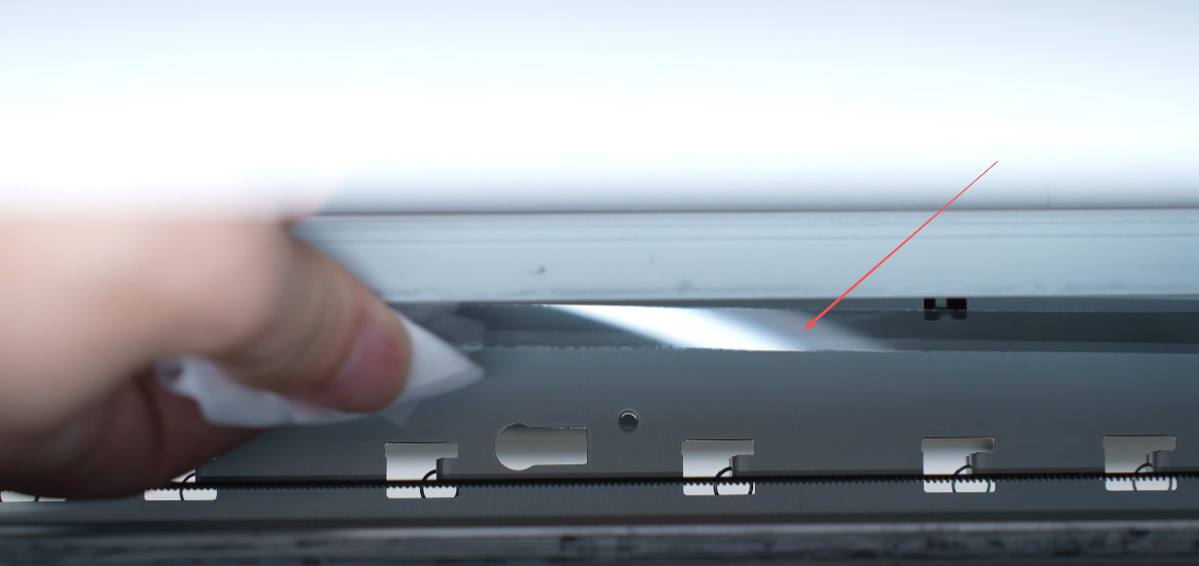
Only clean the bottom of the ink cart and the side of the print head, do not wipe the bottom of the print head.
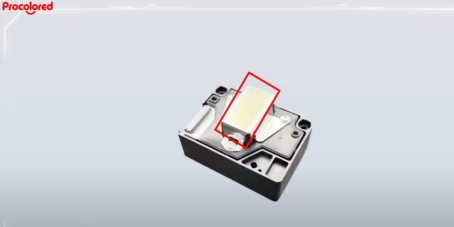
Attention: Do not touch the mirror area. Do not clean the nozzle area.
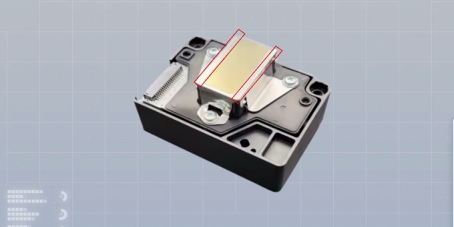
Only need to clean the areas on both sides of the nozzles.
The waste ink pump should also be cleaned and wiped.
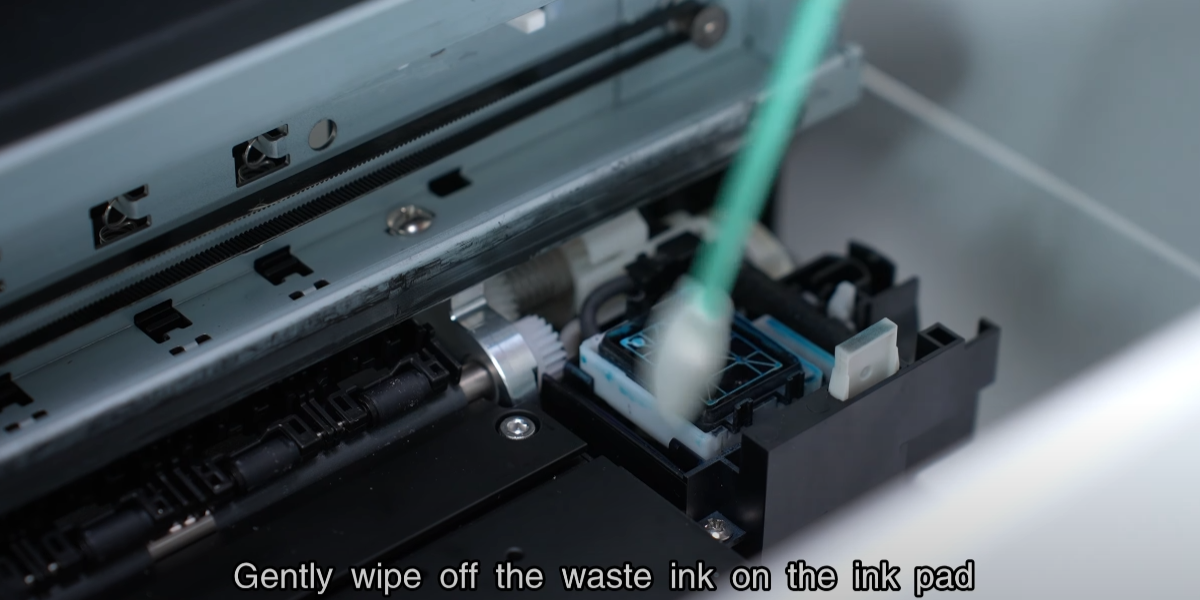
Gently wipe off the waste ink on the ink pad.
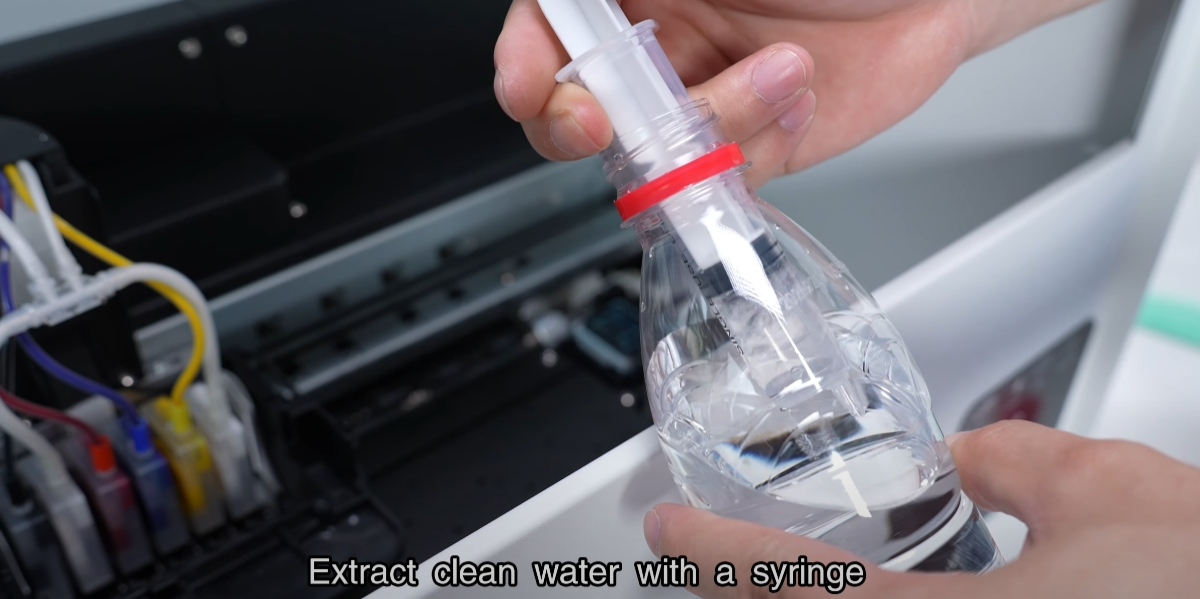
Extract clean water with a syringe.
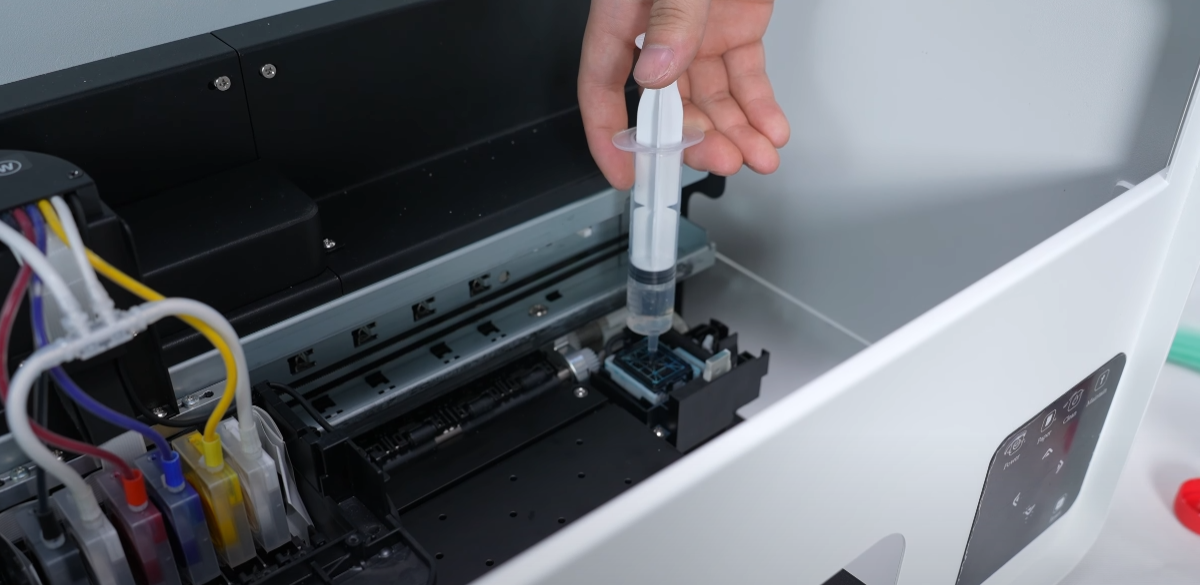
Inject clean water into the ink pad.
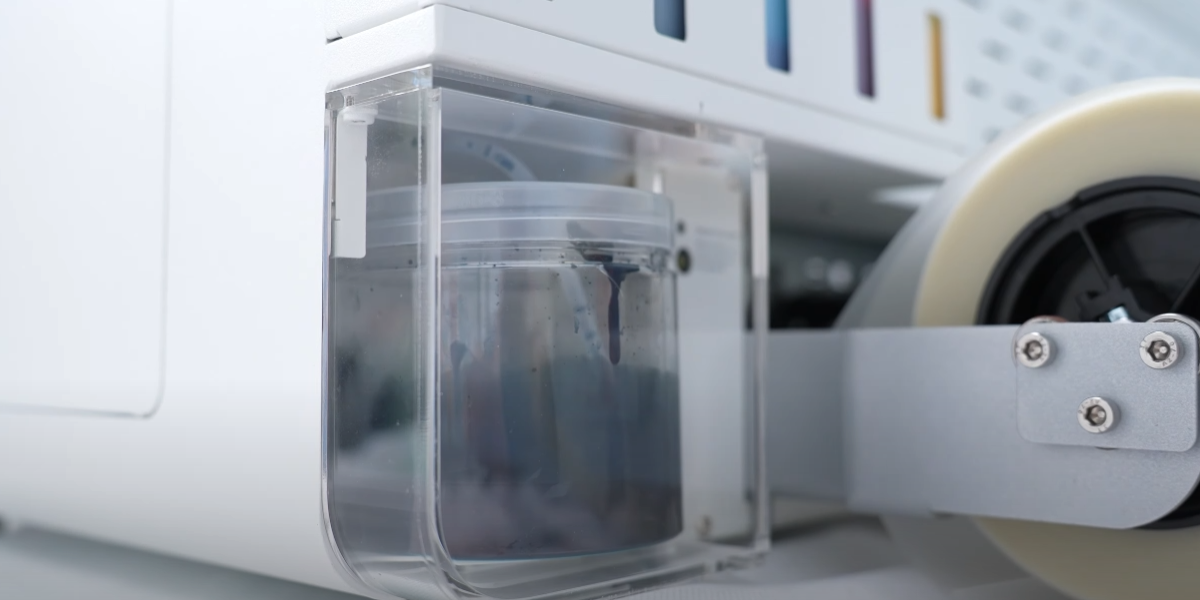
Remove the waste ink bottle.
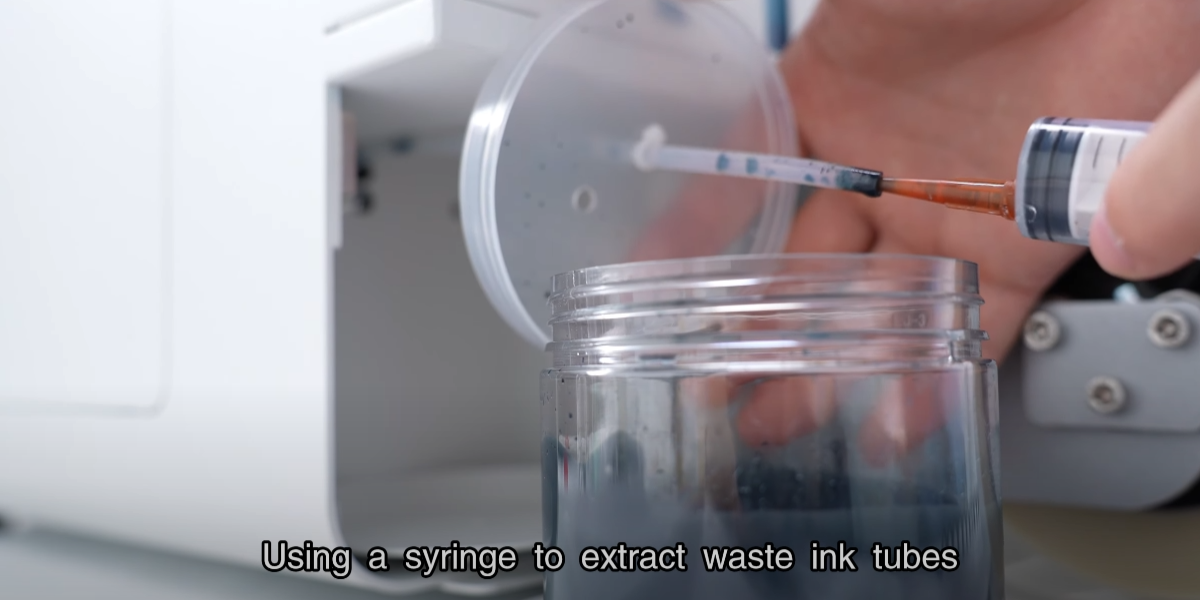
Using a syringe to extract waste ink tubes.
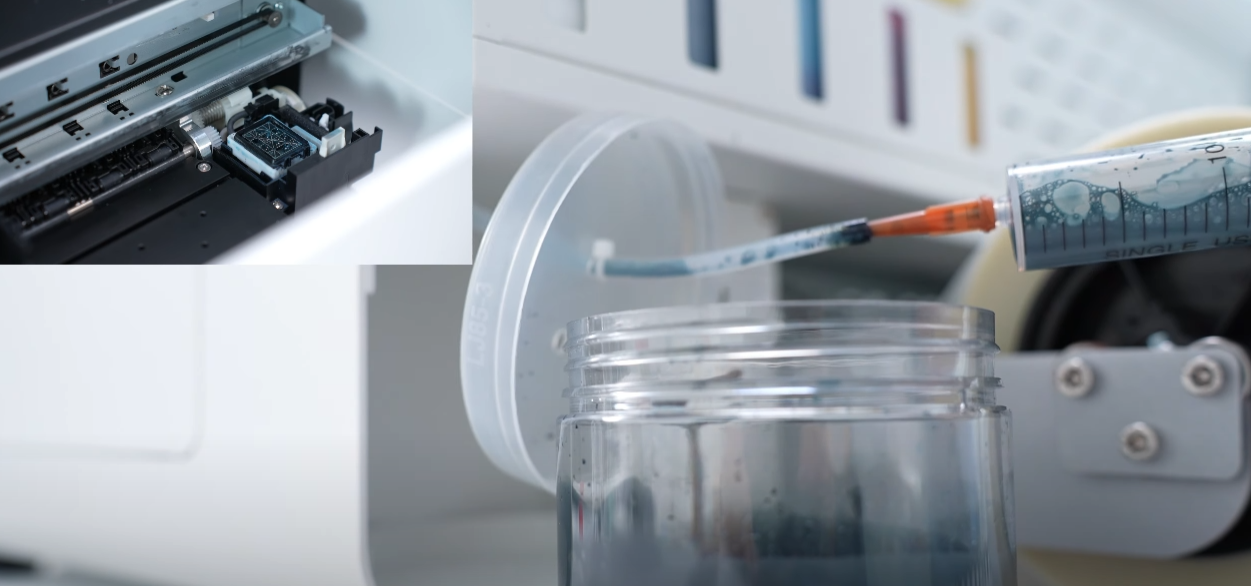
Extract the liquid from the ink pad.
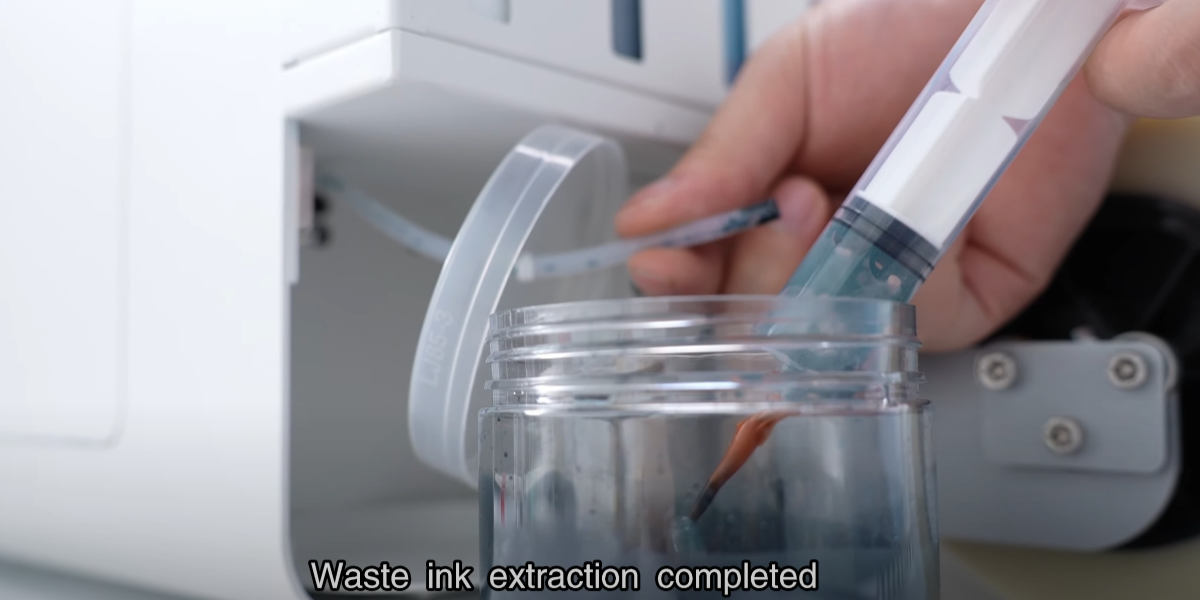
Waste ink extraction completed. Empty the bottle regularly to prevent overflow.

Then reinstall the waste ink bottle and protective cover.
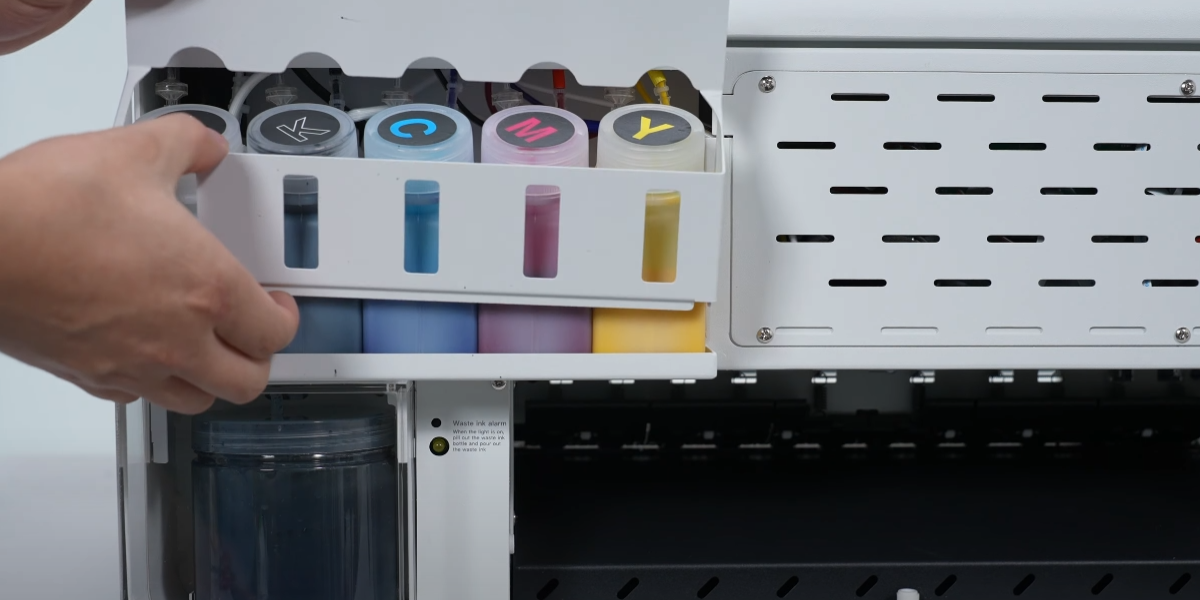
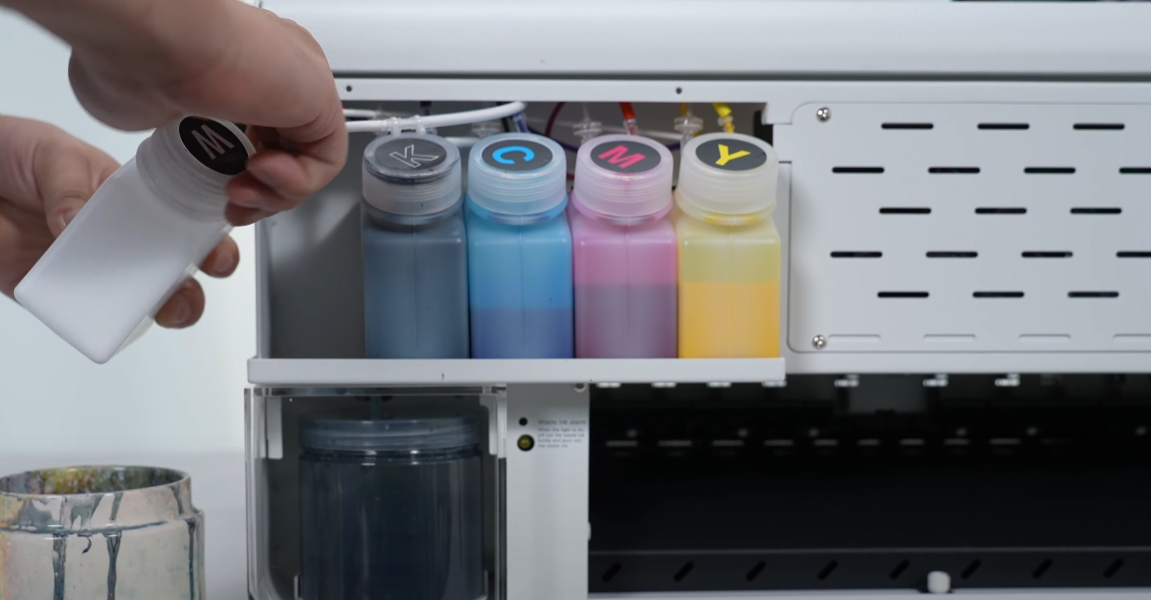
Remove the screw and take away the baffle.
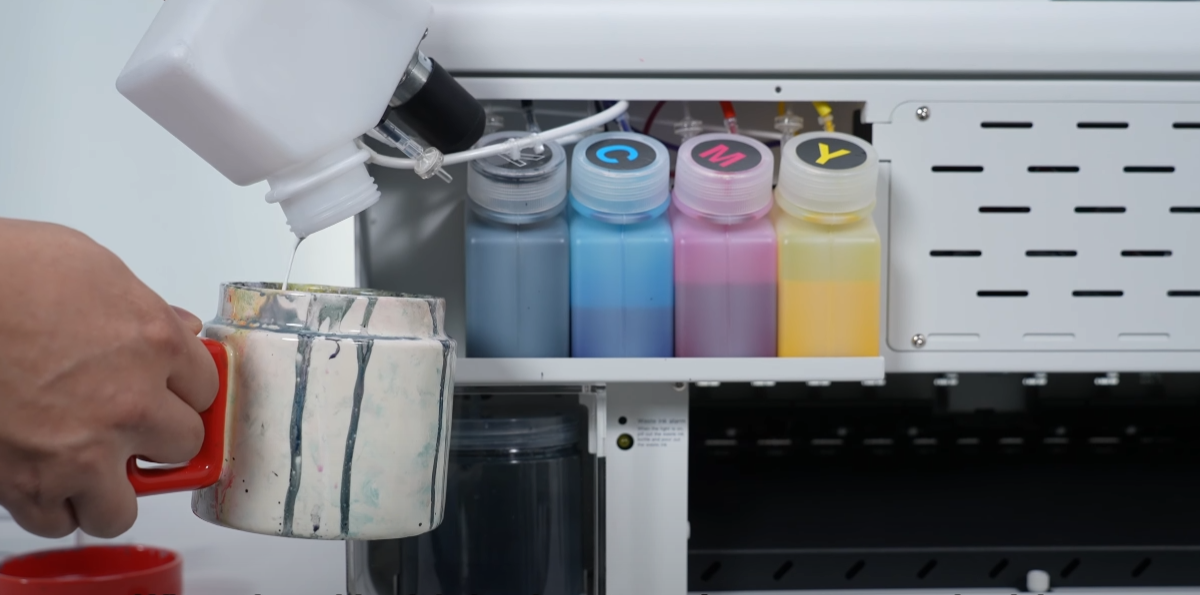
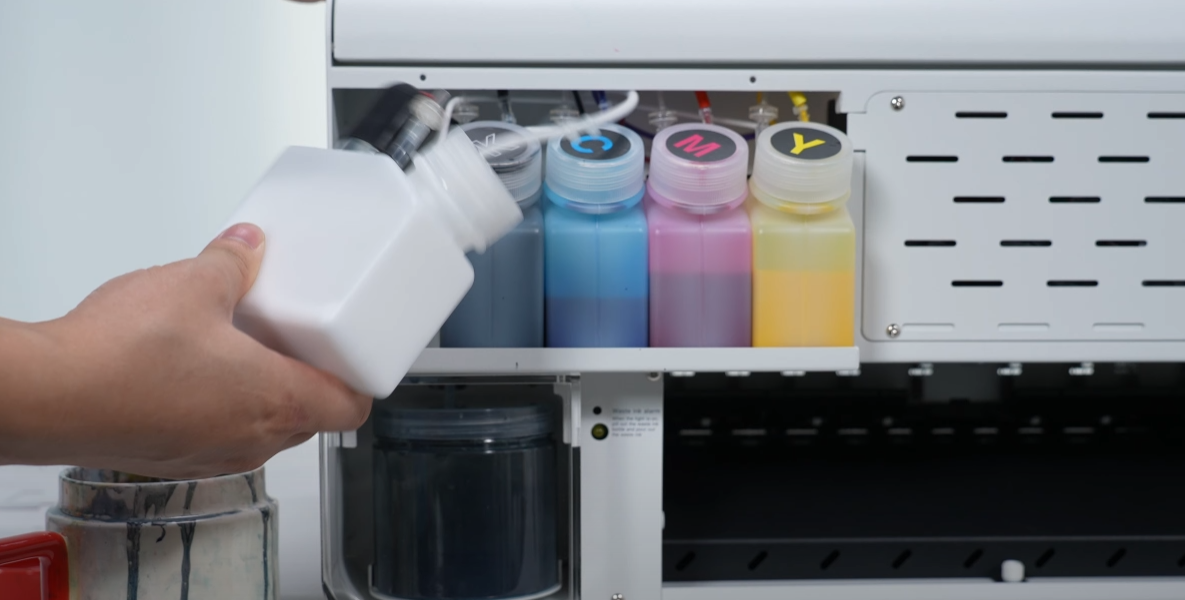
When the white ink is almost used up, pour out the ink at the bottom.
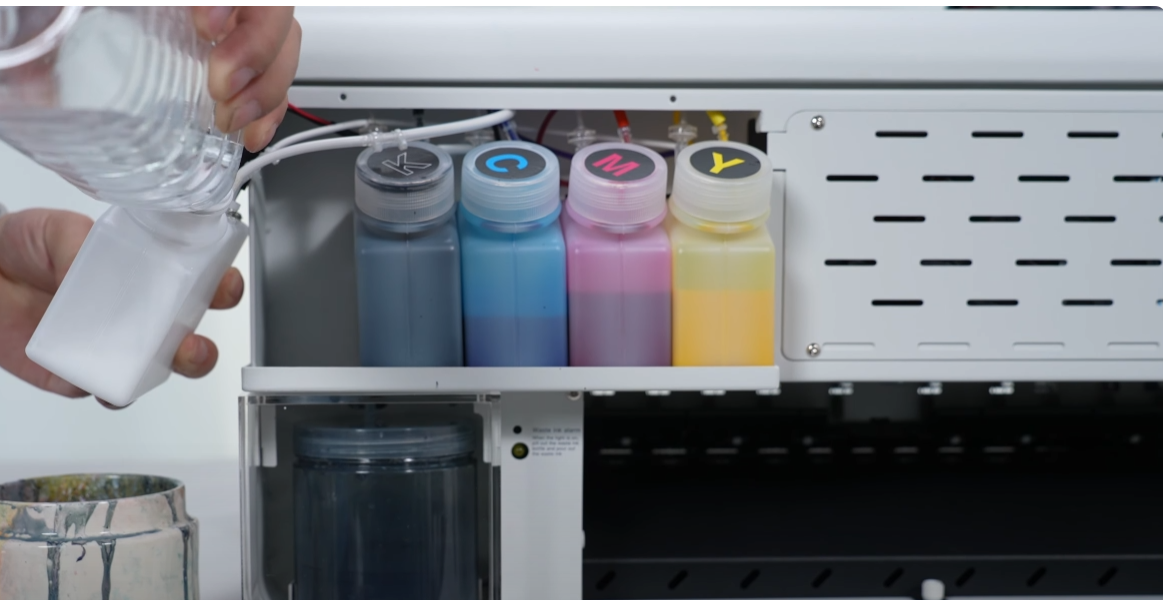
Pour water into the white ink bottle.
Tighten the bottle cap tightly.
Shake the white ink bottle to clean it.
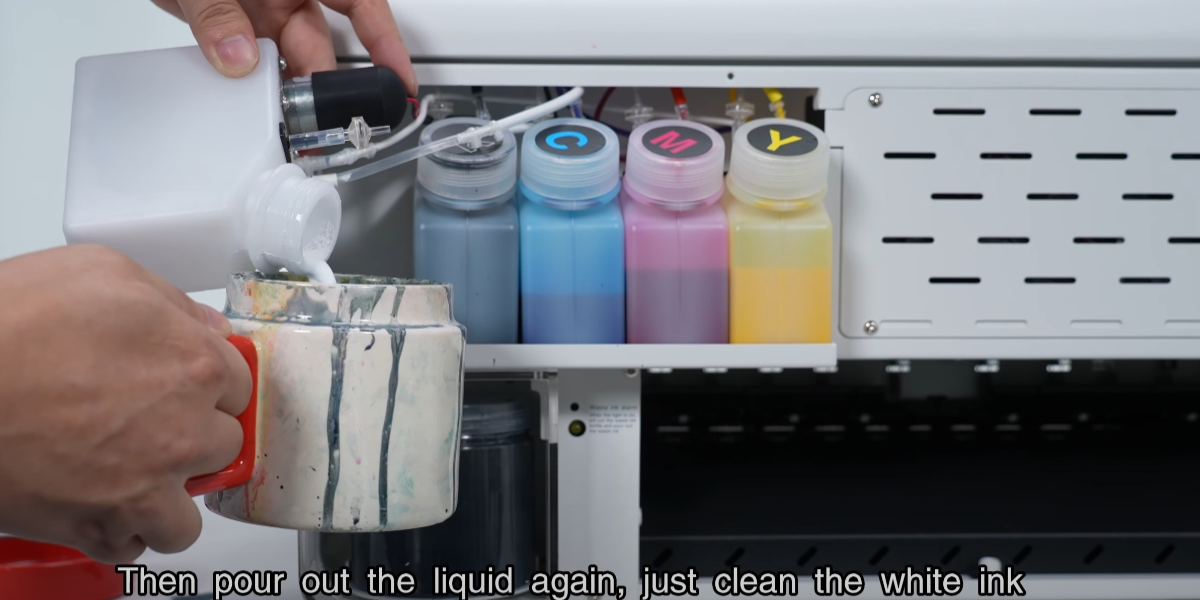
Pour out liquid. Clean the bottle regularly as white ink density causes sedimentation.
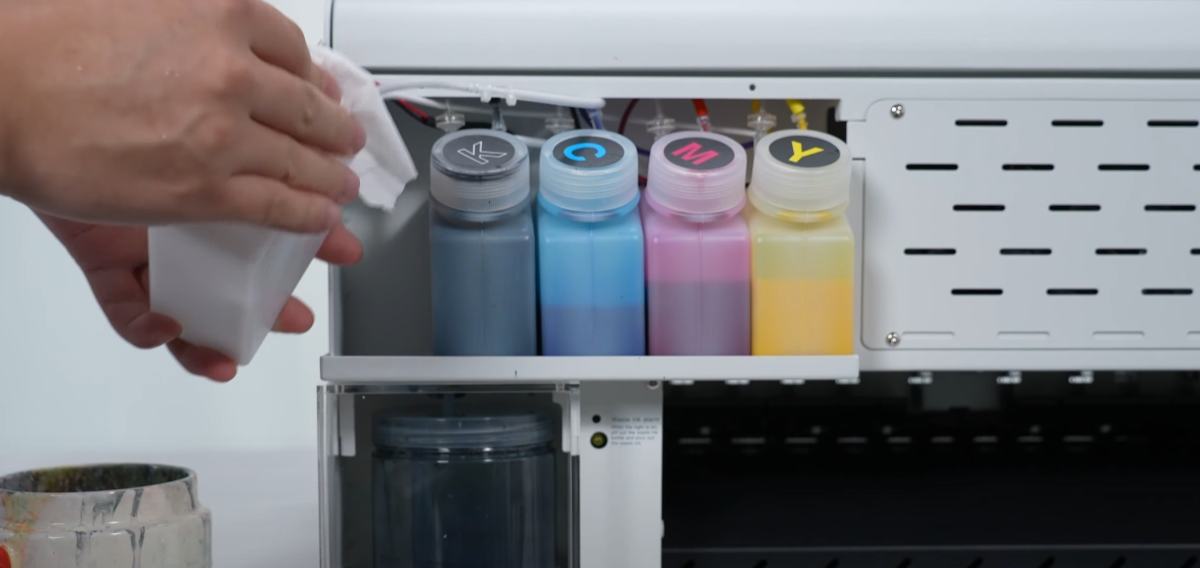
Wipe the white ink bottle clean, then put it back, and finally add white ink again.
The transparent grille strip behind the ink car can be wiped every two weeks.
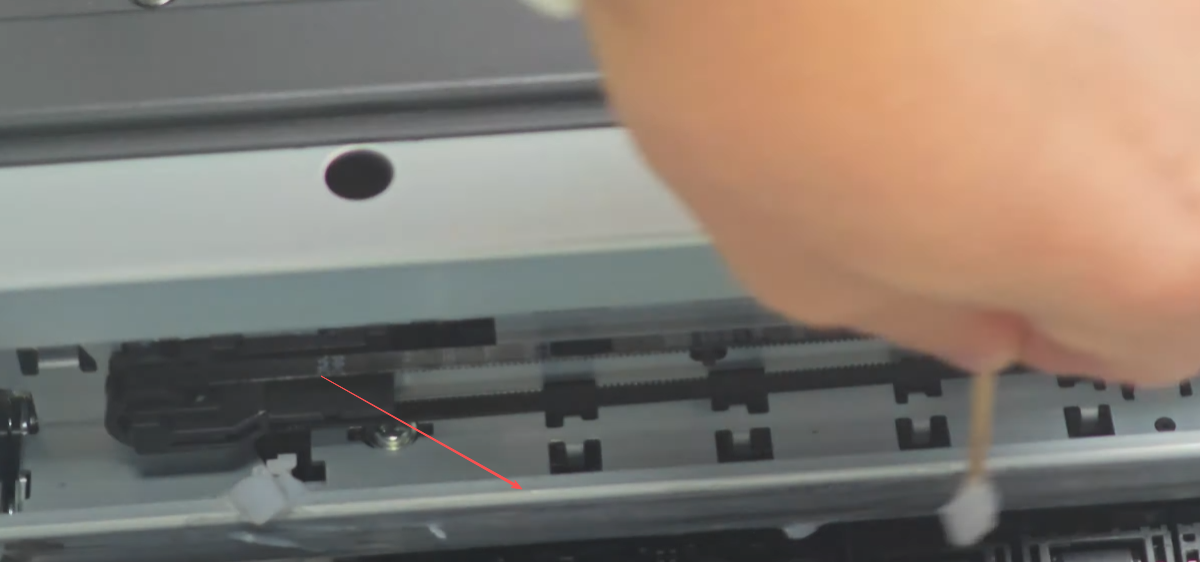
The tracking of the ink cart can also be lubricated with grease once a month.
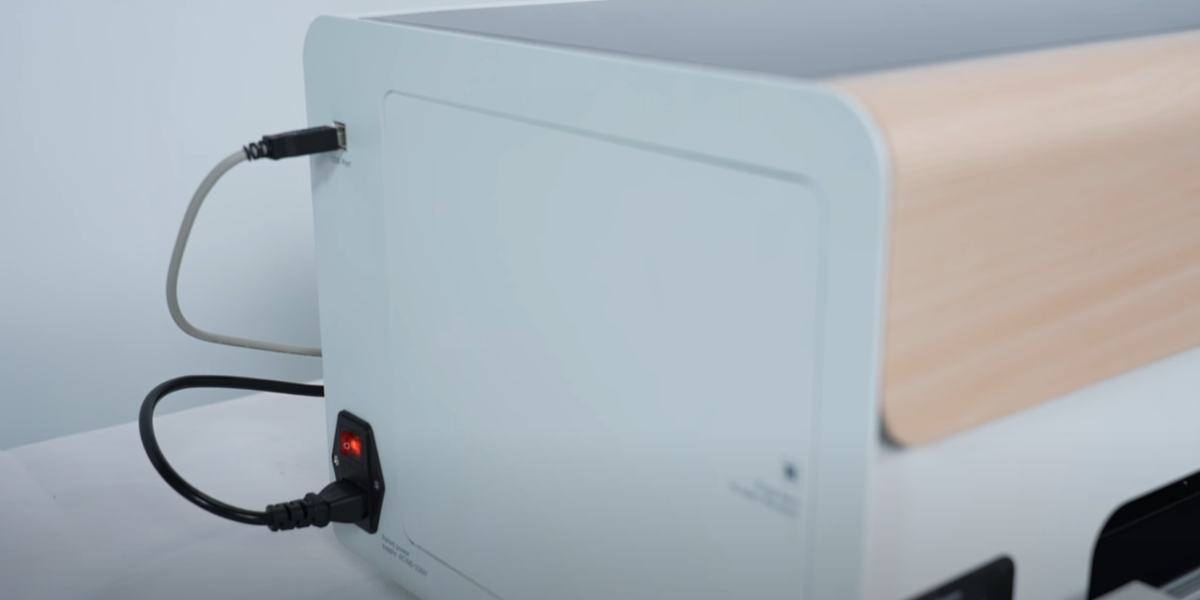
Start the printer after maintenance is completed.
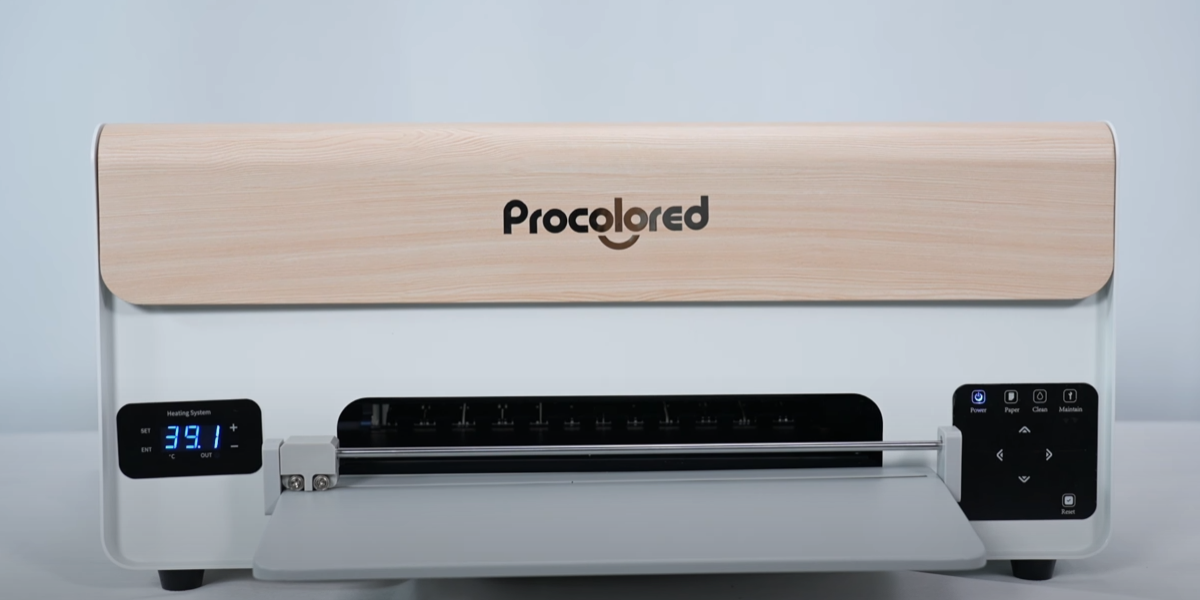
Waiting for printer startup to complete.
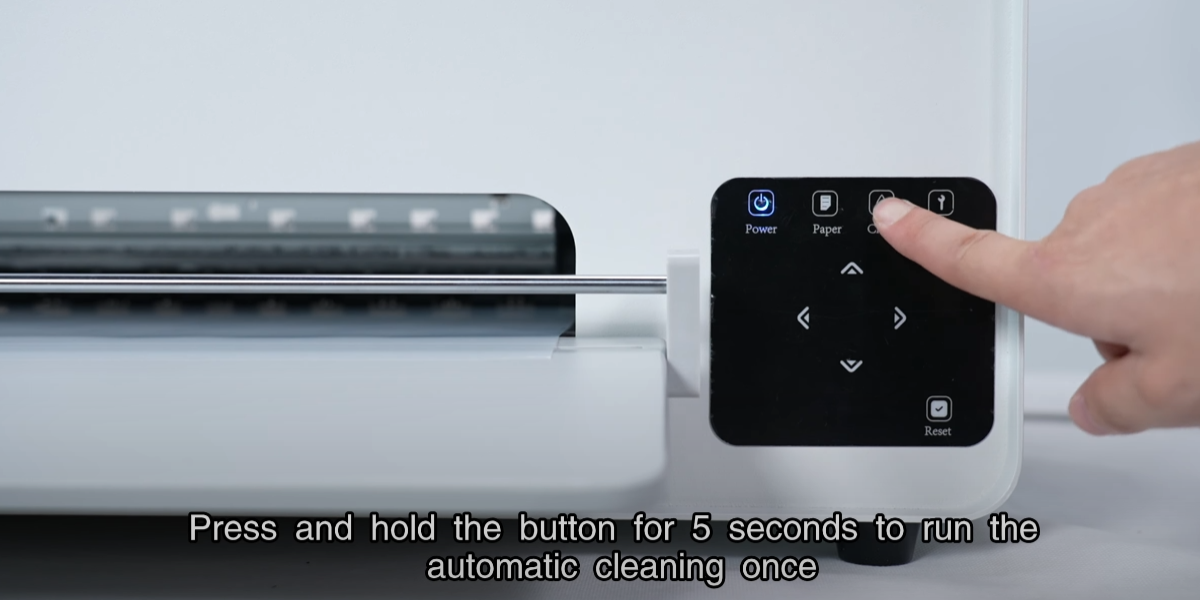
Press and hold button for 5 seconds to run the automatic cleaning once.
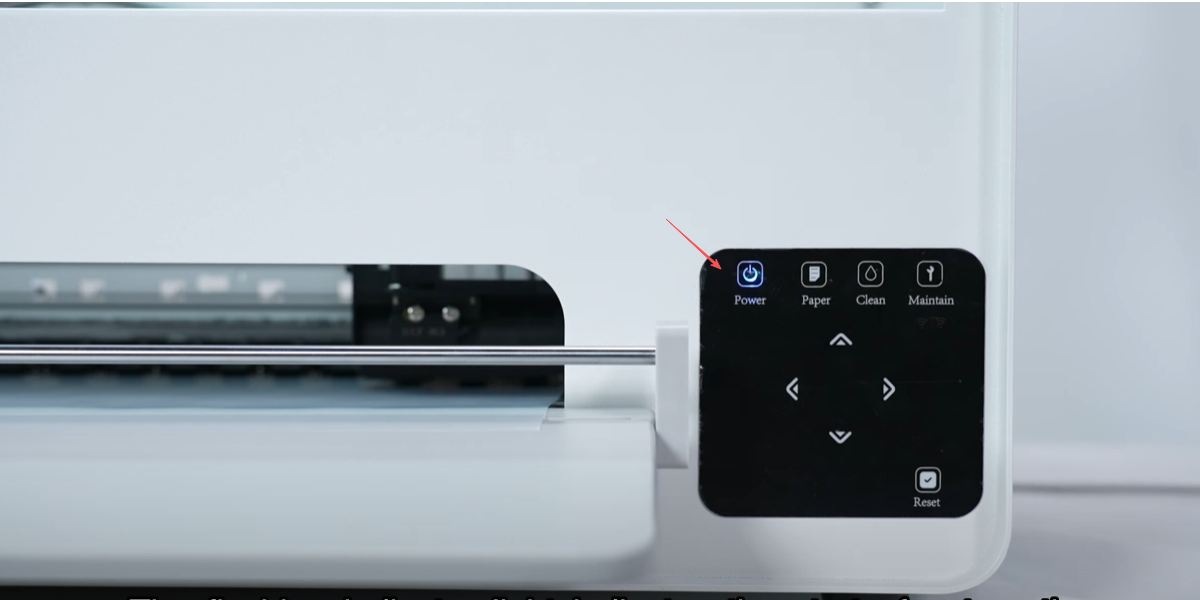
The flashing indicator light indicates the start of automatic cleaning.
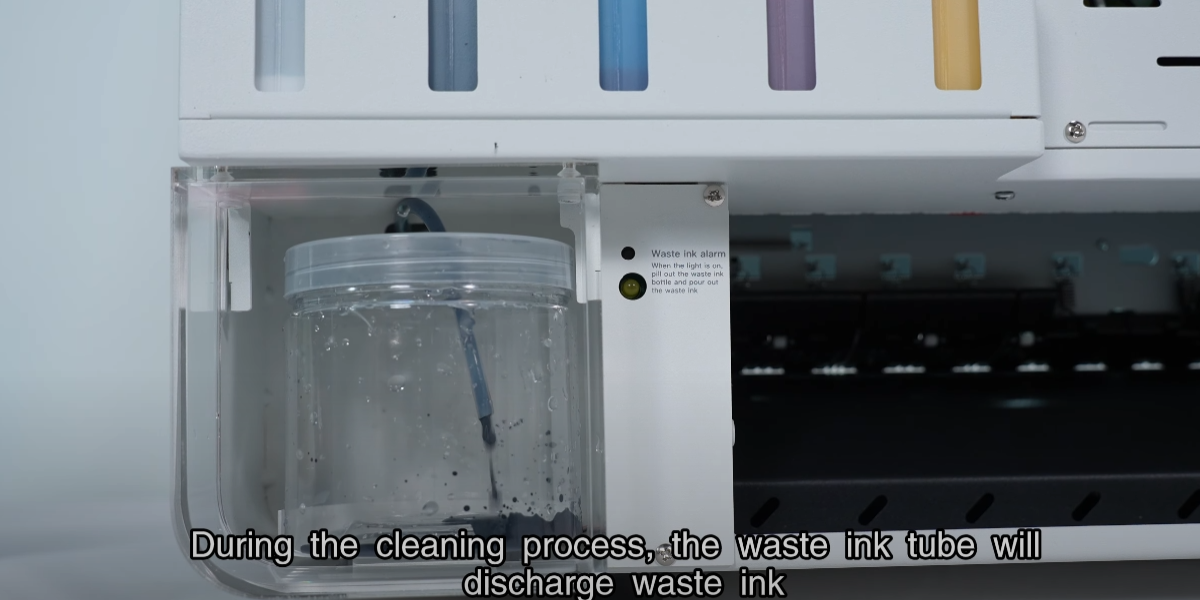
During the cleaning process, the waste ink tube will discharge waste ink.
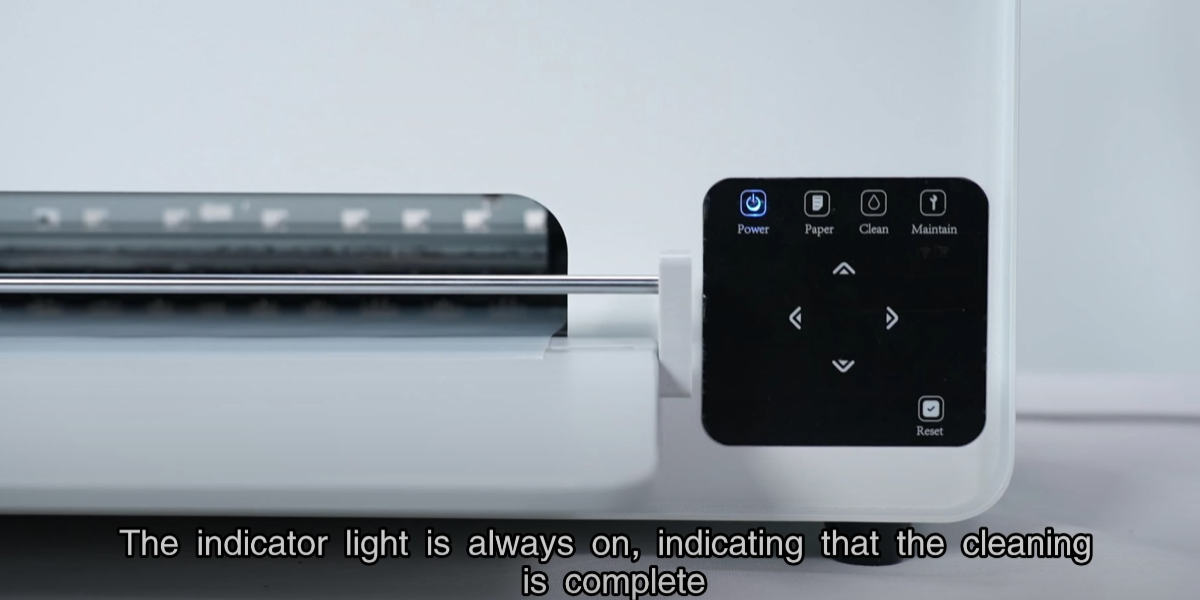
The indicator light is always on, indicating that the cleaning is complete.
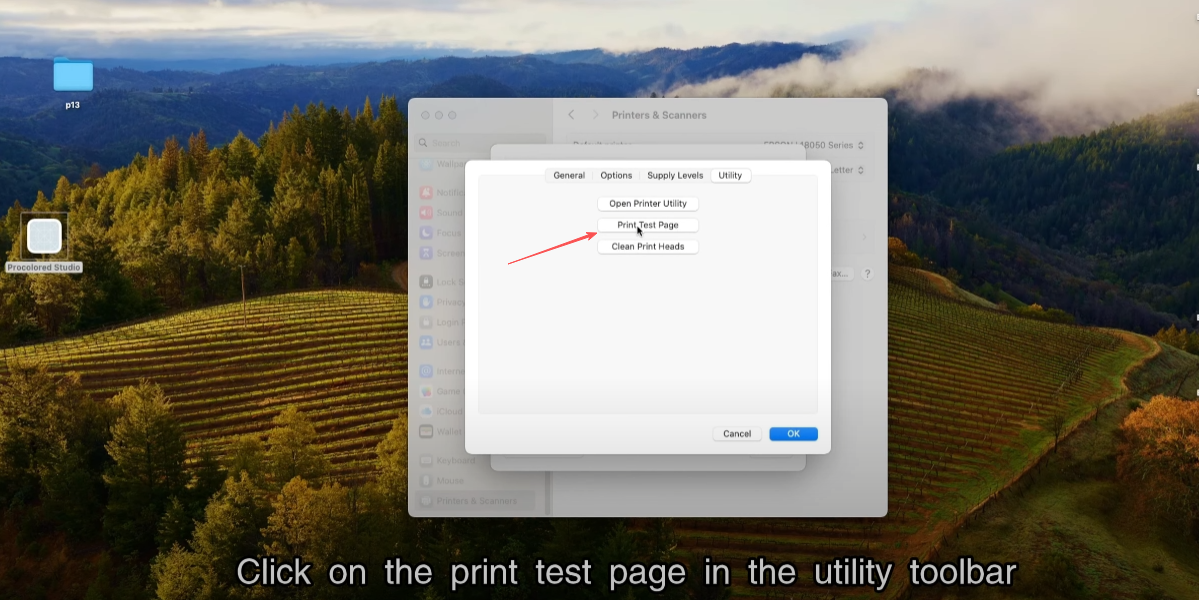
Click on the print test page in the utility toolbar.
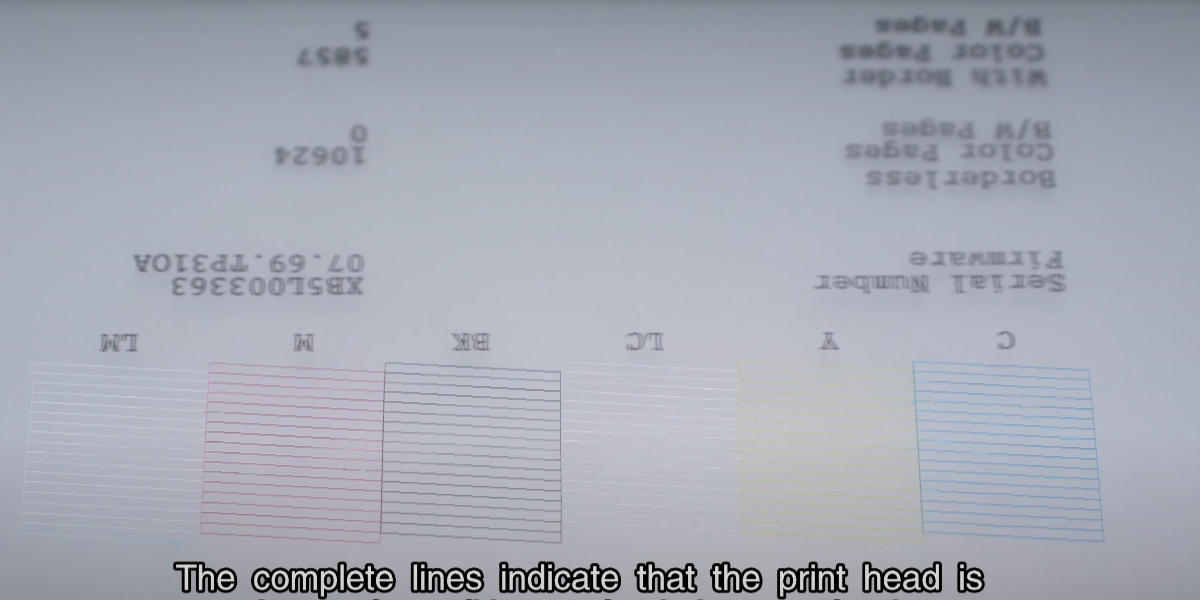
Observe whether the result lines of the printed test page are complete.
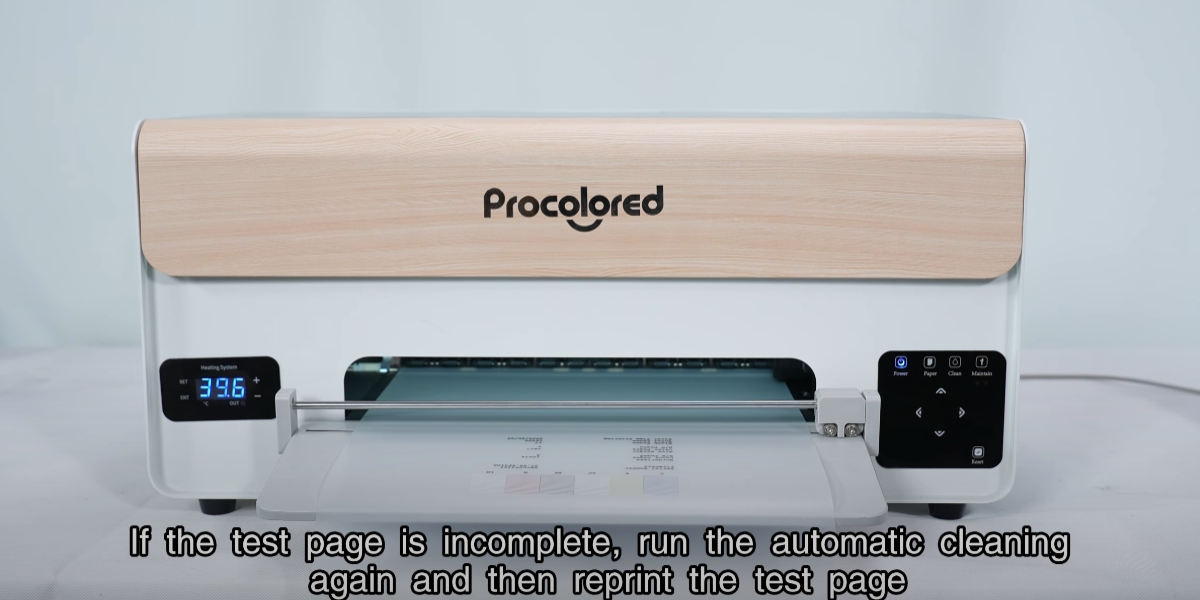
If incomplete, run automatic cleaning again and reprint the test page.