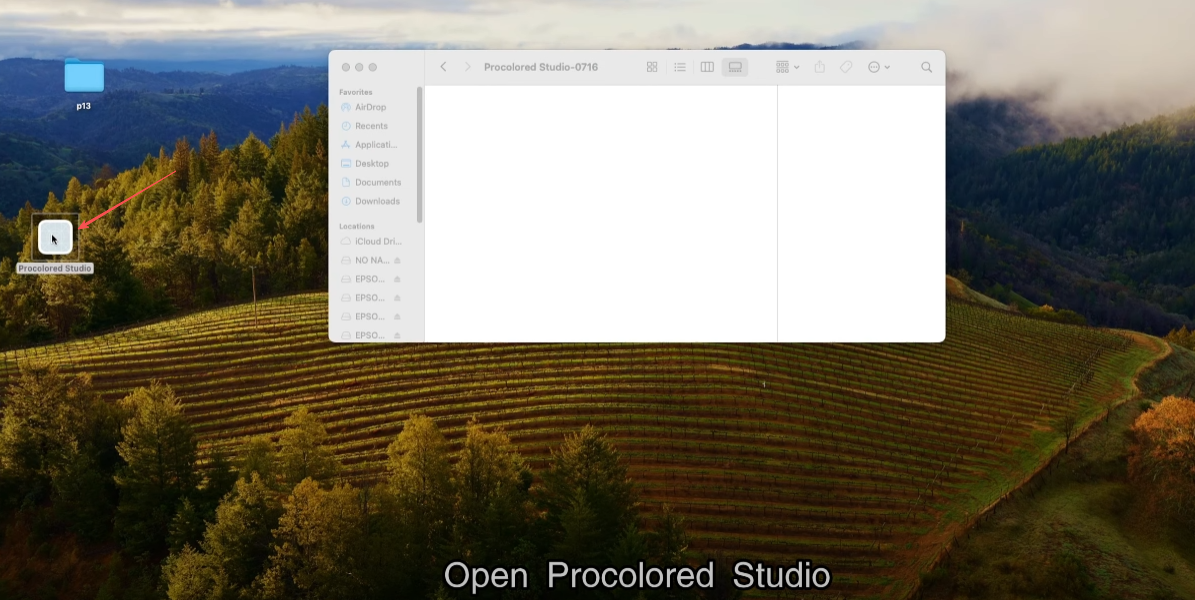
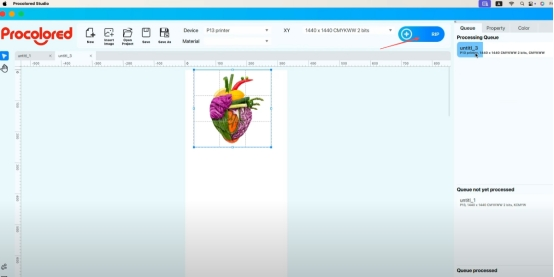
Open the procolored Studio.
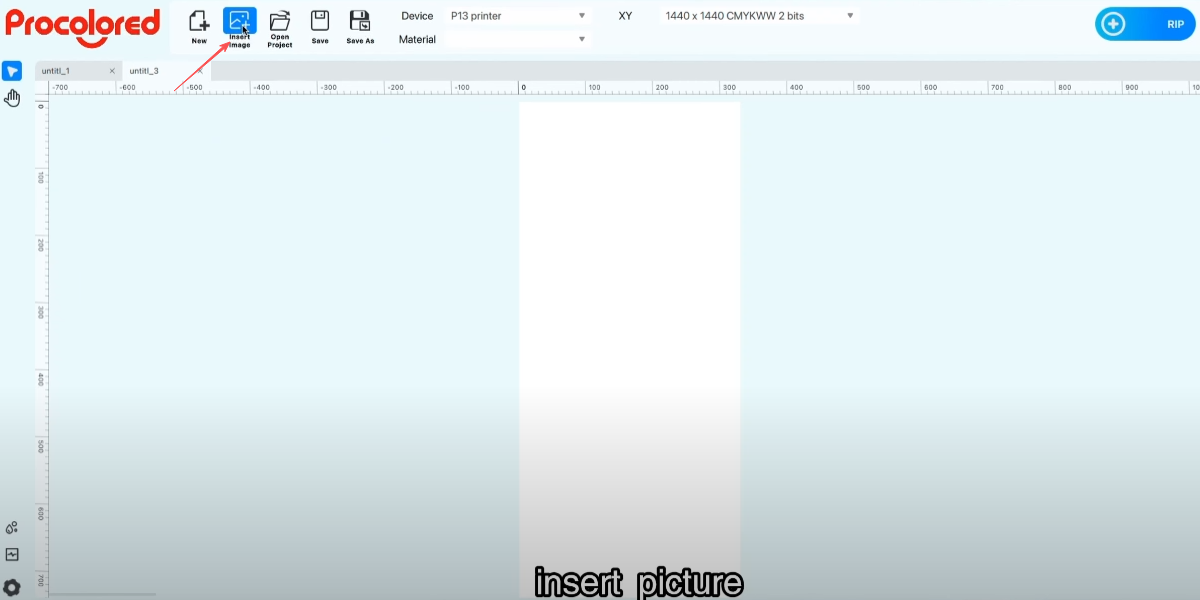
Insert picture.
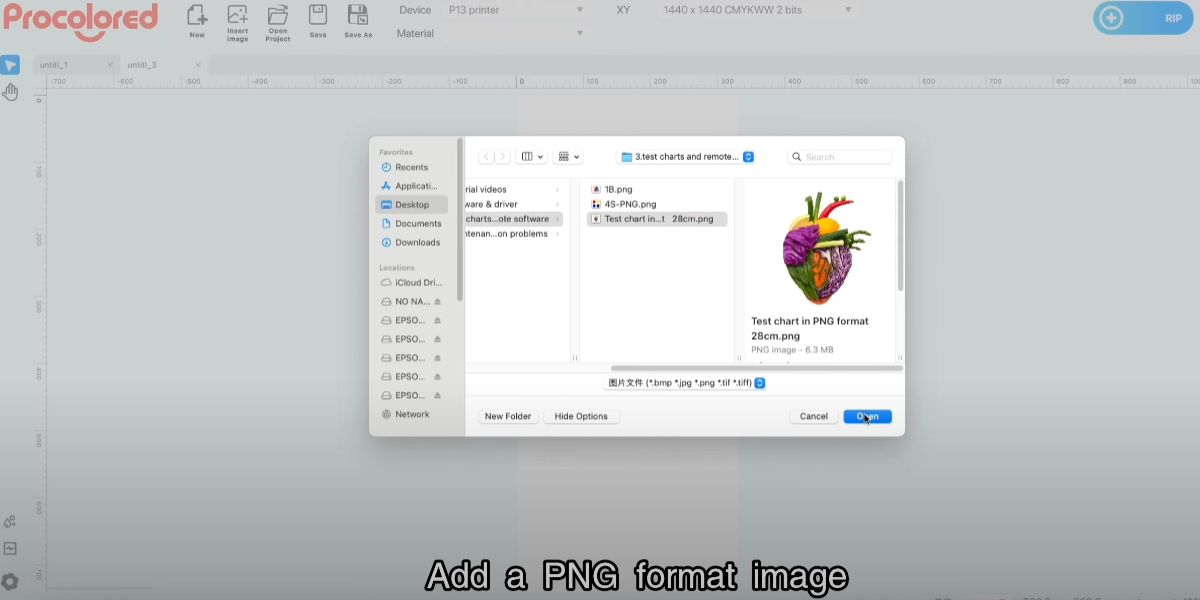
Add a PNG-format image.
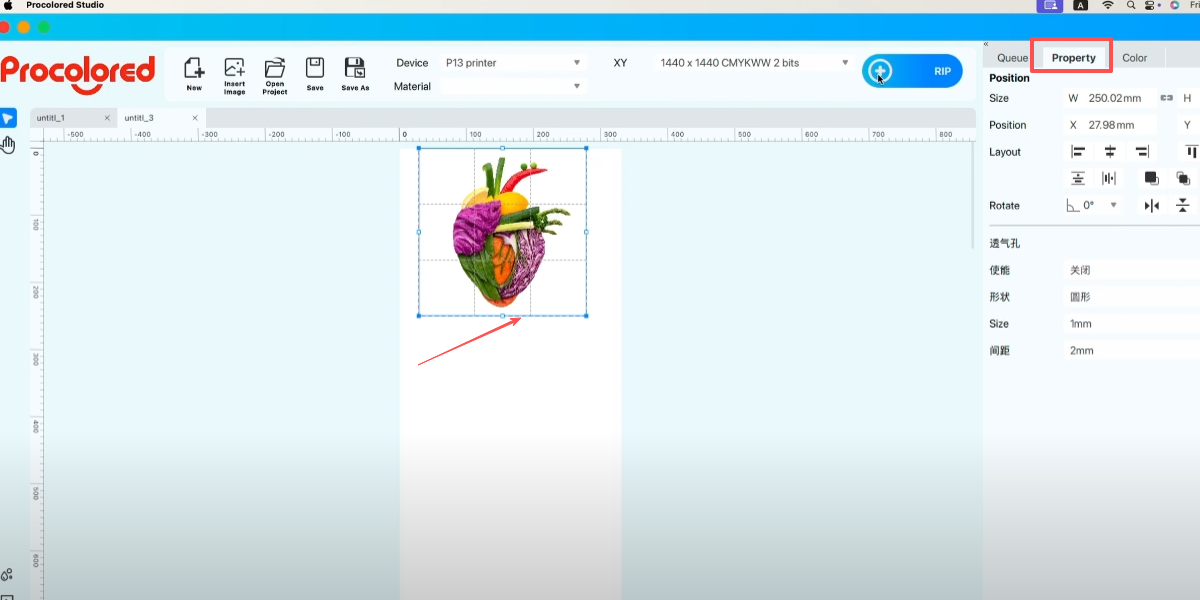
Adjust the image position.

Click RIP to send to the print task.
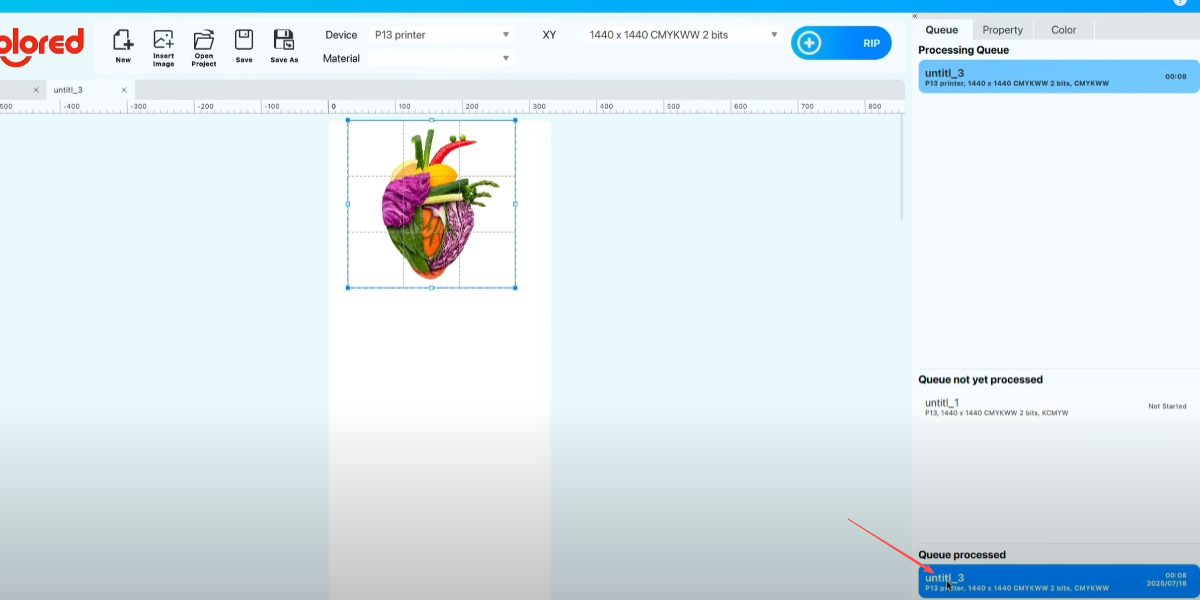
After the image processing is completed, the printer starts printing.
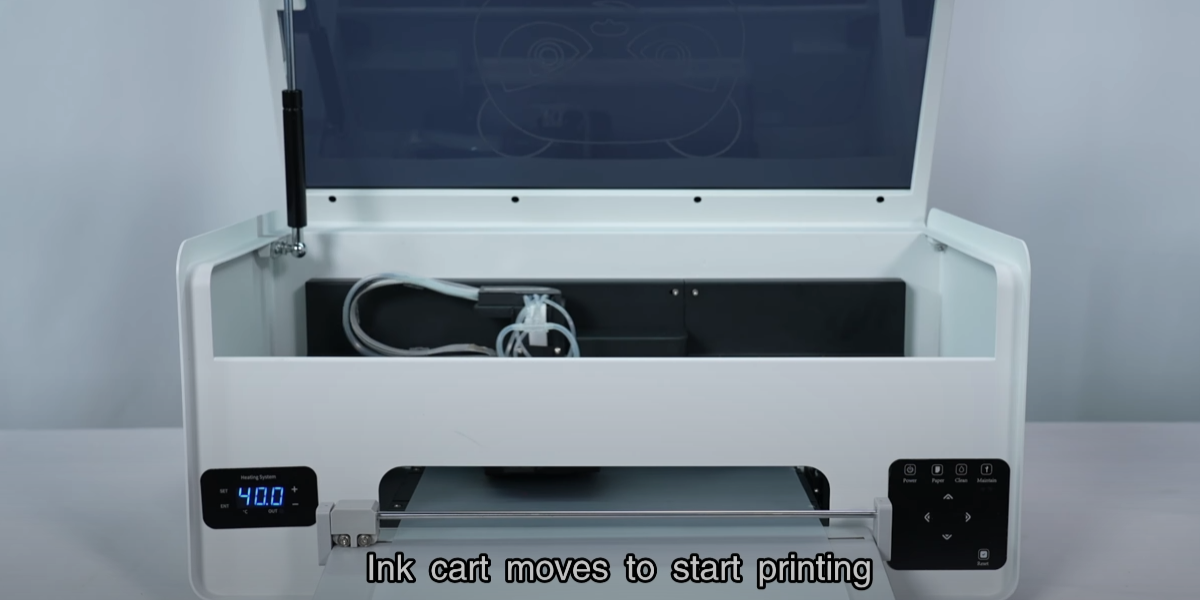
Ink cart moves to start printing.
Due to the absence of ink, the print result is blank, with the purpose of testing whether the printing can be completed.
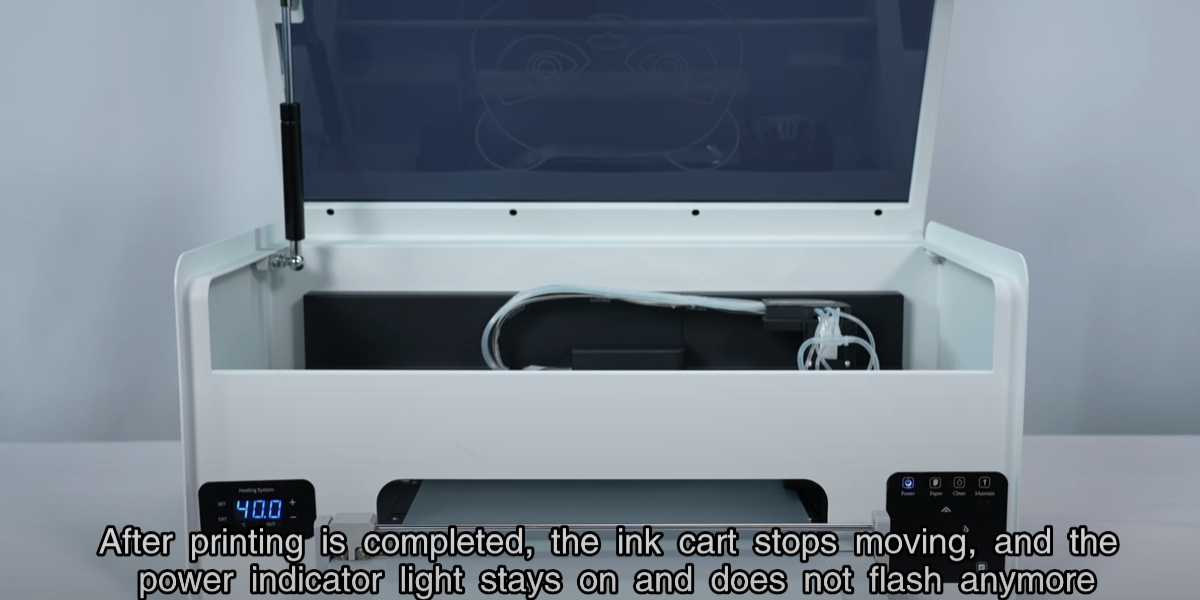
After printing is completed, the ink cart stops moving, and the power indicator light stays on.
If printing cannot be completed, please contact the after-sales engineer and do not add ink.
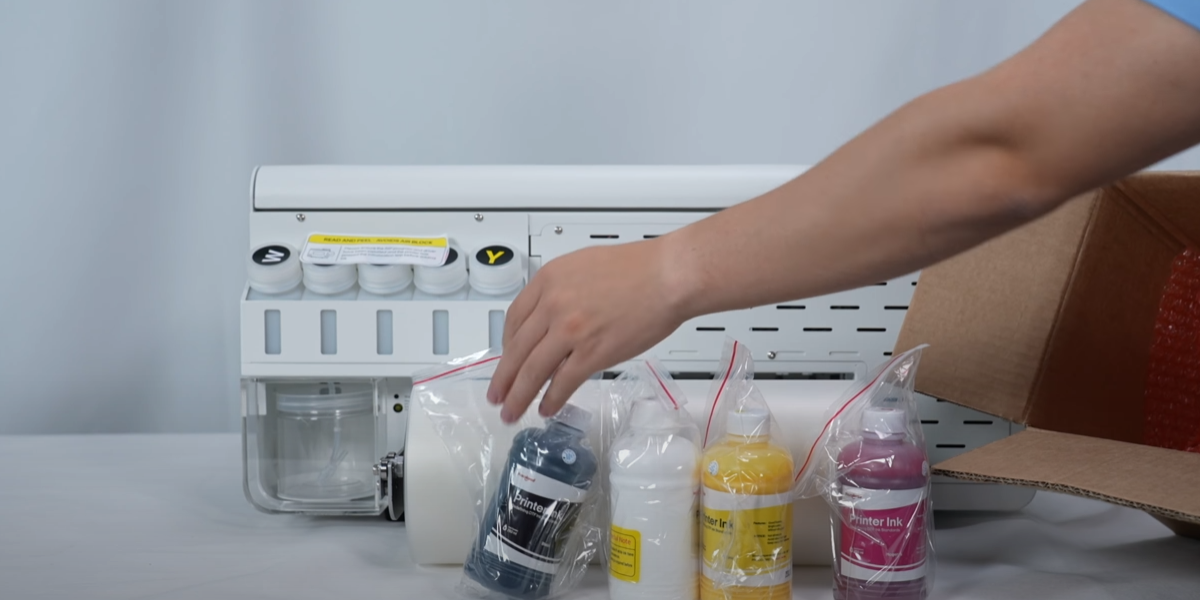
Take out five bottles of CMYKW ink.
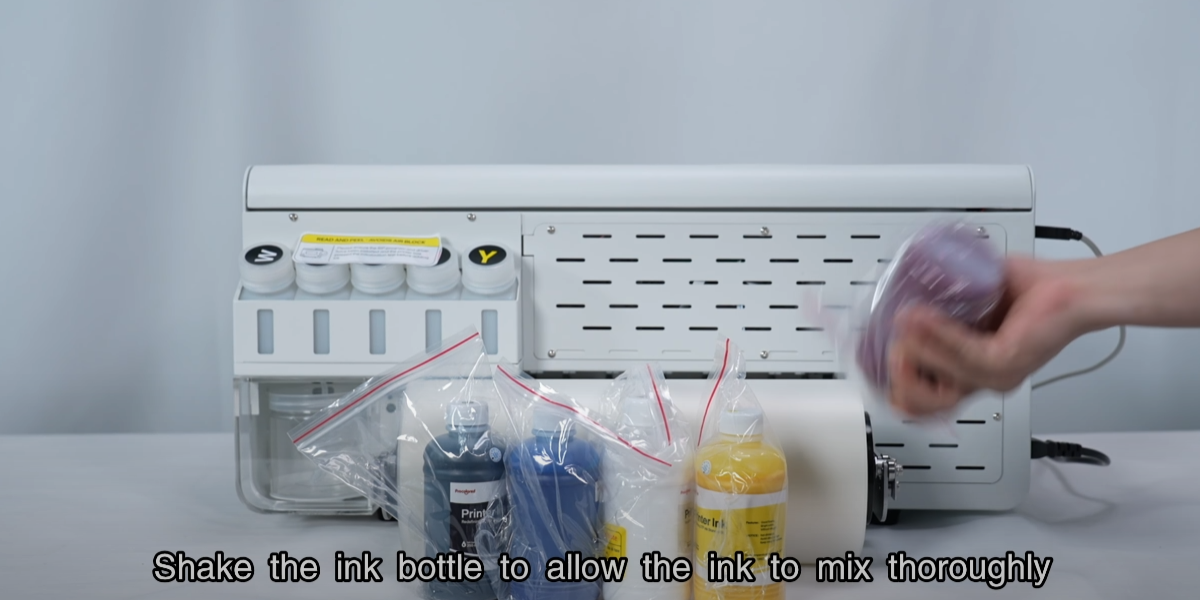
Shake the ink bottle to allow the ink to mix thoroughly.
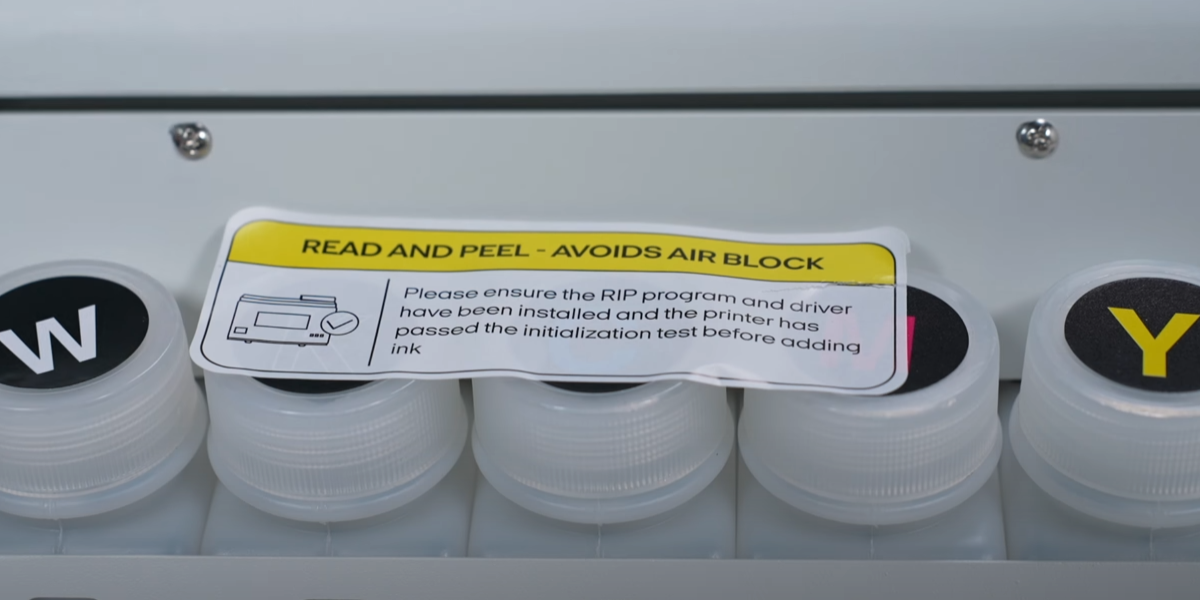
Ensure that a no ink printing test has been conducted before adding ink.
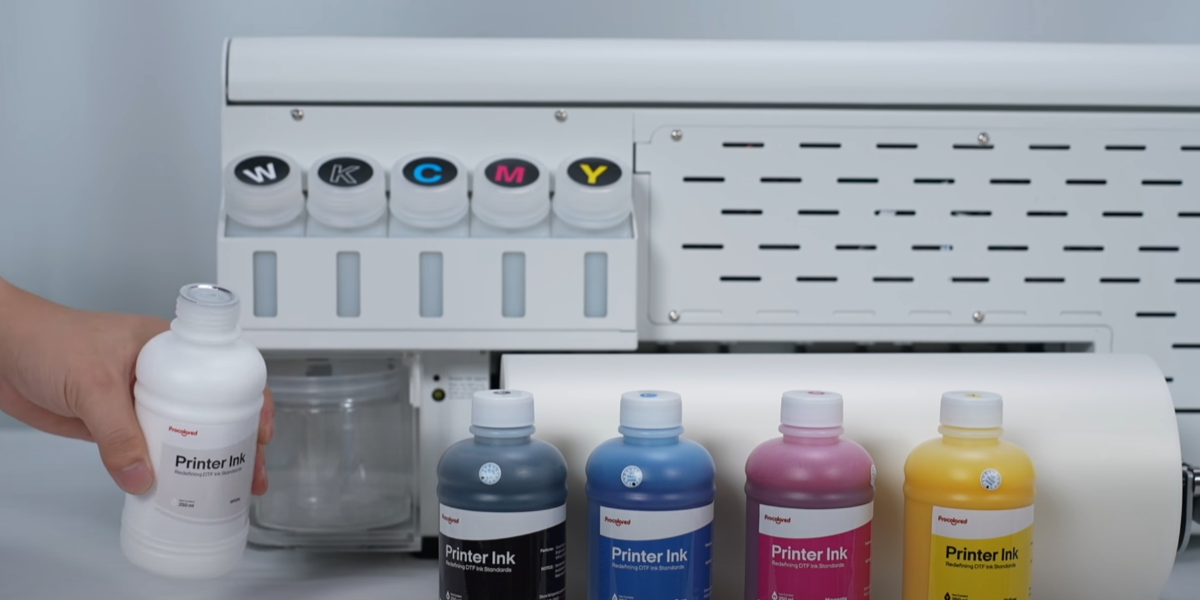
Add the corresponding ink based on the letters on the ink bottle.
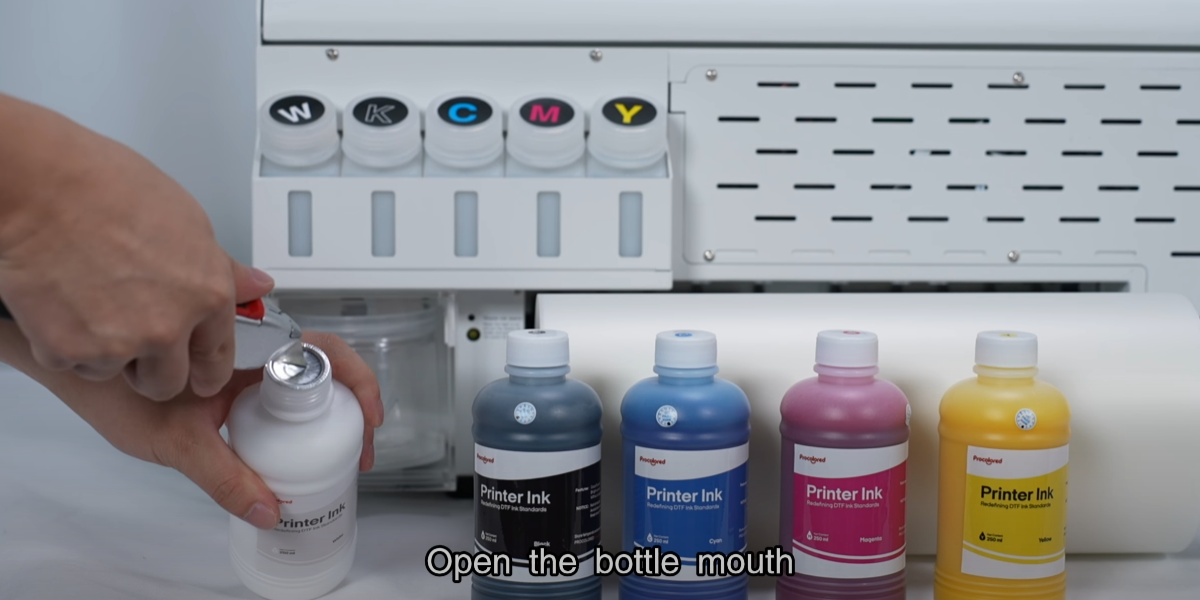
Open the bottle.
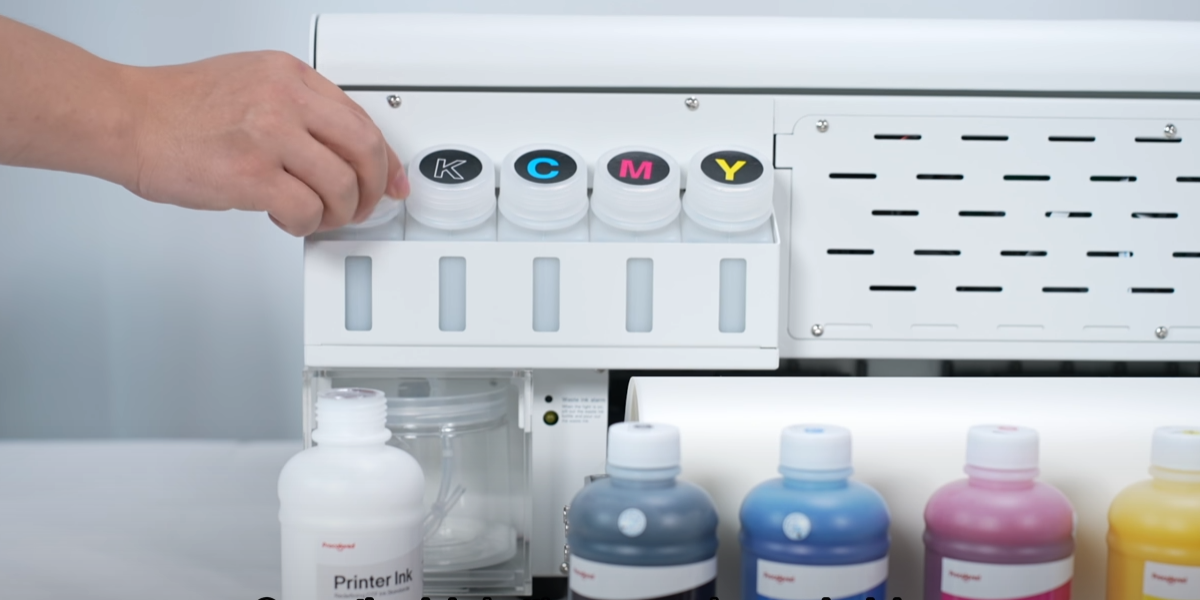
Open the ink tank and pour in ink.
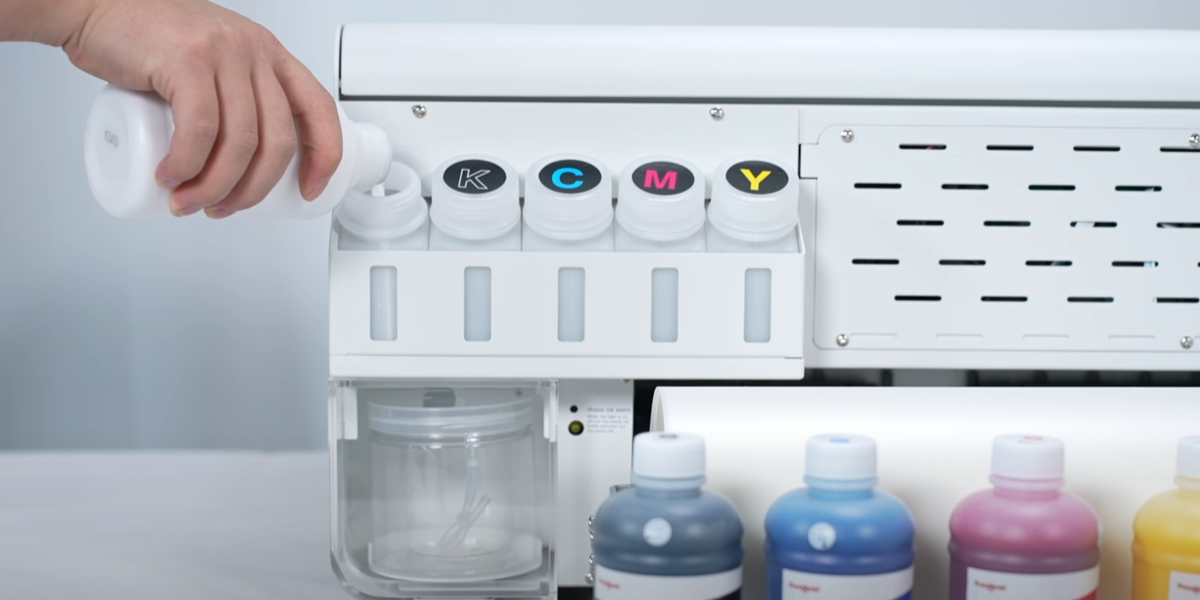
Adding 80% to the ink bottle is enough.
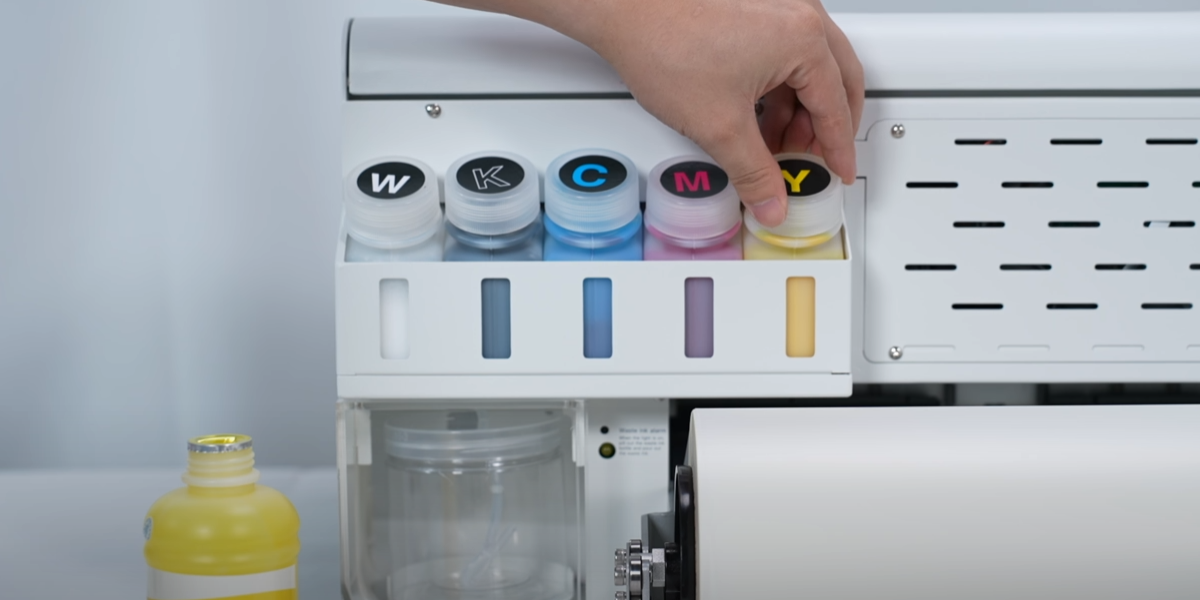
Tighten the bottle caps after all the ink tanks are filled with ink.
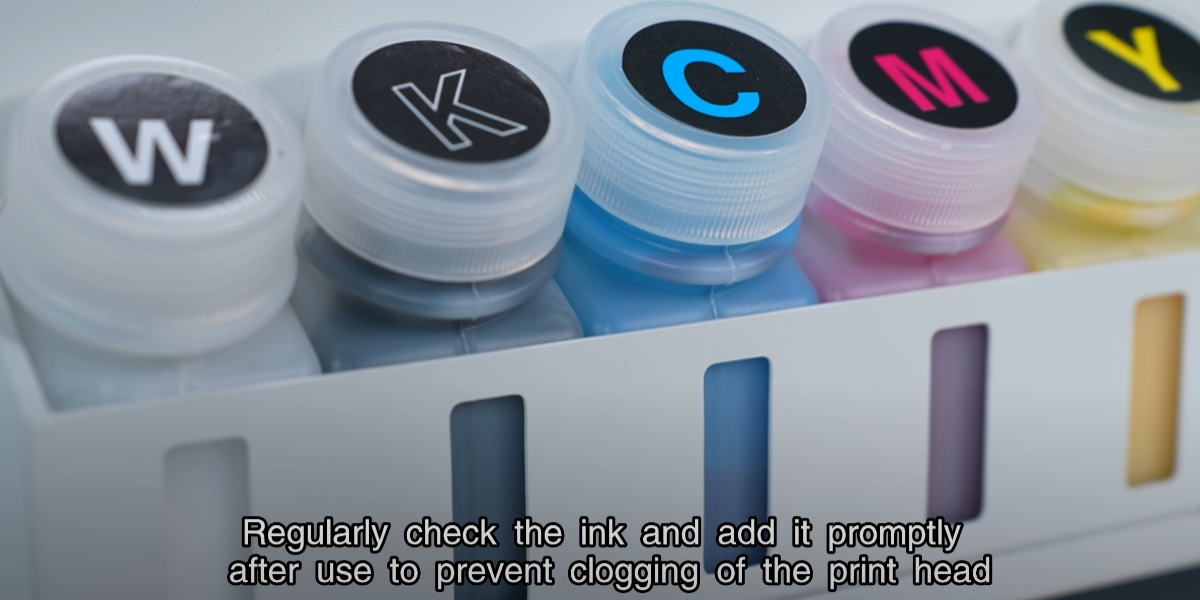
Regularly check the ink and add it promptly after use to prevent clogging.
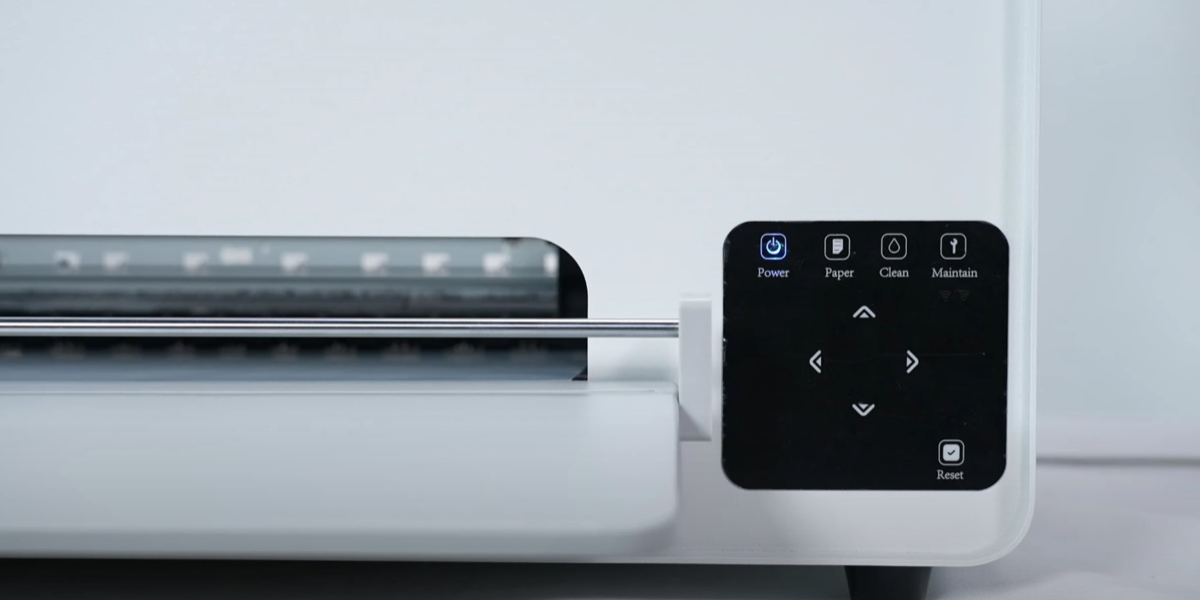
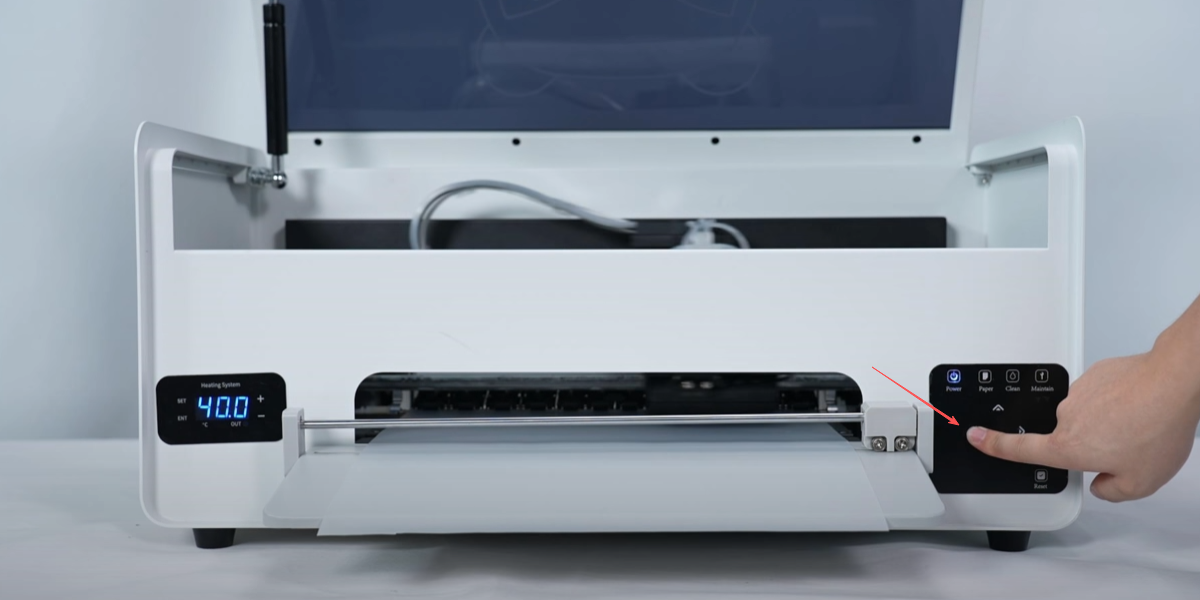
Turn on the printer power.
Long press the left arrow button to move the ink cart to the middle position.
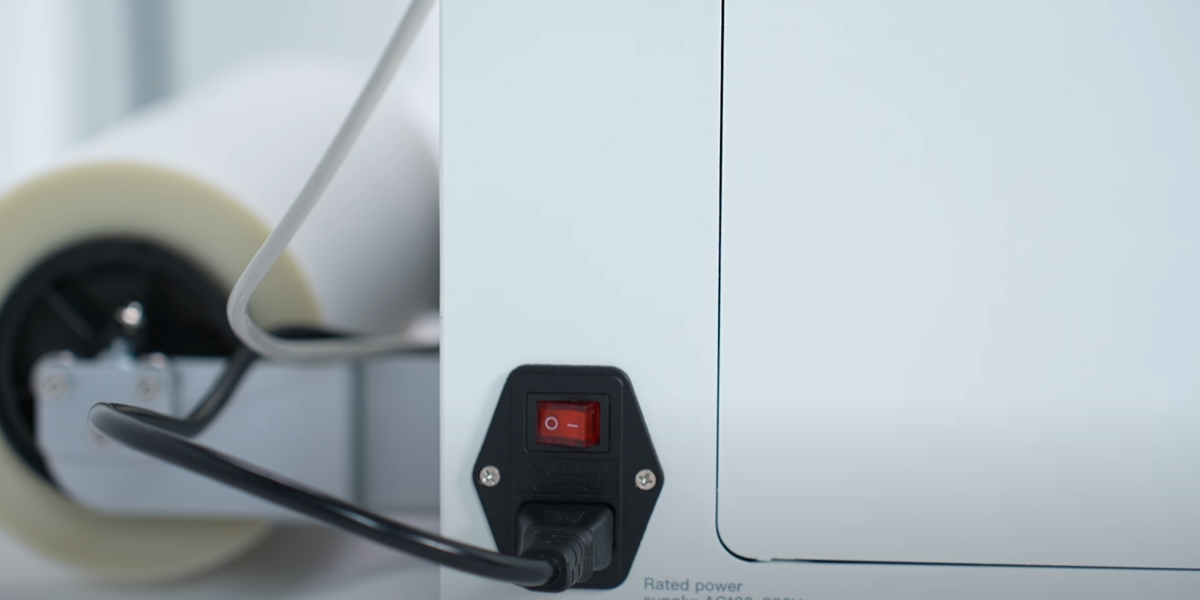
Power off.
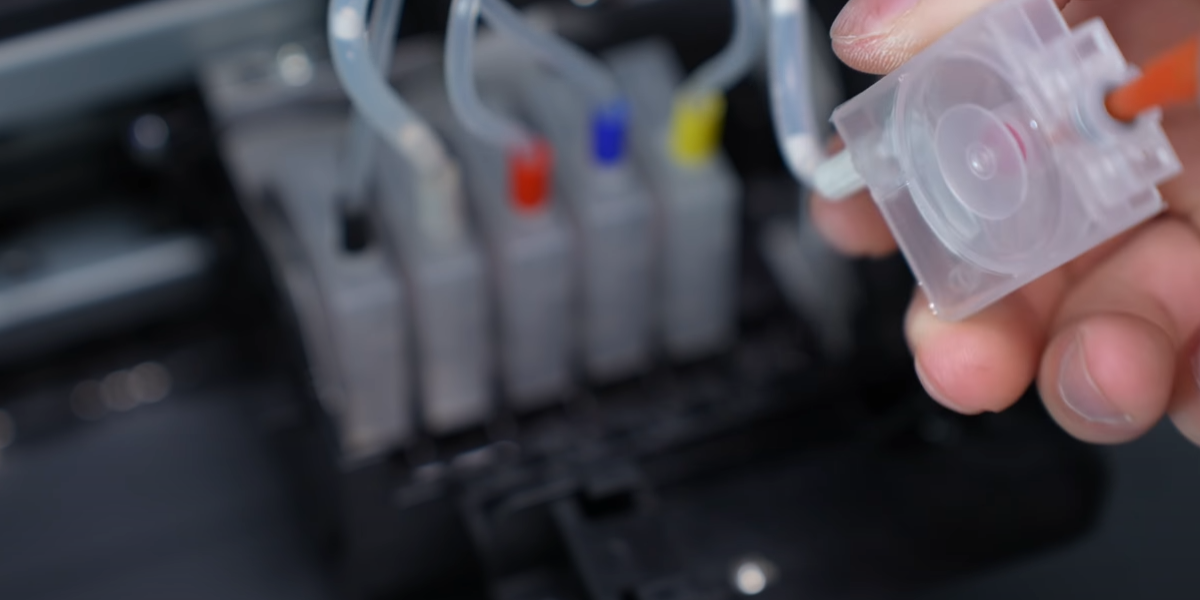
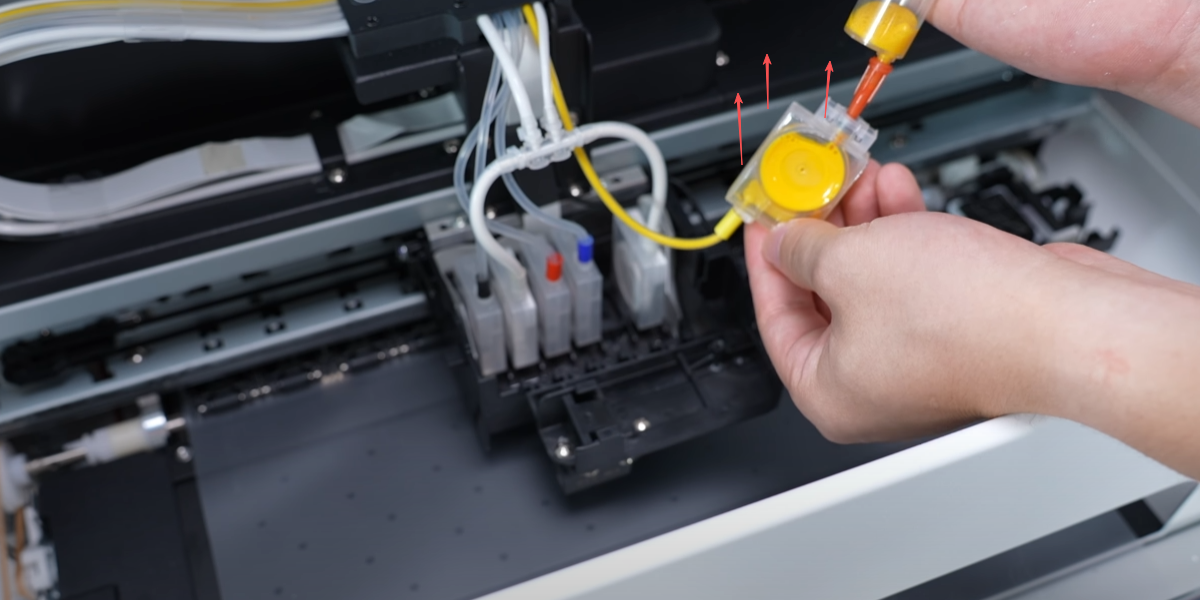
Remove the ink bag and use a syringe to extract it.
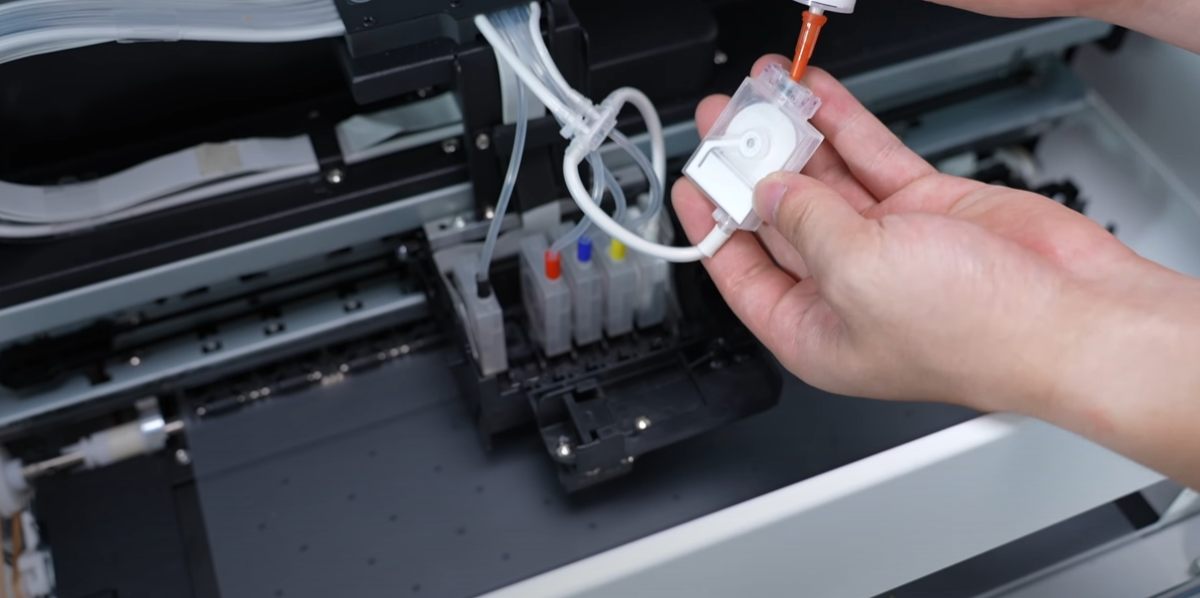
Extract approximately 3ml of ink from each of the ink sacs.
When extracting, the ink bag mouth should face upwards.
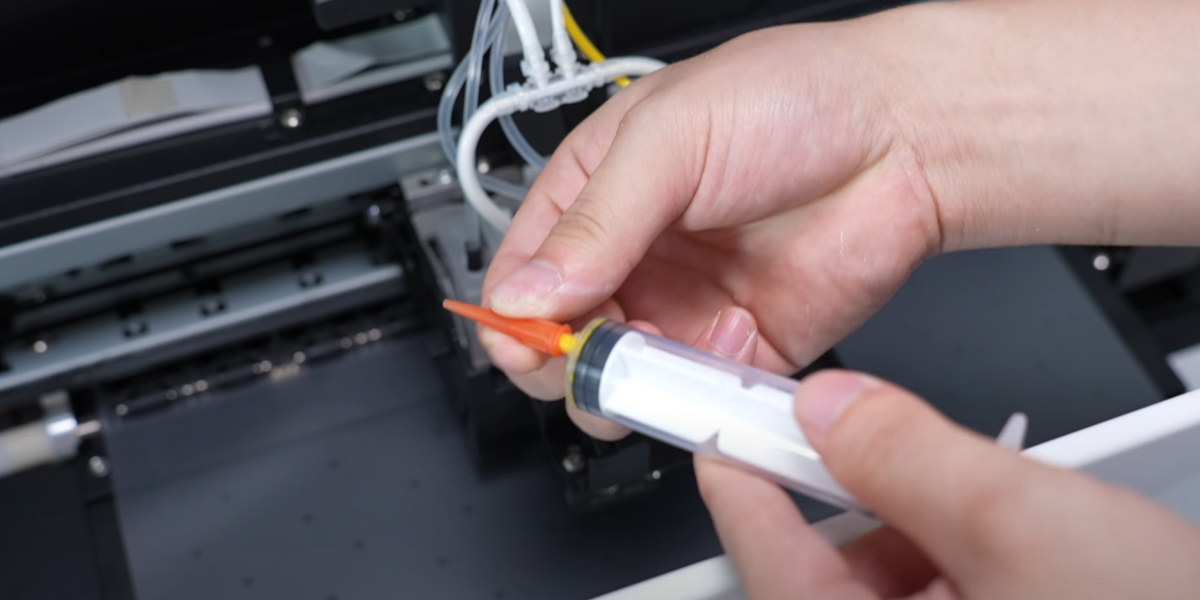
Replace the needle with a new one when extracting different inks.
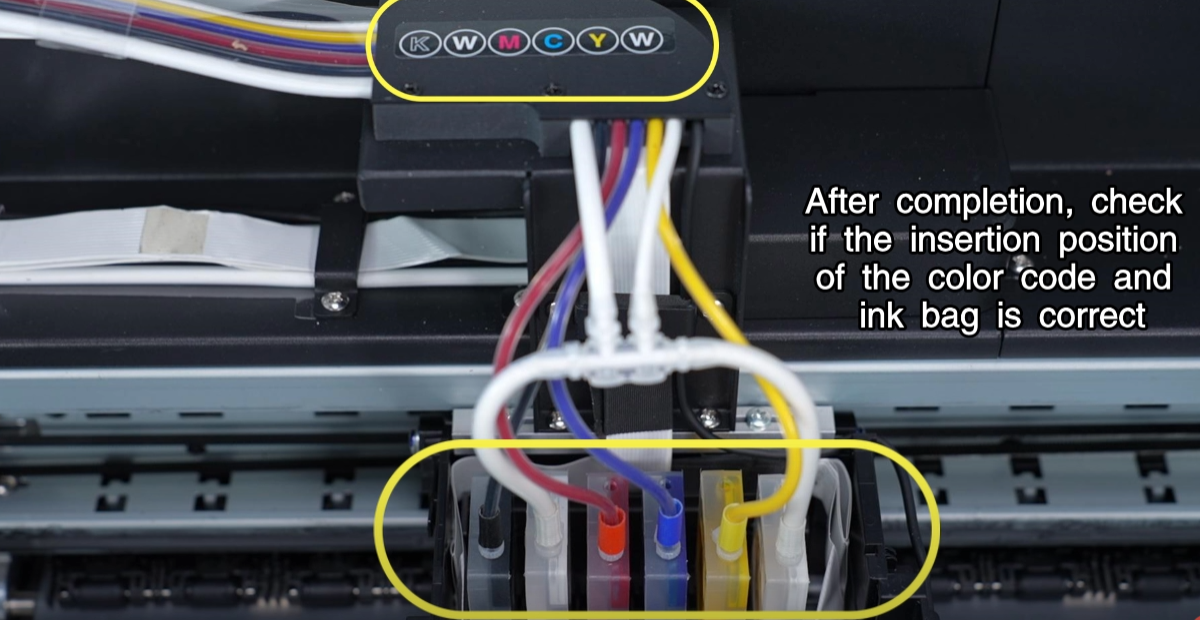
Insert back into original position. Check color code and bag alignment.
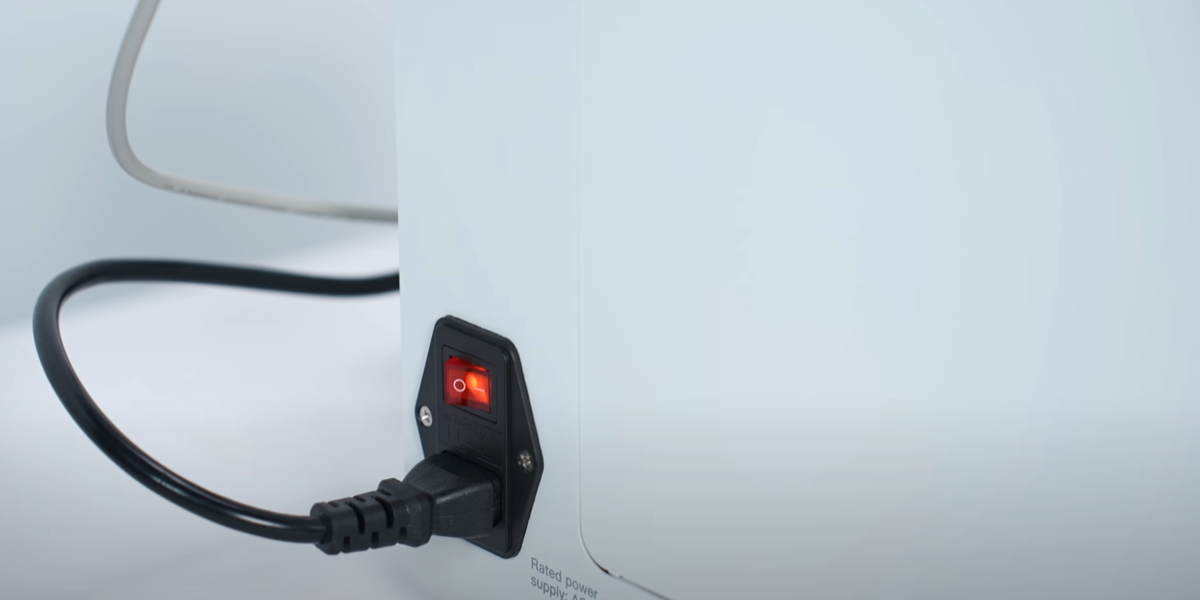
Turn on the power.
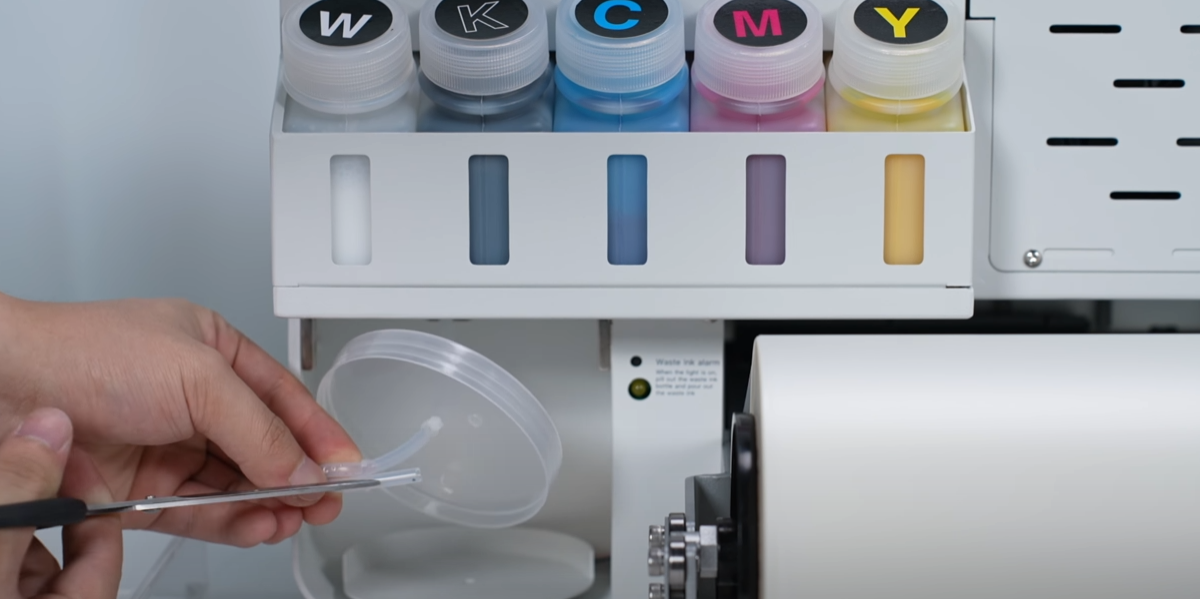
Take out the waste ink bottle and cut off the zip tie.
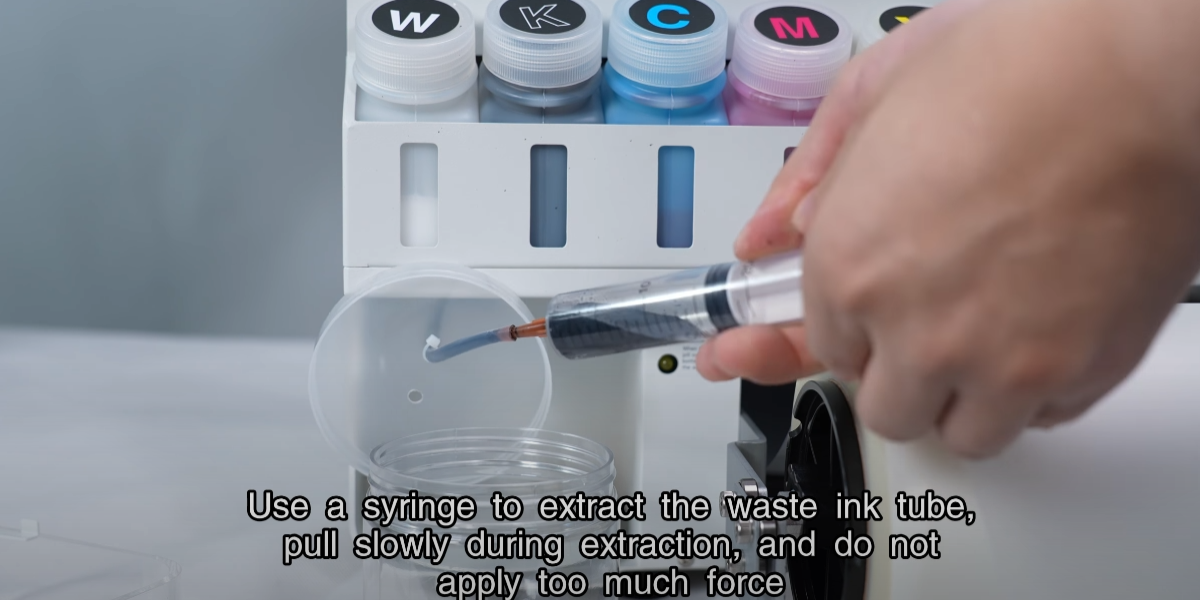
Extract the waste ink tube slowly; do not apply too much force.
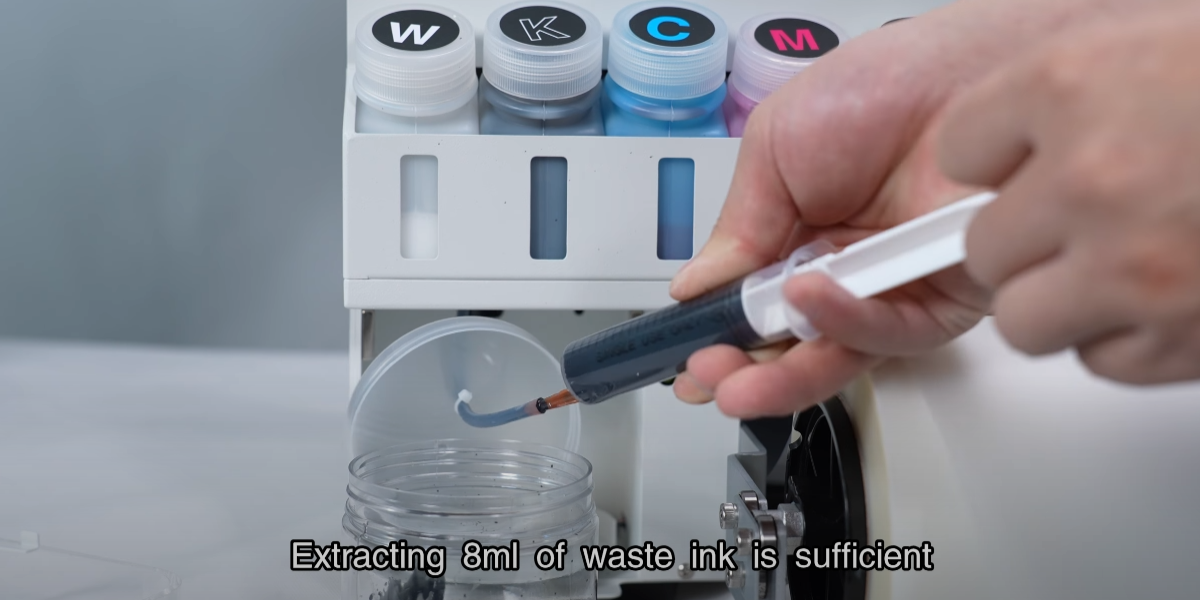
Extracting 8ml of waste ink is sufficient.
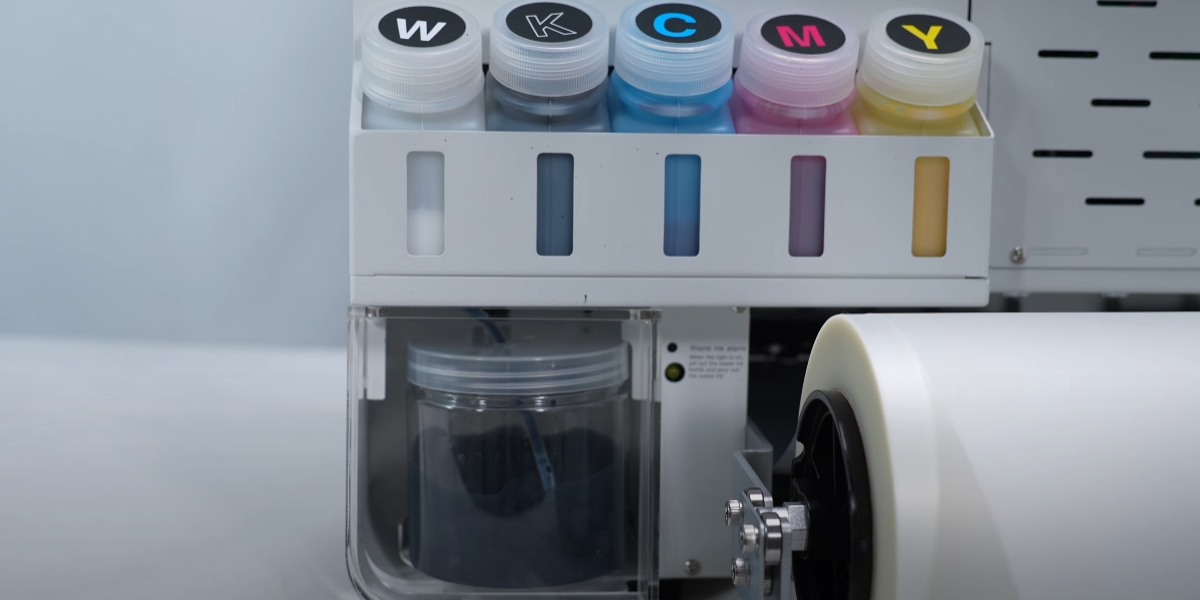
Cover the lid and put it back in place.
Press and hold for 5s in standby mode to activate automatic cleaning.
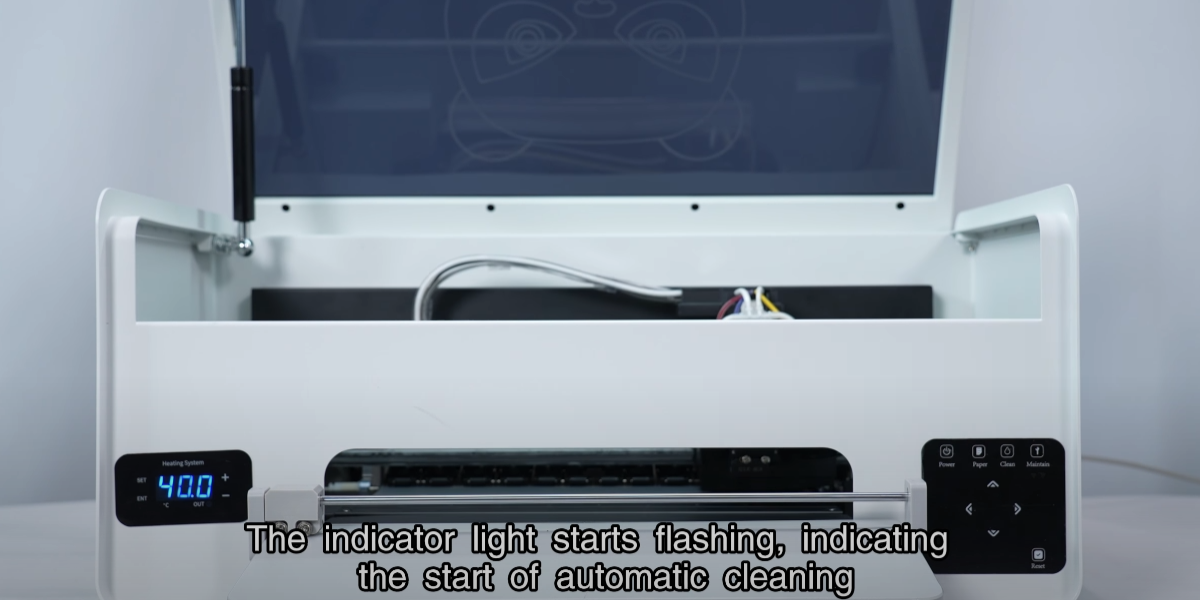
The light flashes, indicating the start of automatic cleaning.
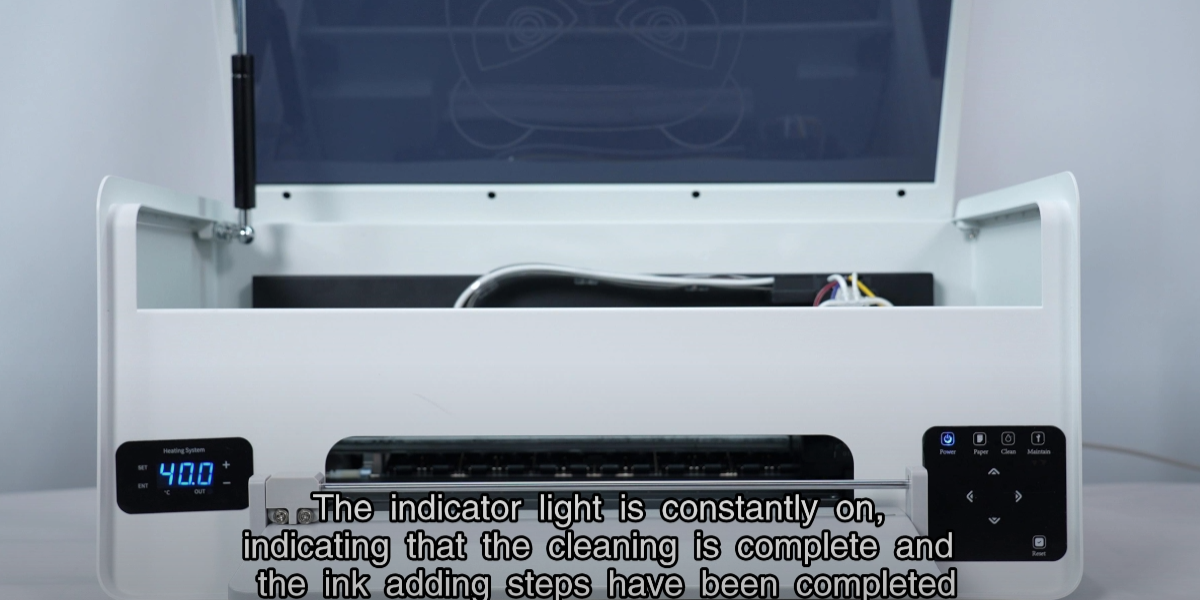
The light is constantly on: cleaning and ink adding complete.
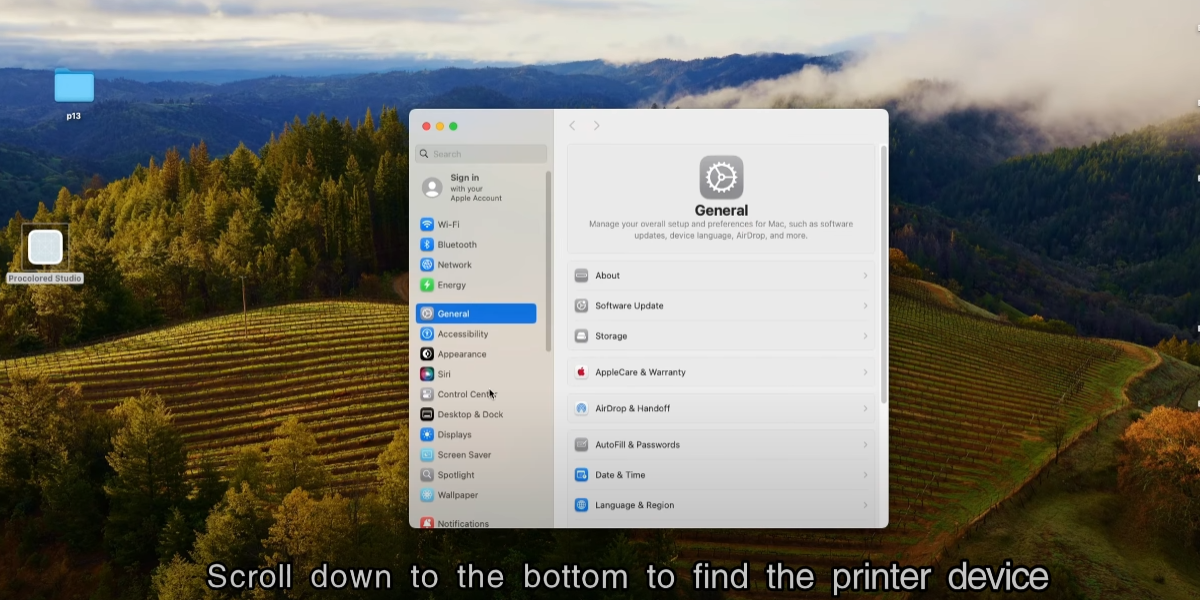
Open Settings.
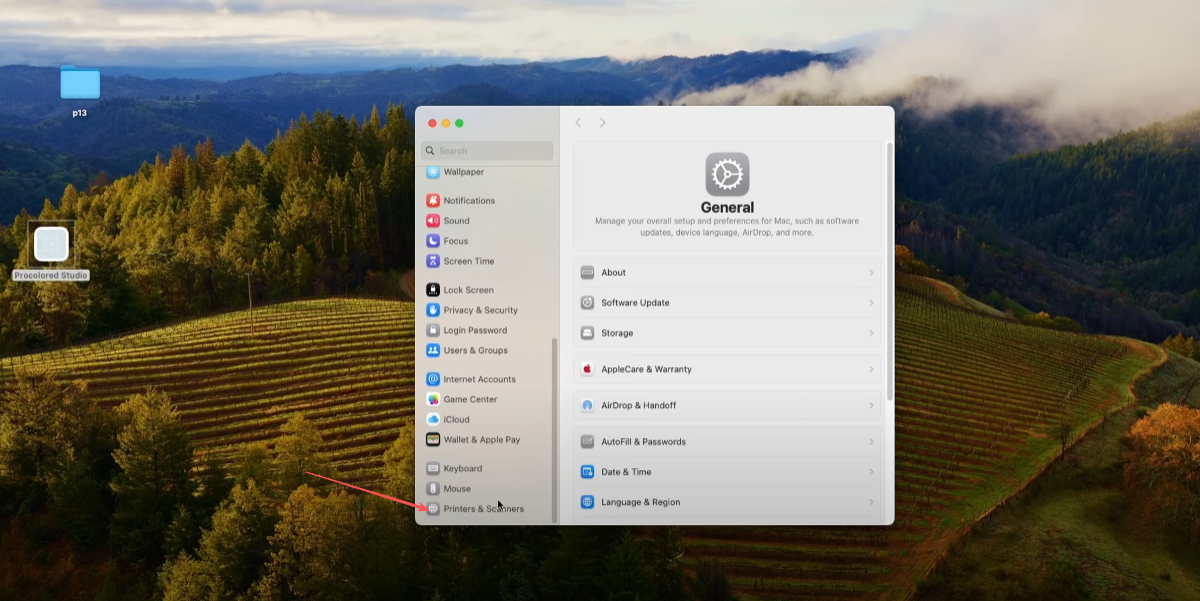
Scroll down to the bottom to find the printer device.
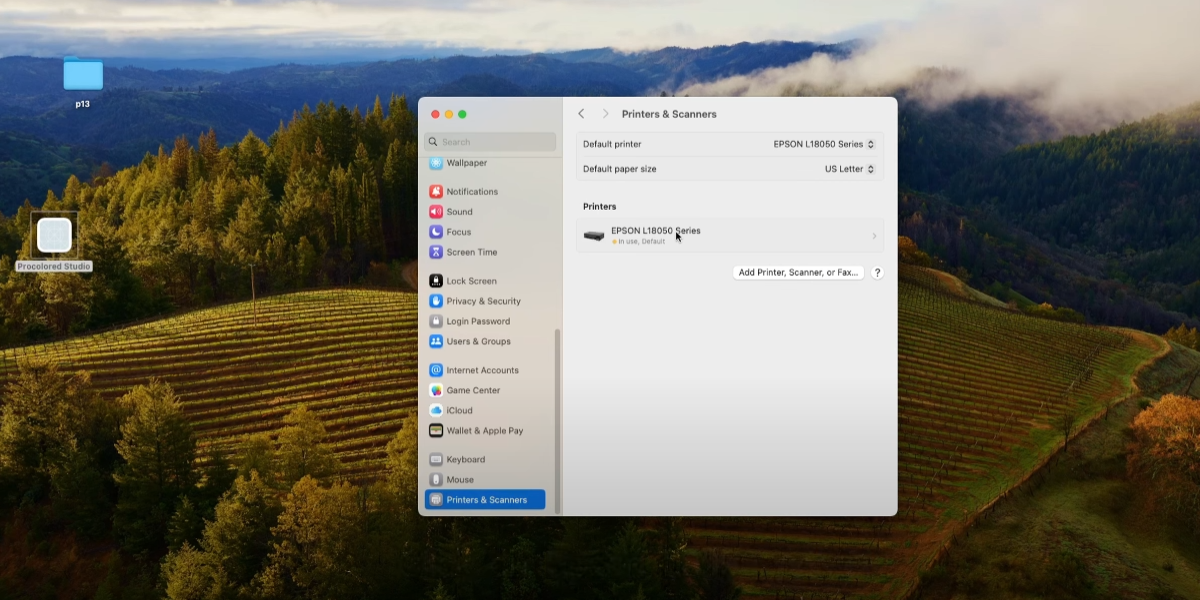
Click on Epson L8050 printer.

Click on the option.

Utilities, Cleaning the print head.
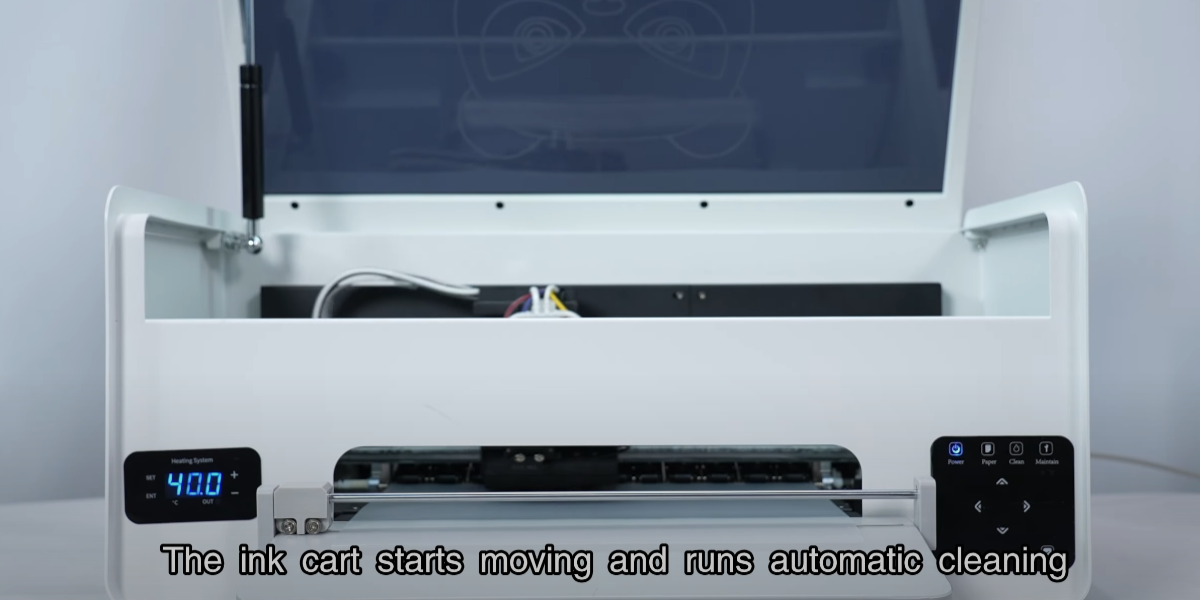
The ink cart starts moving and runs automatic cleaning.
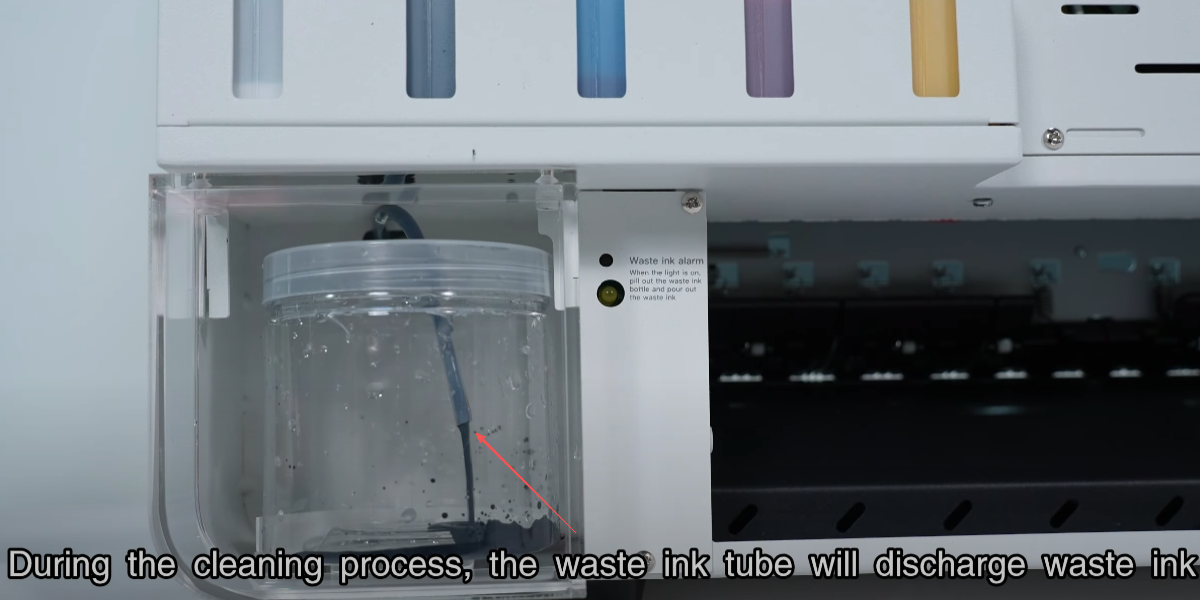
During the cleaning process, the waste ink tube will discharge waste ink.
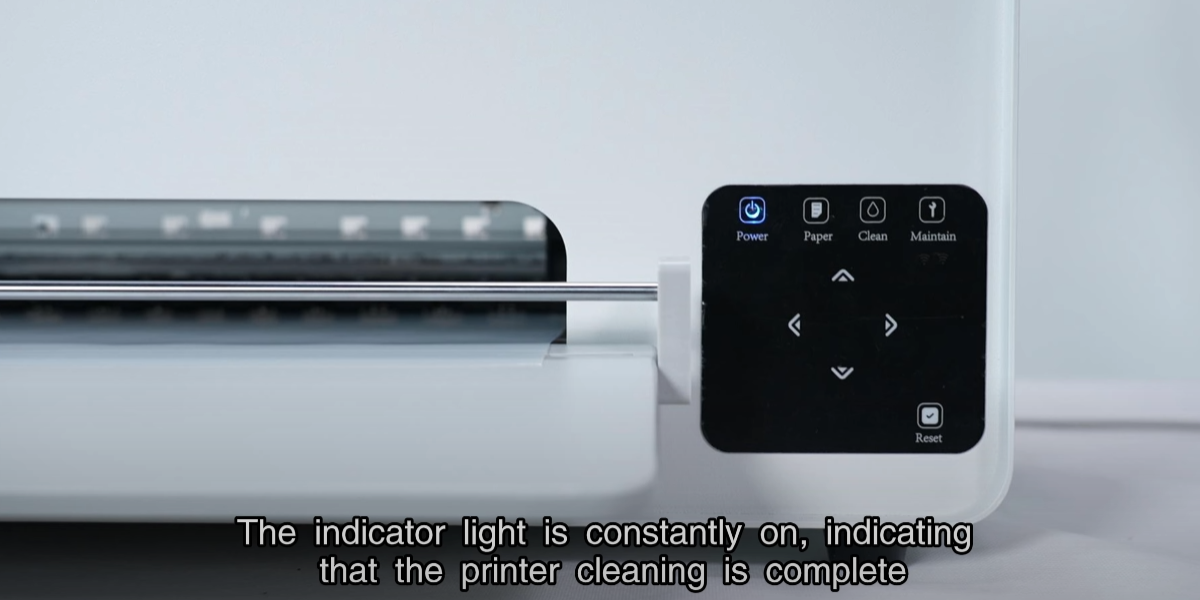
The indicator light is constantly on, indicating cleaning is complete.
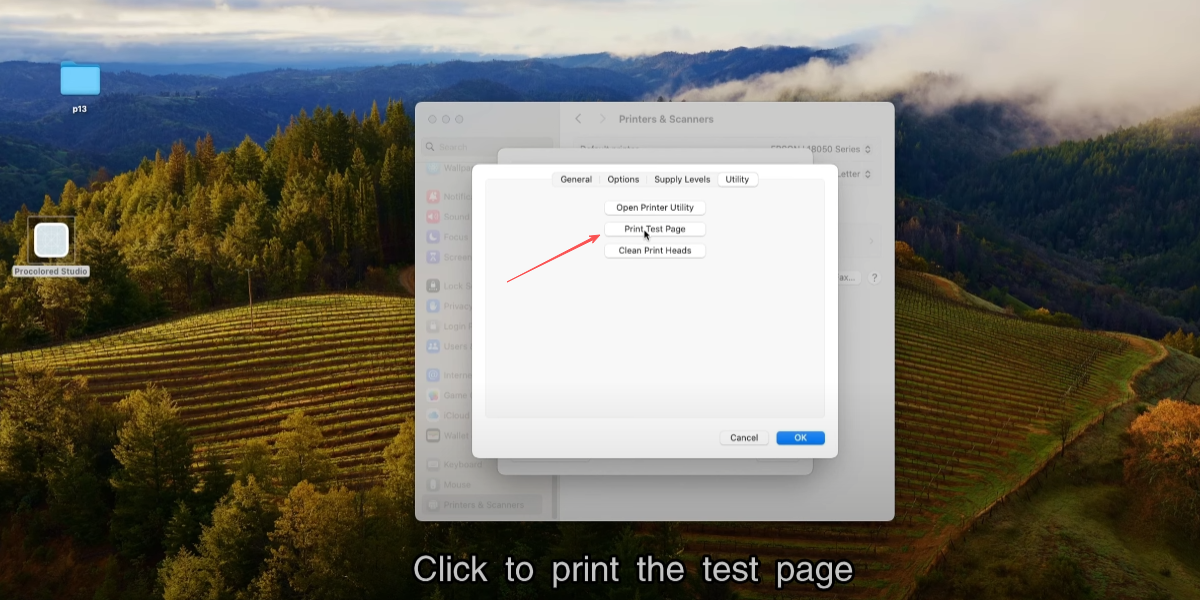
Click to print the test page.
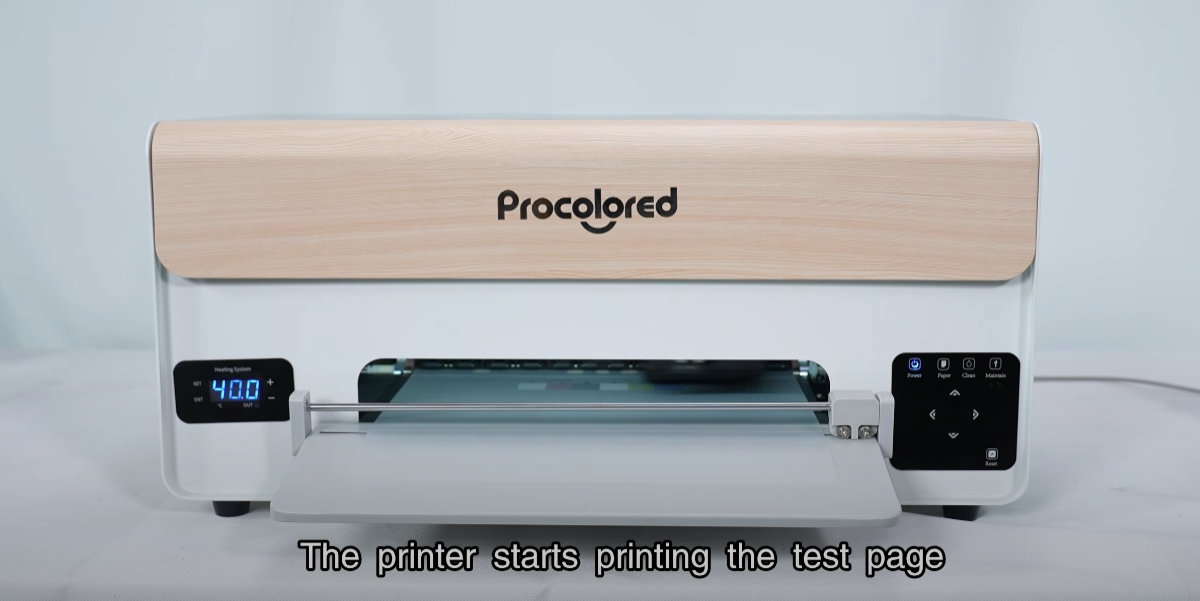
The printer starts printing the test page.
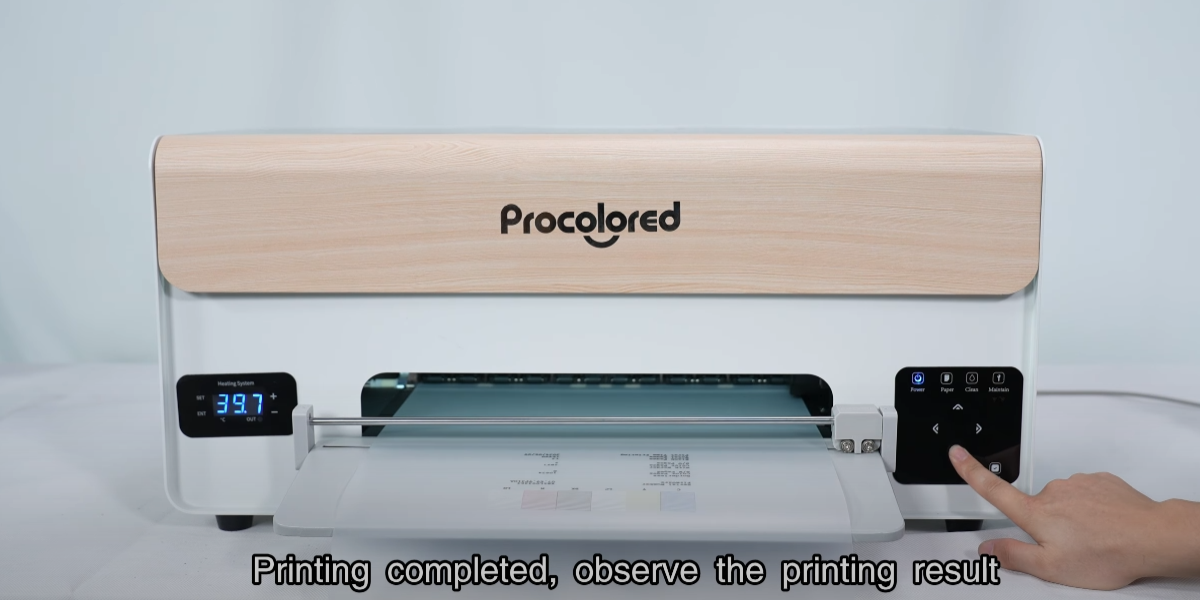
Printing completed, observe the printing result.
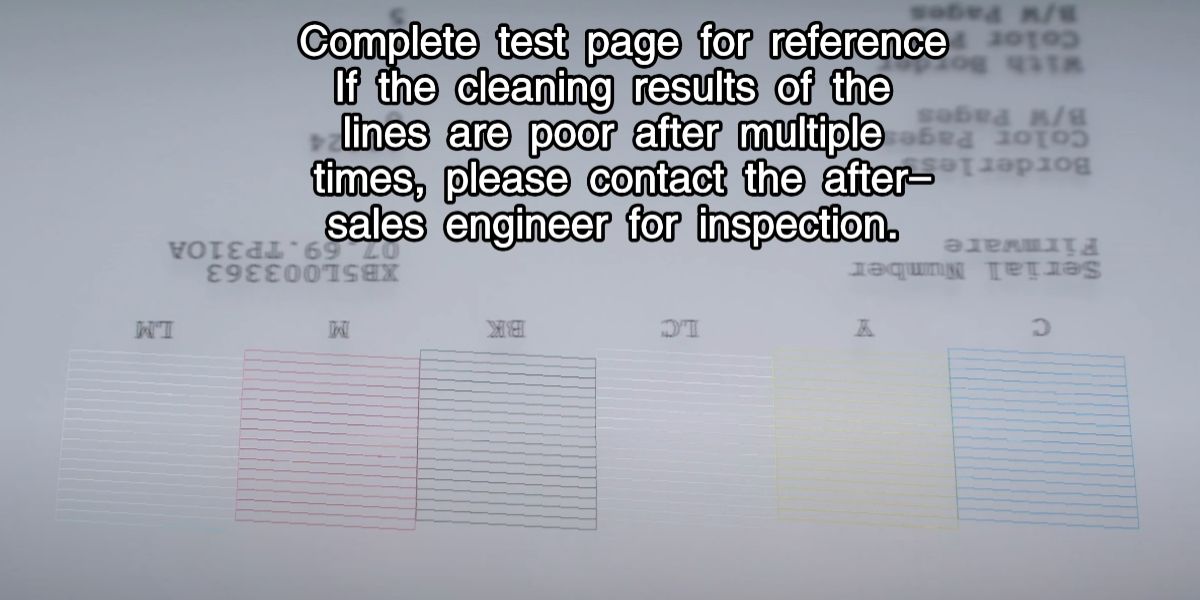
Complete the test page. If line results are poor after multiple times, contact after-sales.

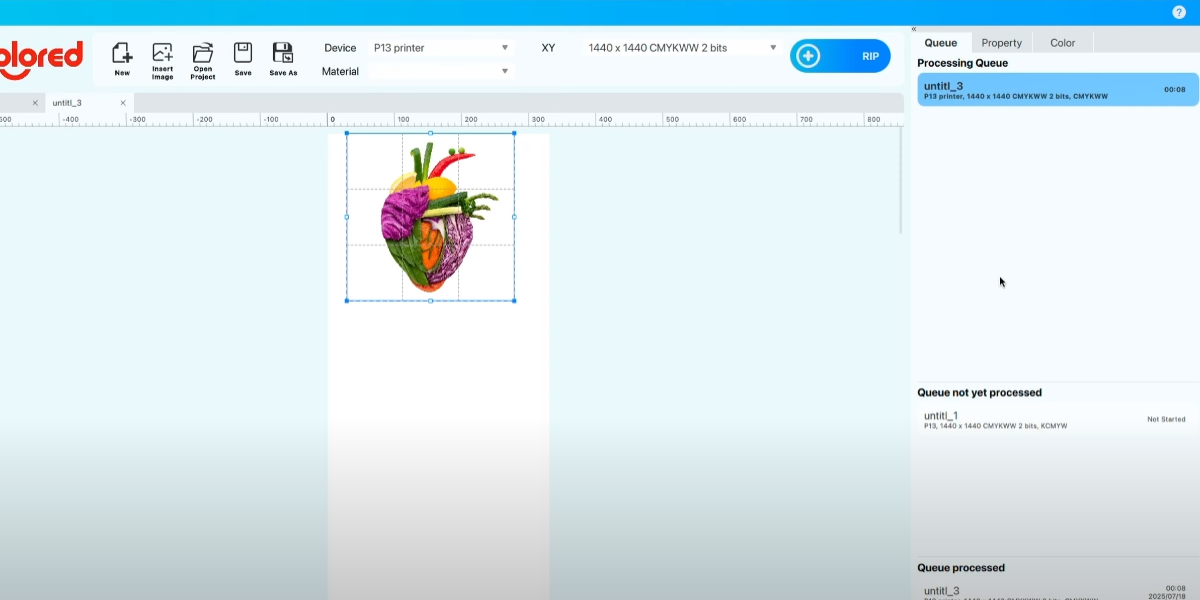
Open Procolored Studio.

Insert picture.

Add PNG format image.

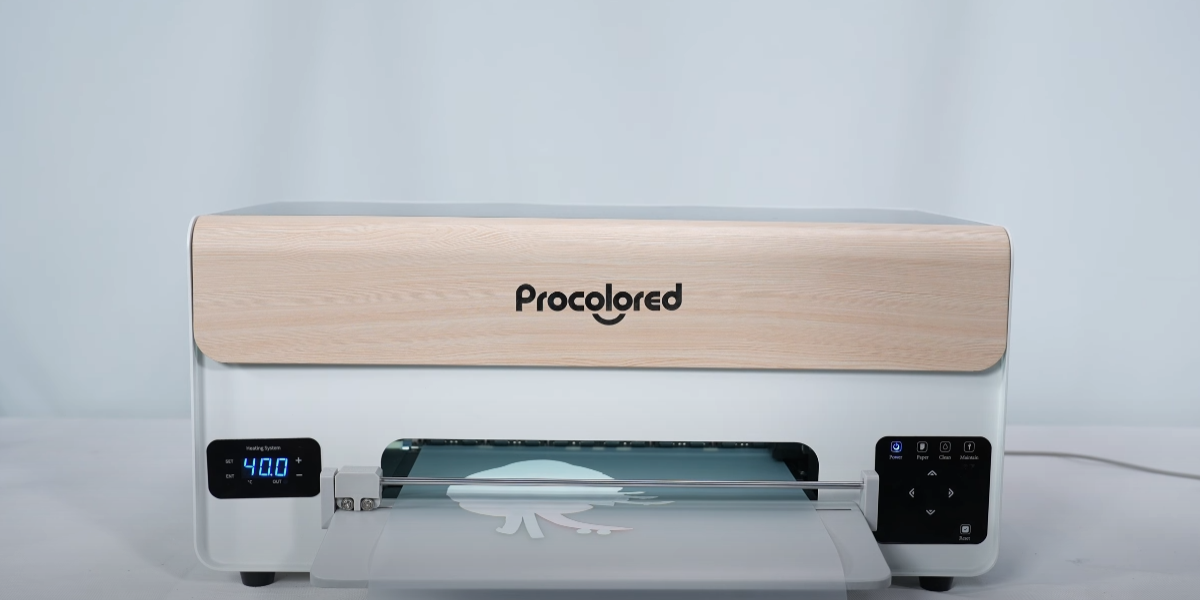
Adjust the image to the middle position of the canvas.
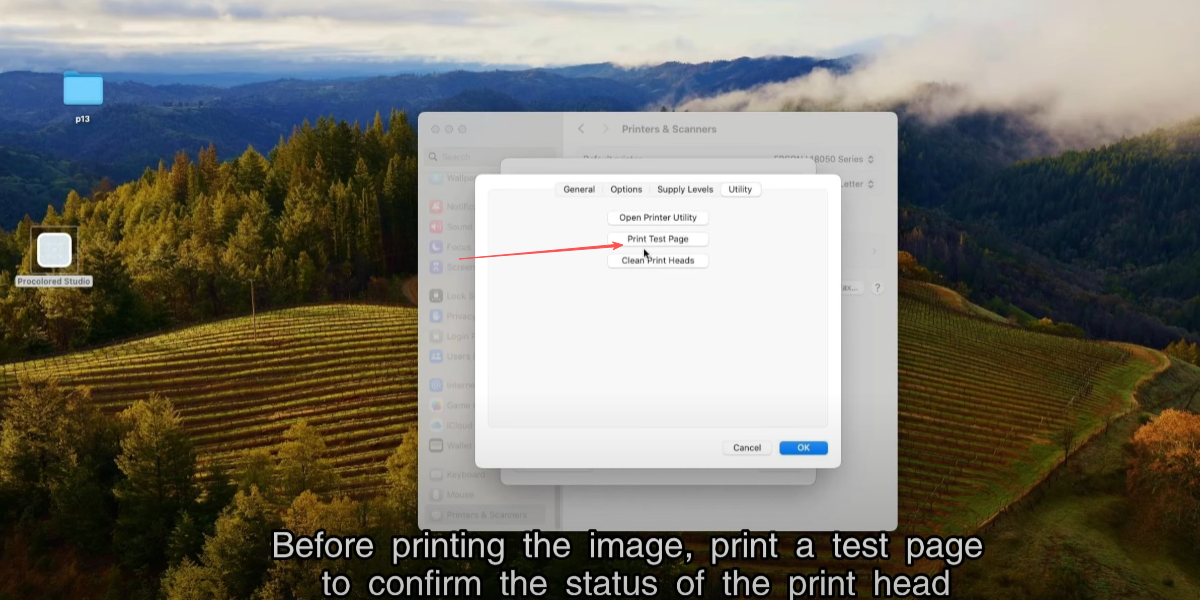
Before printing the image, print a test page to confirm status.
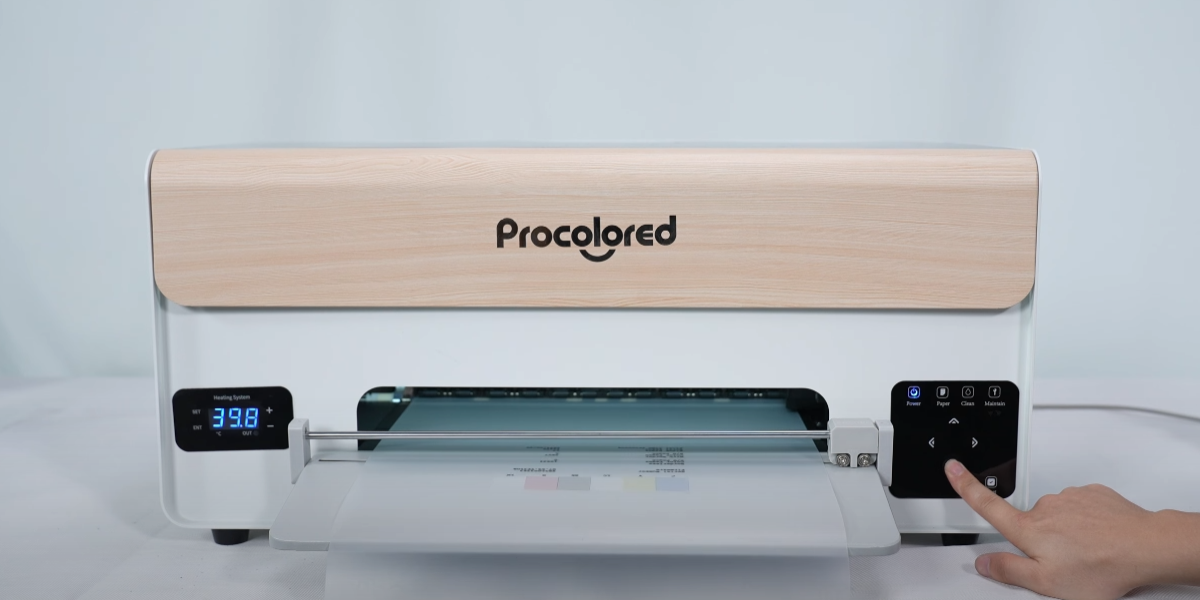
Start printing the test page.
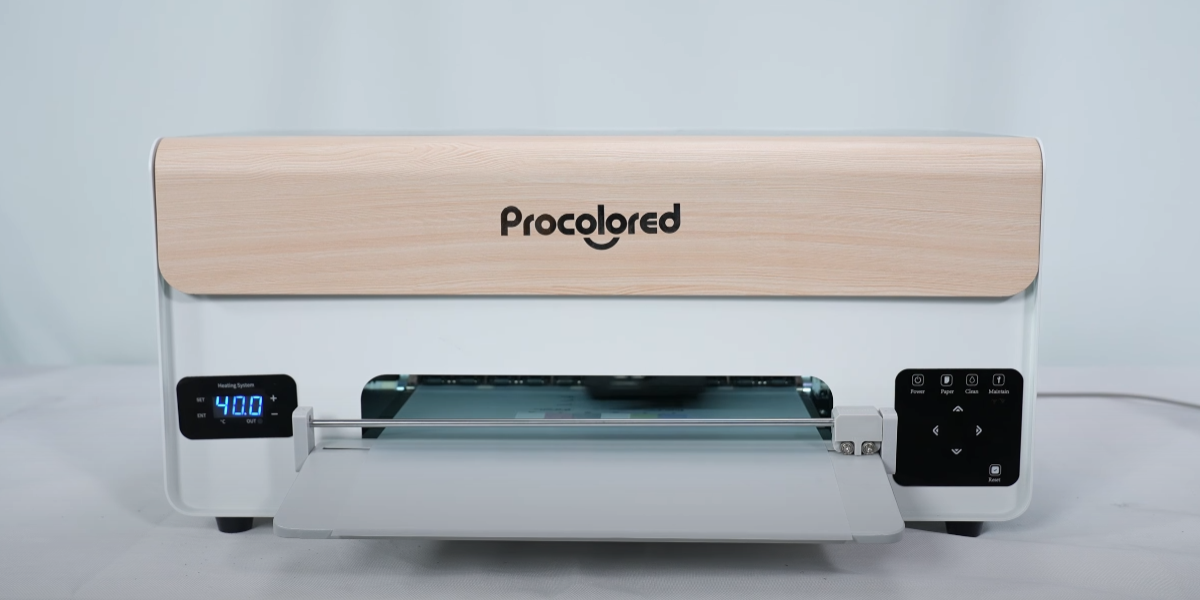
Press and hold the down arrow button to remove the film paper.
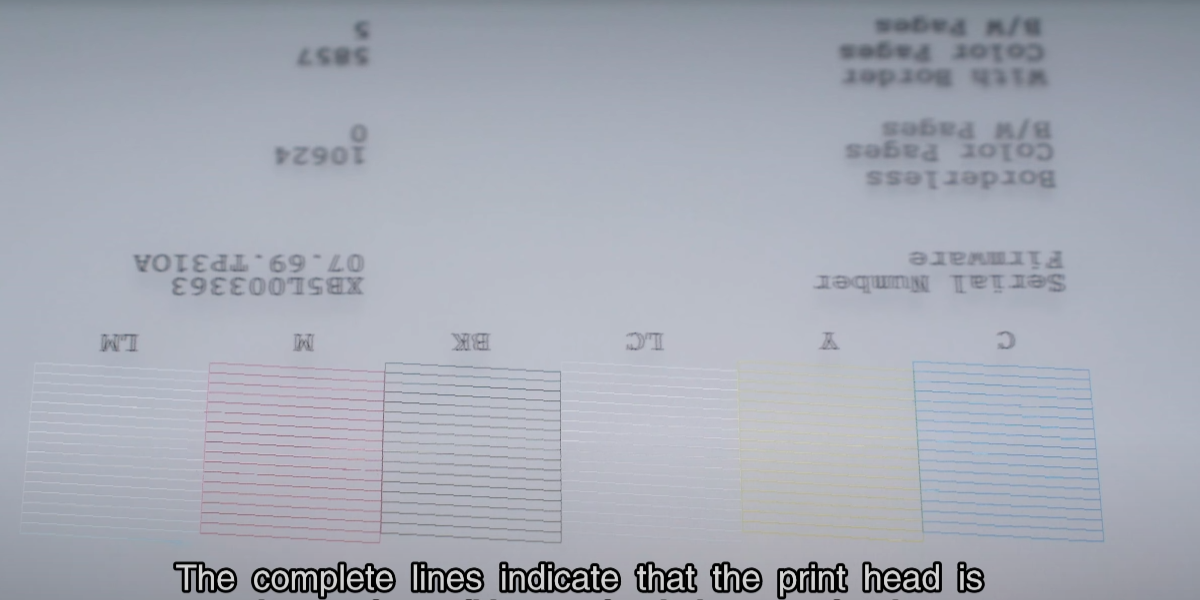
Complete lines indicate good condition; printing can begin.
Click RIP to send the print task.
Waiting for pattern processing to complete.
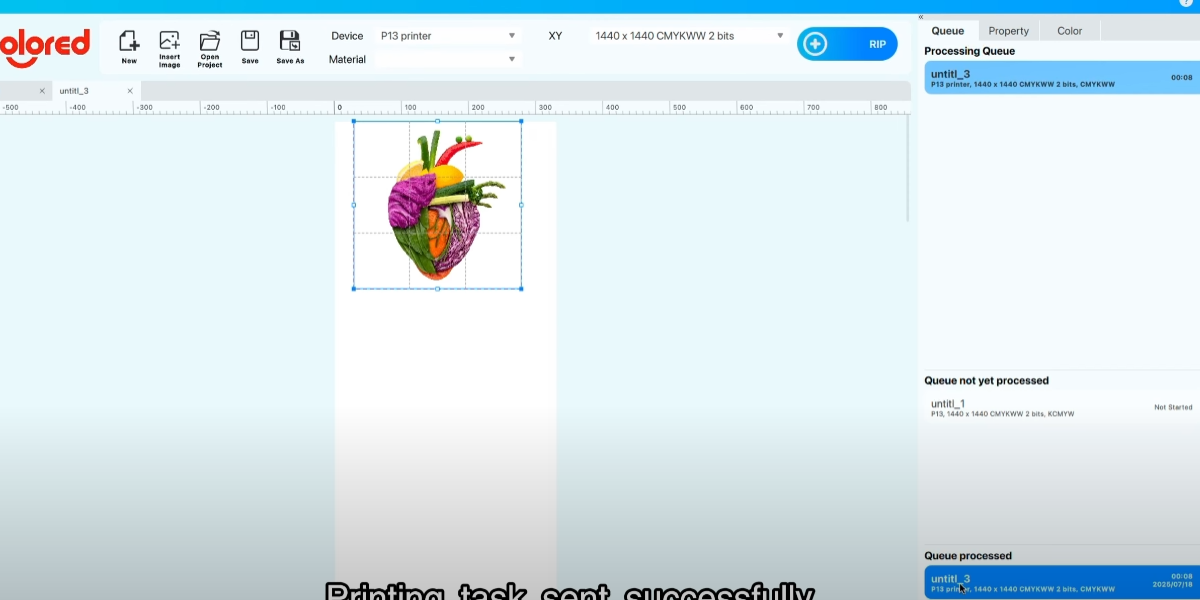
Printing task sent successfully.

The print head moves and starts printing.
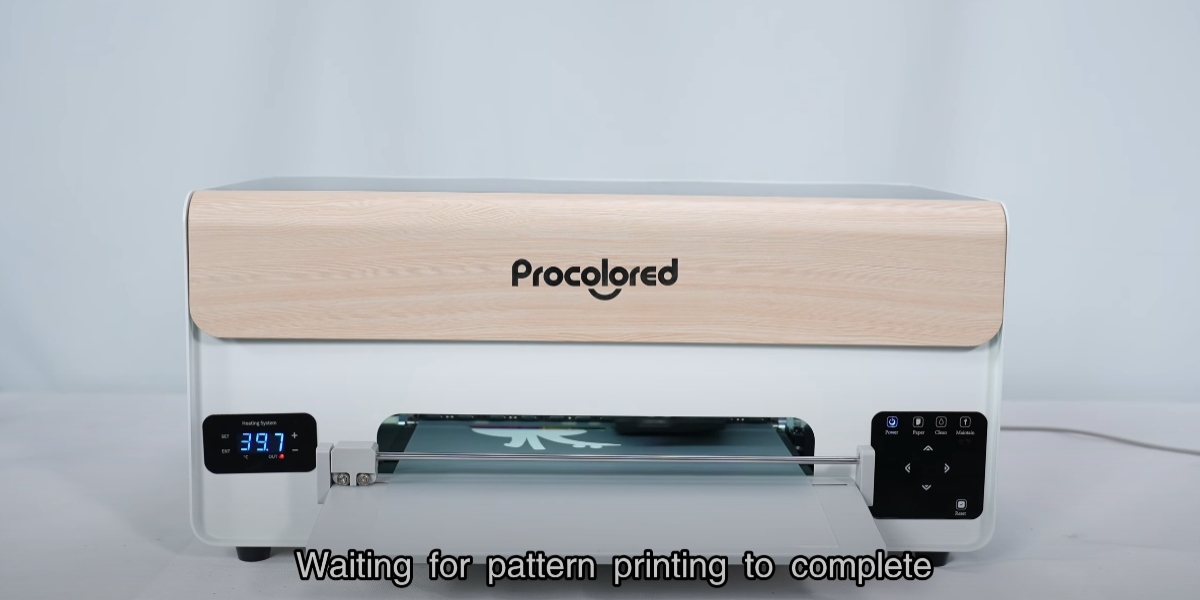
Waiting for pattern printing to complete.
Indicator light is constantly on, indicating printing is complete.
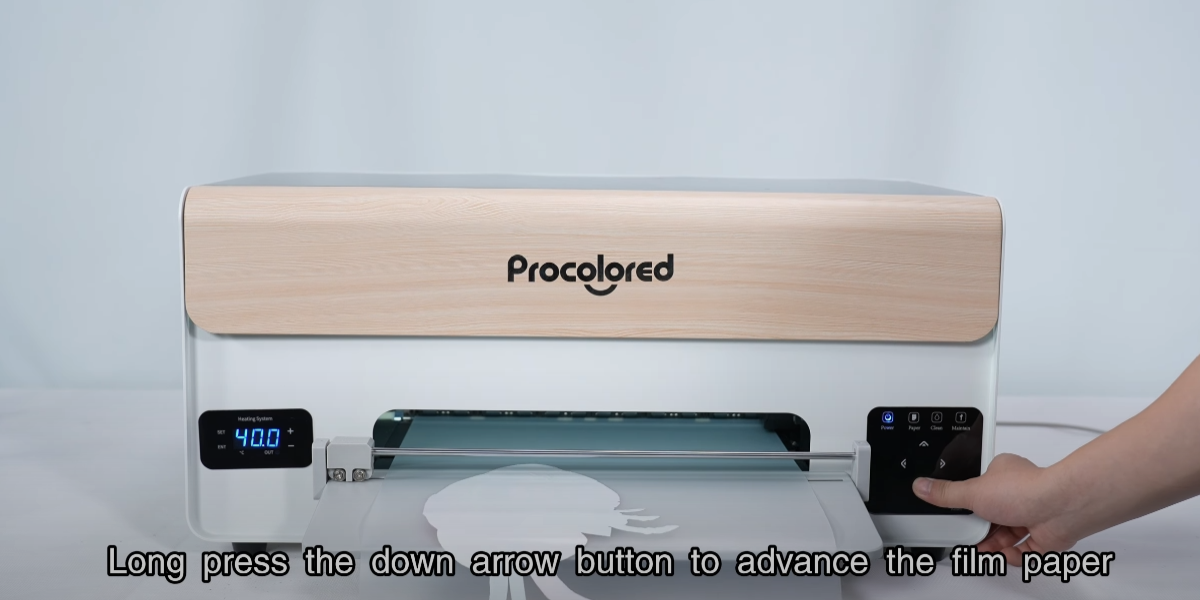
Long press the down arrow button to advance the film paper.

Cut film. Printing complete; next add powder and bake.