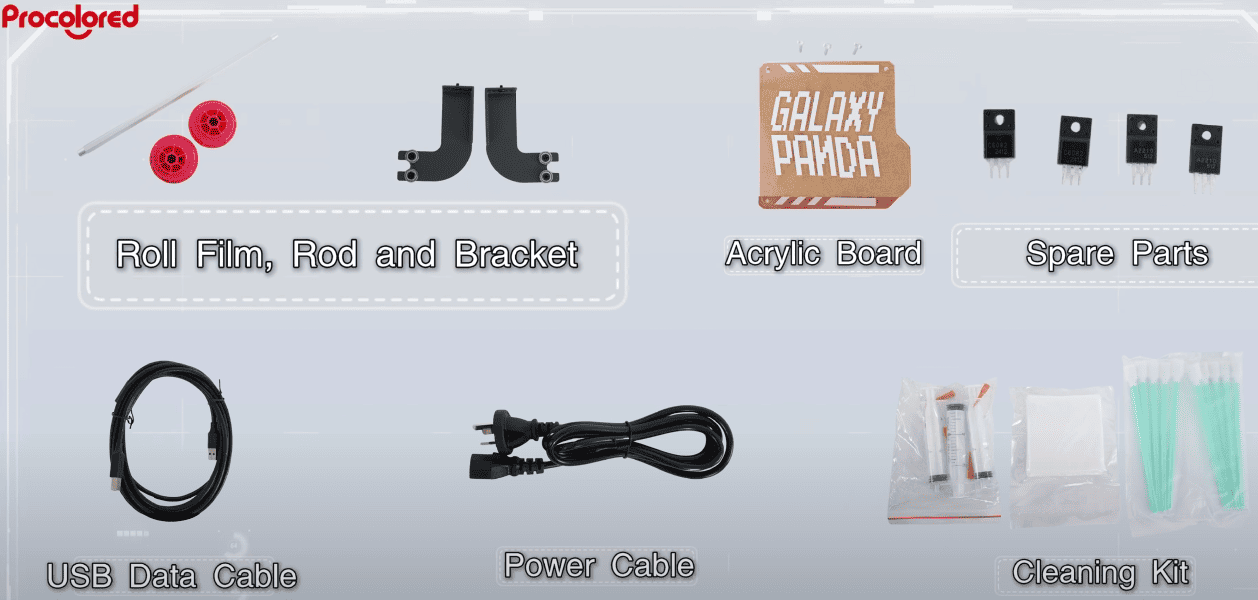
01Install the acrylic board — you can tighten the screw with your fingers. |
|
 03Install the roll film bracket in the correct direction — the side with the roller should face inwards. |
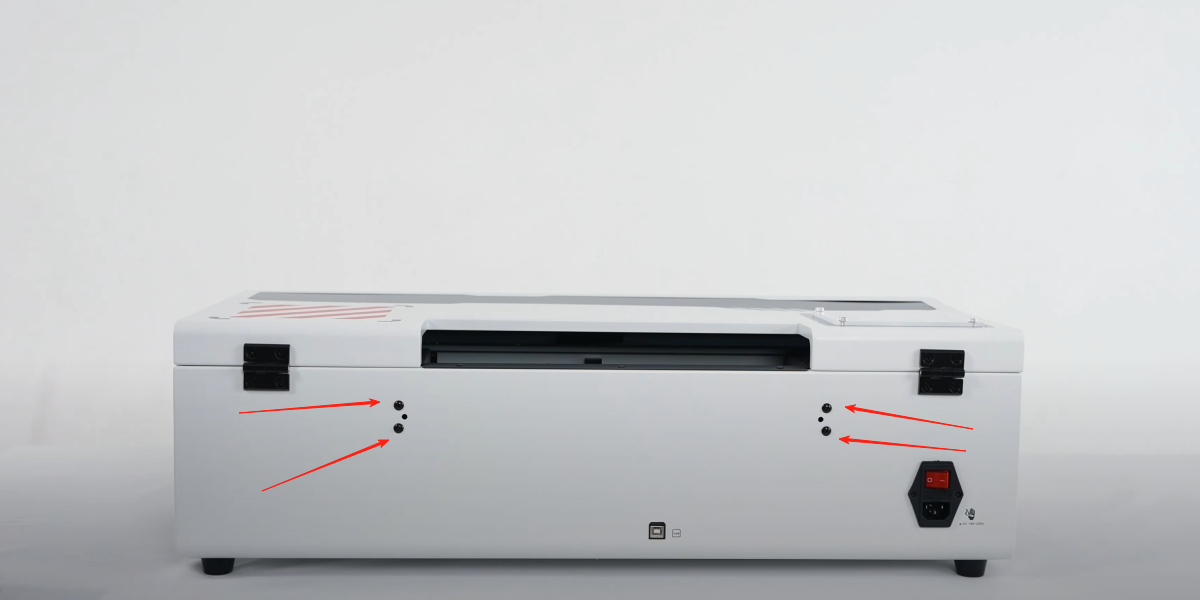
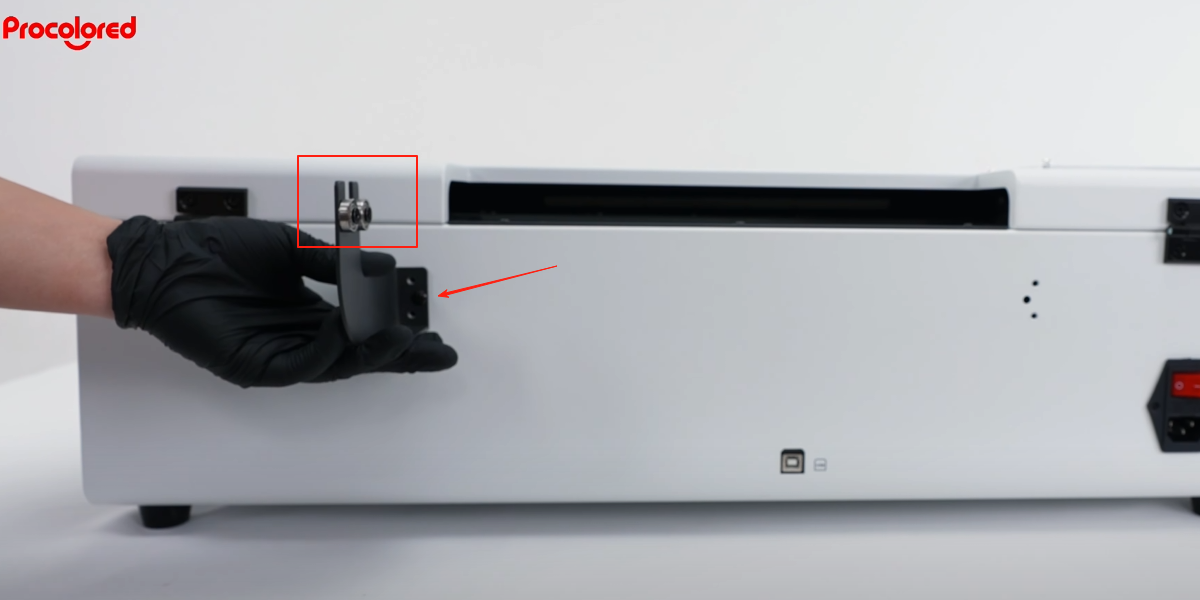
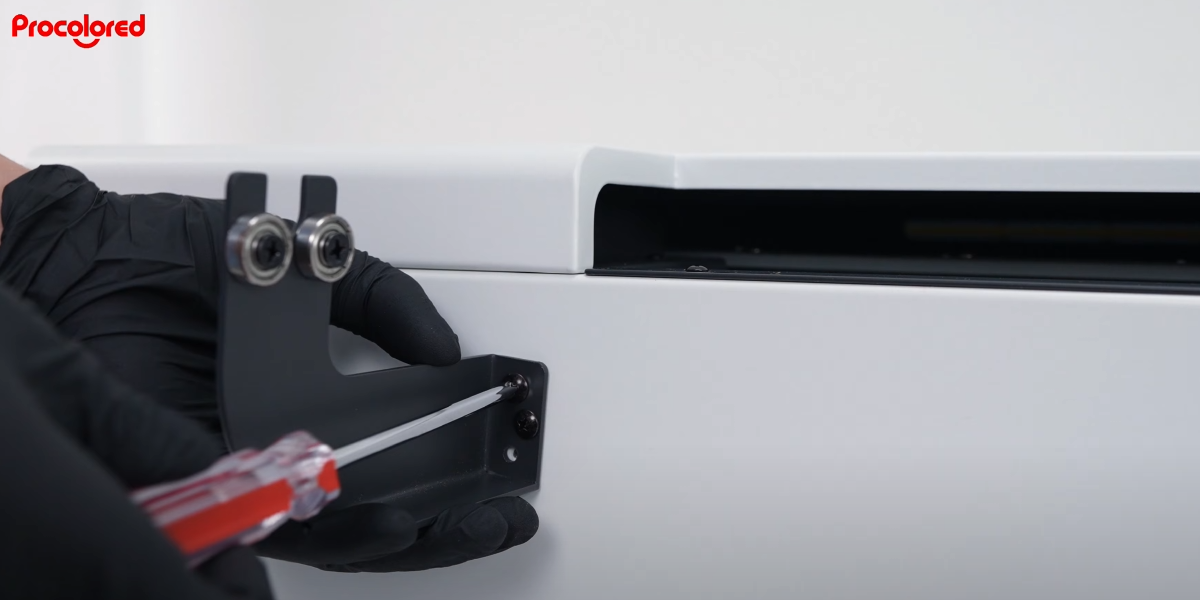 04Fix the 2 screws for the bracket. |
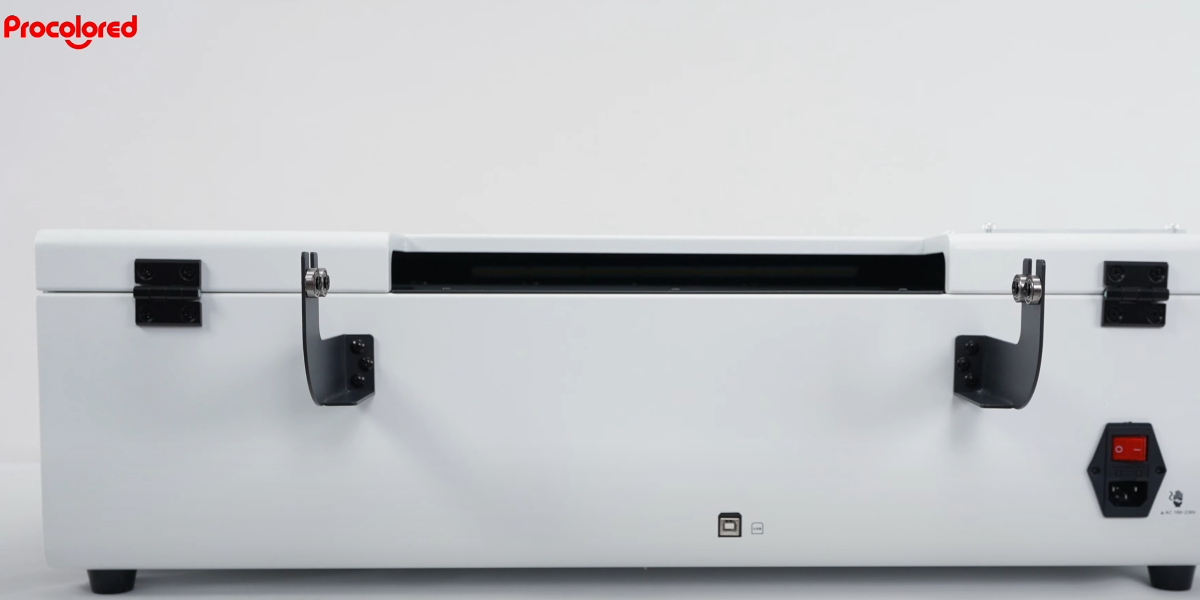 05Do the same for the other bracket — roll film bracket is now installed. |
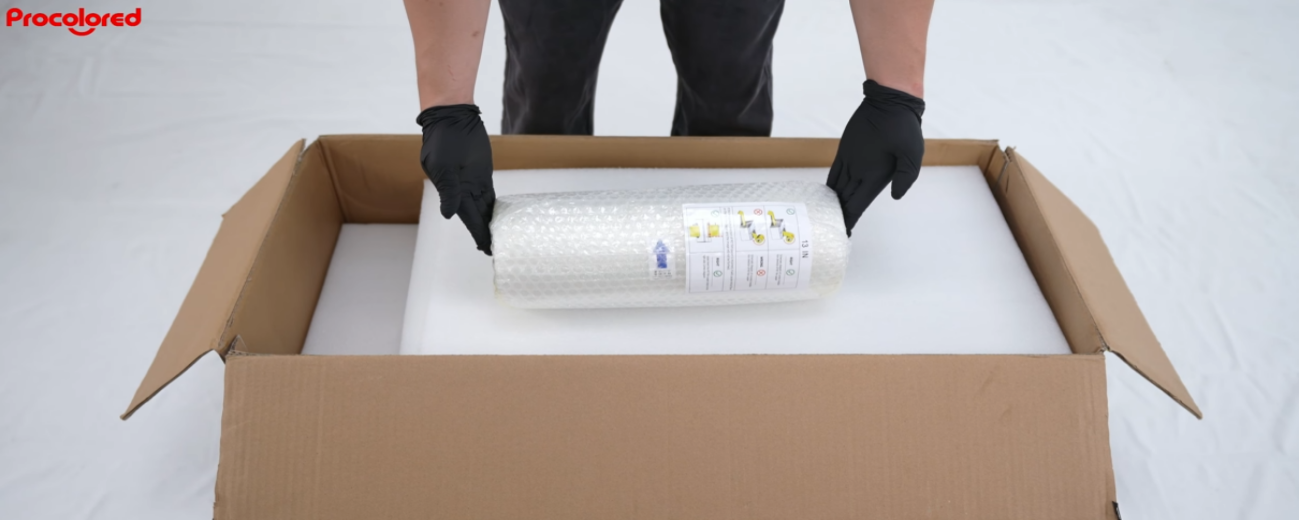
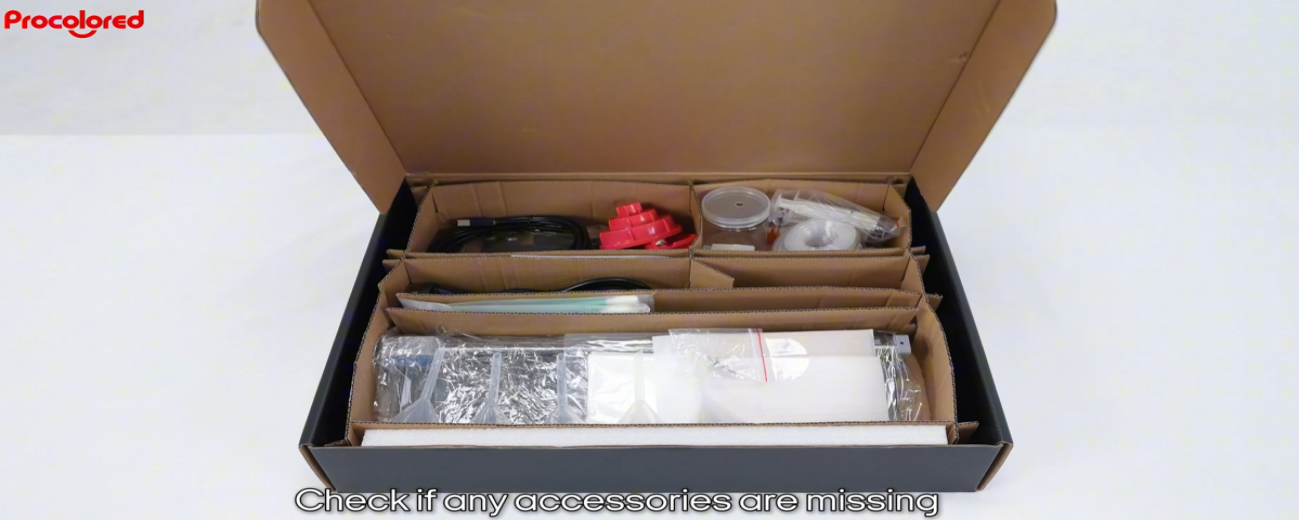
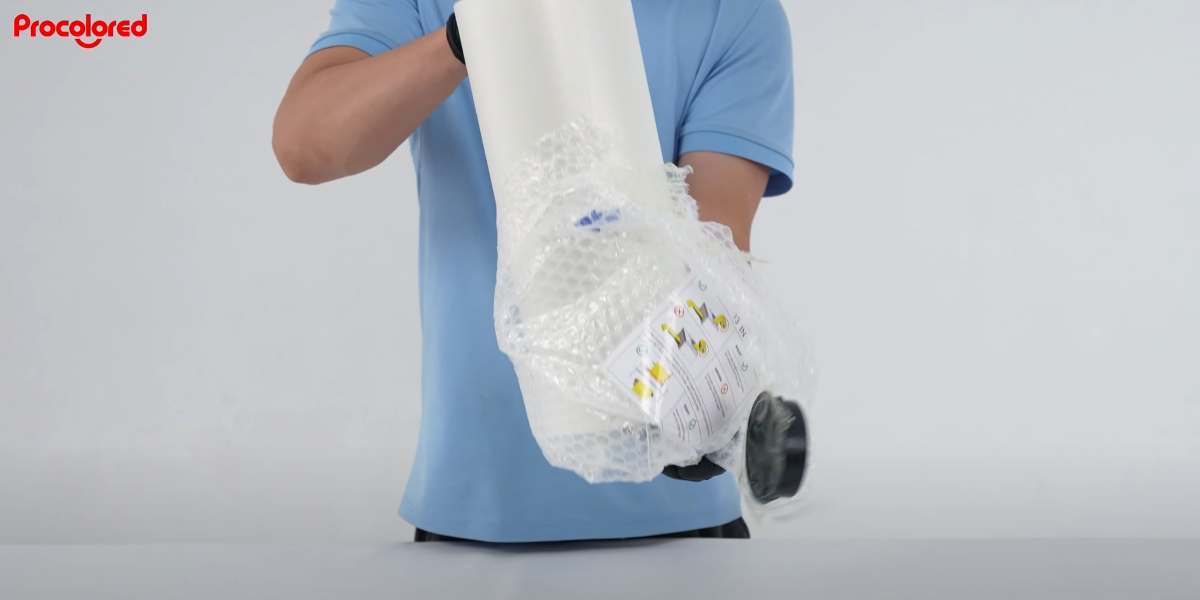 06Take out the roll film, read the instructions and remove the packaging. |
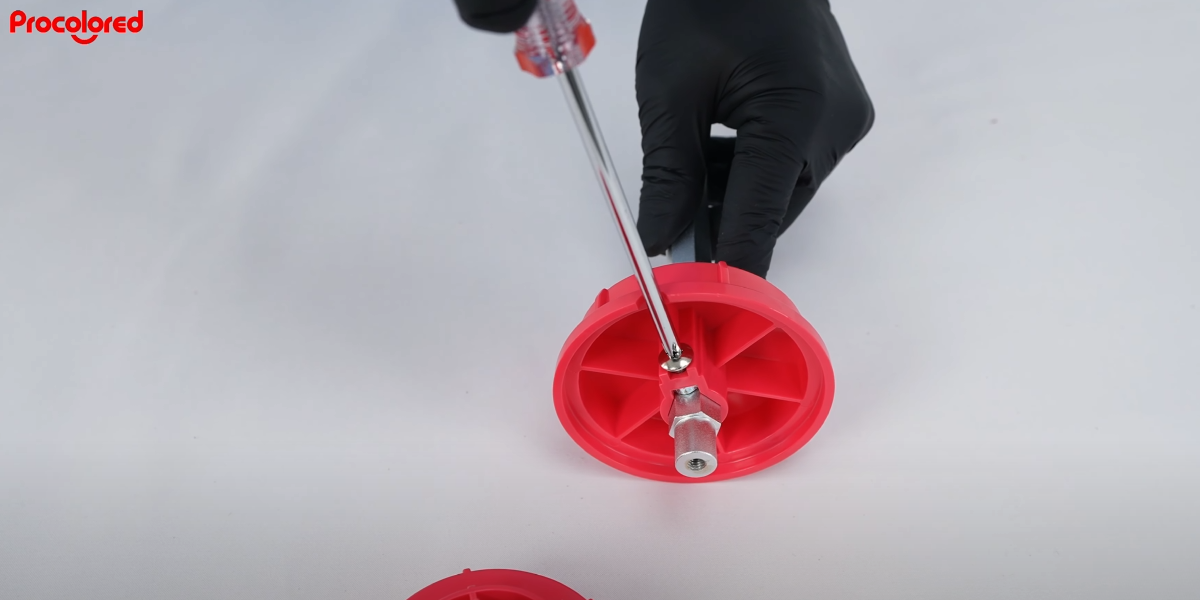
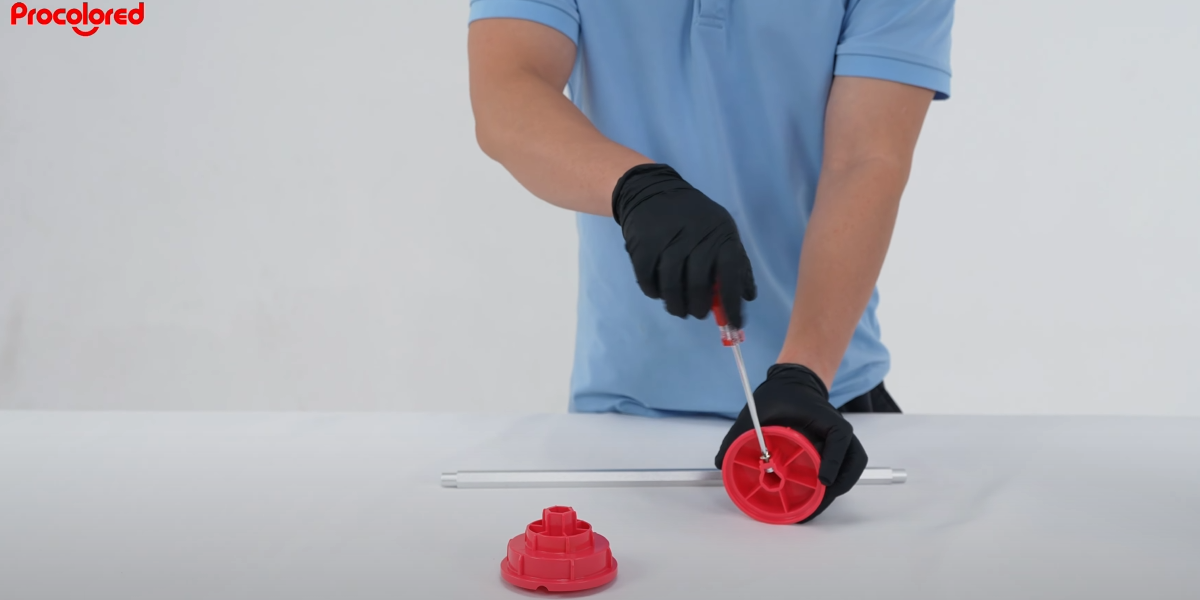 07Loosen the screw on the roll film plugs. |
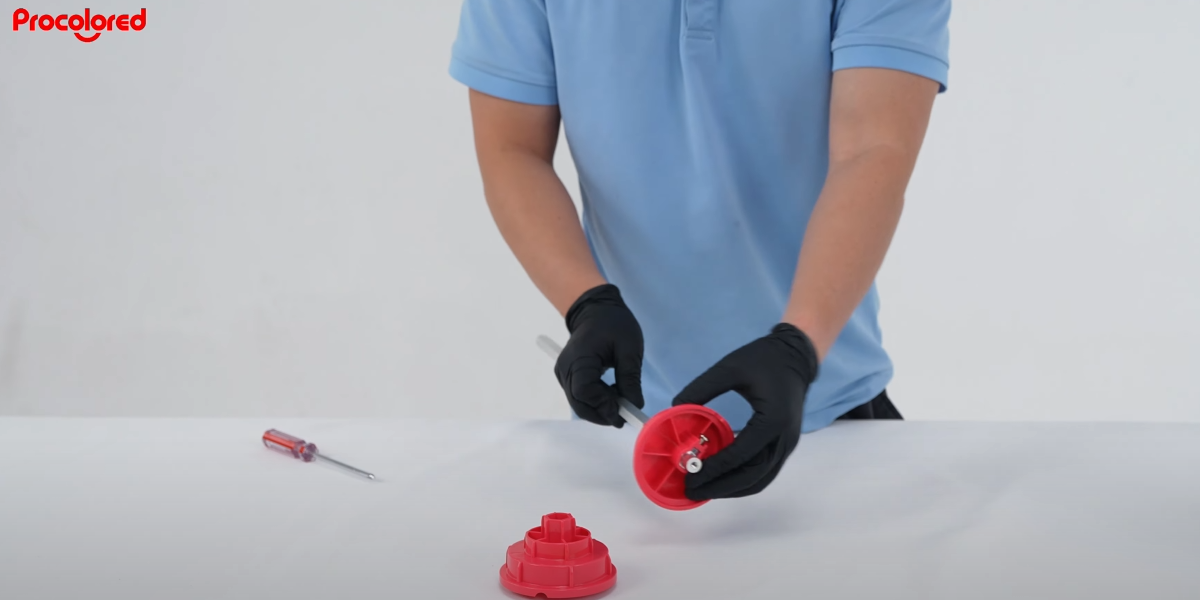 08Fix the roll film plug on the rod. |
|
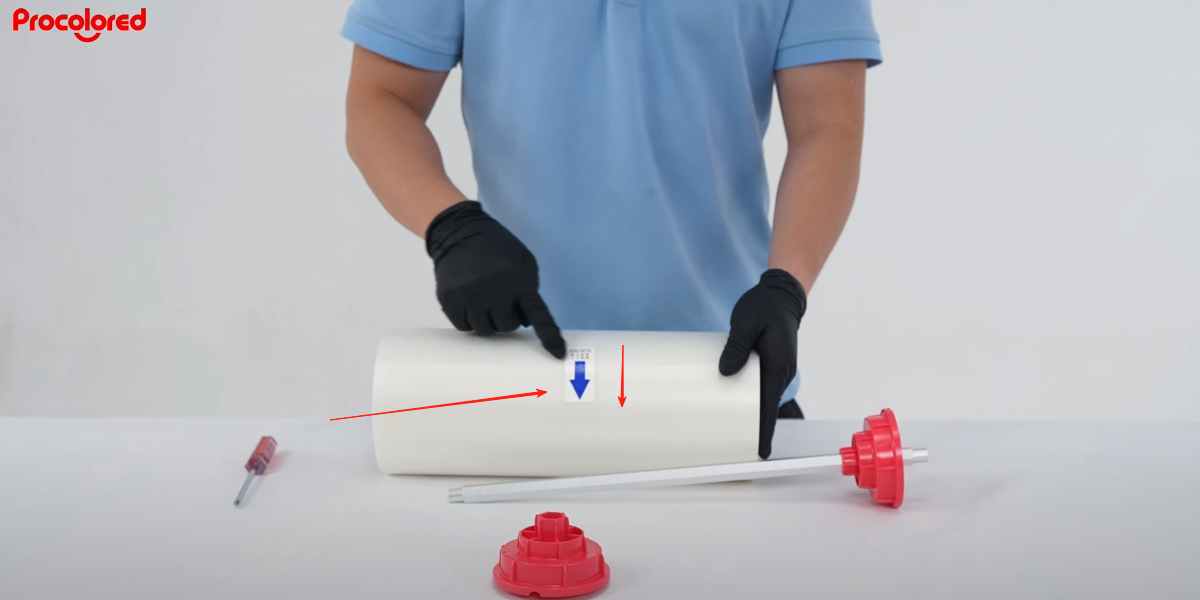 10Put the roll of film on the bracket — the arrow on the film should face toward the printer. |
 11Pass the rod through the roll film and ensure the plugs are fixed. |
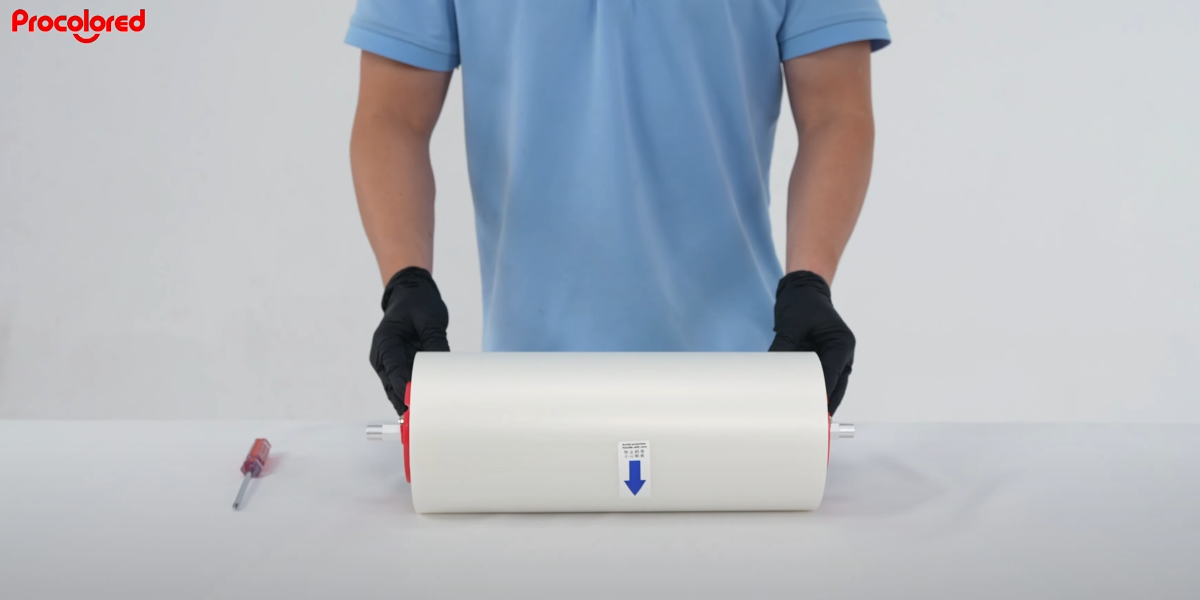 12Install the other side plug and fix the screws. Roll film is ready. |
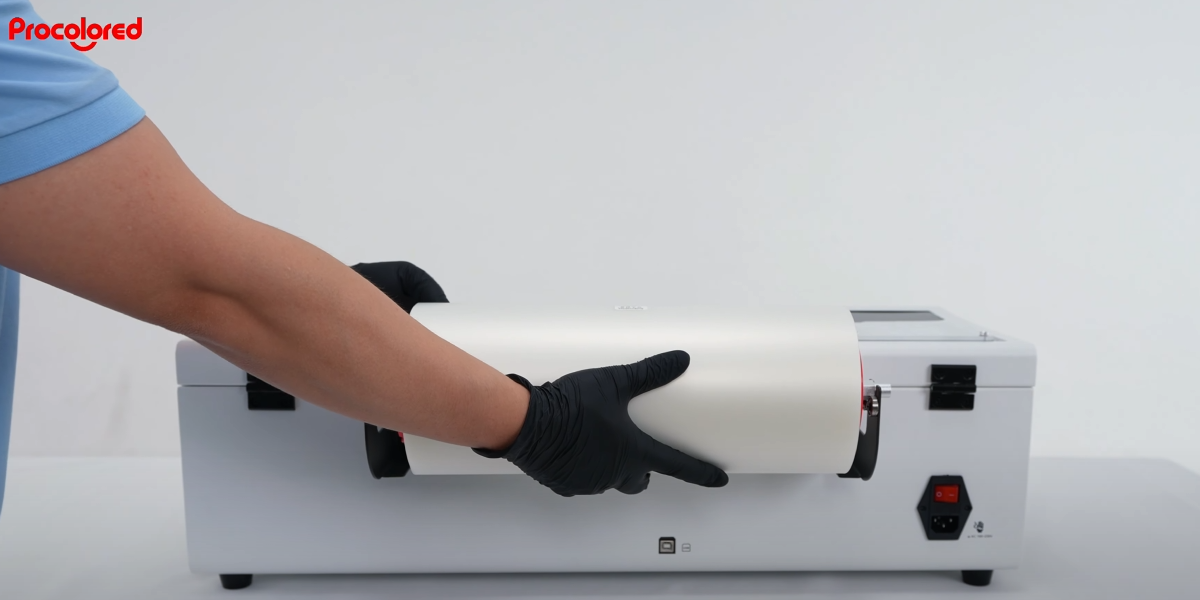 13Put the roll film on the bracket. |
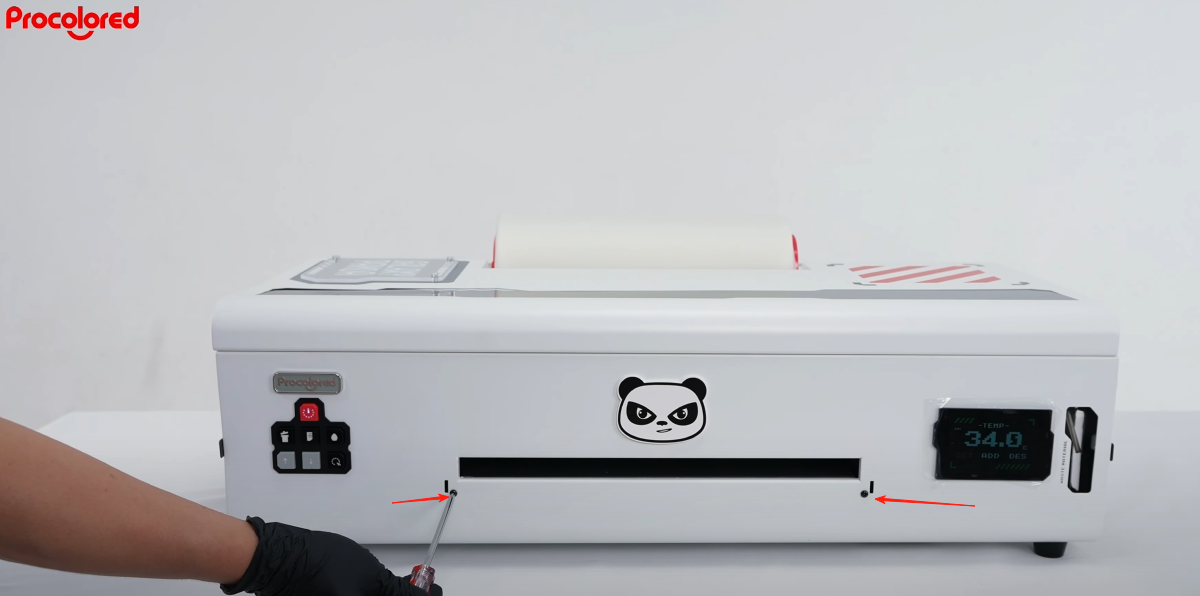 14Loosen the 2 front screws — just loosen, do not remove. |
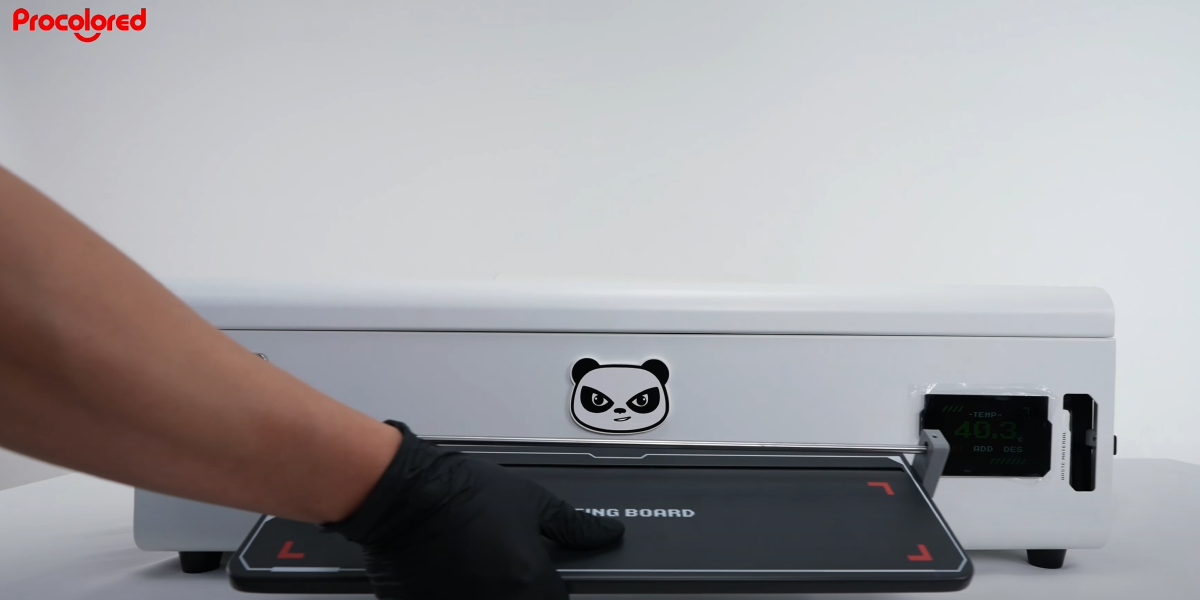 15Put on the tray and cutter. |
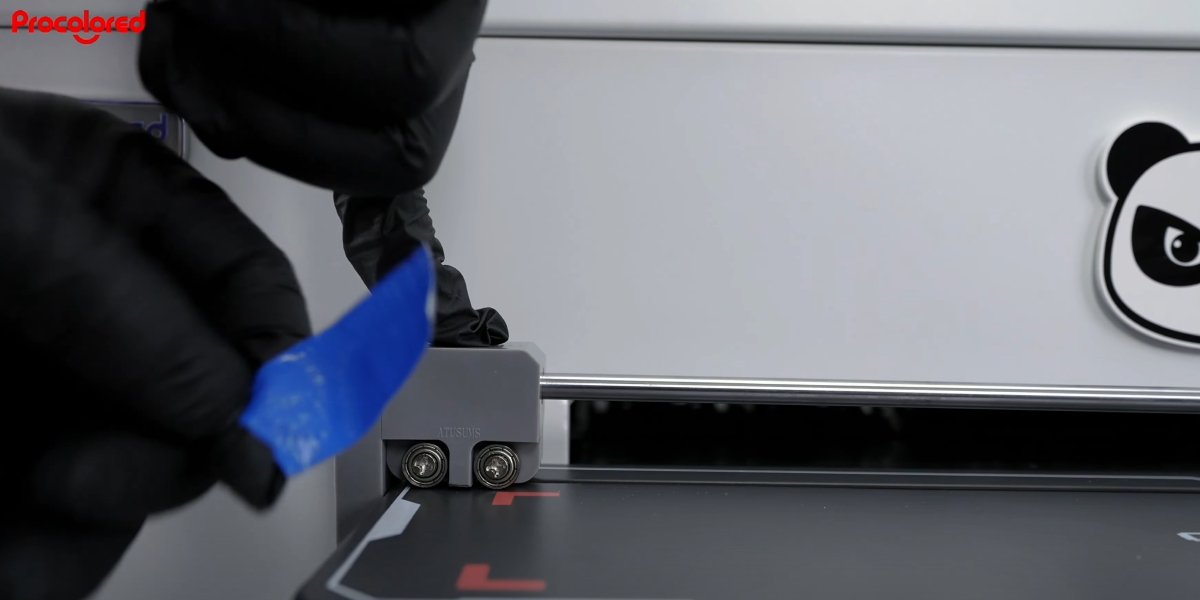 16Remove the tape on the cutter. |
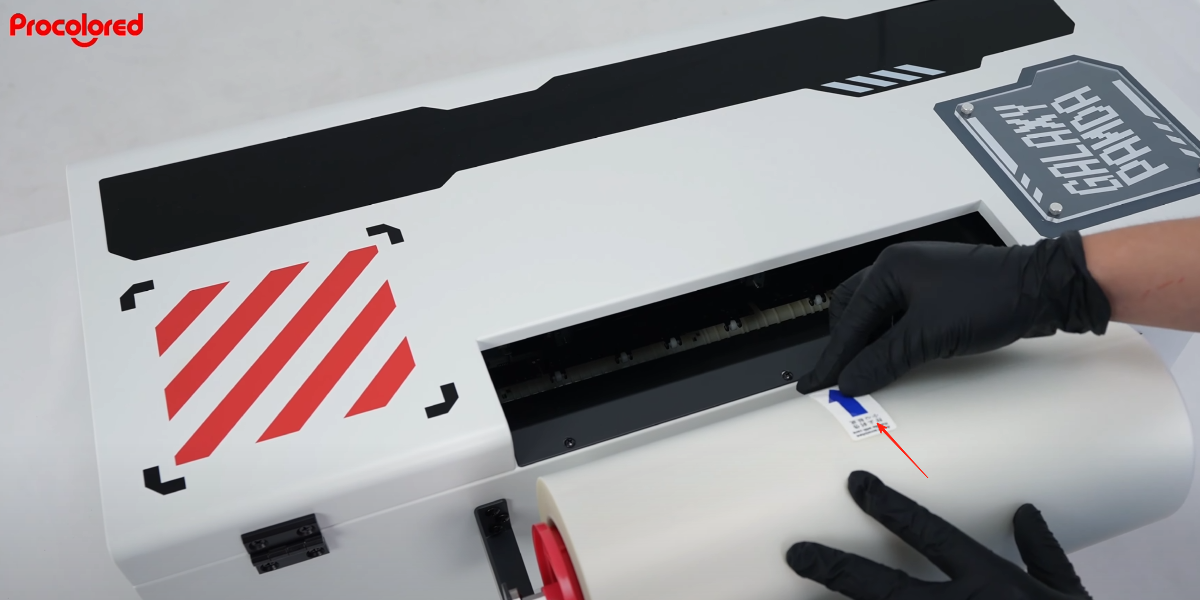 17The arrow on the film should face toward the printer — feed it inside. |
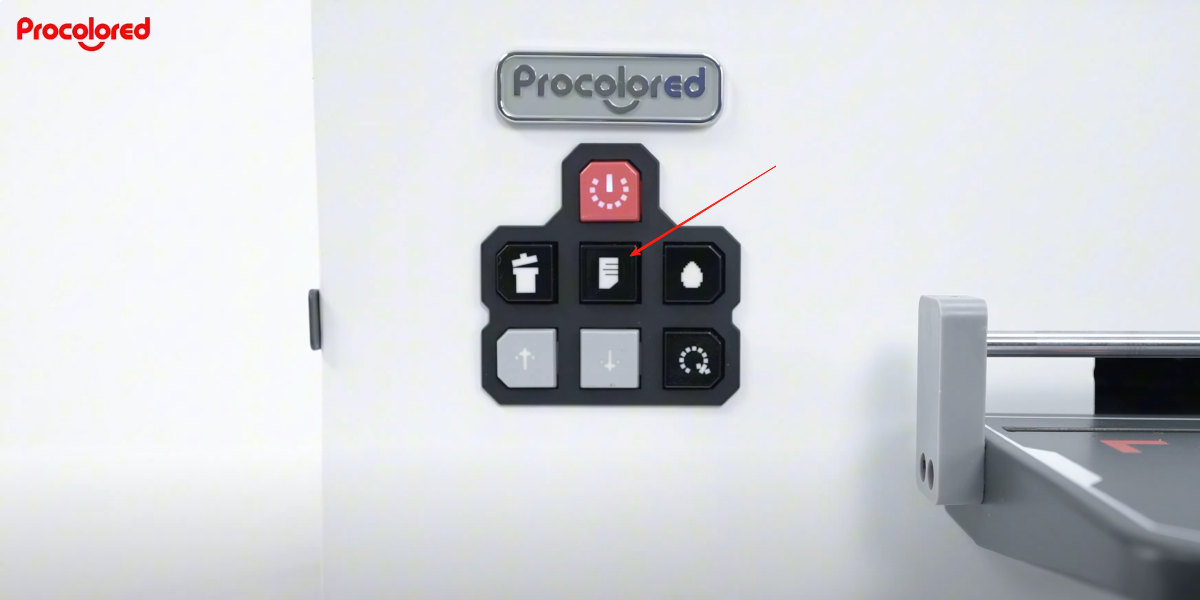
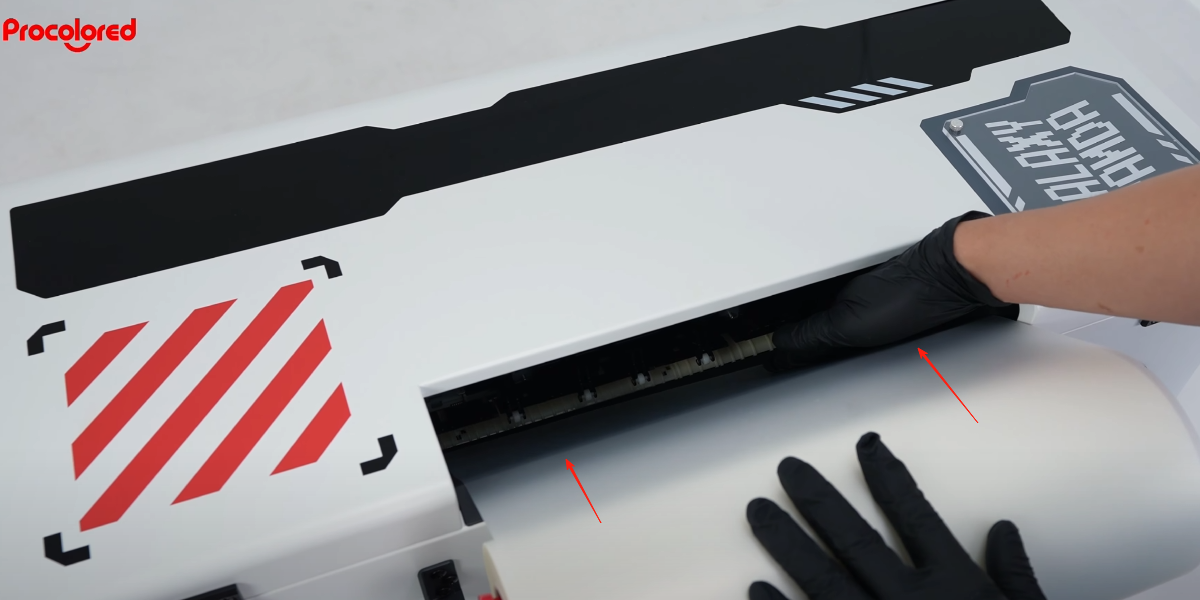 18Feed the film with your finger. |
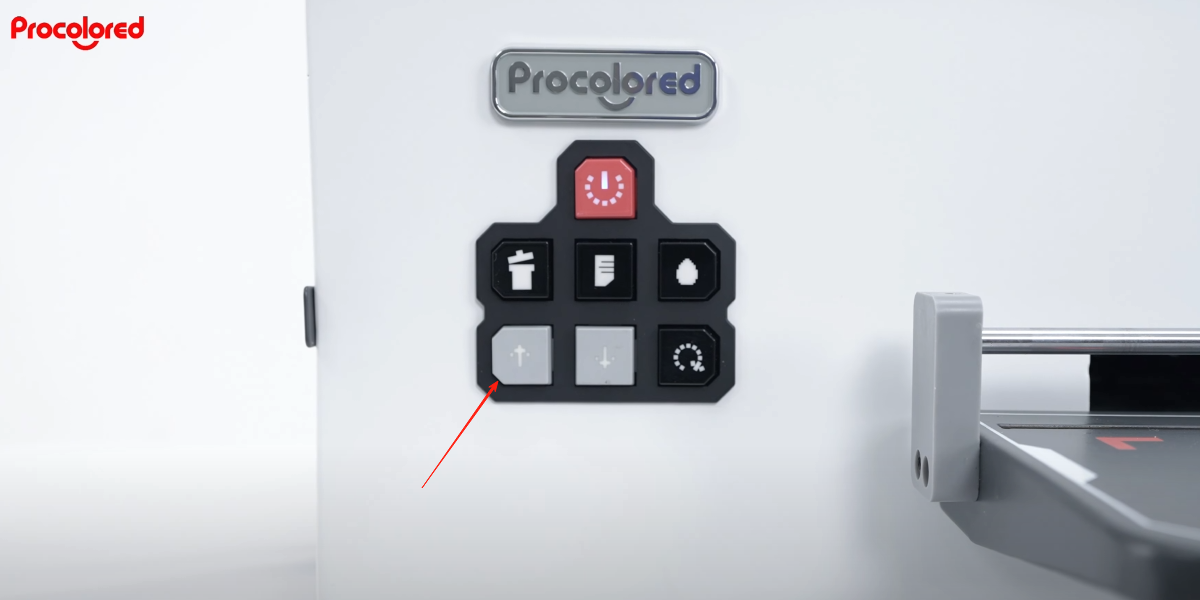
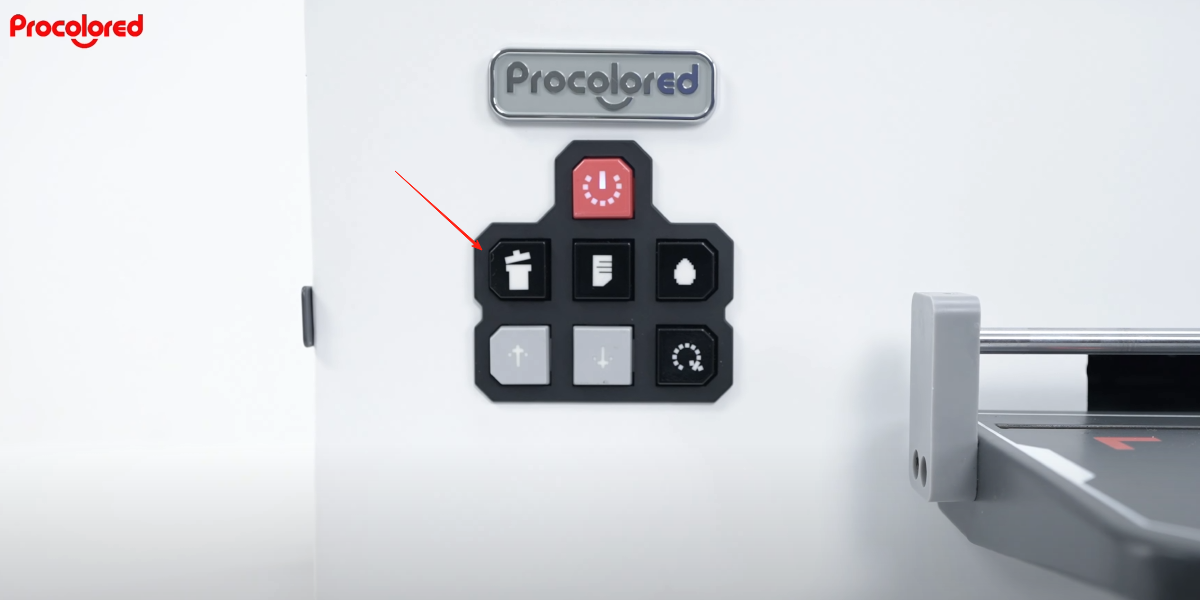
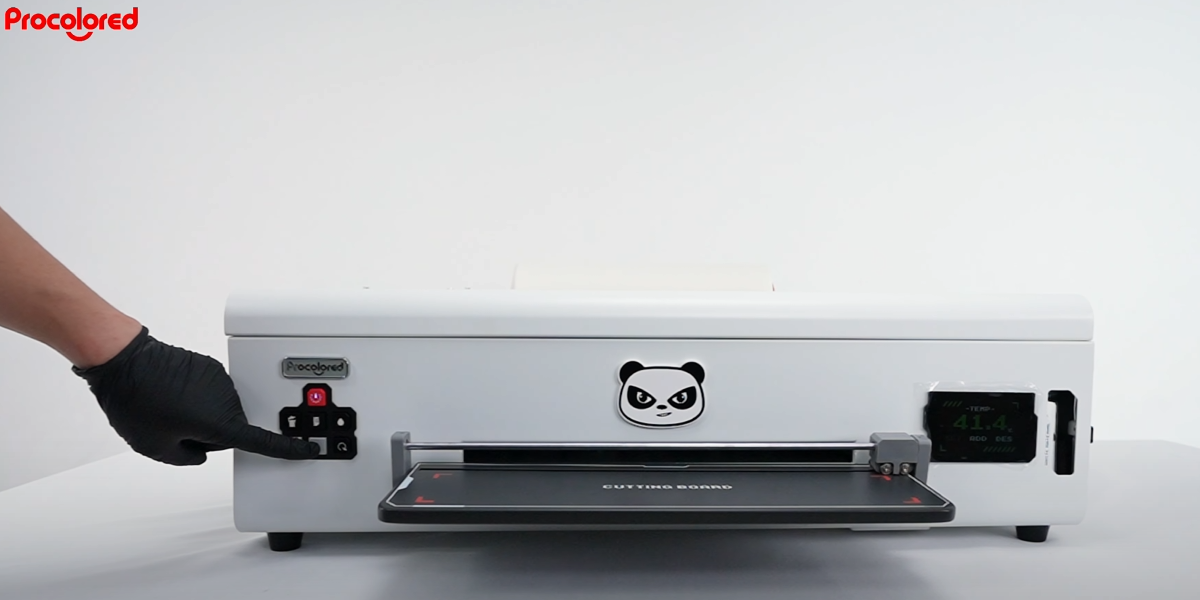 19Press the feed button on the front panel. |
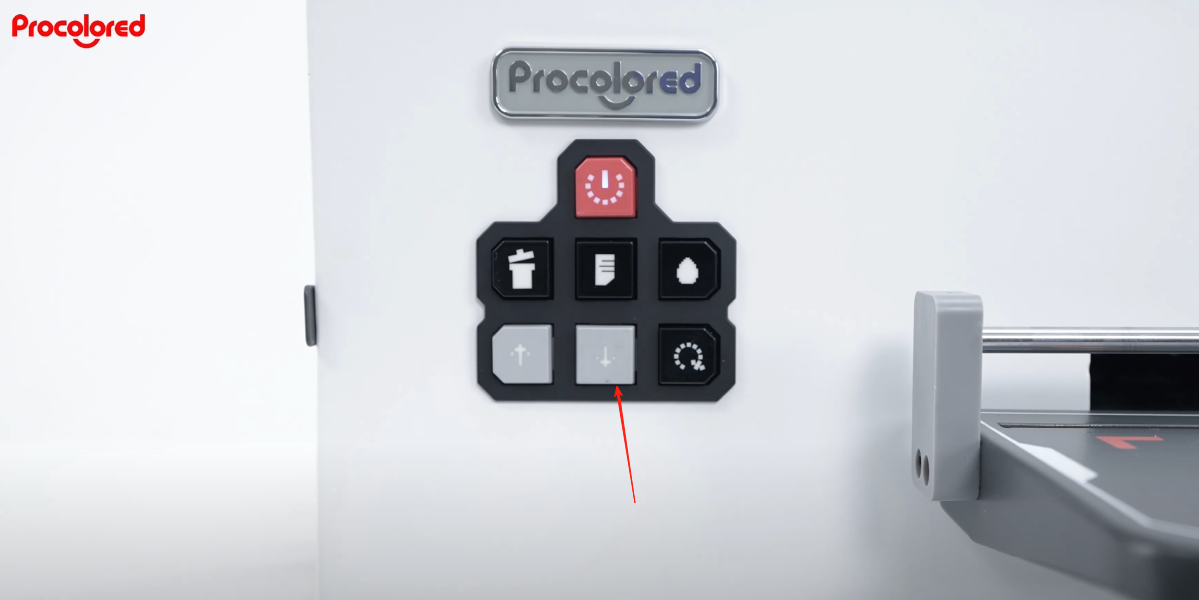
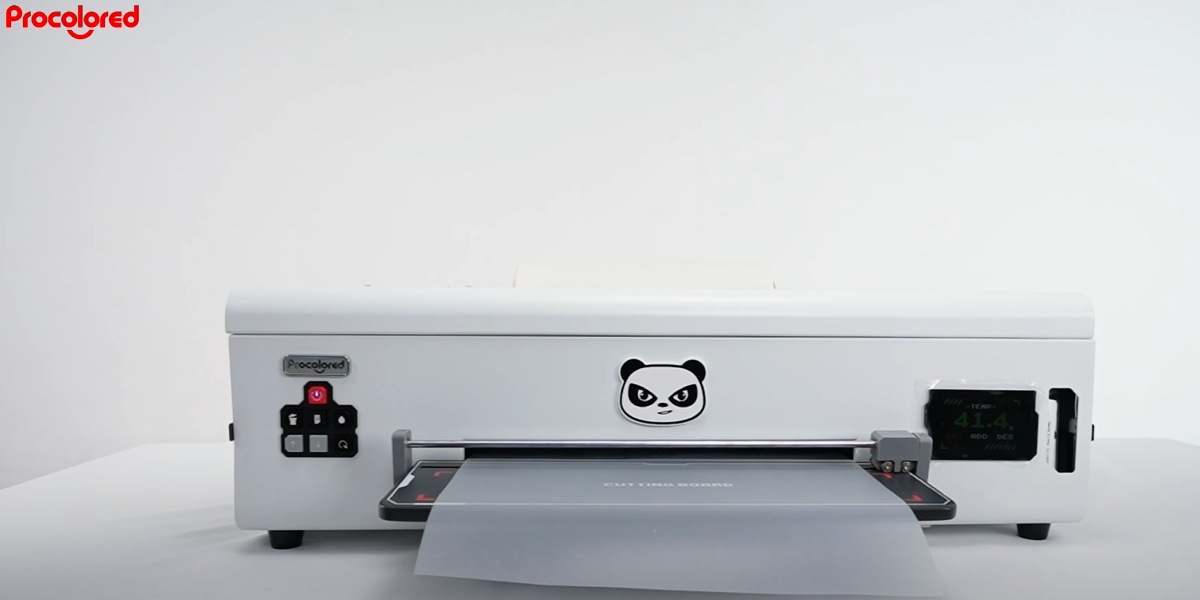 20Move out the roll film — roll film installation complete. |
|