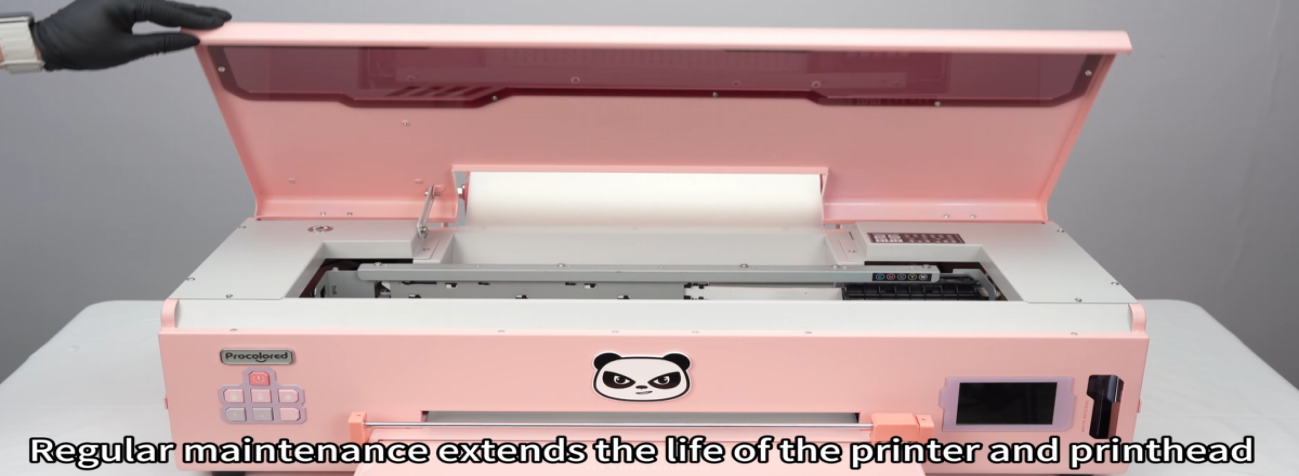
 01Maintain the printer every 15 days — regular maintenance extends the life of the printer and printhead. |
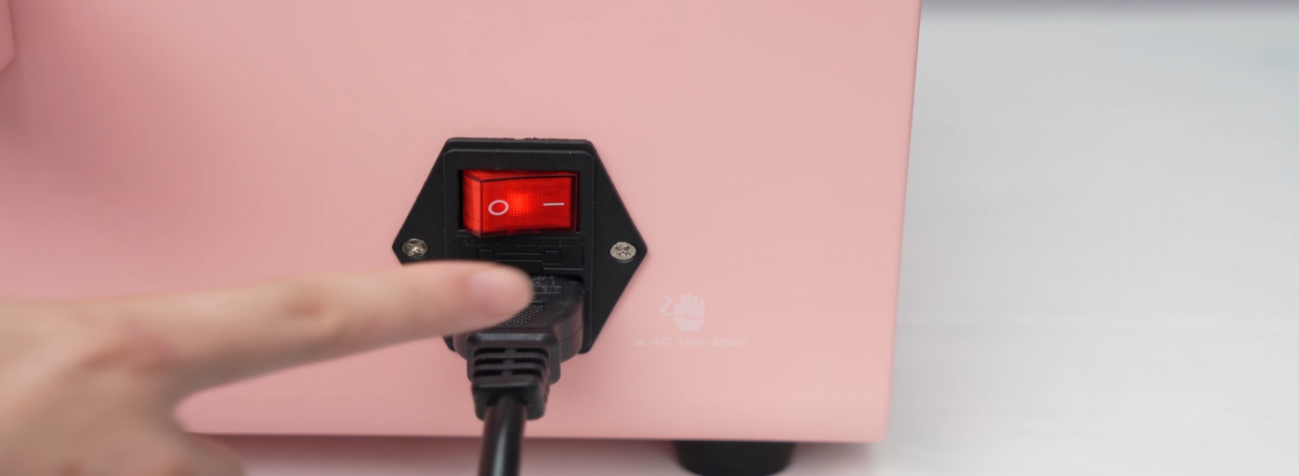 02Power on the printer and wait for the carriage to move to the middle. |
 03Power off immediately to keep the printhead in the middle position. |
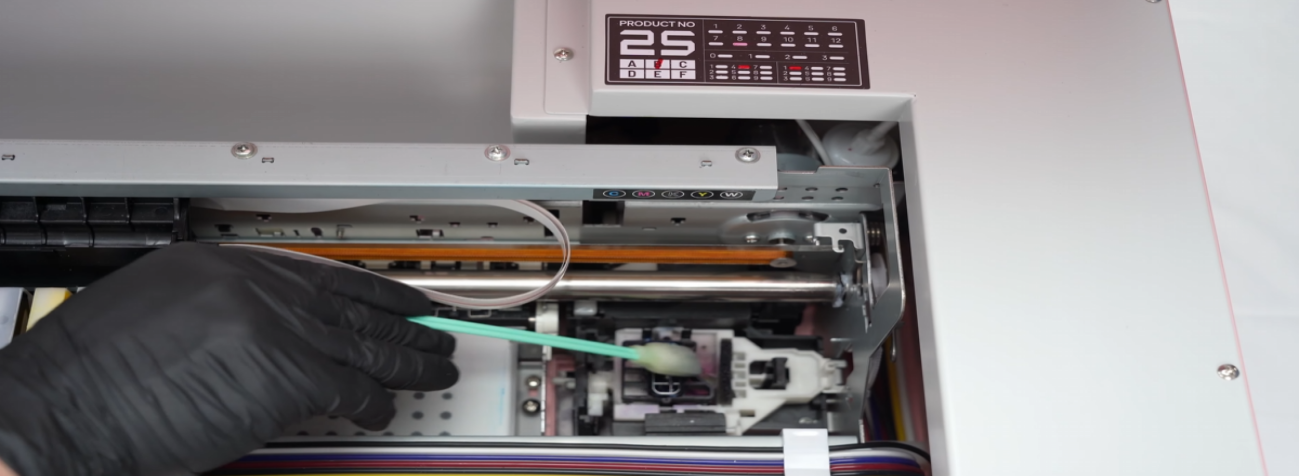 04Clean the capping station with warm water and a cotton swab — buildup affects waste ink discharge. |
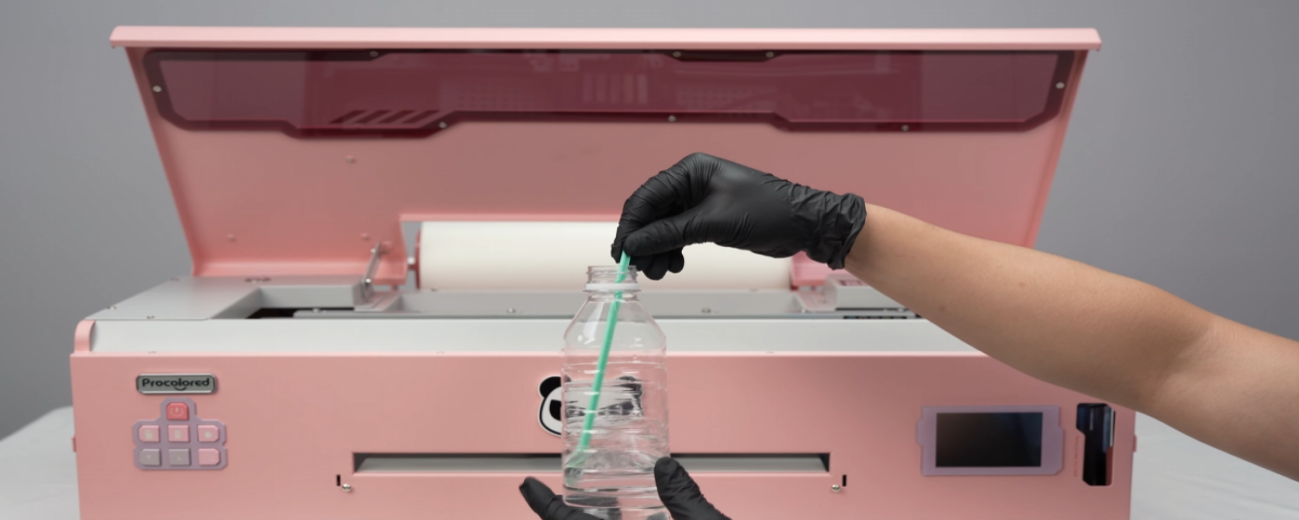
 05Fill the capping station with warm water. |
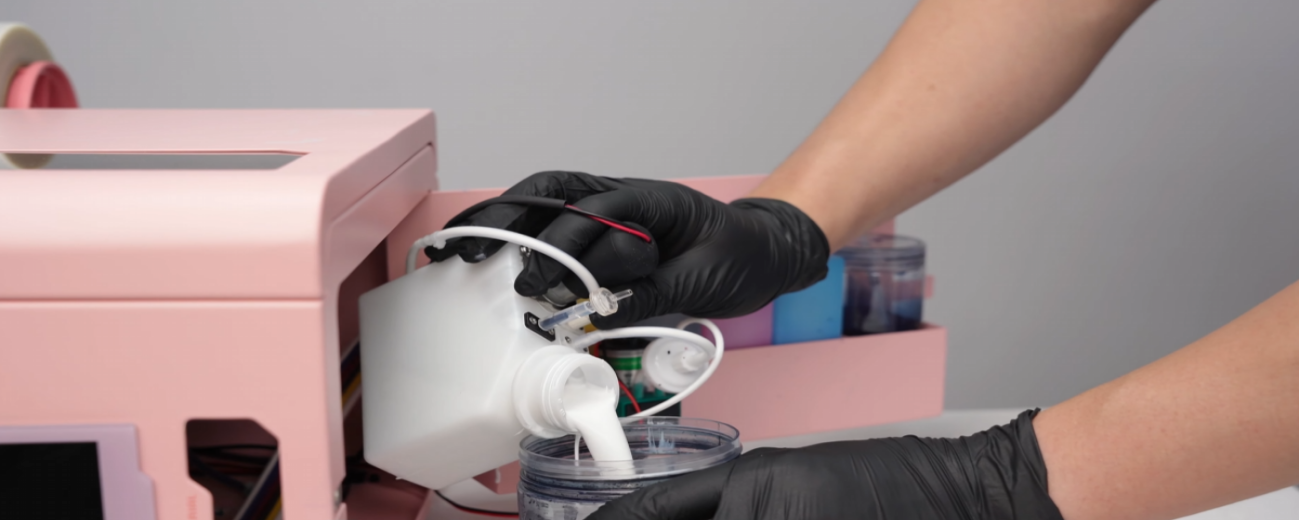
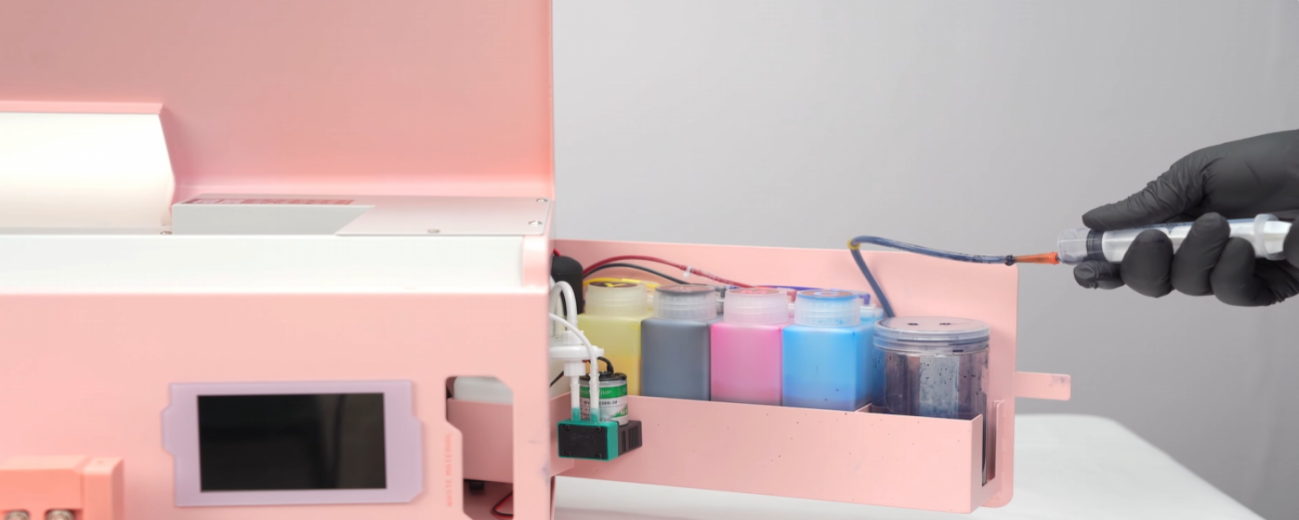 06Extract it through the waste ink line using a syringe. |
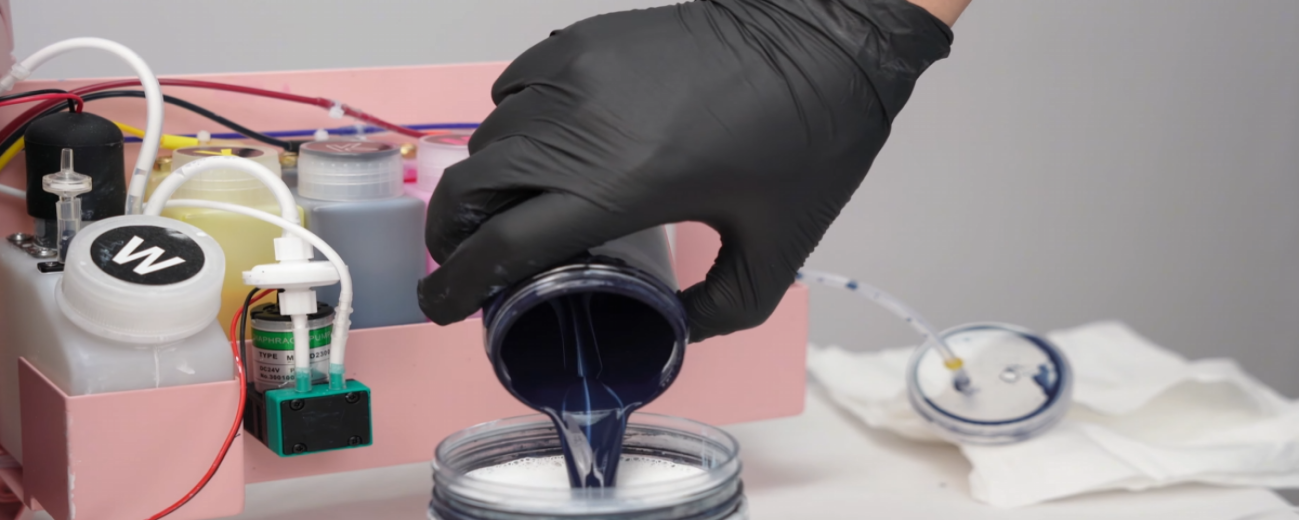
 07Pour the waste ink into the container. |
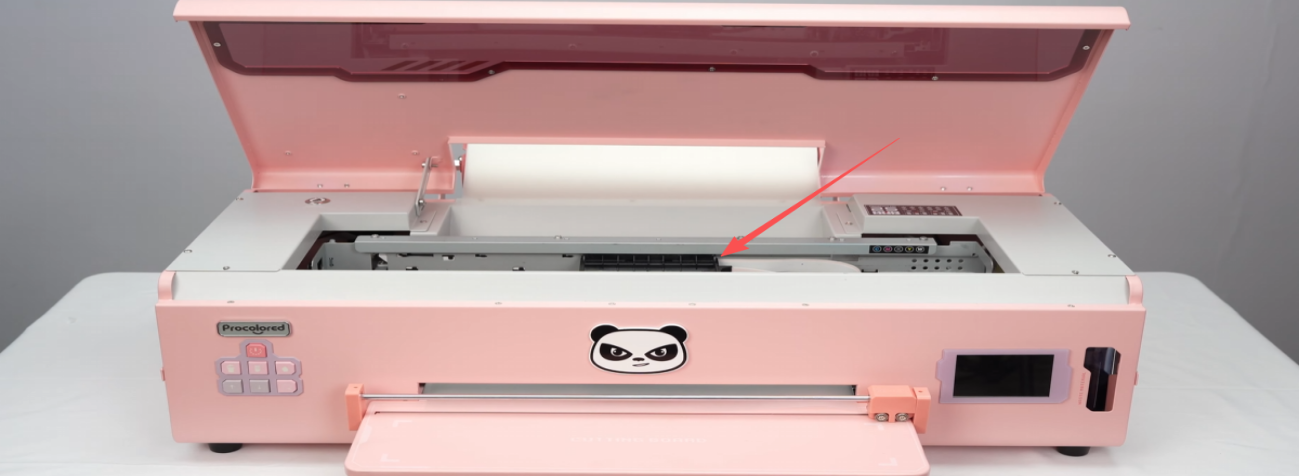
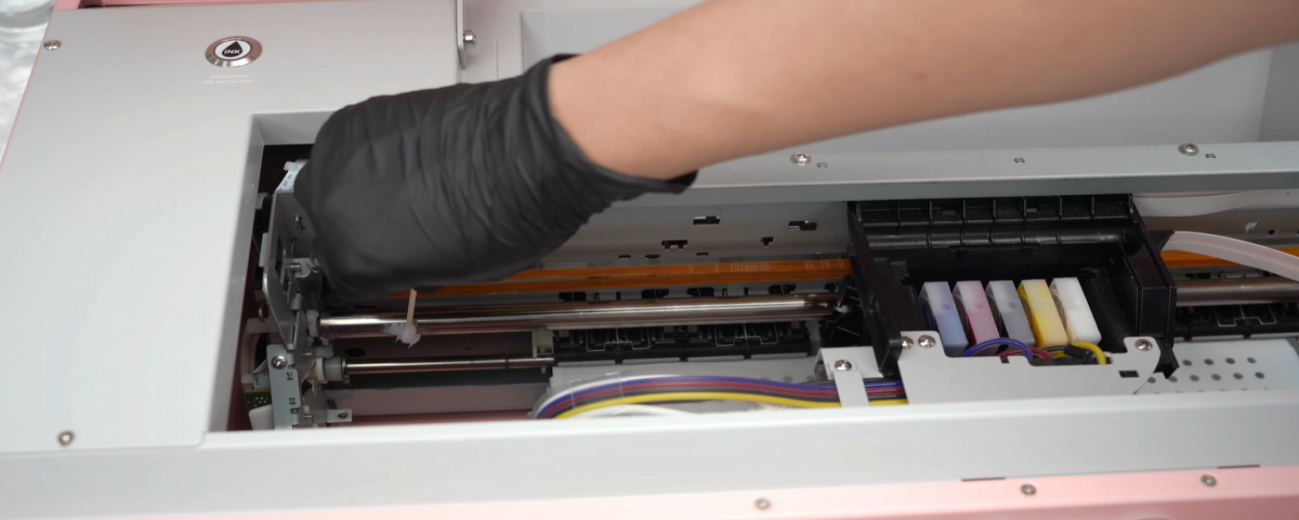 08Apply grease to the slide rails to ensure smooth carriage movement. |
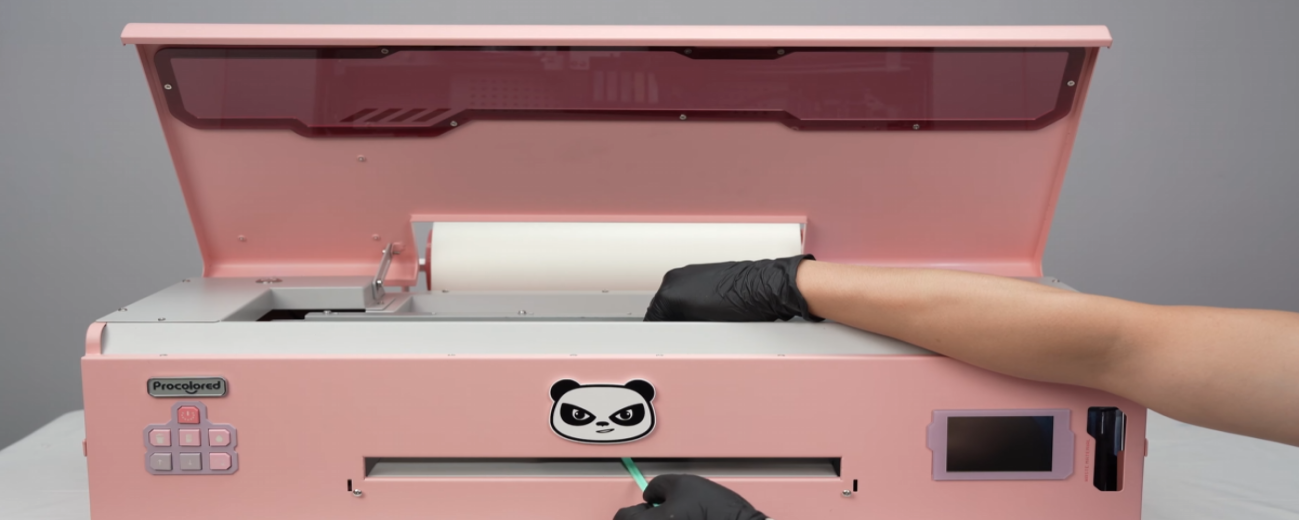
 09Clean the encoder strip with a lint-free cloth and warm water to prevent ghosting and misalignment. |
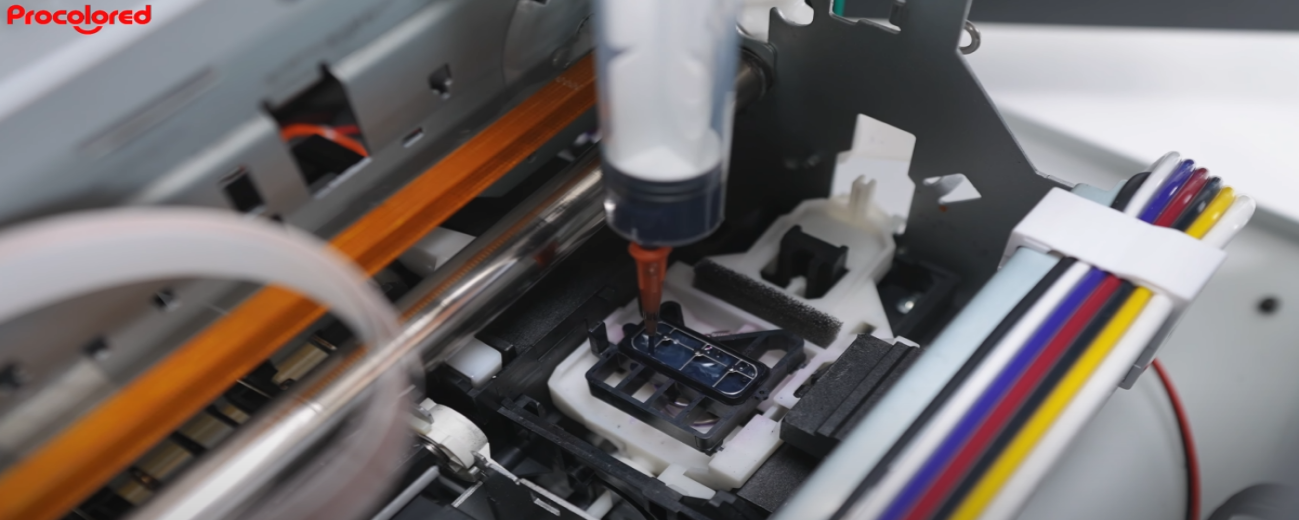
 10Wipe the bottom of the printhead with a cotton swab and warm water. Rewind the transfer film. |
 11Lift the printhead gently and clean around the base of the print head. |
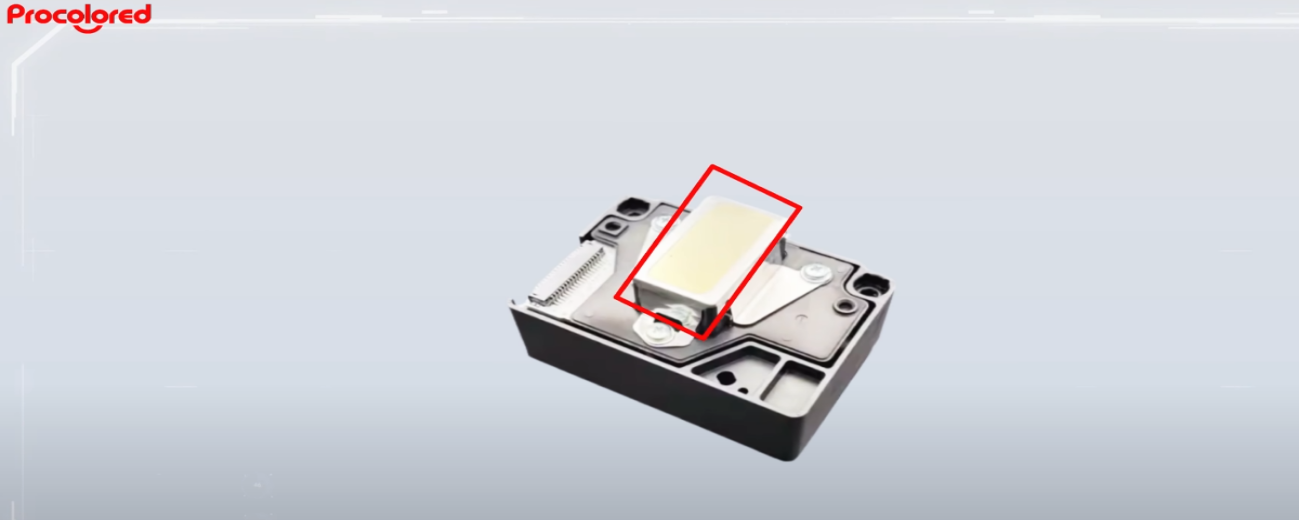 12Attention: Do not touch the mirror area. Do not clean the nozzle area directly. |
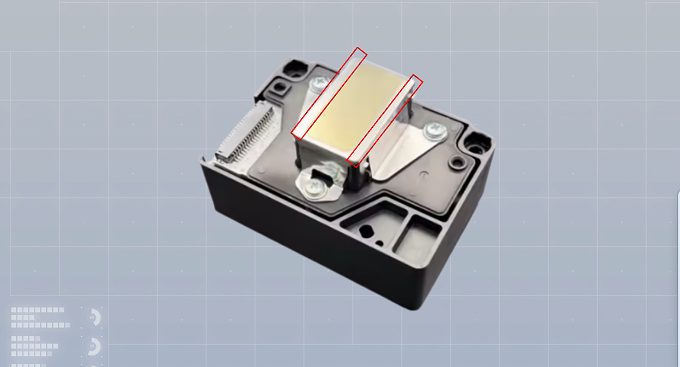 13Only clean the areas on both sides of the nozzles. |
 14Check for white ink settling and shake well before use. |
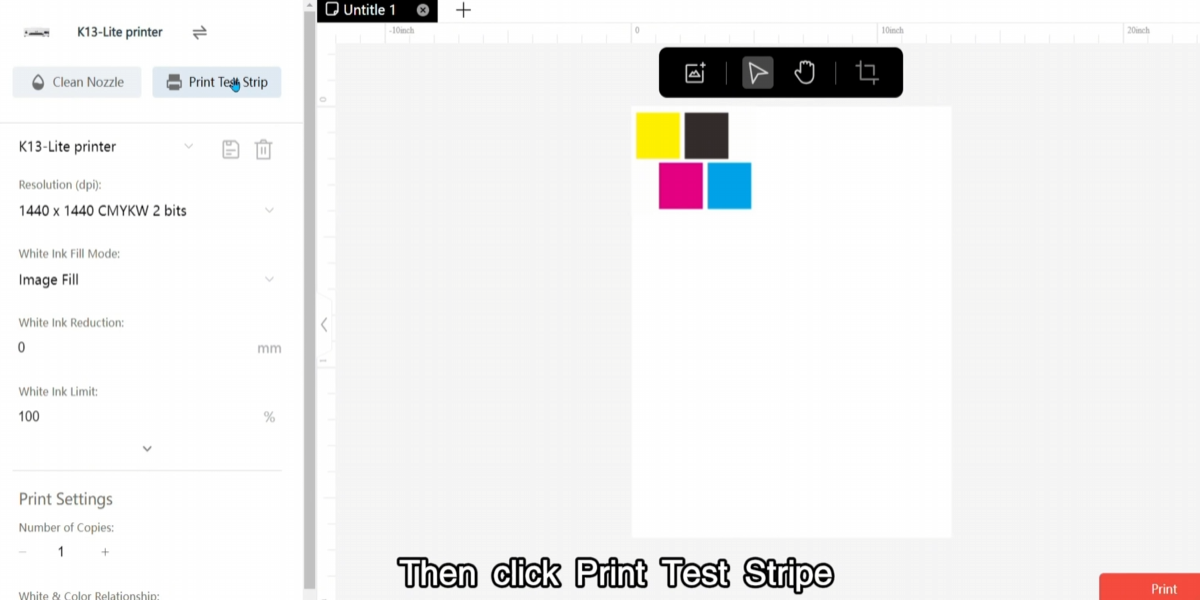 15Run a nozzle test to check printhead status. |
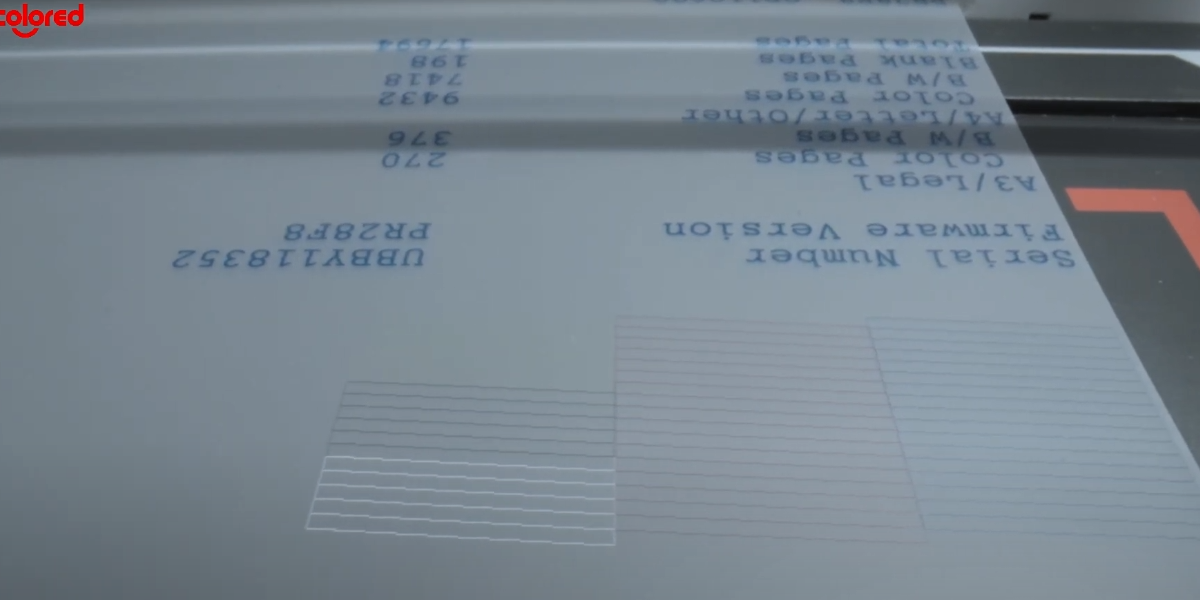 16Complete lines mean the printhead is clear. Broken or missing lines indicate clogging or insufficient ink. |
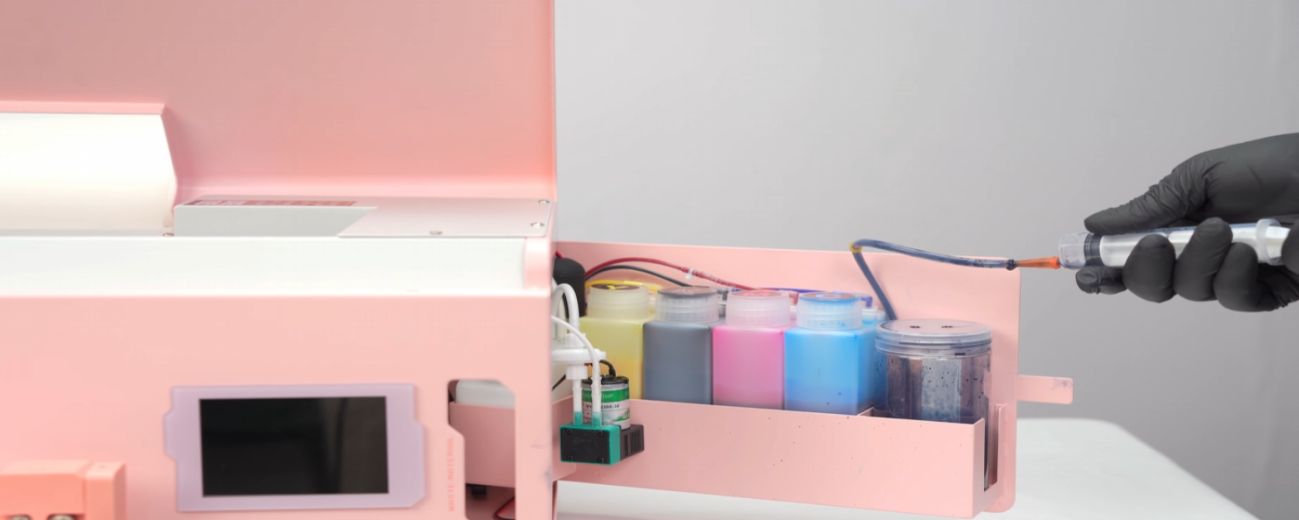 17To fix, draw out ink from the waste ink line. |
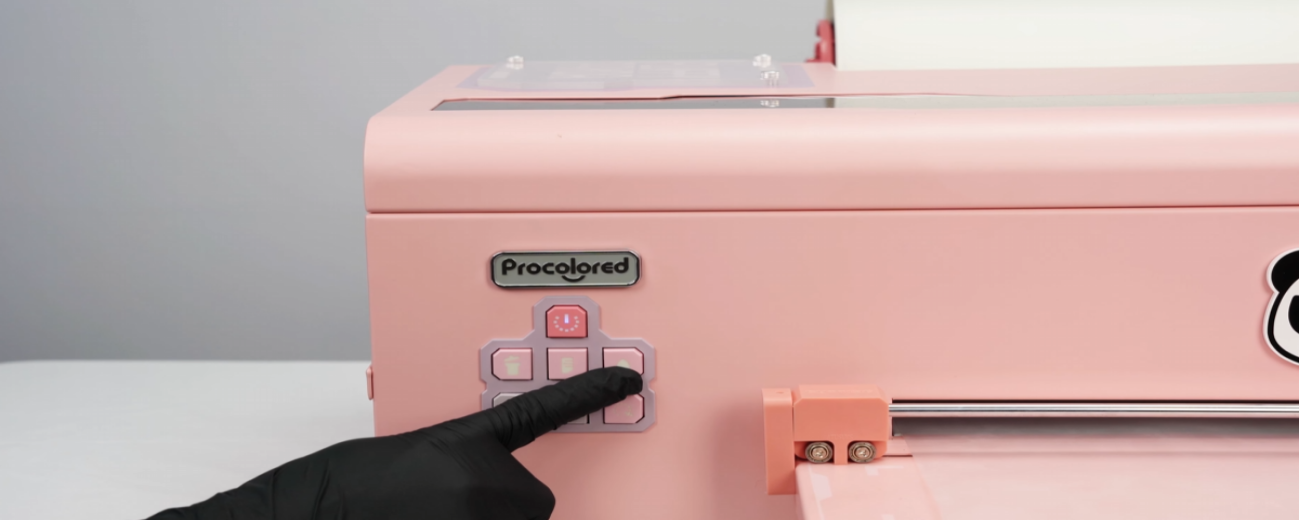 18Press and hold the ink button for 5 seconds to clean. If the issue persists, contact after-sales. |
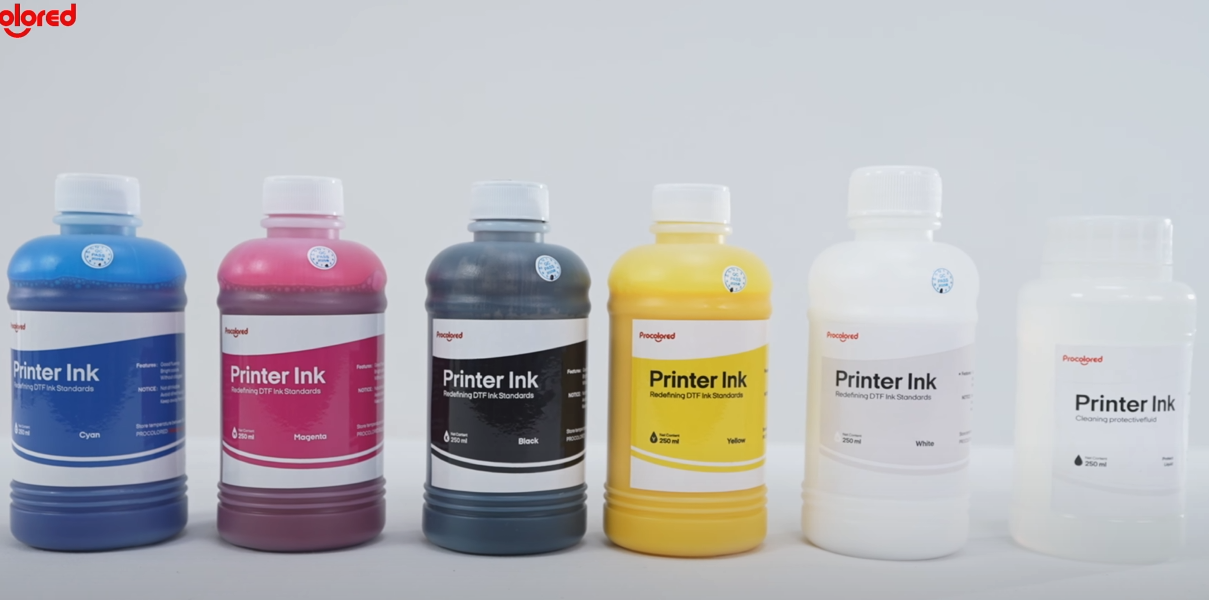 19Once opened, ink should be used within 3 months — prolonged storage causes settling and clogging. |
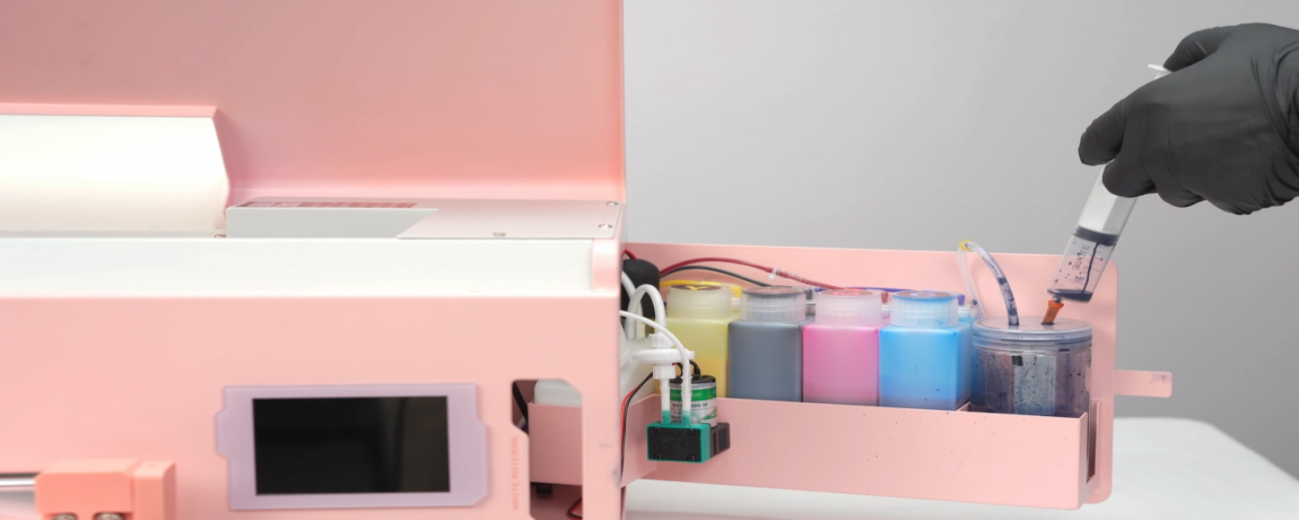
 20If ink thickens, precipitates, or becomes gel-like, discard it and rinse thoroughly. |
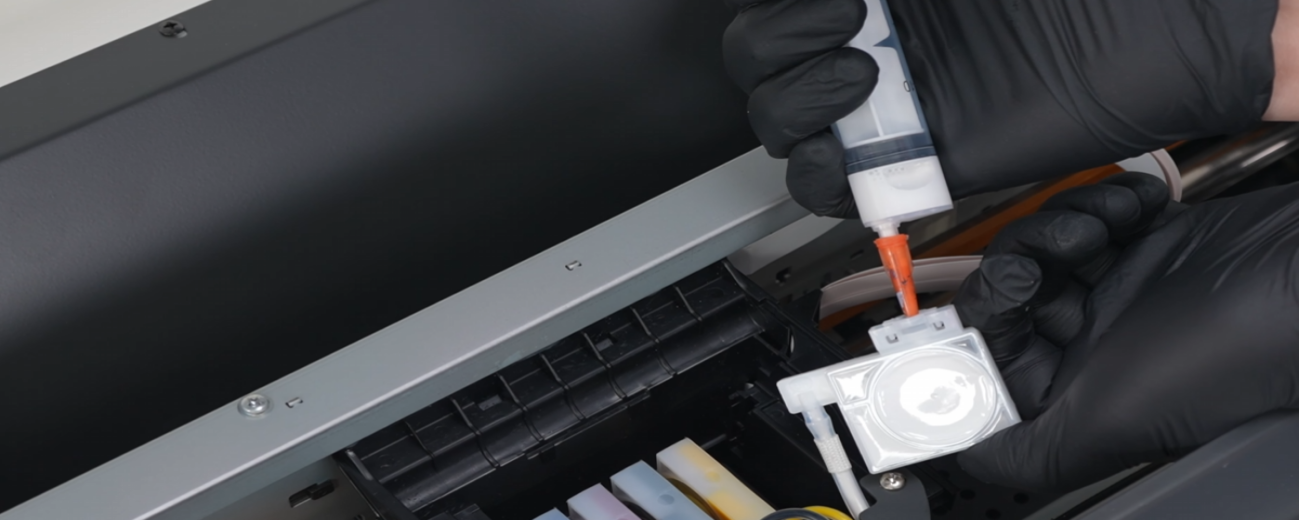 21Empty all deteriorated ink from each damper. |
 22Flush with water and drain. Pour out waste ink — regular maintenance is complete. |
|
|