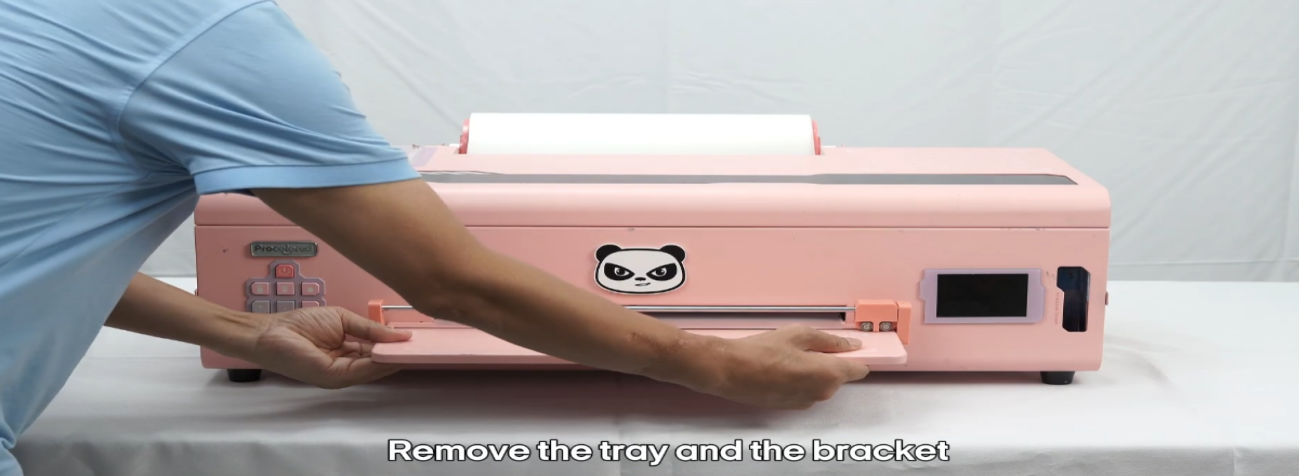
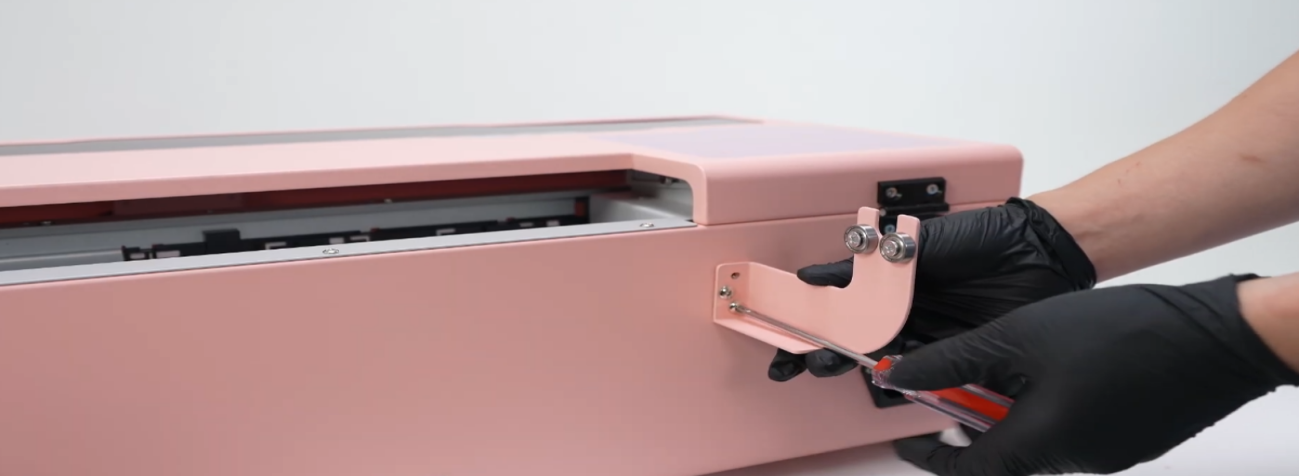
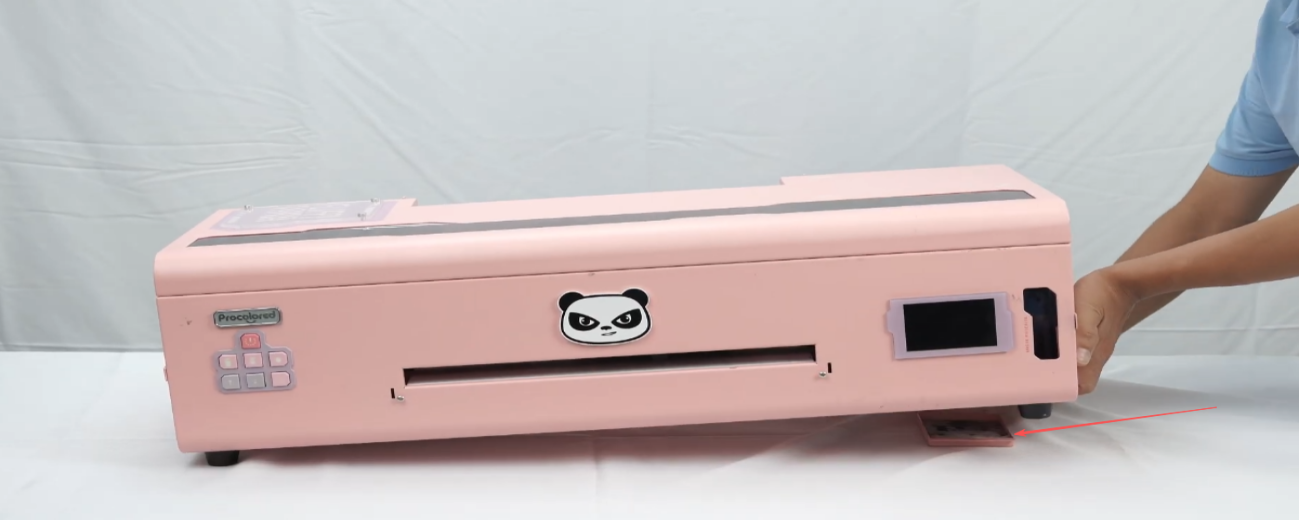
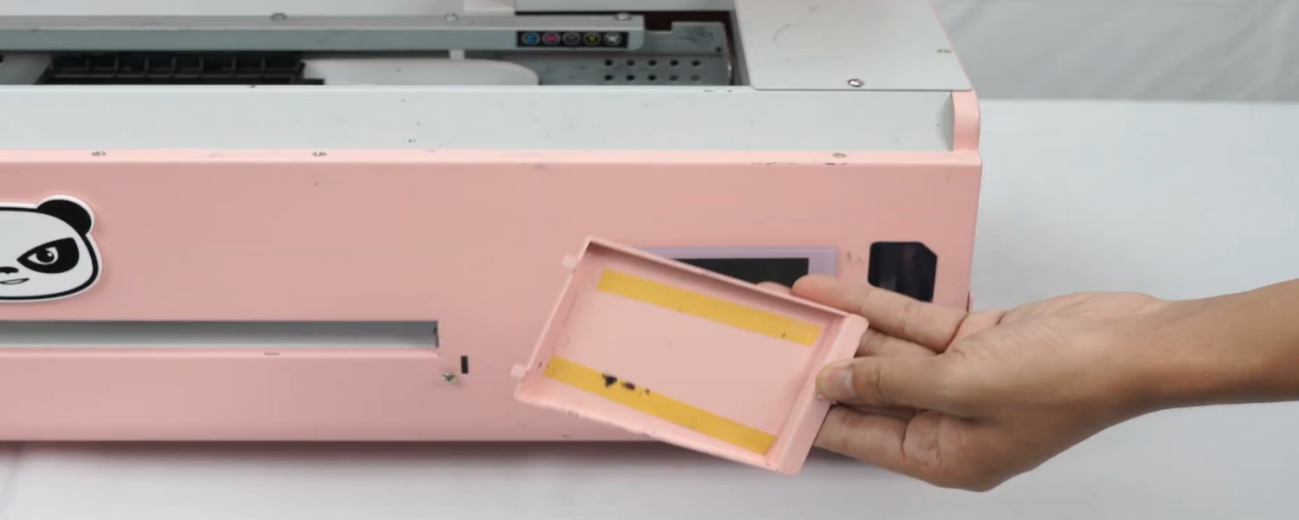
 01Remove the tray and the bracket. |
 02When shipping, ensure there is absolutely no liquid left in the entire unit. |
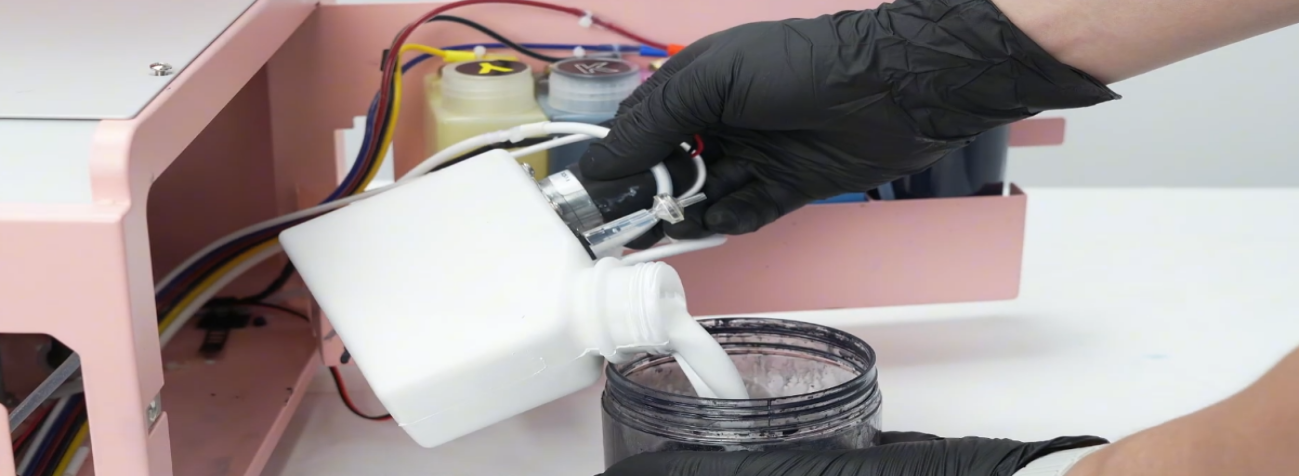 03Pour out all the ink. No liquid of any kind must remain. |
 04After opening ink, try to use it within 3 months. |
 05Otherwise ink will precipitate and cause print head blockage. |
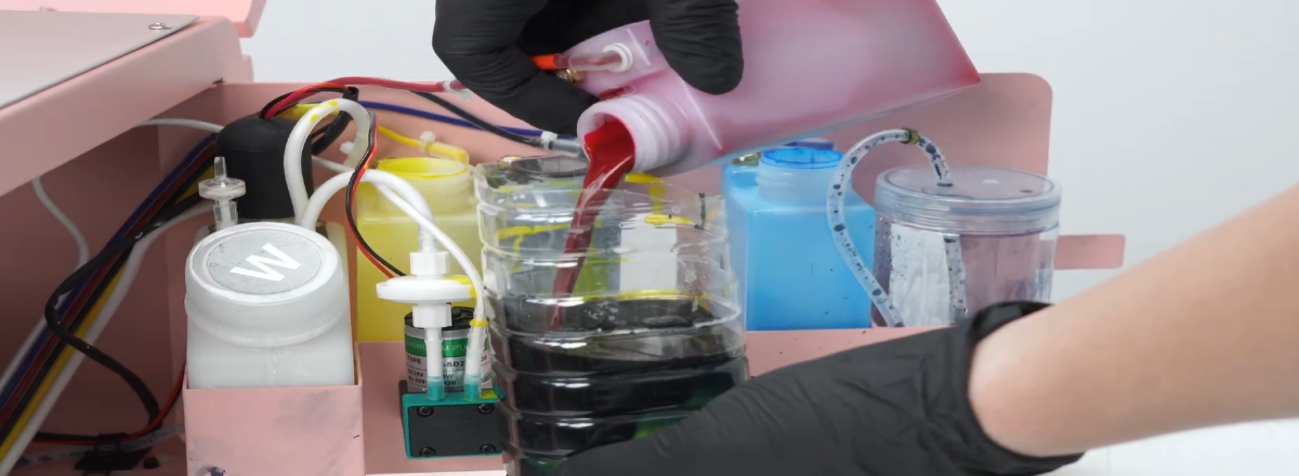
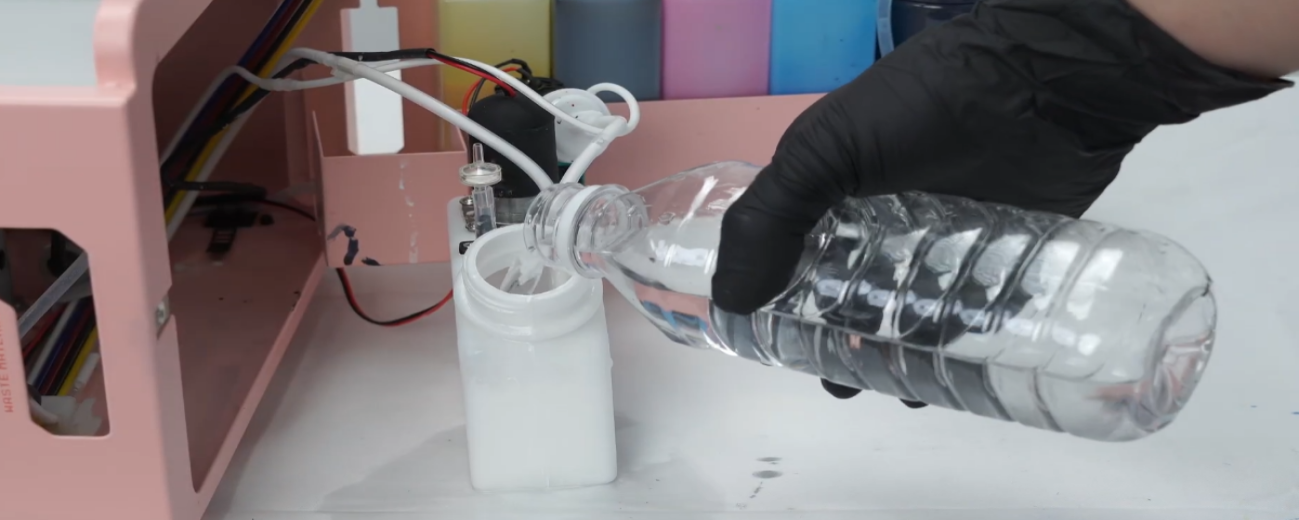 06Pour clean water into the ink bottle to rinse thoroughly — no old ink should remain. |
 07Ensure no sediments or old ink remain in the bottle — only then is it considered clean. |
 08Pour in clean water several times and pour out all the wastewater. |
 09Empty the old ink from the ink sac. Pump several more times to empty completely. |
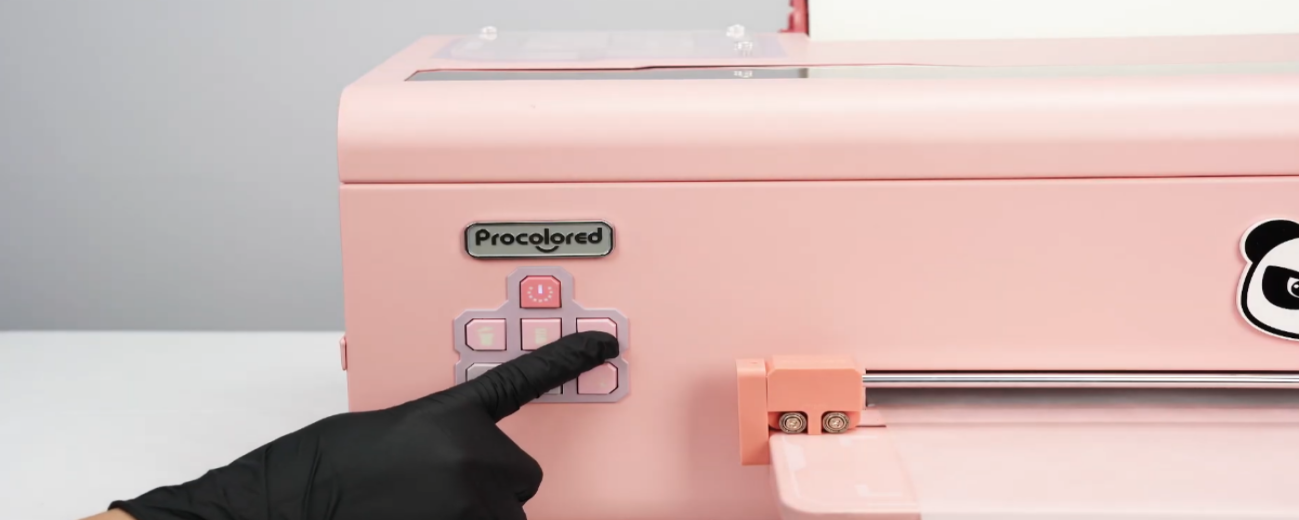 10Restart the printer, then press the water drop button for 5 seconds to clear remaining old ink. |
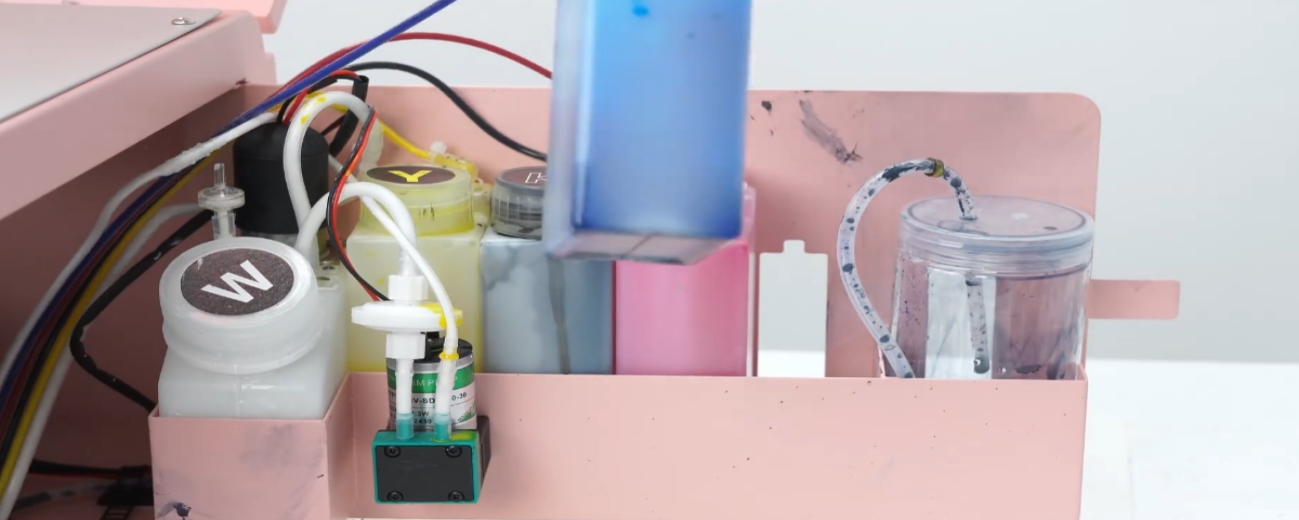
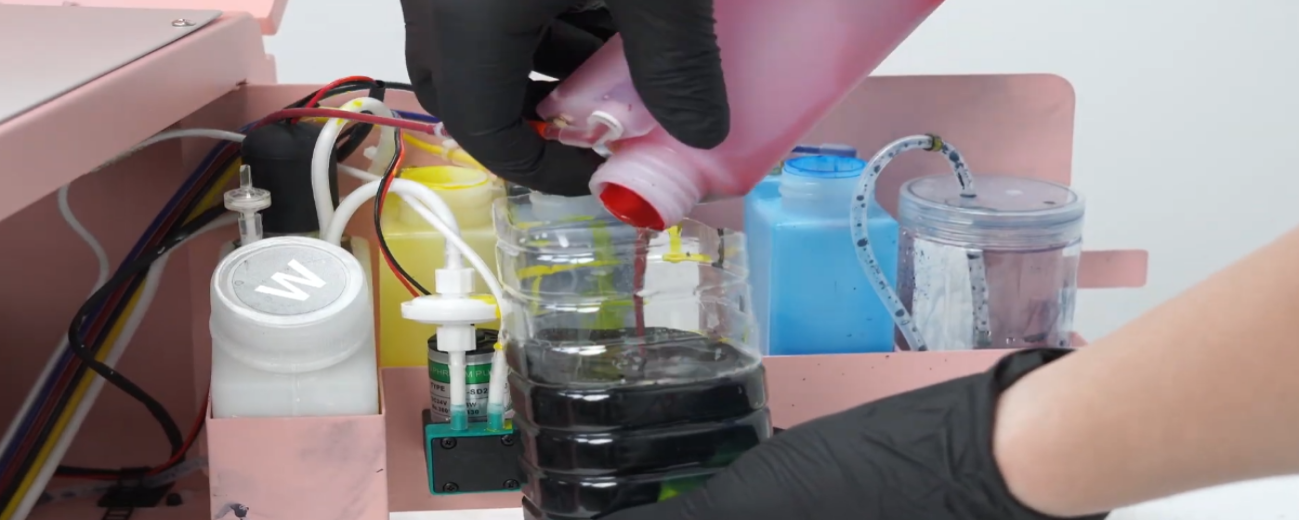
 11Pour in the moisturizing liquid. |
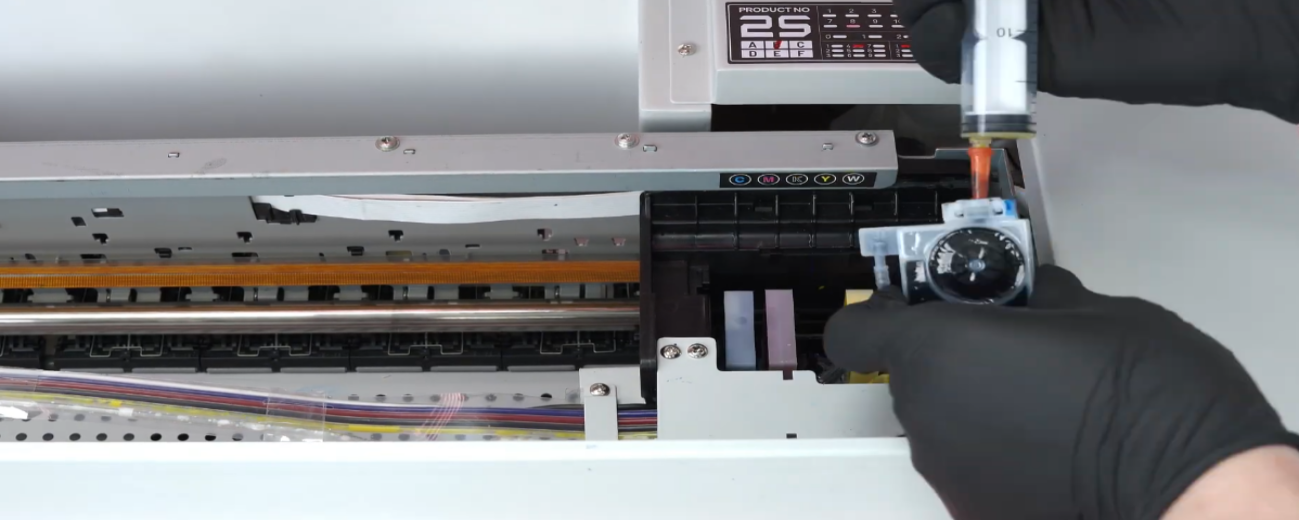
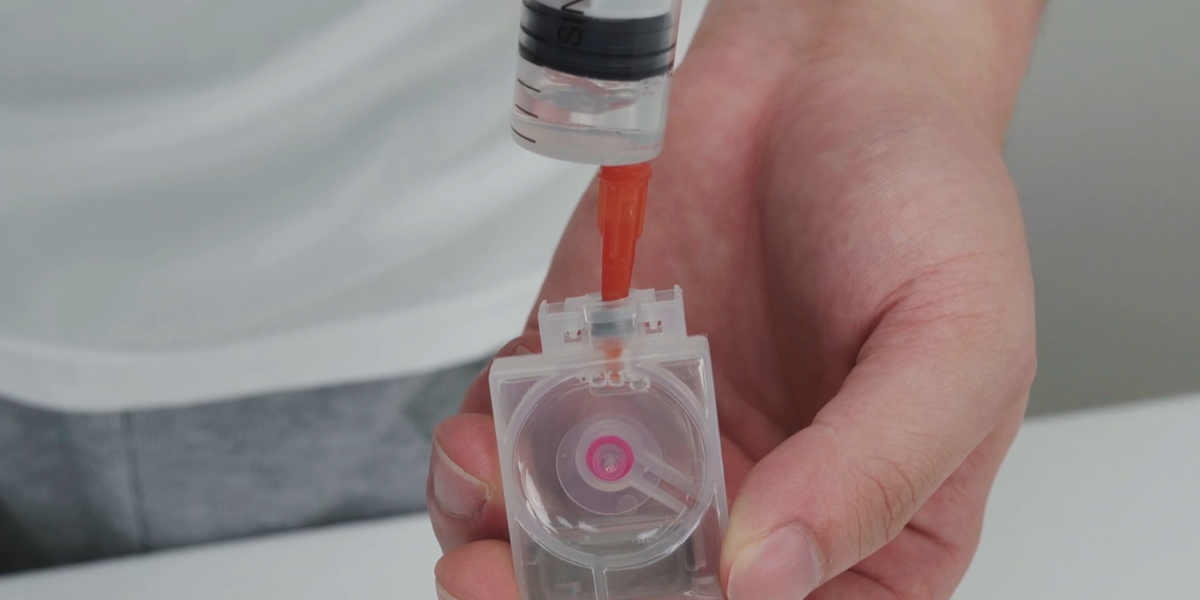
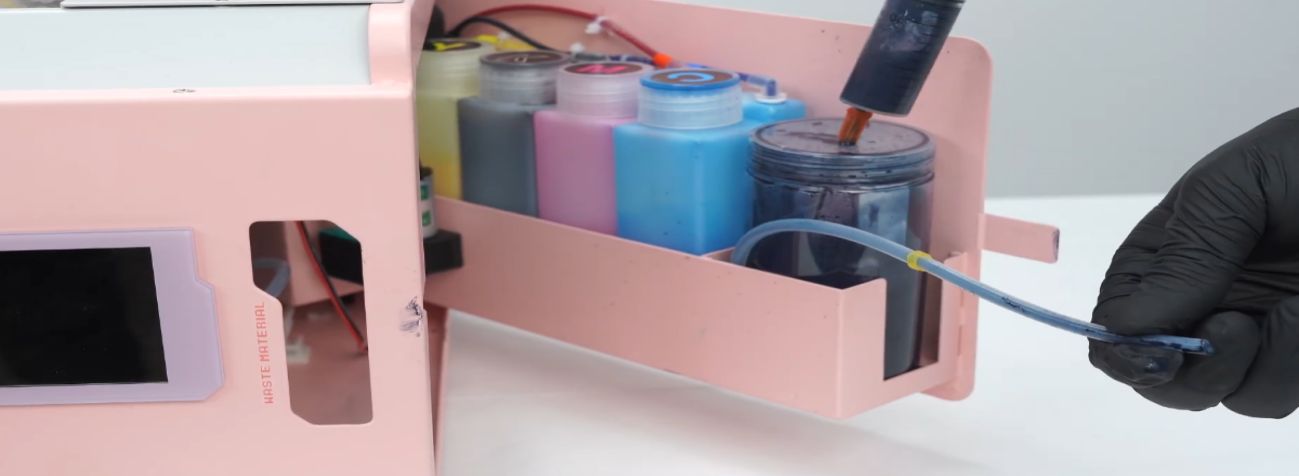
 12Poke through the inner membrane of the ink cartridge with force. |
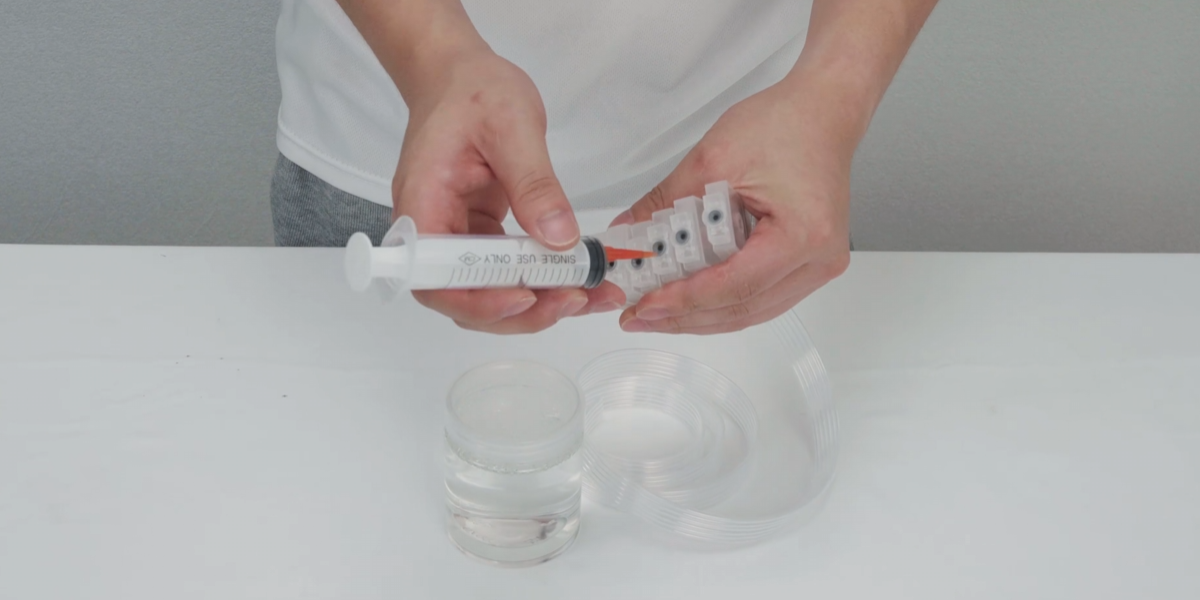
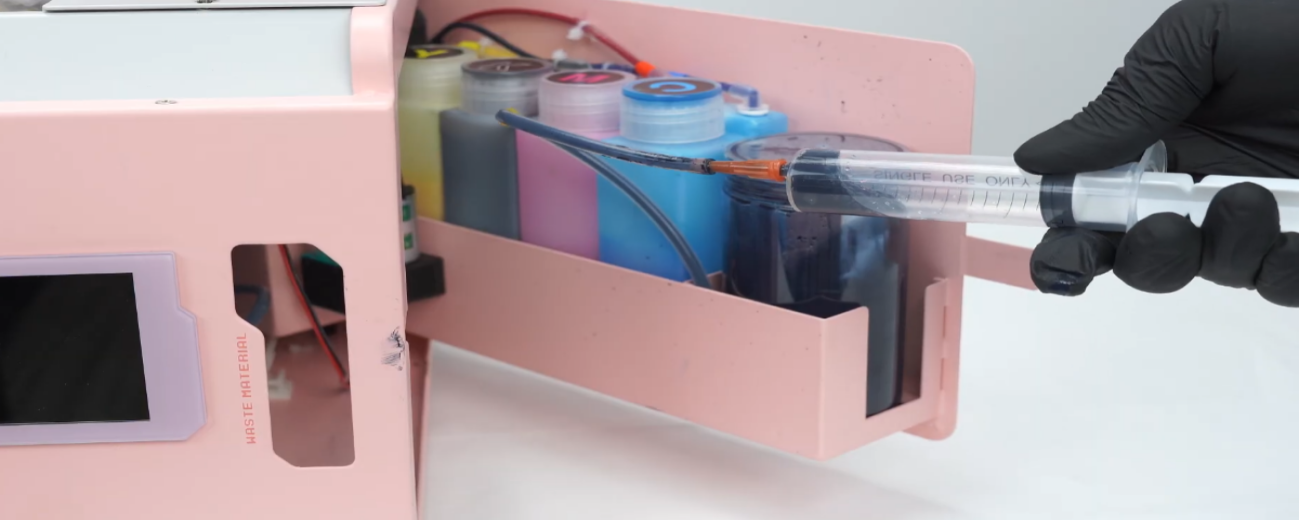
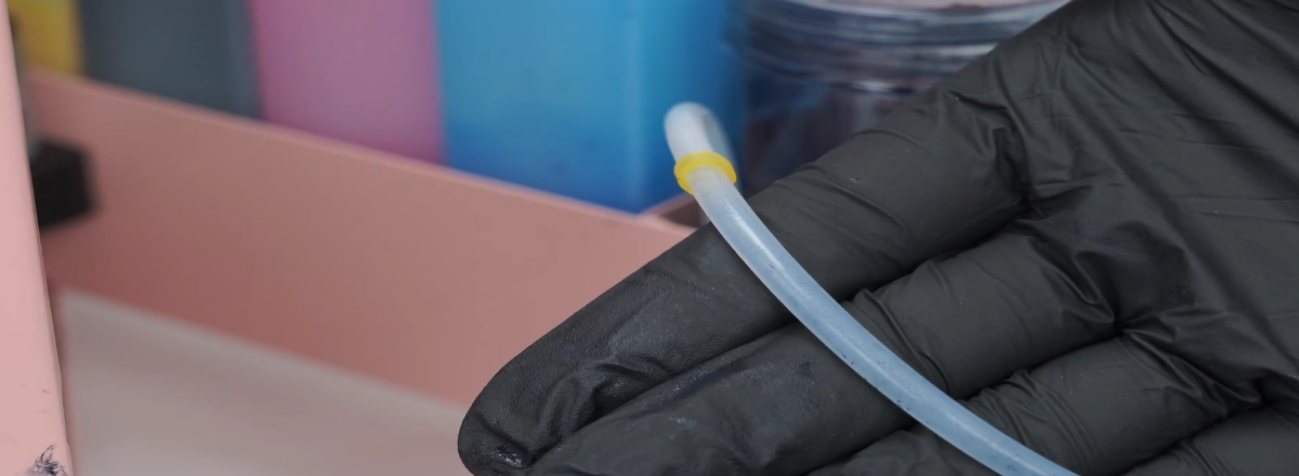
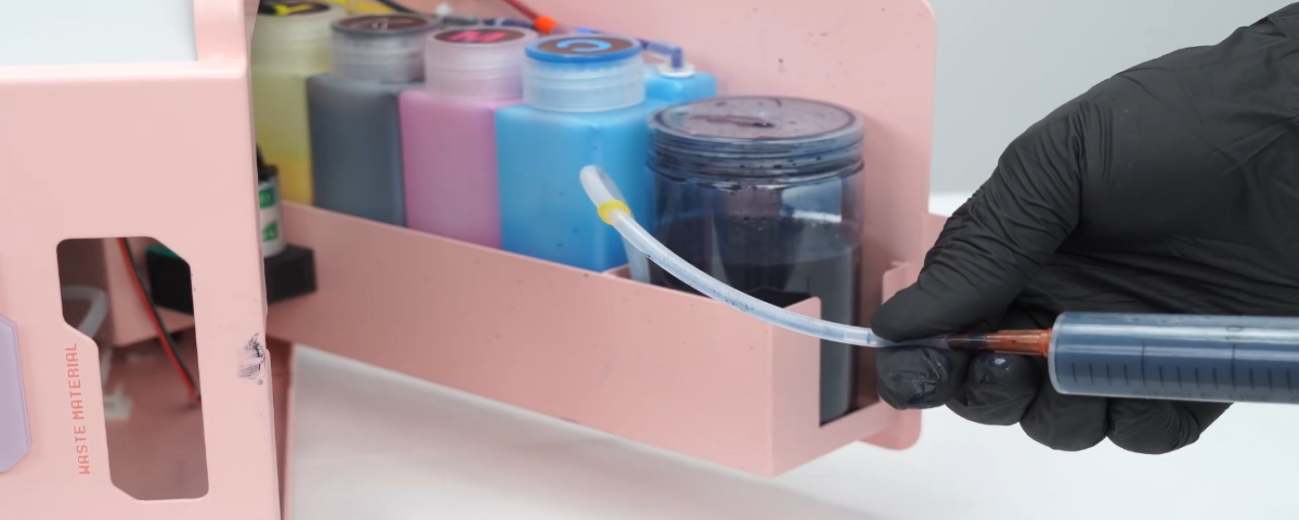
 13Insert the ink tube into the bottle. |
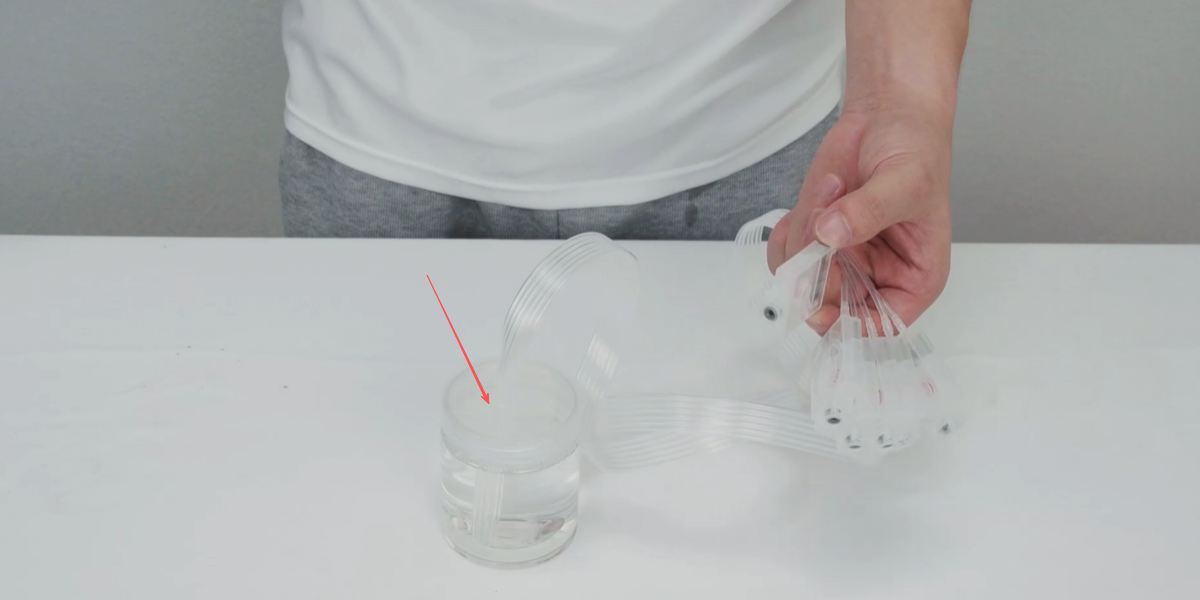
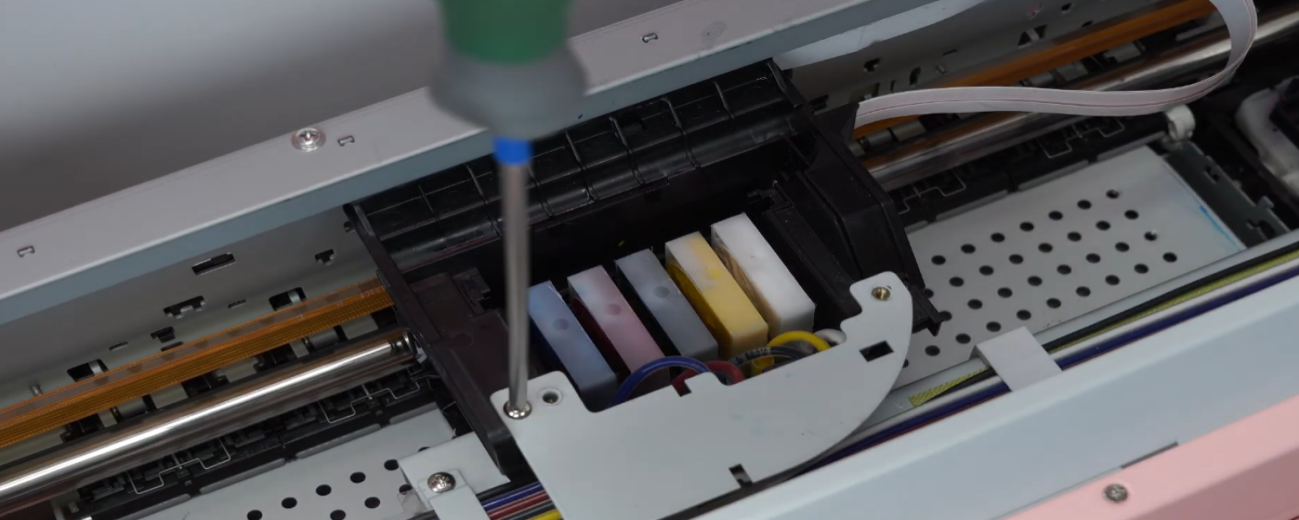
 14Draw 5ml of moisturizing liquid. Every cartridge needs to be filled. |
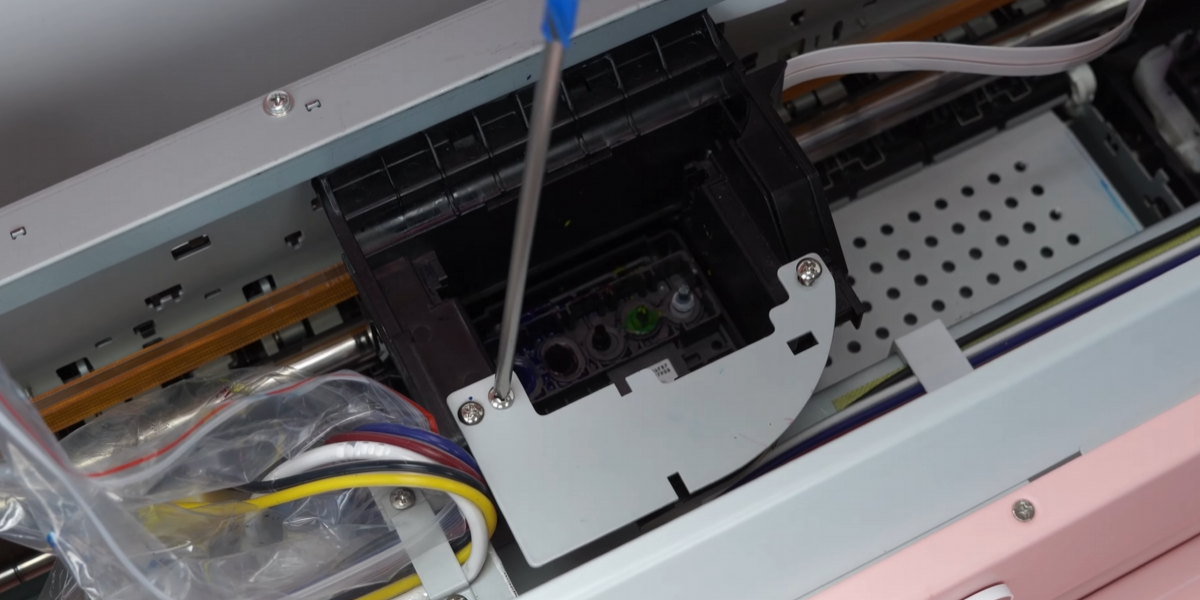
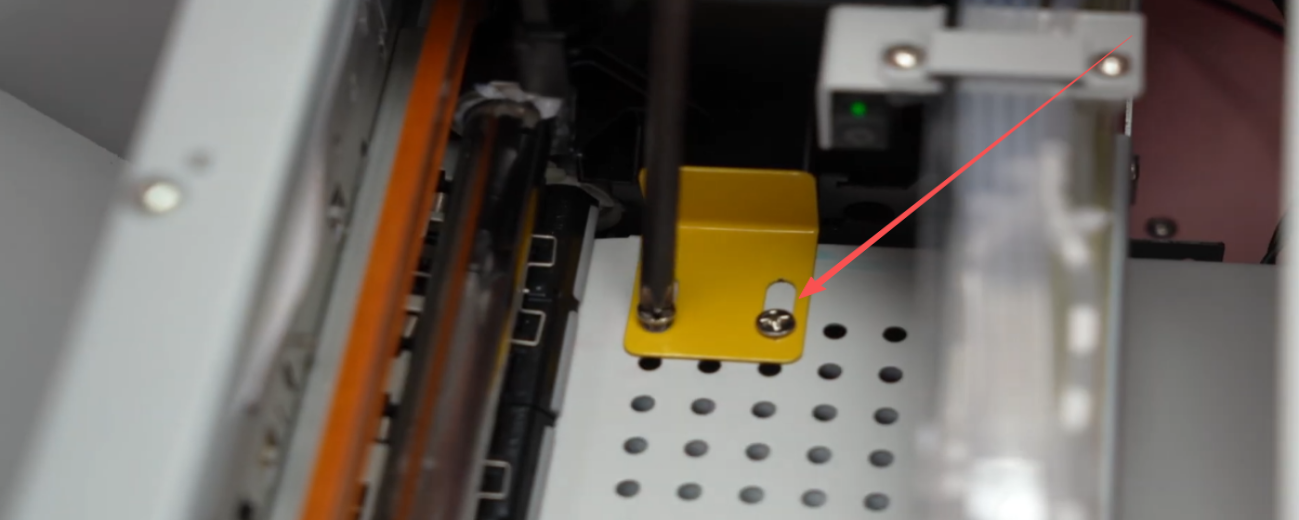
 15Remove the screws in front of the capping station. |
 16Take out the bottom ink collection box and clean it thoroughly. |
 17After cleaning thoroughly, install it back. |
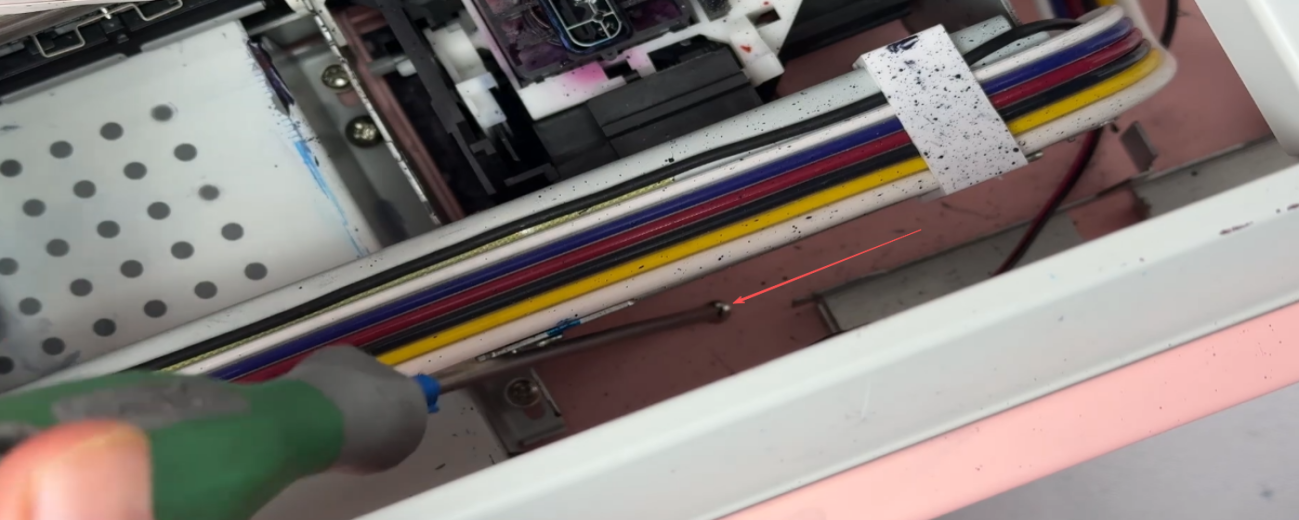
 18Loosen the fixing screws. |
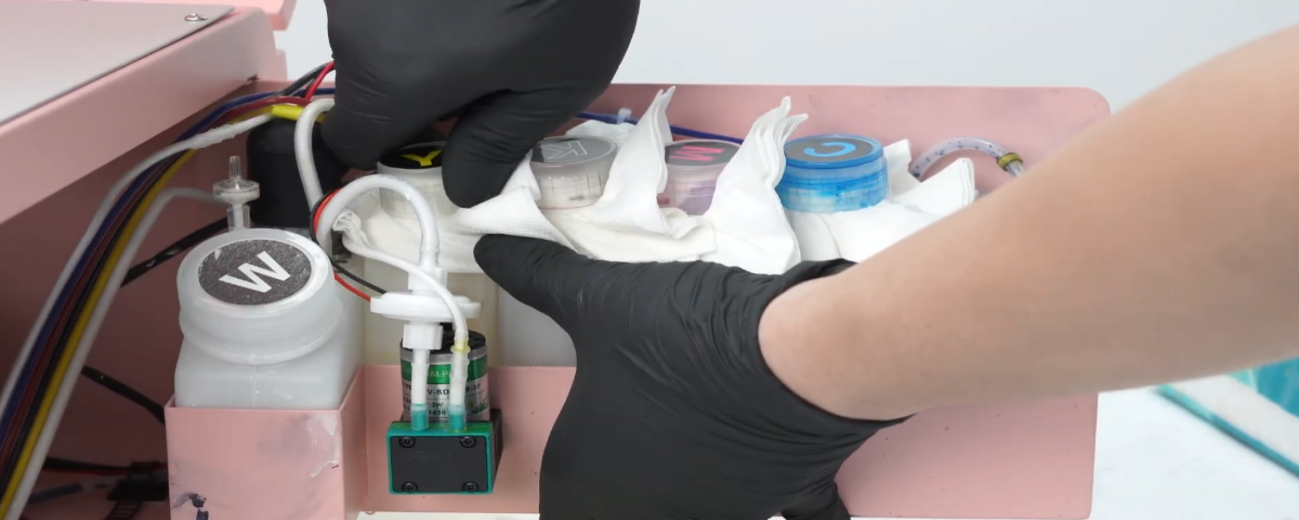
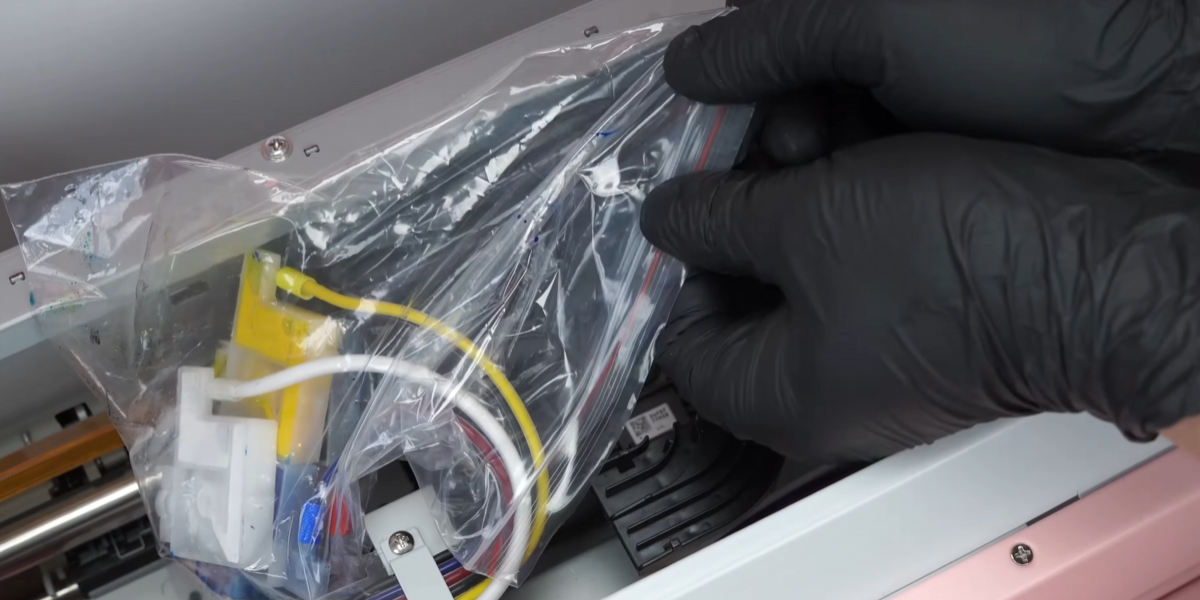 19Pack the ink cartridges in a plastic bag to prevent spilling. |
|
 21Install the moisturizing liquid to keep the printhead moist and reduce clogging risk. |
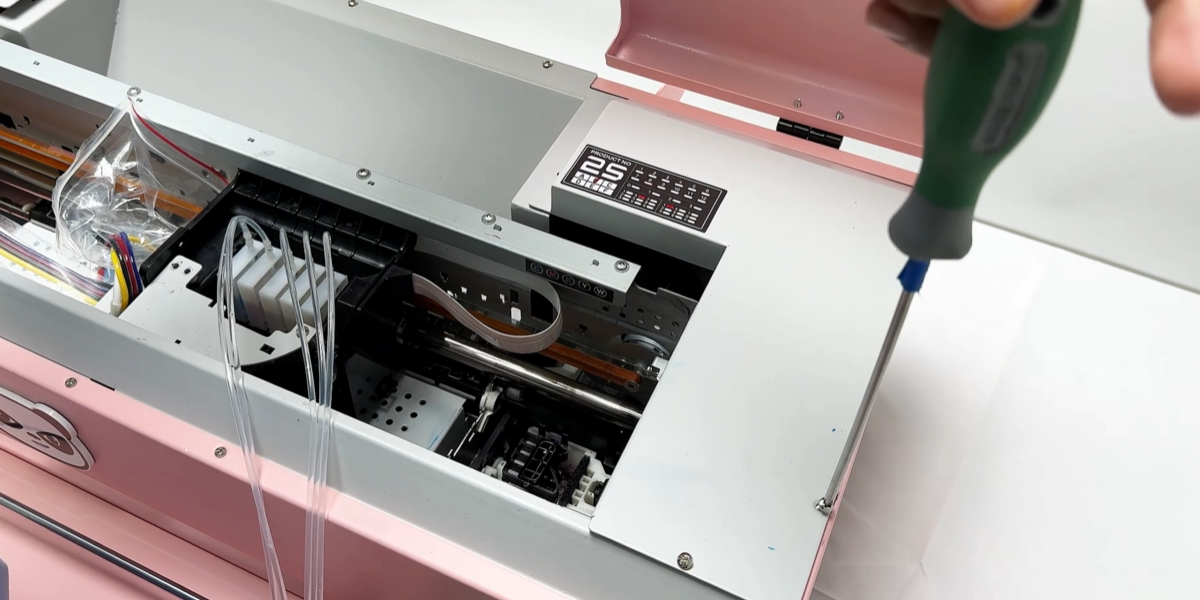 22Remove the upper panel. Power must be cut off during this operation. |
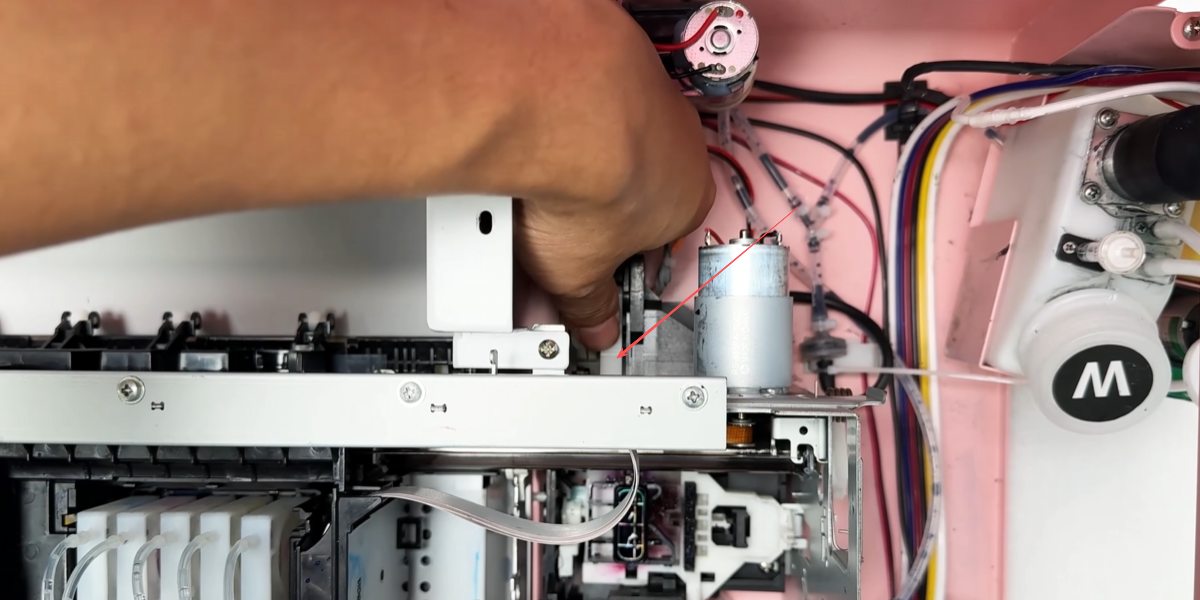 23Press the buckle and return the ink carriage to its original position. |
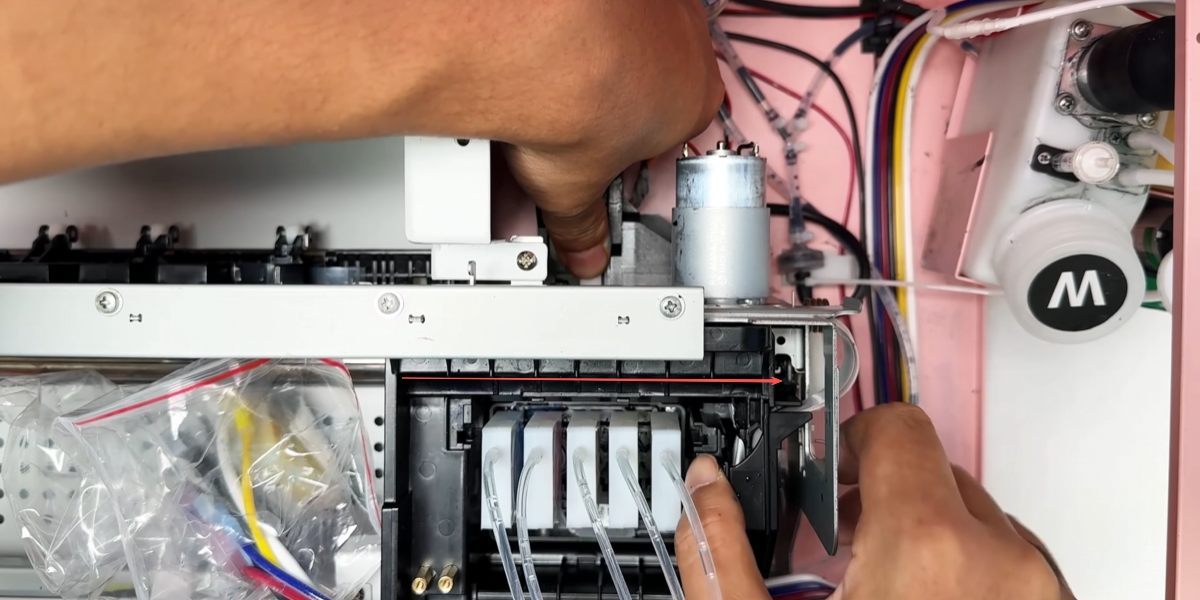 24Release your hand — the buckle pops up and locks the ink carriage. |
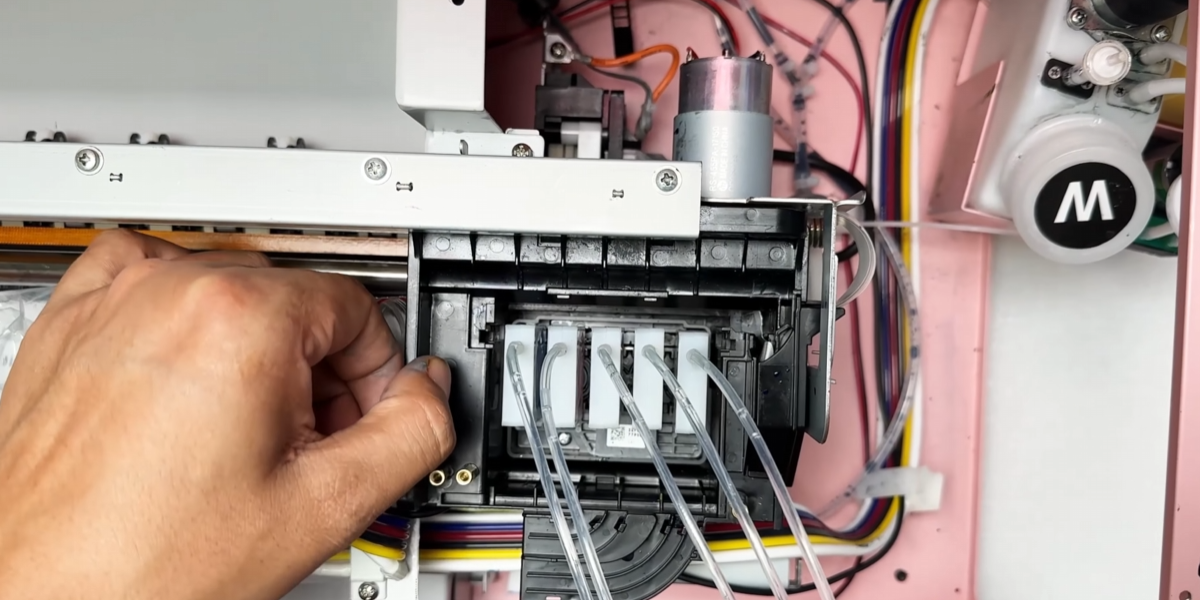 25If it cannot be pulled, the ink carriage is locked correctly. |
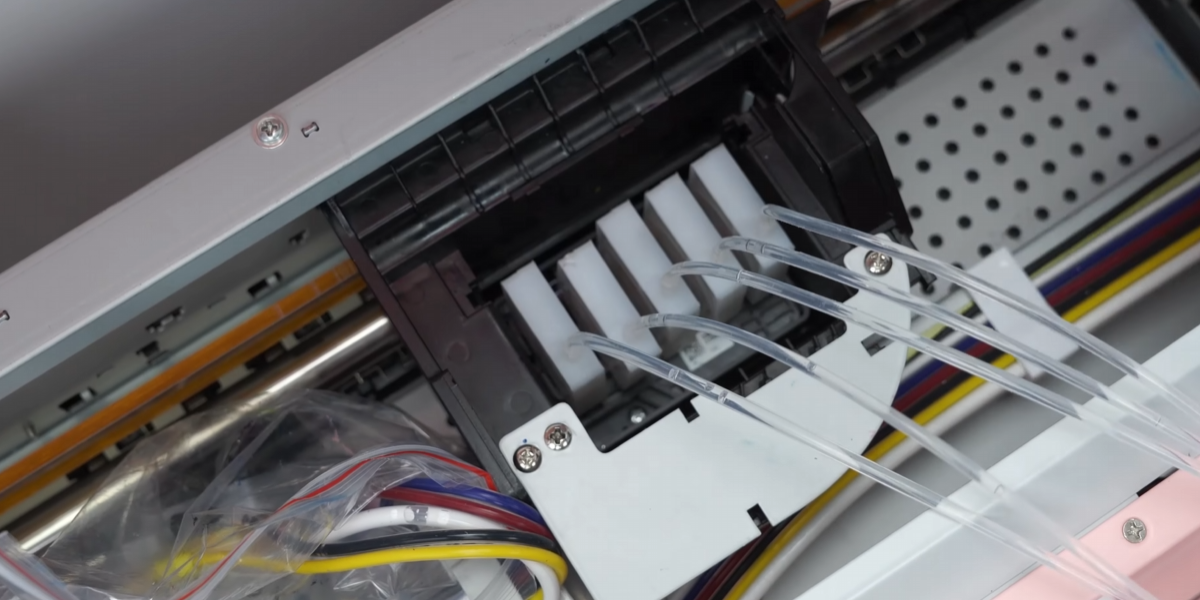
 26Pump the waste ink pump to fill the printhead with moisturizing liquid. |
 27Do not pump suddenly with great force — this may damage the extremely precise printhead. |
 28Apply force slowly and pump multiple times. Transparent liquid in the tubes indicates successful priming. |
 29Install the upper cover. |
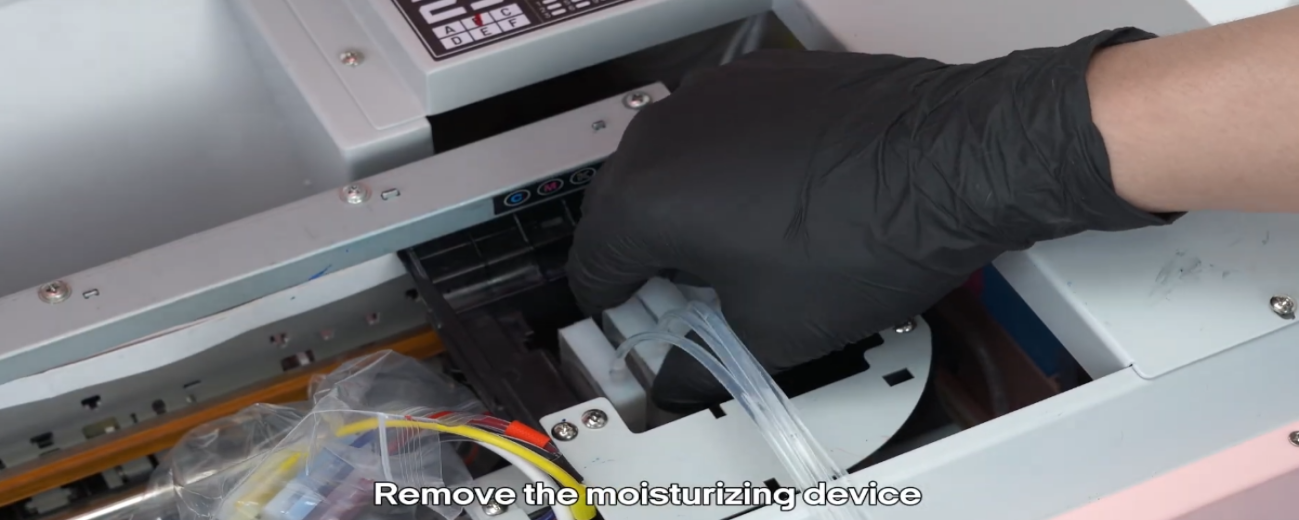 30Remove the moisturizing device. |
 31Pump the waste ink pump again to empty remaining liquid at the capping station. |
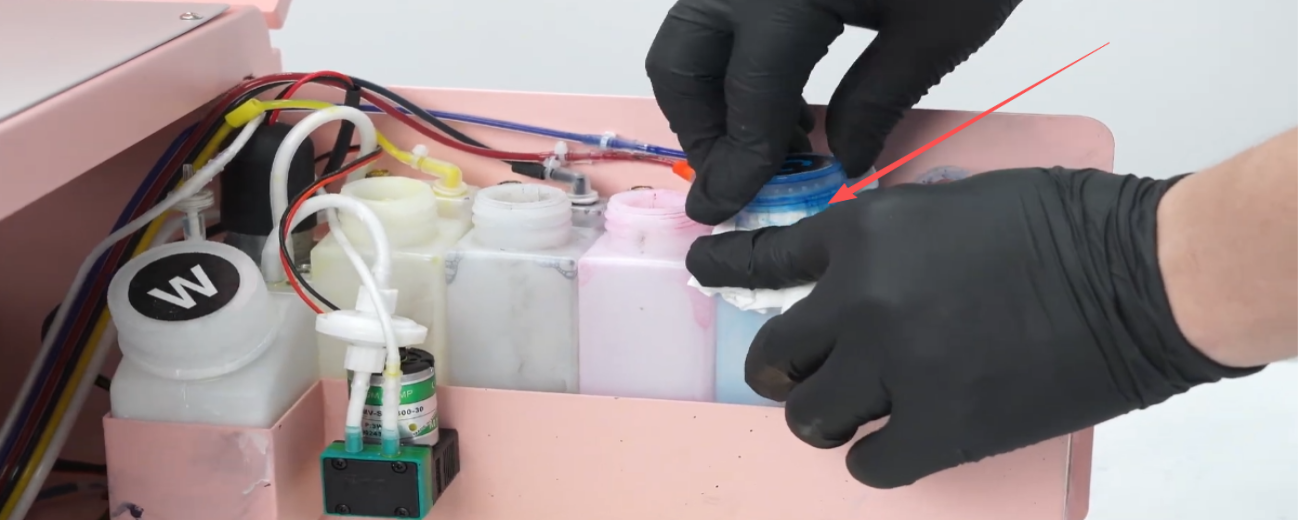 32Wipe the ink bottle clean and seal the bottle mouth with a paper towel. |
 33Ensure no residual liquid remains — during transport, leaks can damage the mainboard and printhead. |
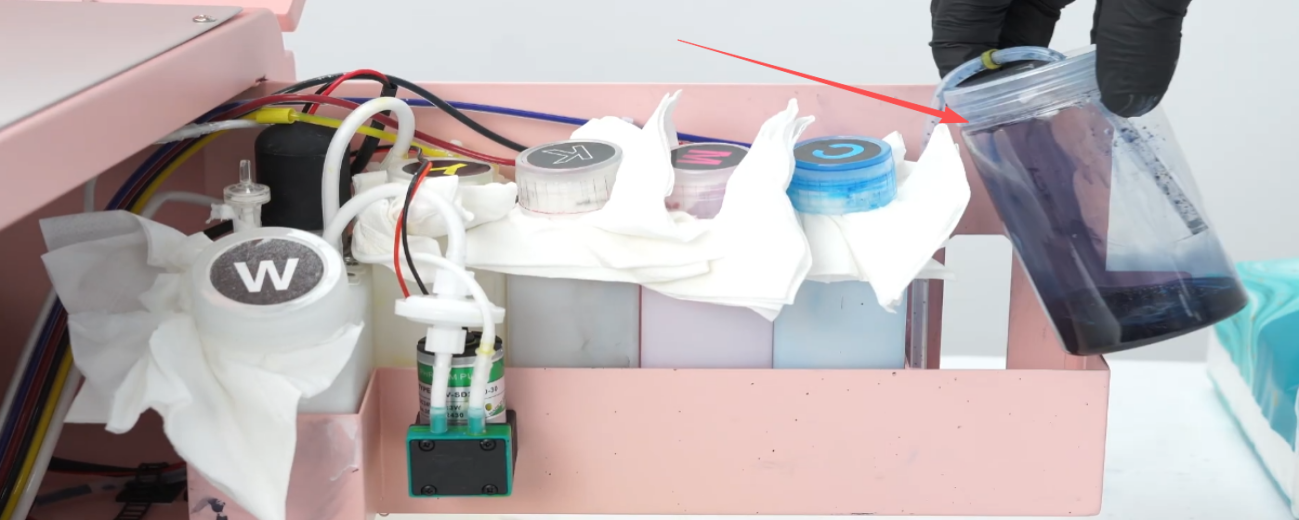 34Pour out the waste ink completely. |
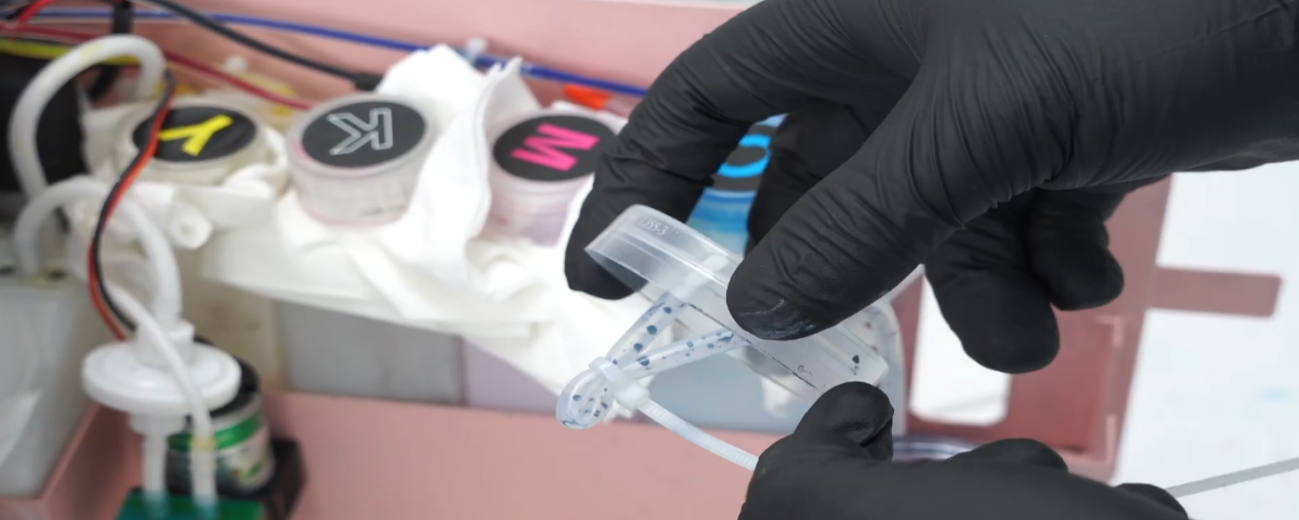 35Use a cable tie to secure the waste ink tube. |
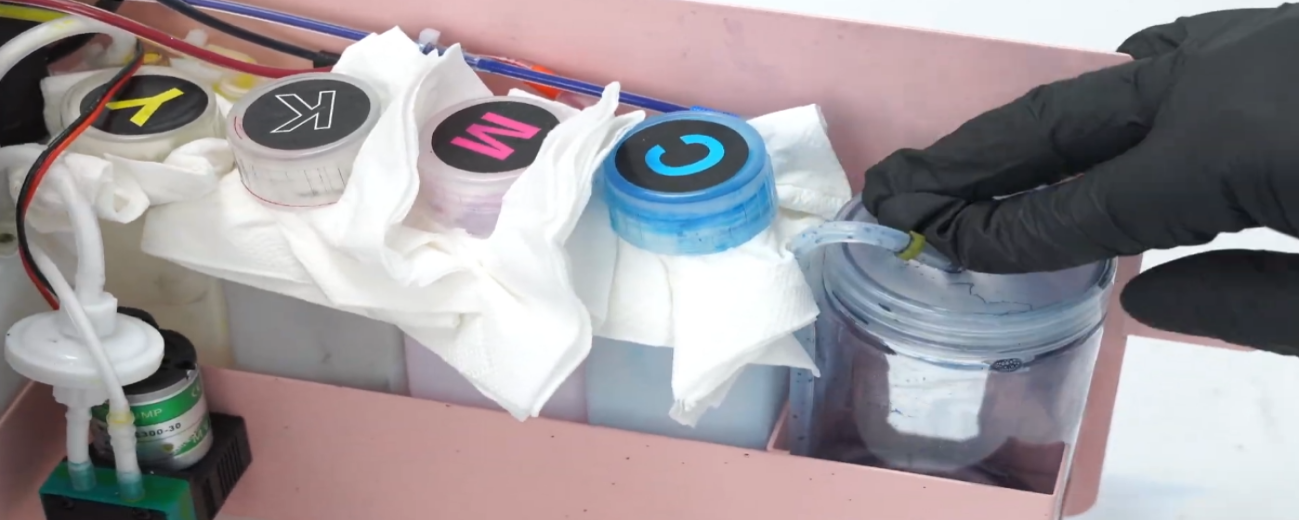 36Tighten the cap of the waste ink bottle. |
 37Install and secure the ink carriage lock. |
|
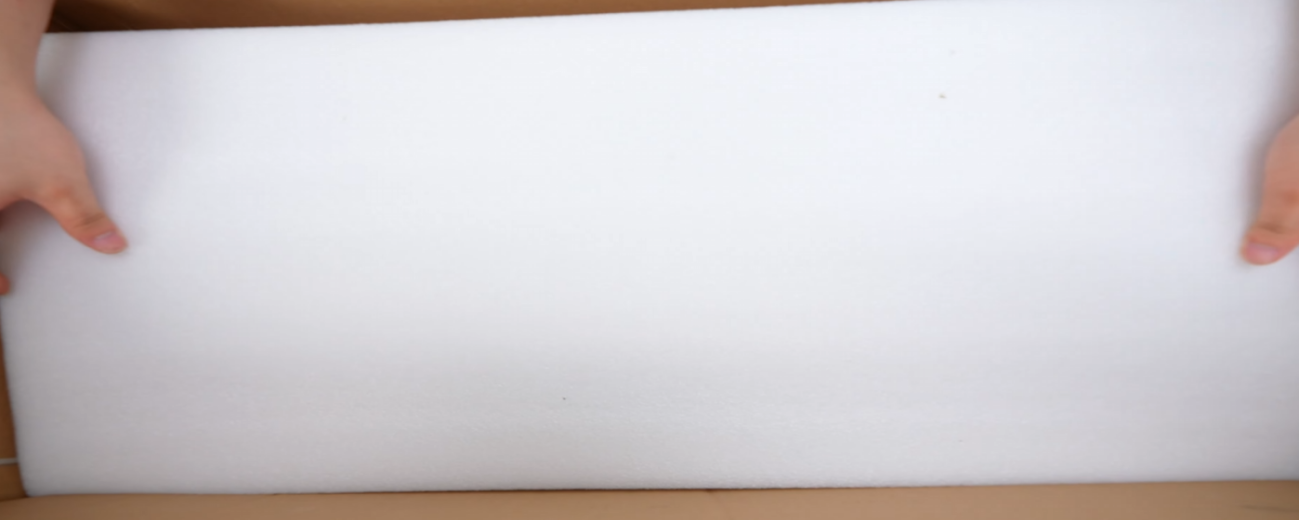 39Install the anti-collision foam properly. |
|
|
|