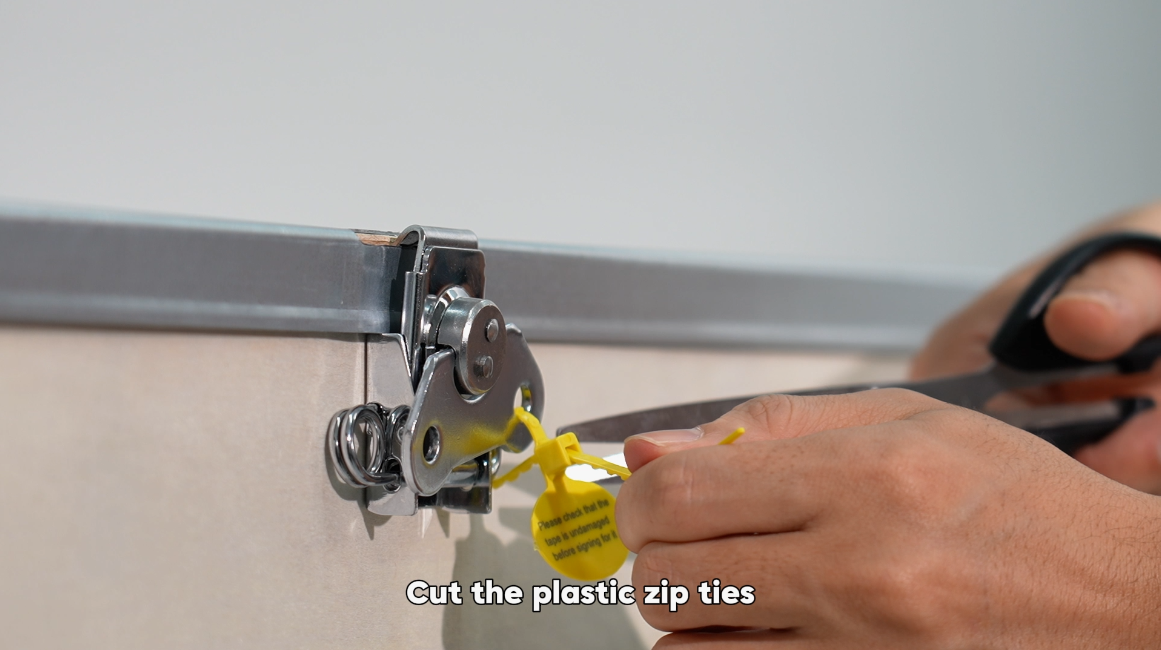
 01Cut the plastic zip ties. |
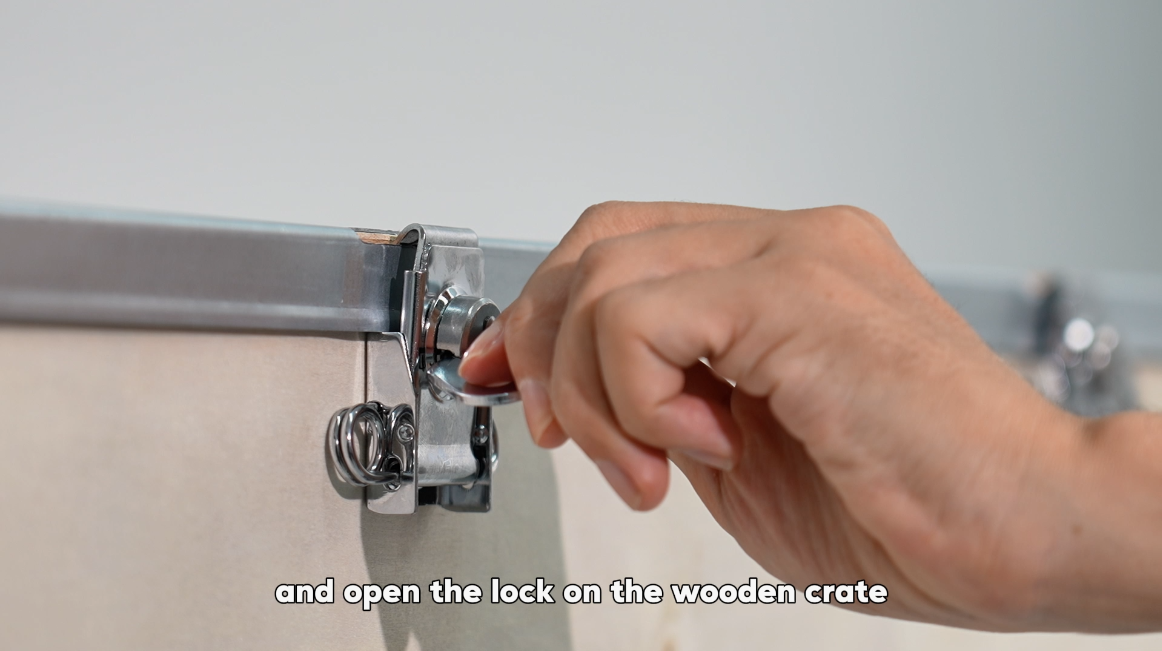 02Open the lock on the wooden crate. |
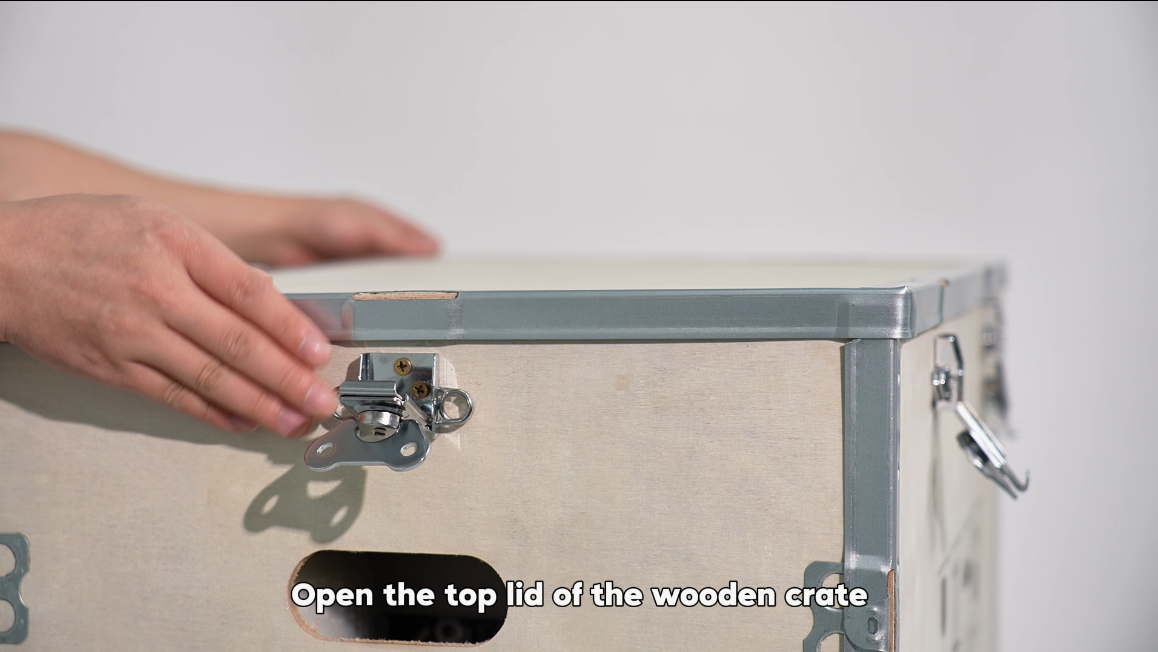 03Open the top lid of the wooden crate. |
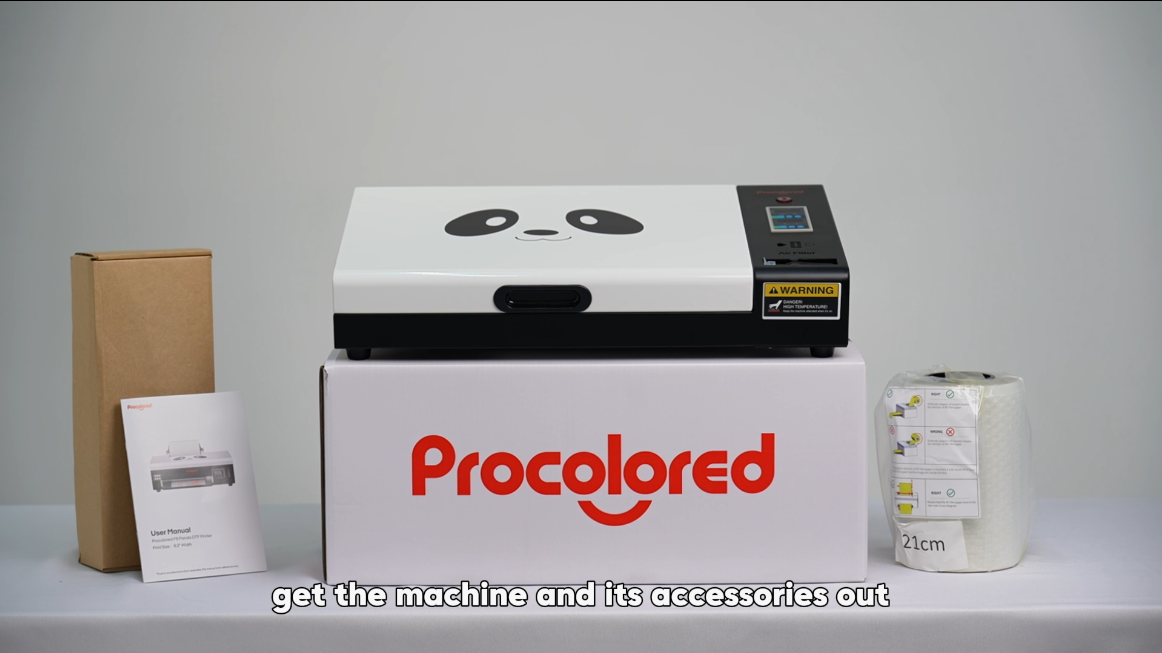 04Get the machine and accessories out. |
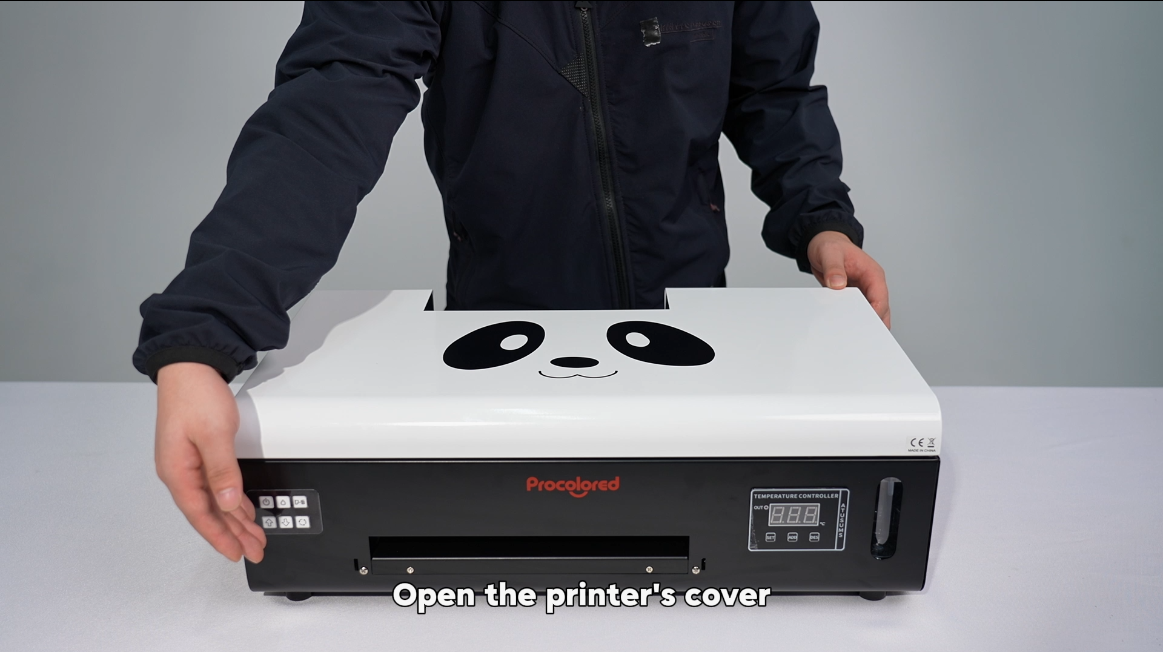 05Open the printer's cover. |
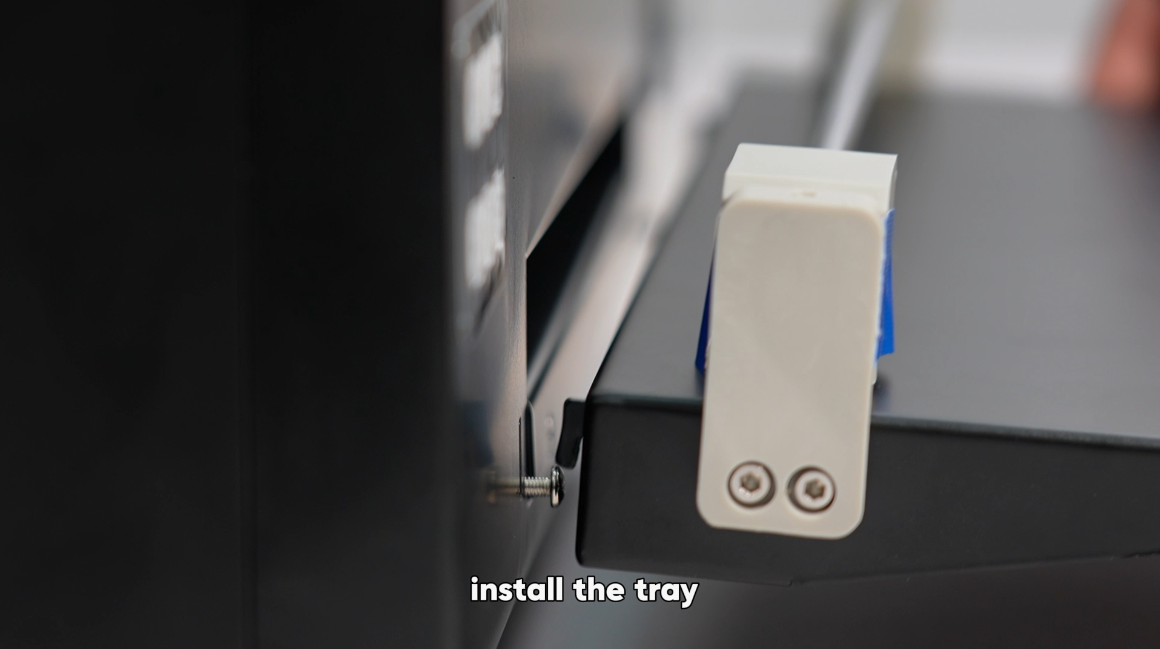
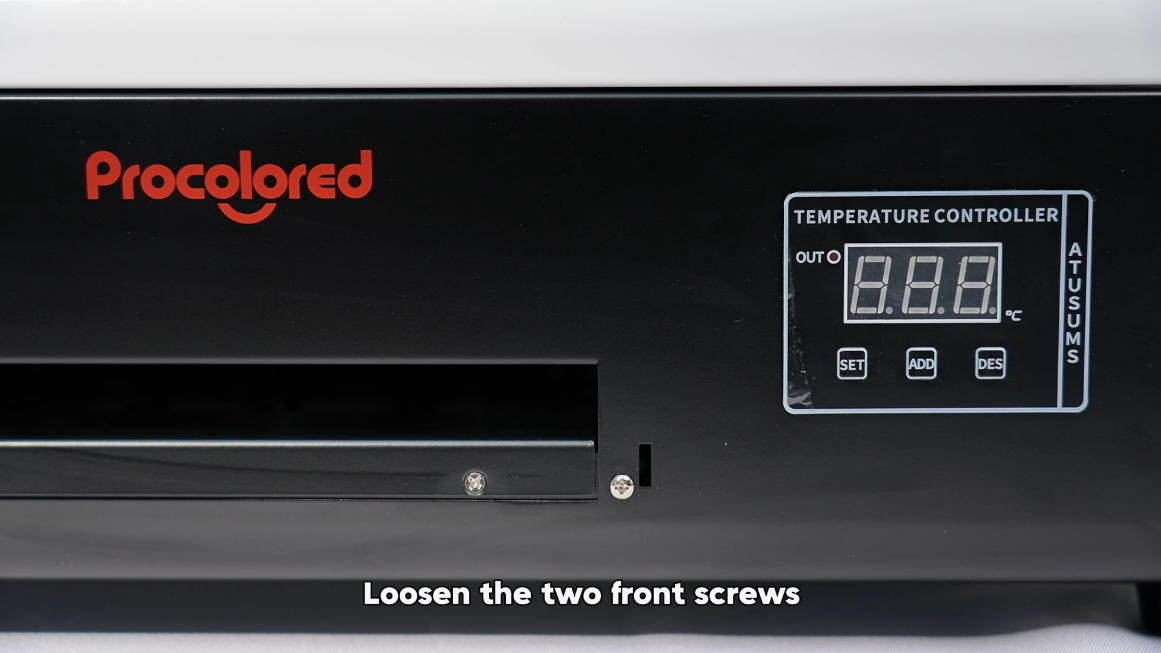 06Loosen the two front screws. |
|
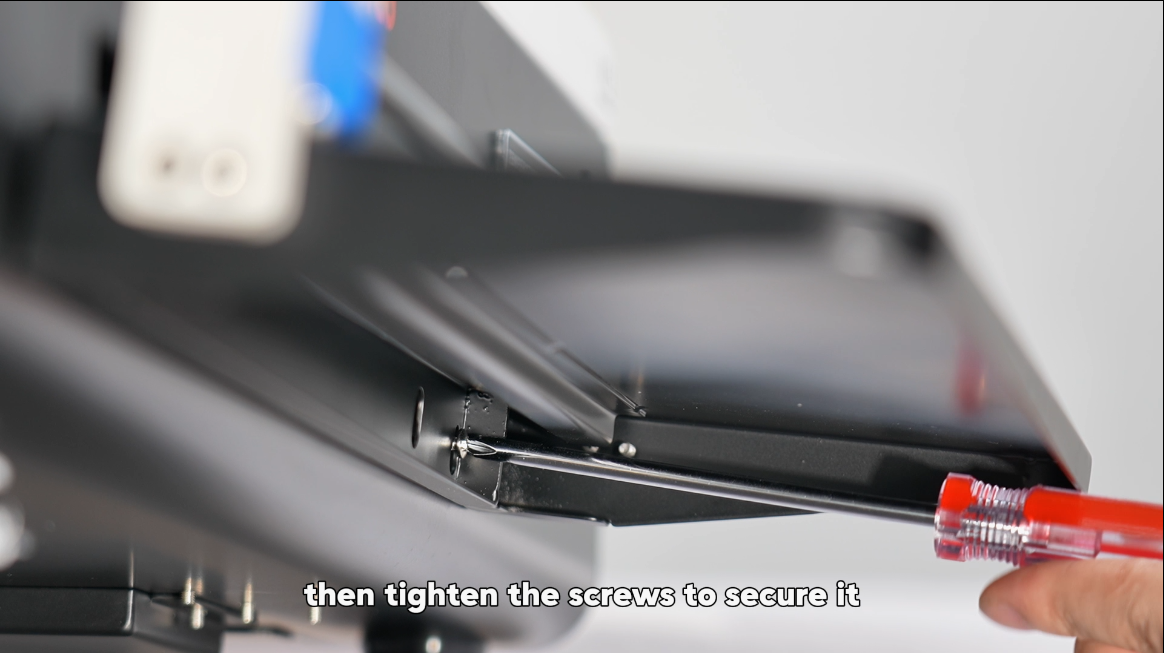 08Tighten the screws to secure the tray. |
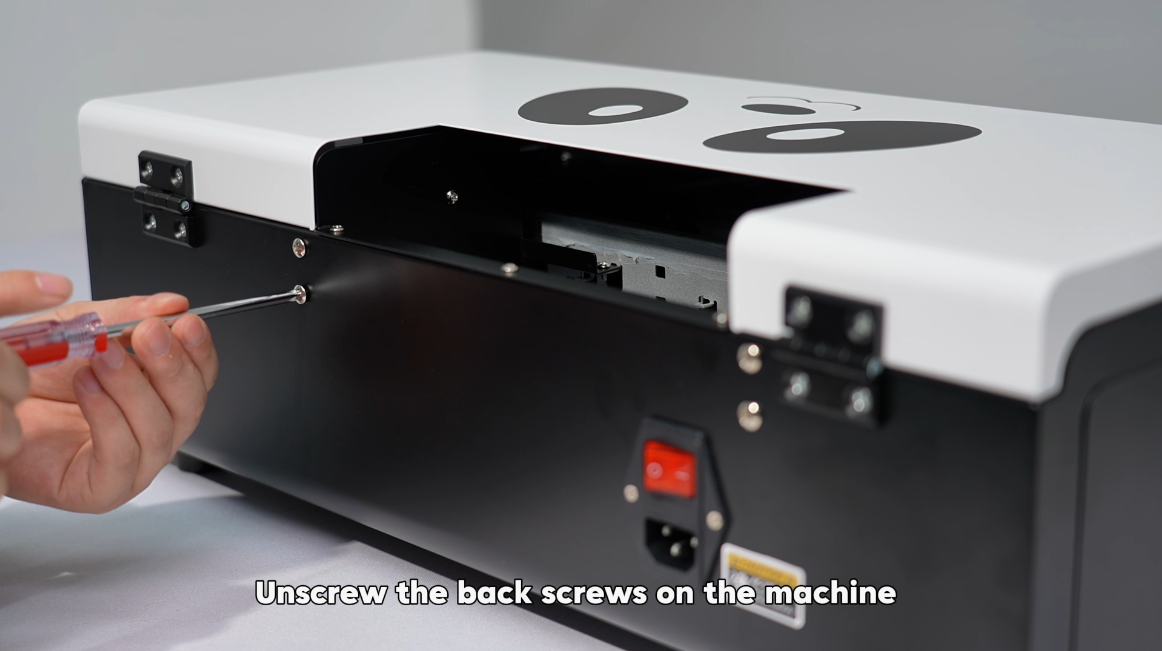 09Unscrew the back screws on the machine. |
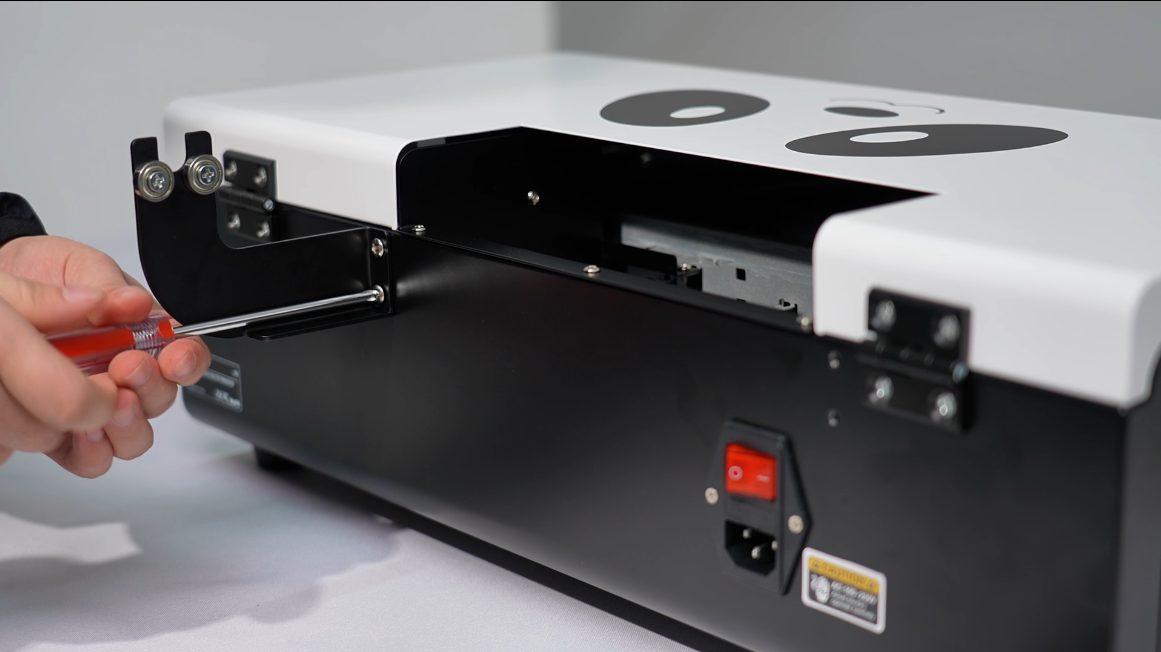 10Install the bracket used to support the roll film. |
 11Install the film rod and black knob. |
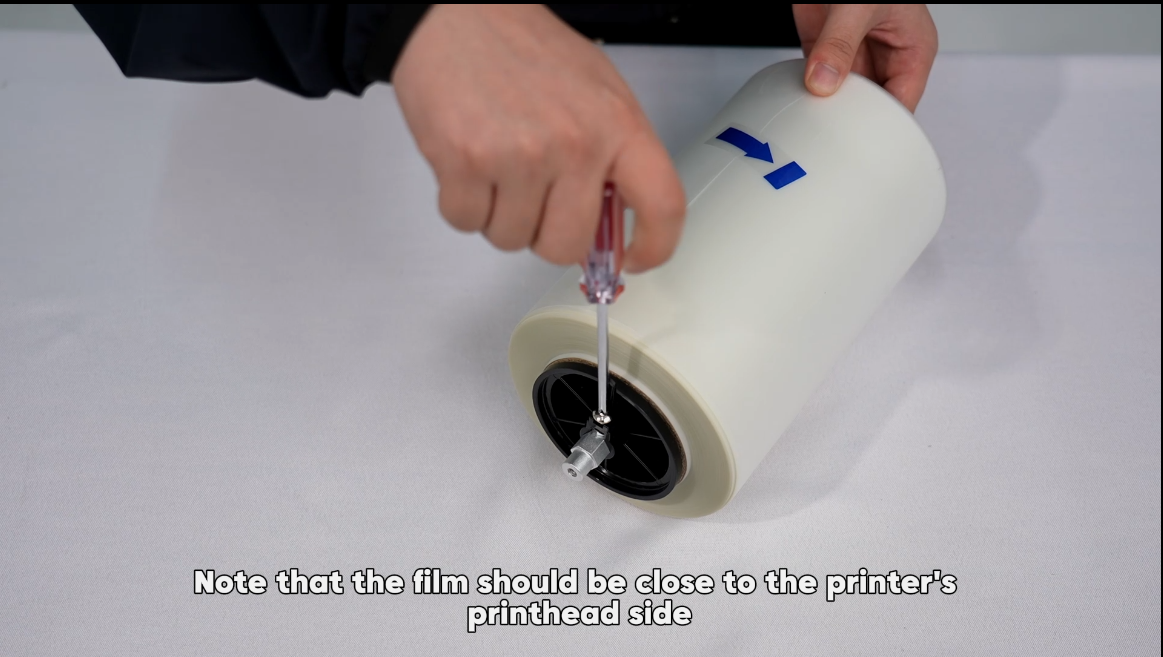 12Film should be close to the print head side. |
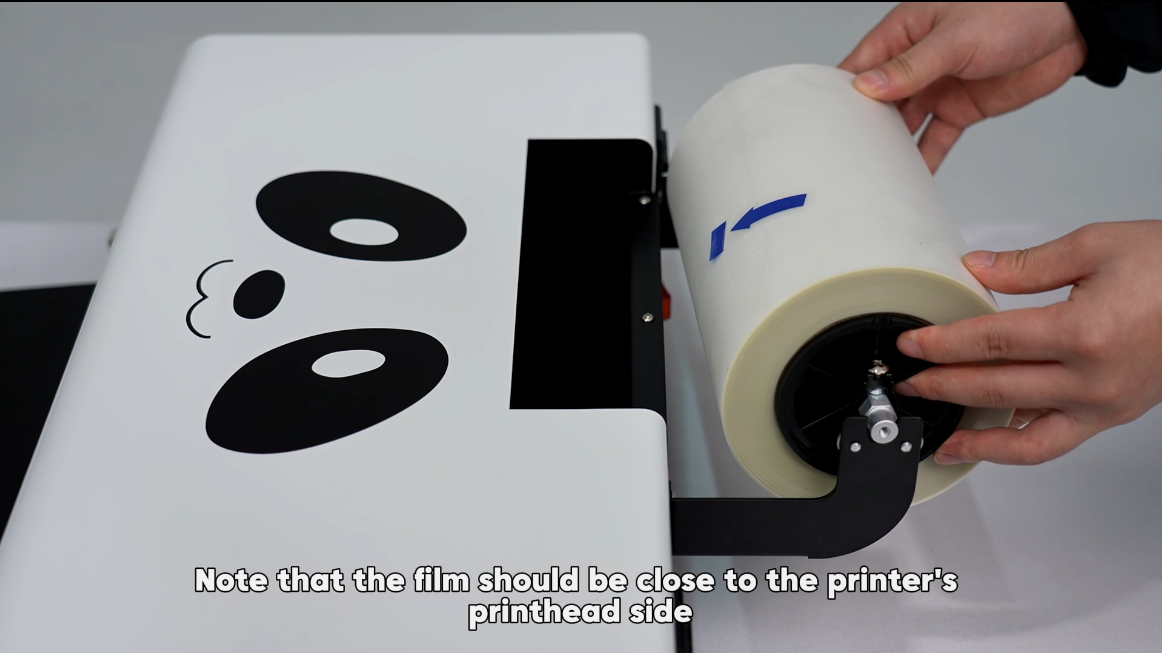 13Install the film on the bracket. |
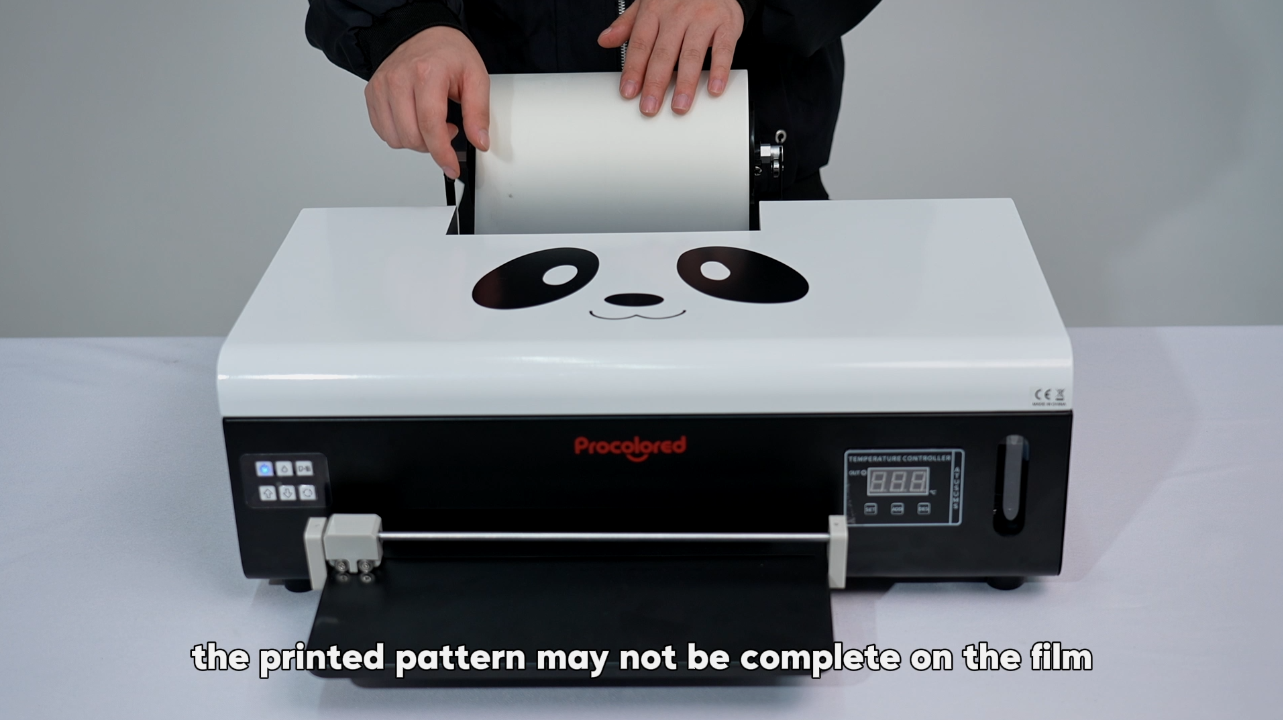 14Load film — coated side facing up. |
 15Plug in the power cable. |
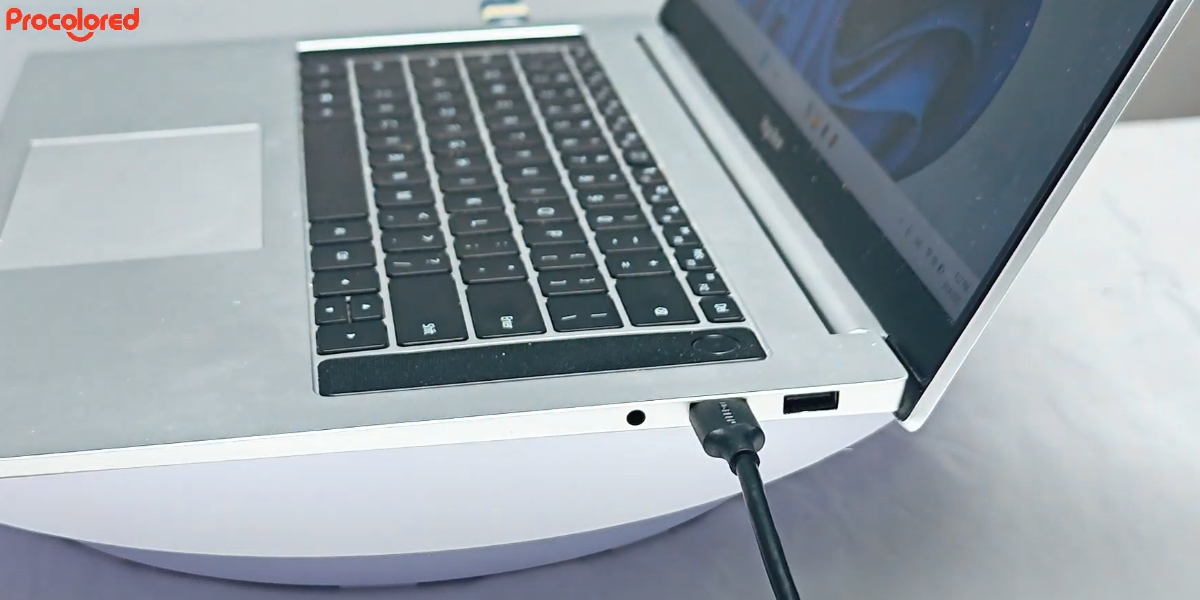
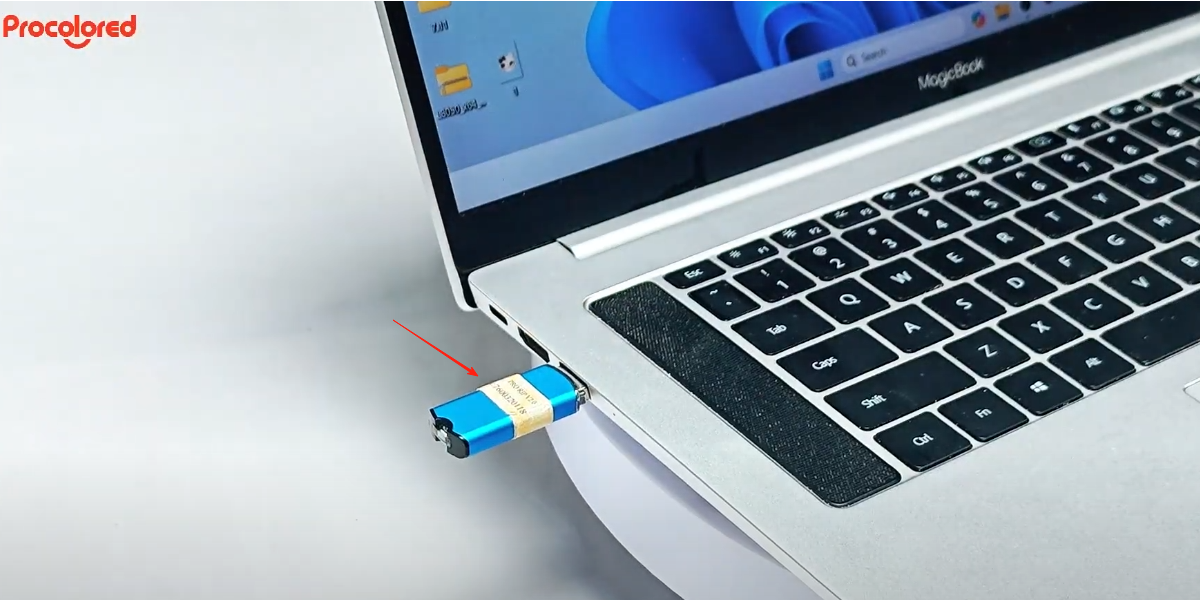
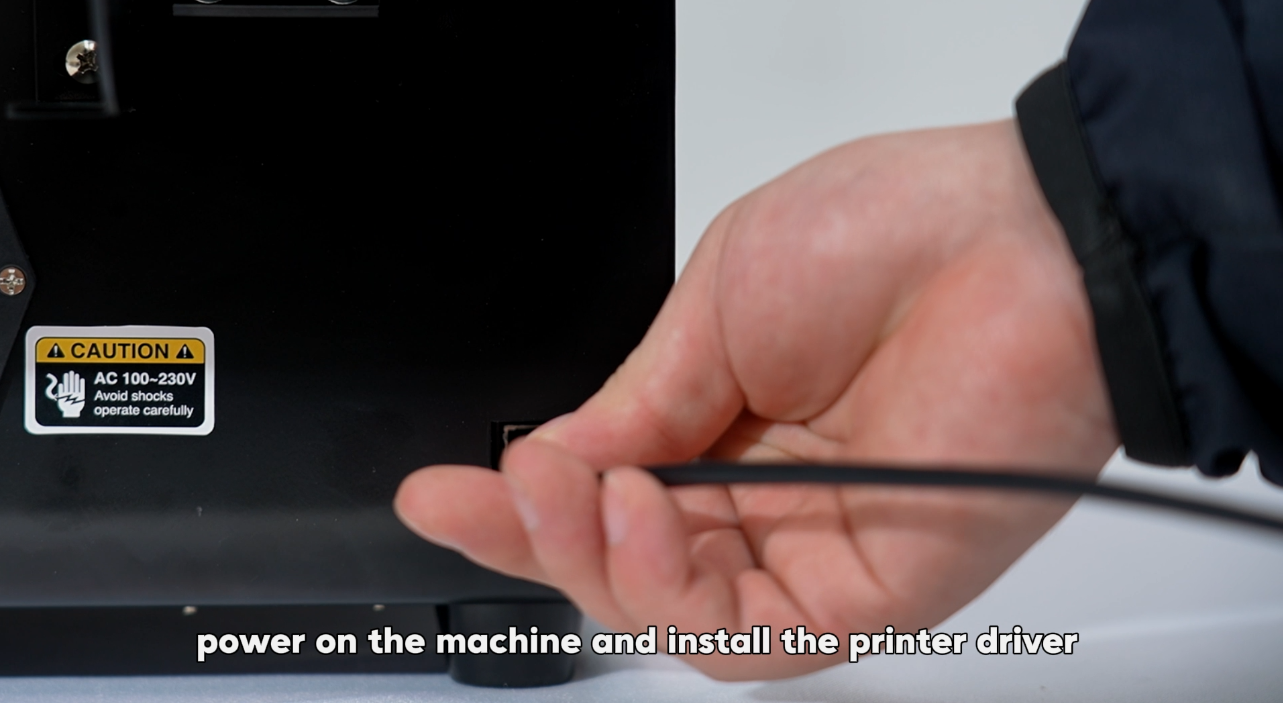 16Plug in the data cable. |
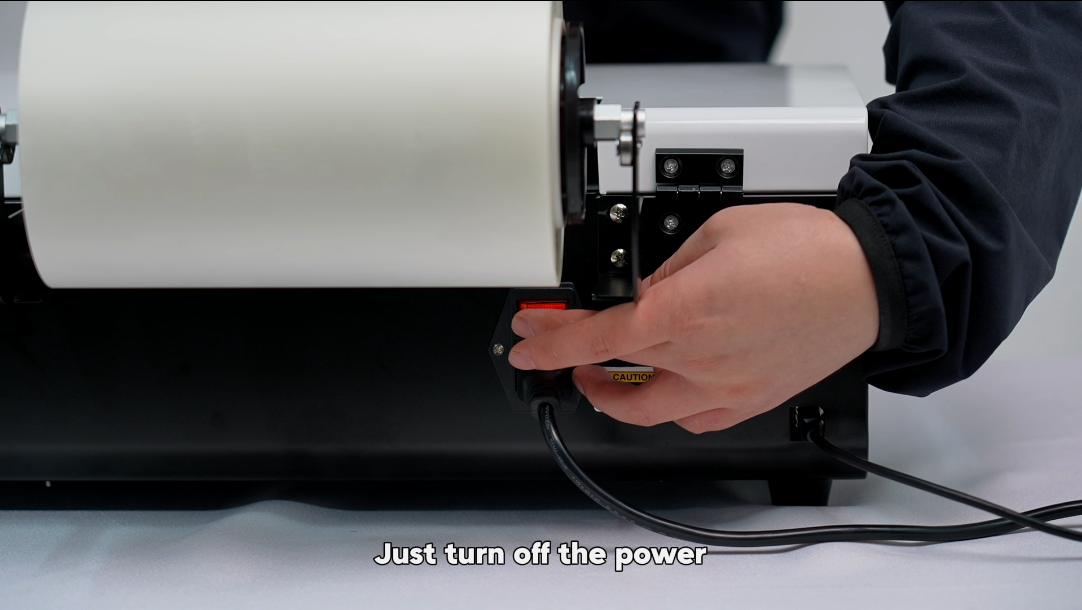
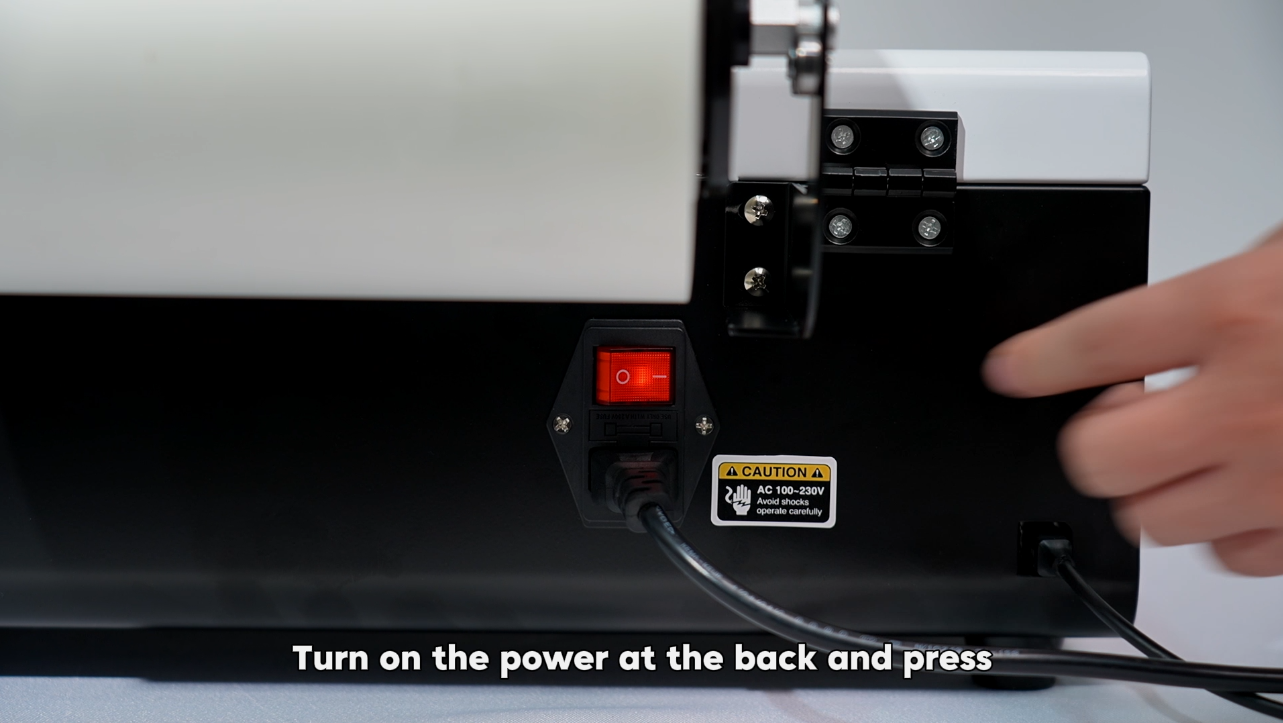 17Turn on power switch at the back. |
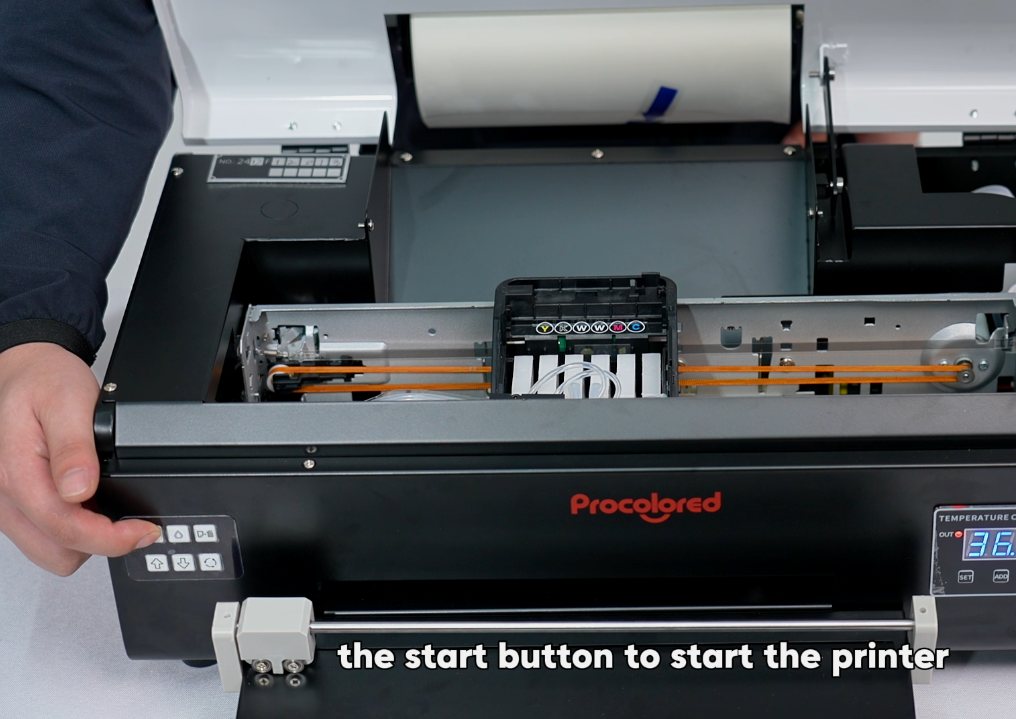 18Press start button to start. |
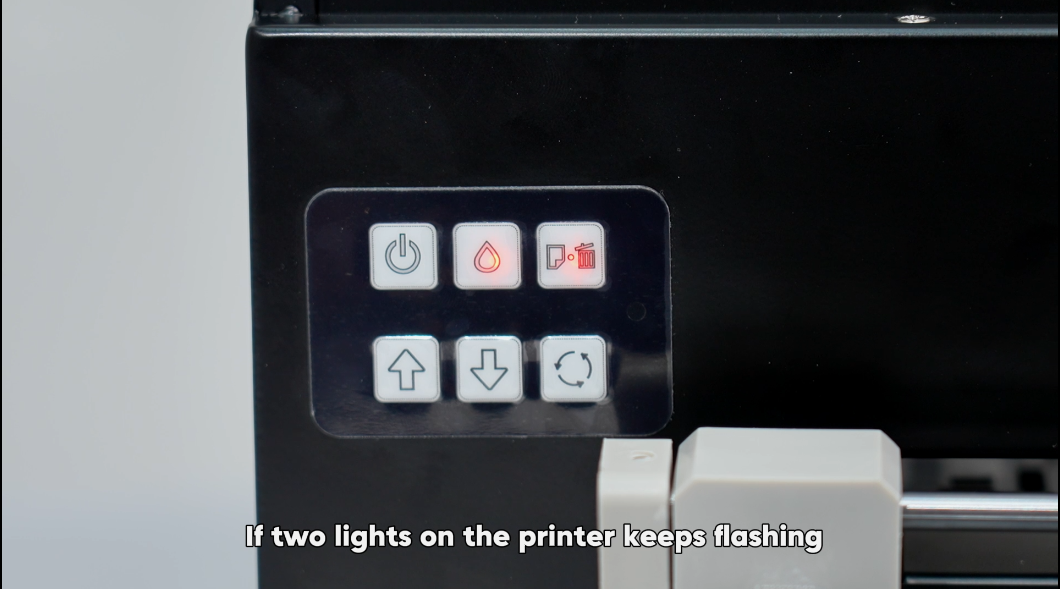 19If two lights flash, follow next steps. |
|
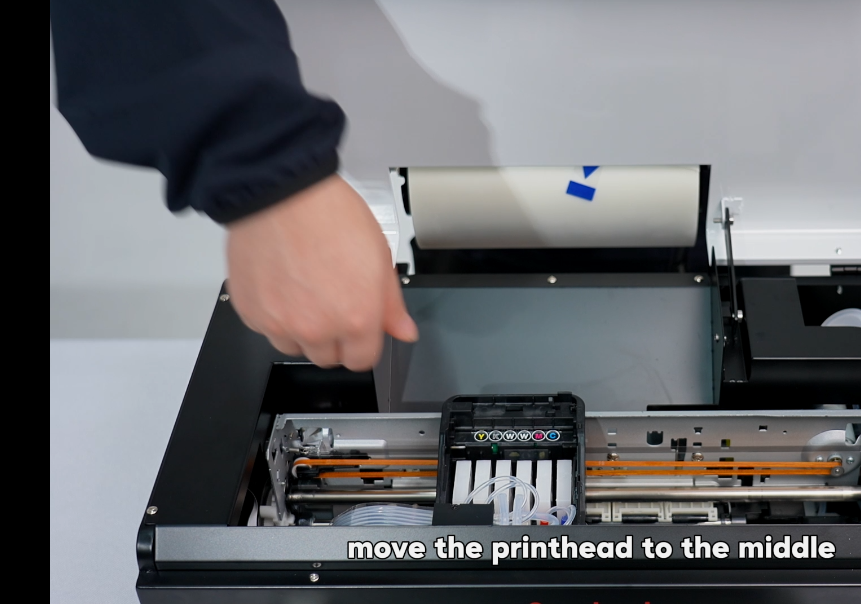 21Move print head to middle. |
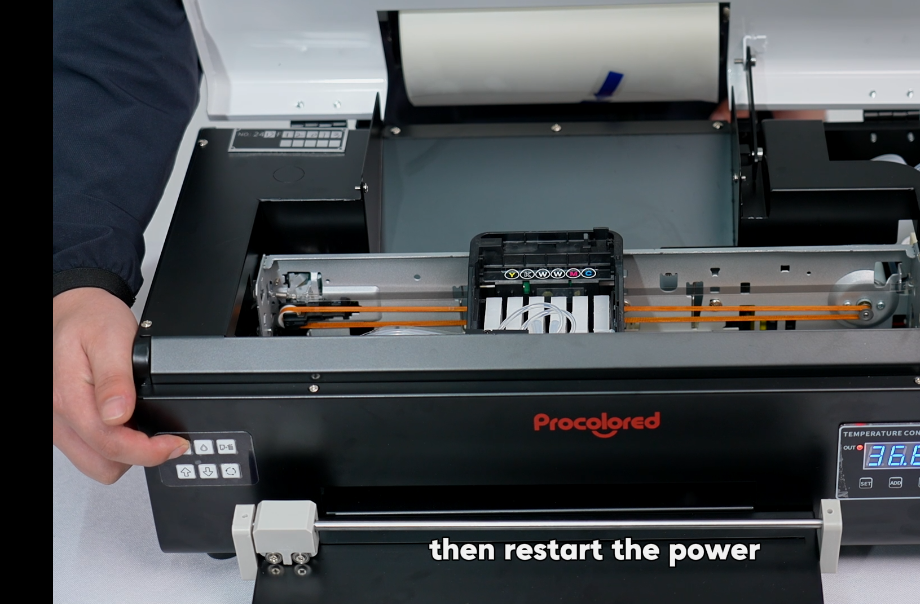 22Restart — issue resolved. |
|
|