— Setup Guide
In the box

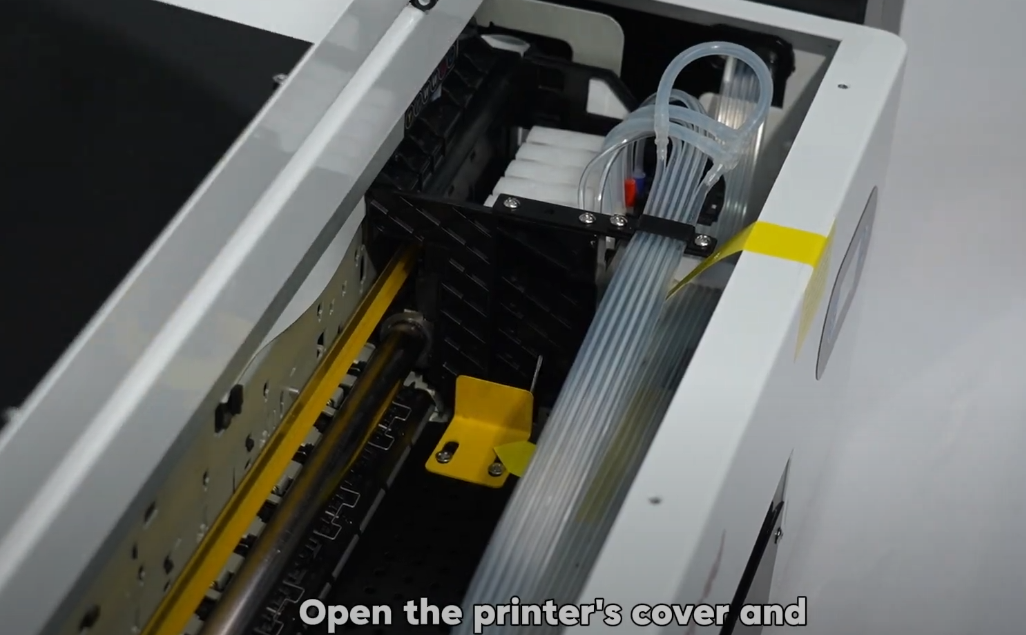 01 Open the printer's cover. |  02 Remove the right-angle yellow bracket that secures the print head. | 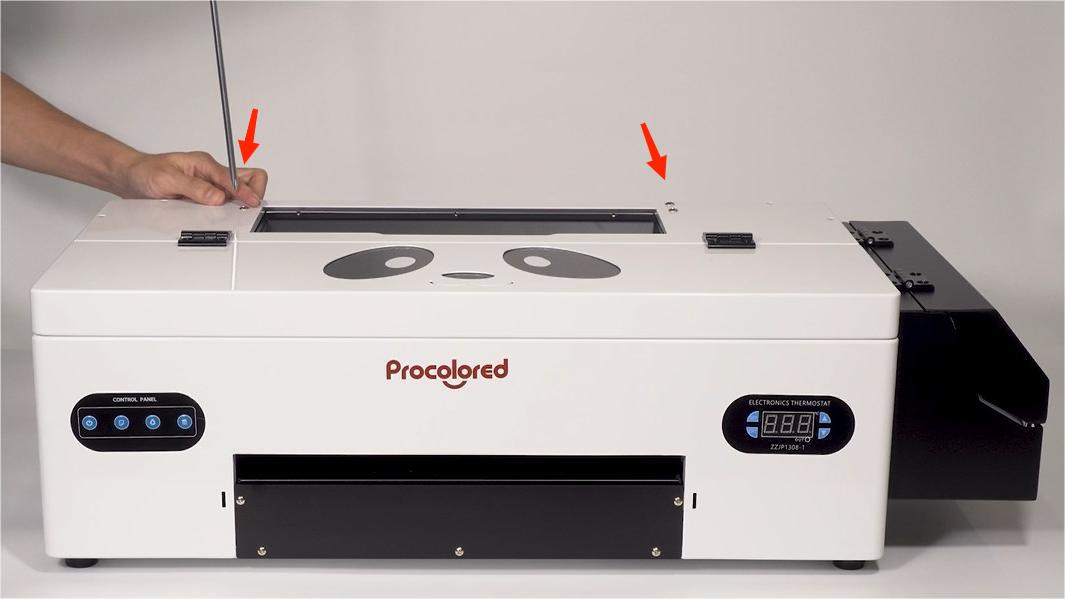 03 Find the installation position of the roller bracket on the printer. |
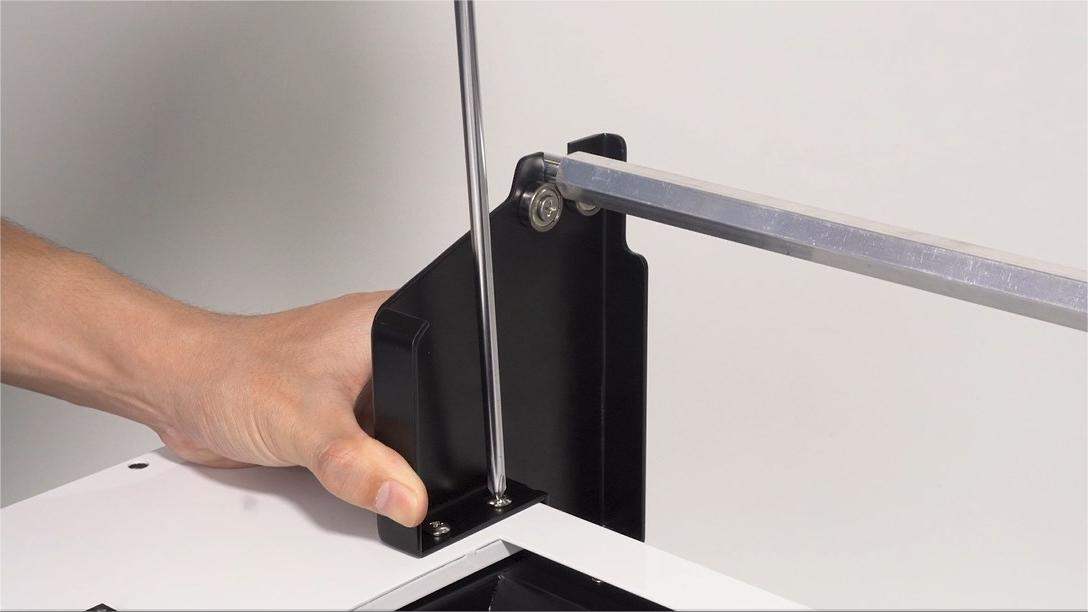
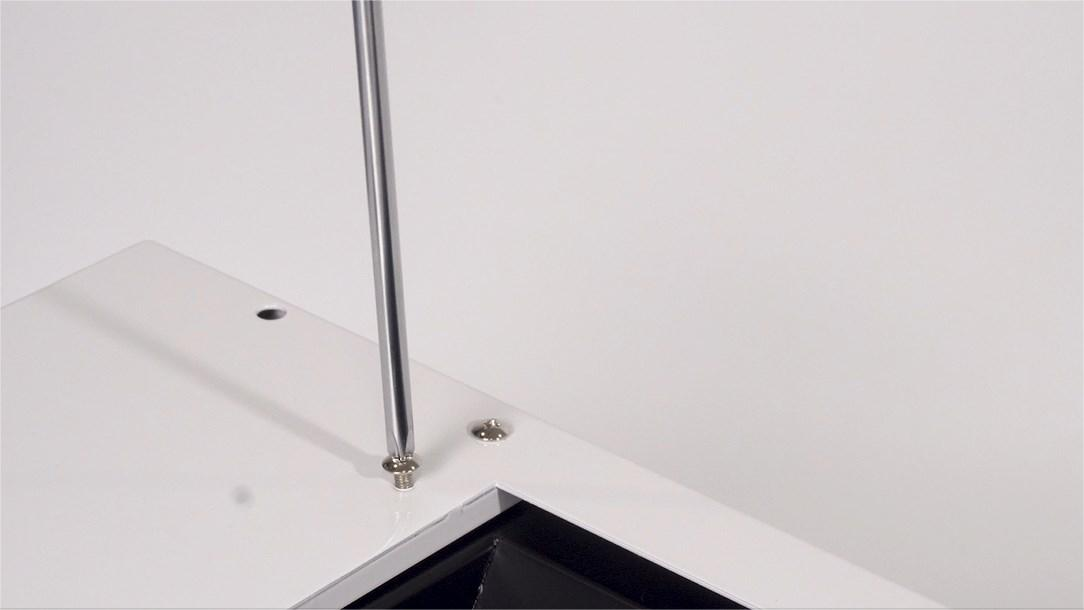 04 There are two screws on each side. Remove them. | 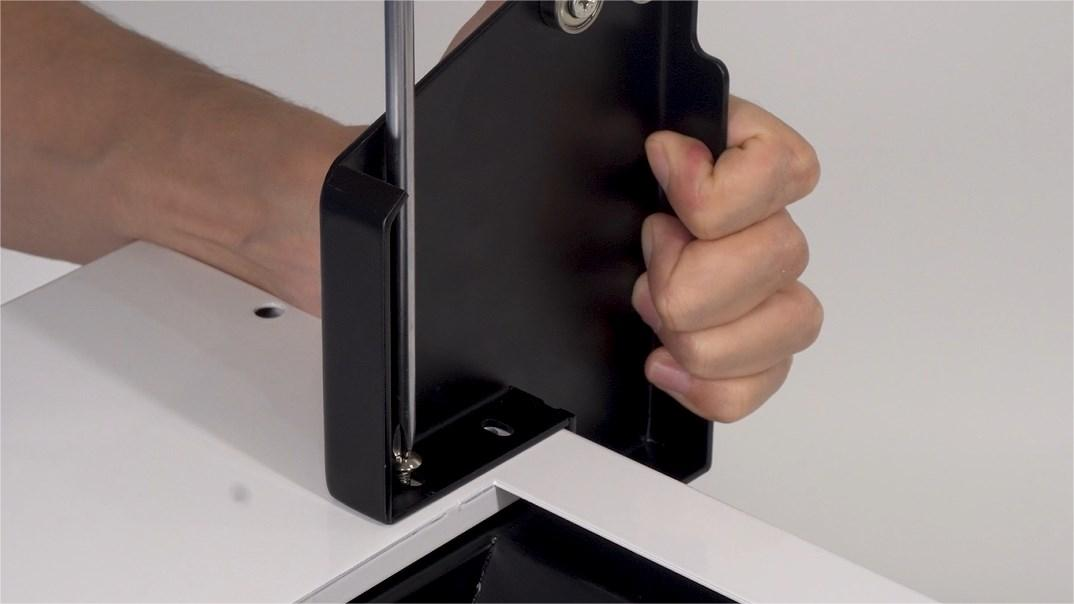 05 Put the bracket on, paying attention to its direction. Turn the screws — do not tighten fully yet. | 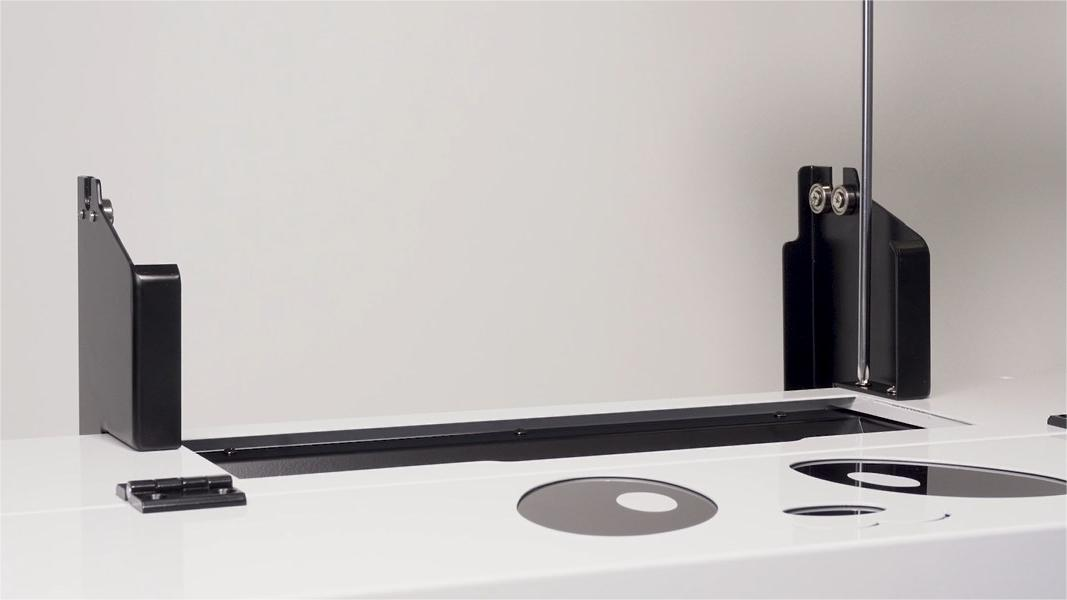 06 The finished bracket direction should match this image. |
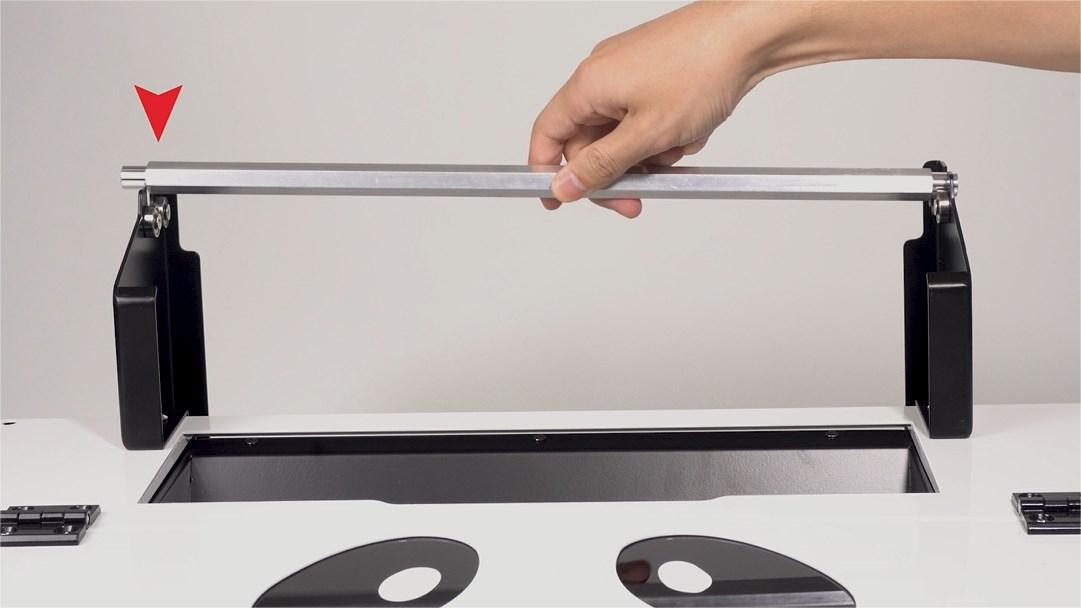 07 Put the roller bar onto the brackets. | 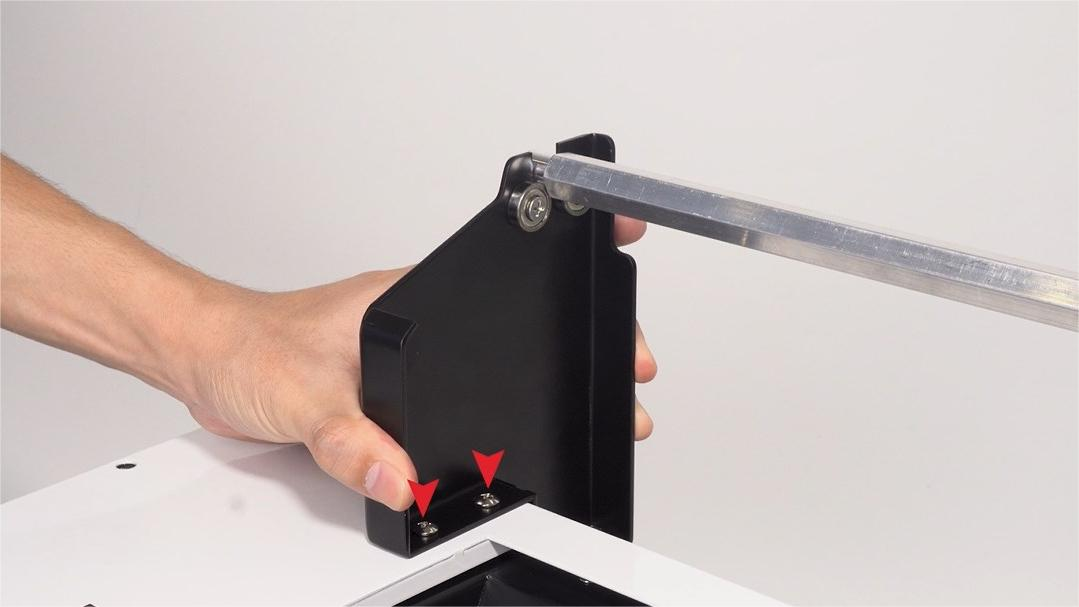 08 Adjust the bracket position so the distance perfectly fits both sides of the roller. | 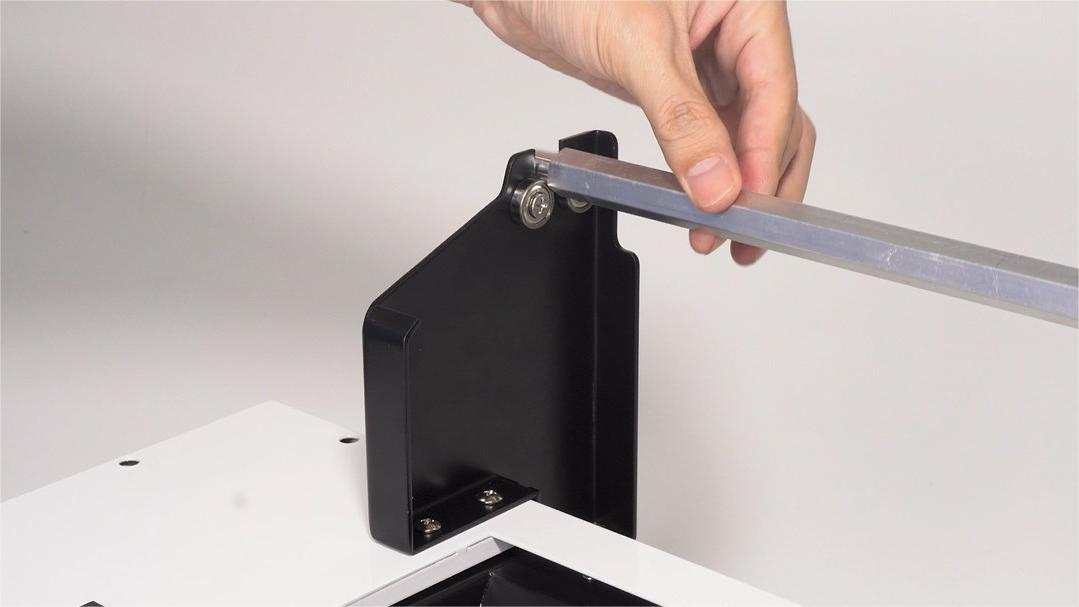 09 Rotate the roller to confirm the bracket distance is appropriate and secure. |
 10 Once bracket position is confirmed, tighten the screws fully. | 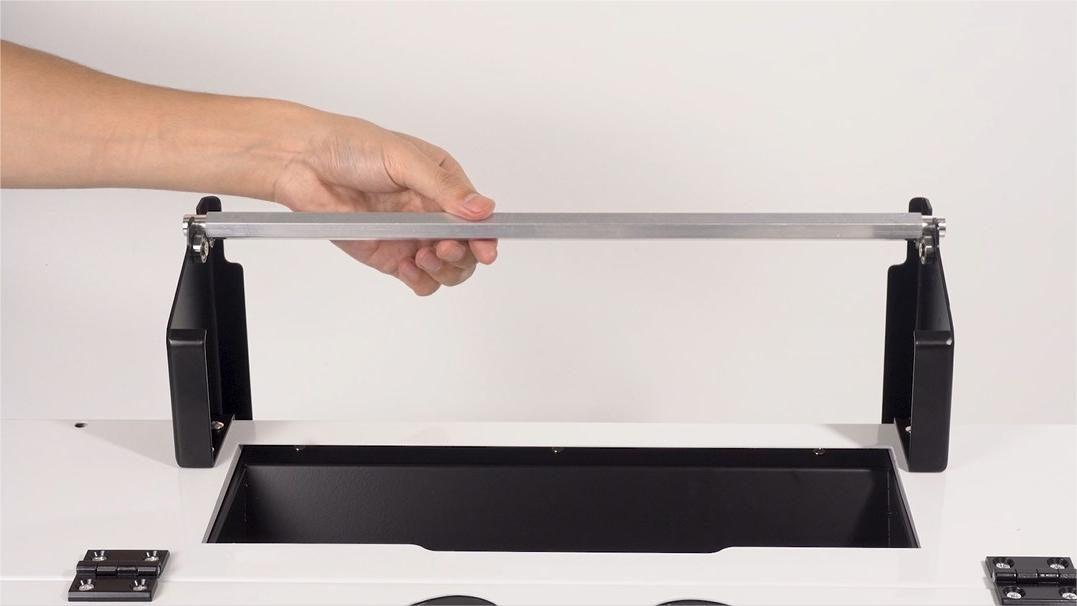 11 The correct bracket position should look like this. | 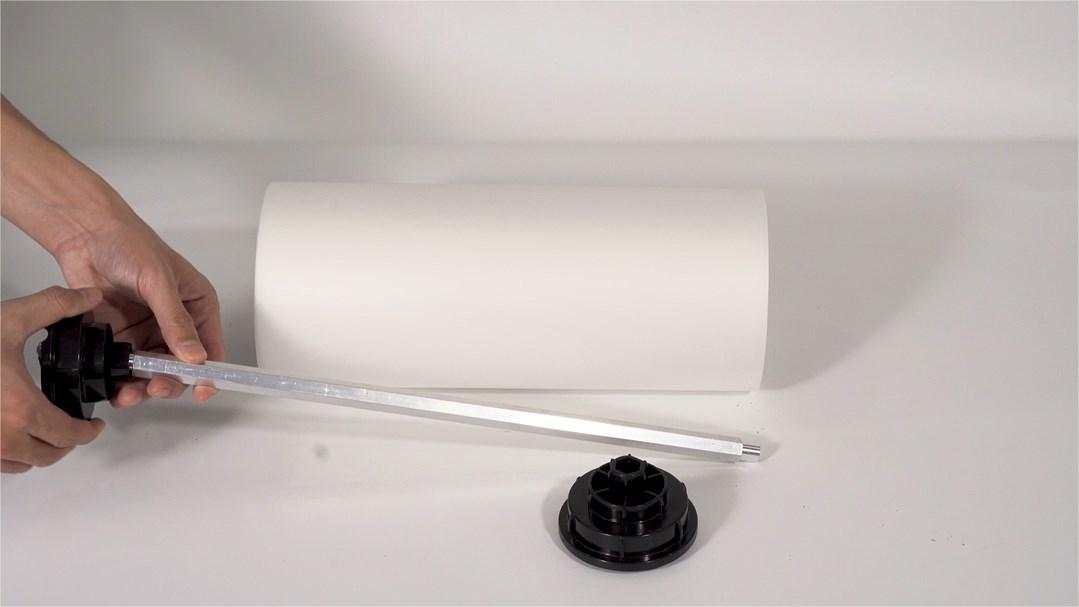 12 Fetch the roller down and slide the plastic holder onto it. |
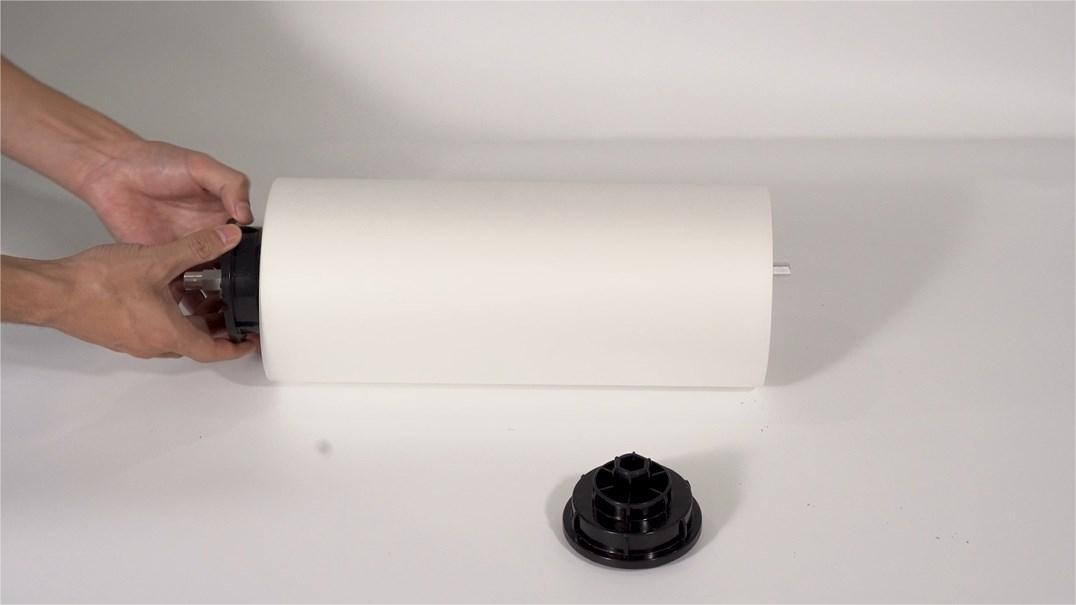 13 Insert the roller and plastic holder onto the film roll. | 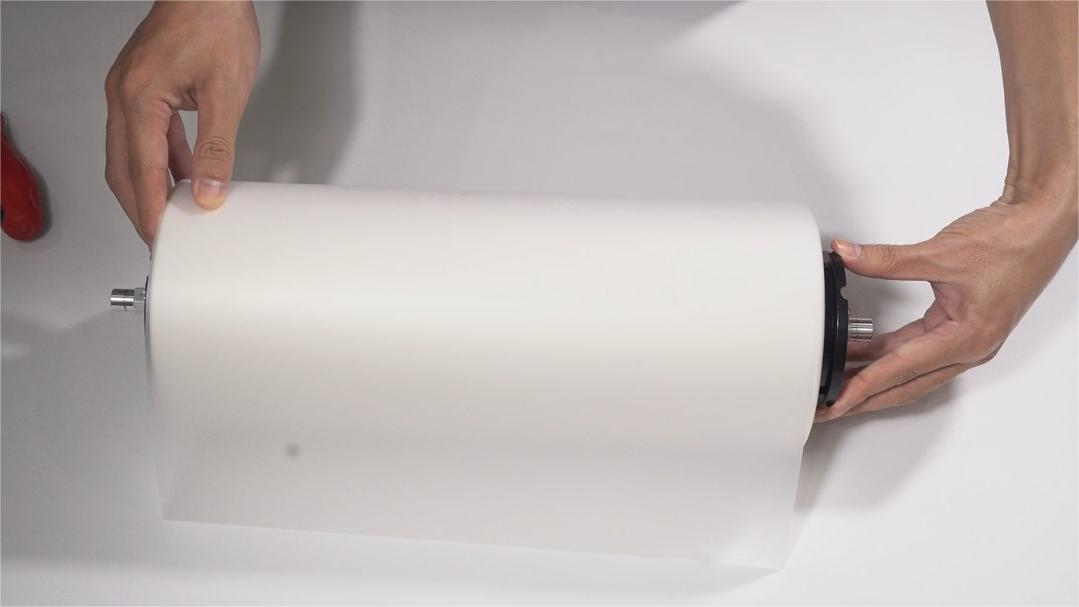 14 Finish the insertion on the other side. | 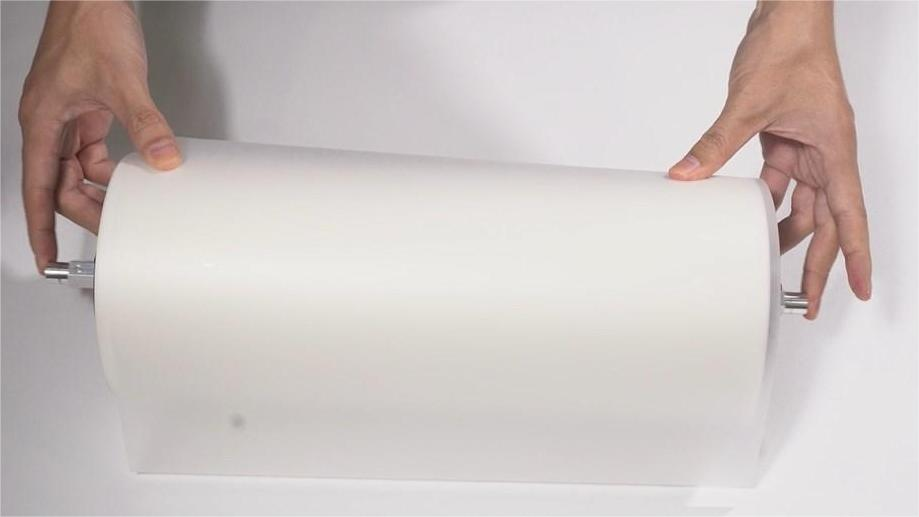 15 Adjust the roller position so it fits both plastic holders perfectly. |
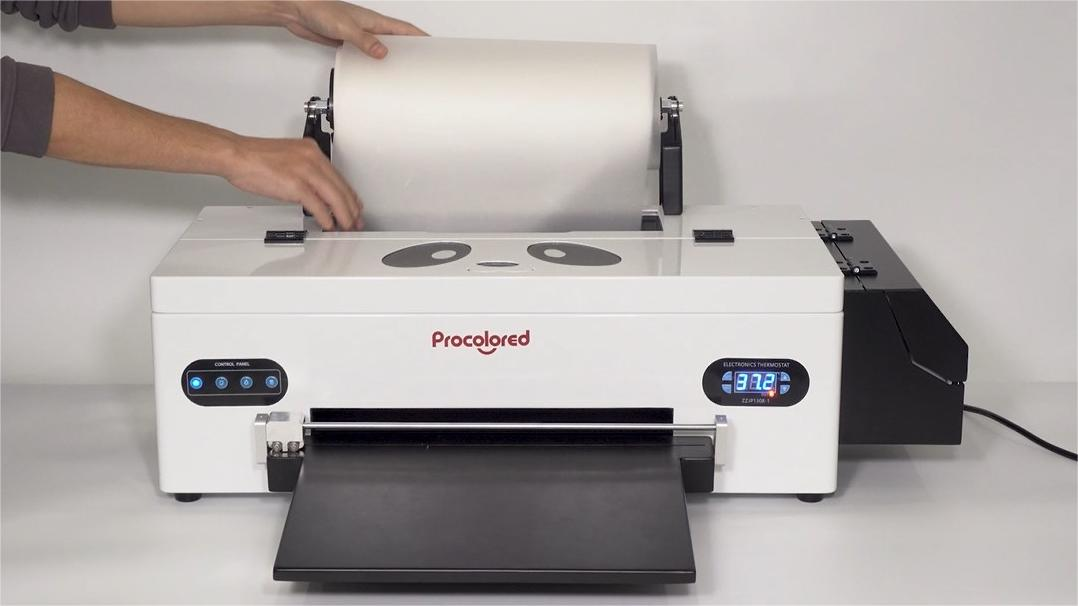
 16 Once position is confirmed, secure the screws on the plastic holder. | 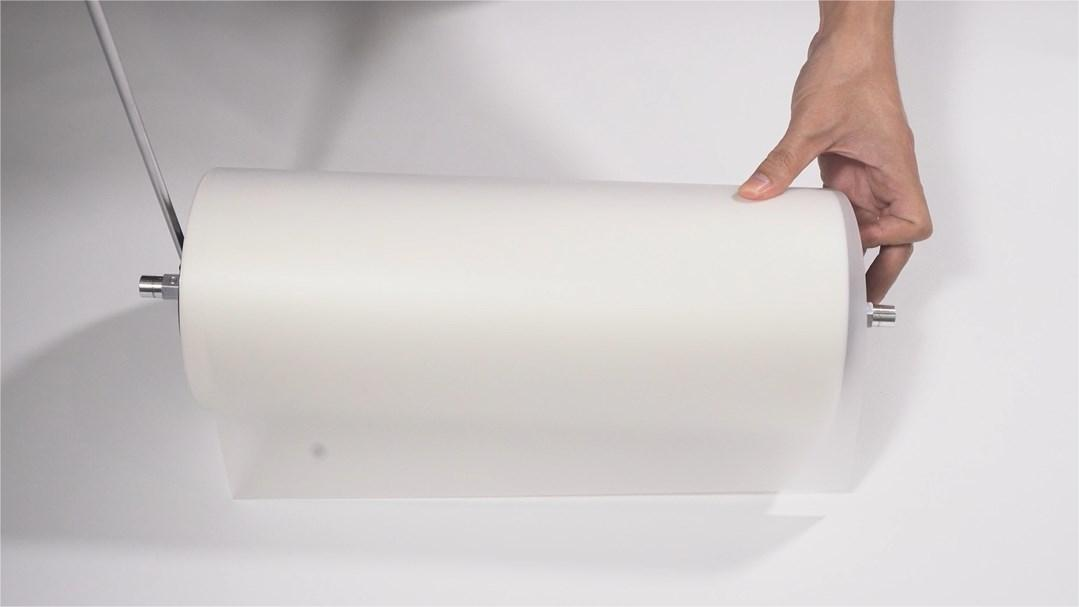 17 Make sure screws on both sides are tightened. | 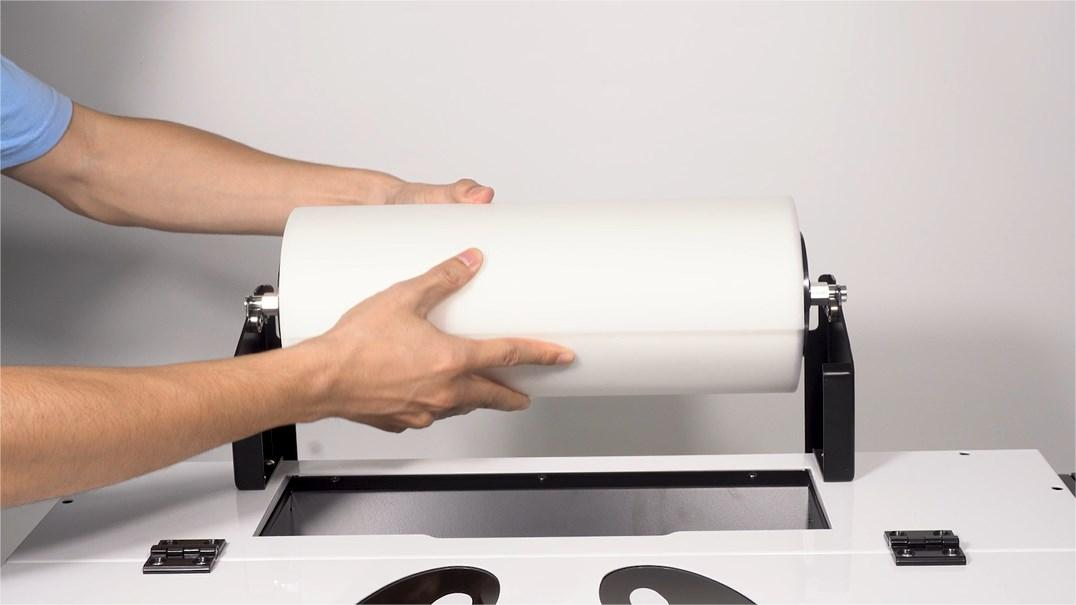 18 Put the film roll onto the bracket. Printable (coated) side must face up. |
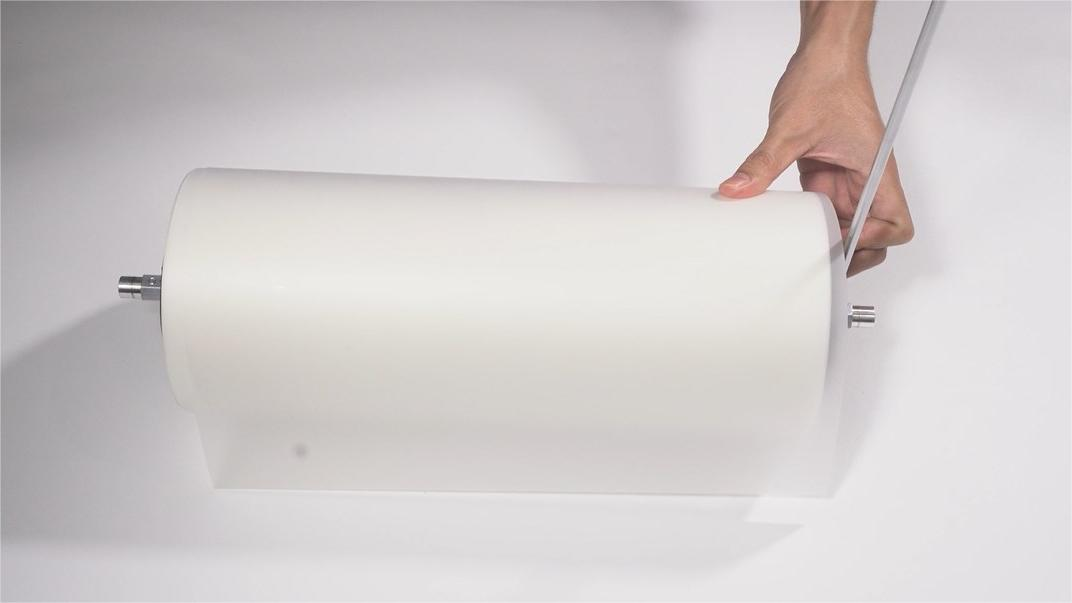
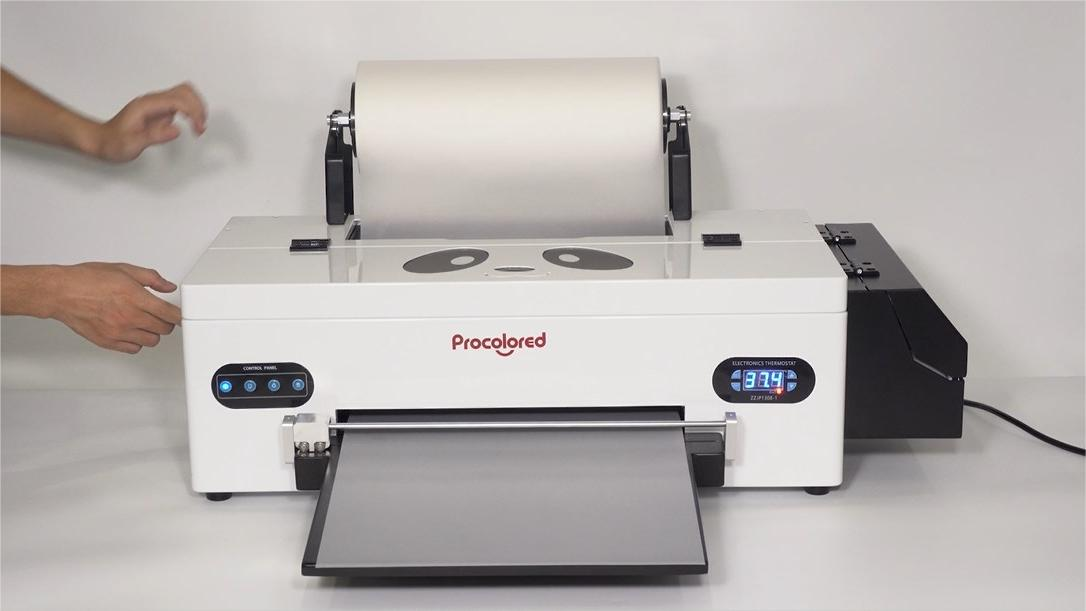
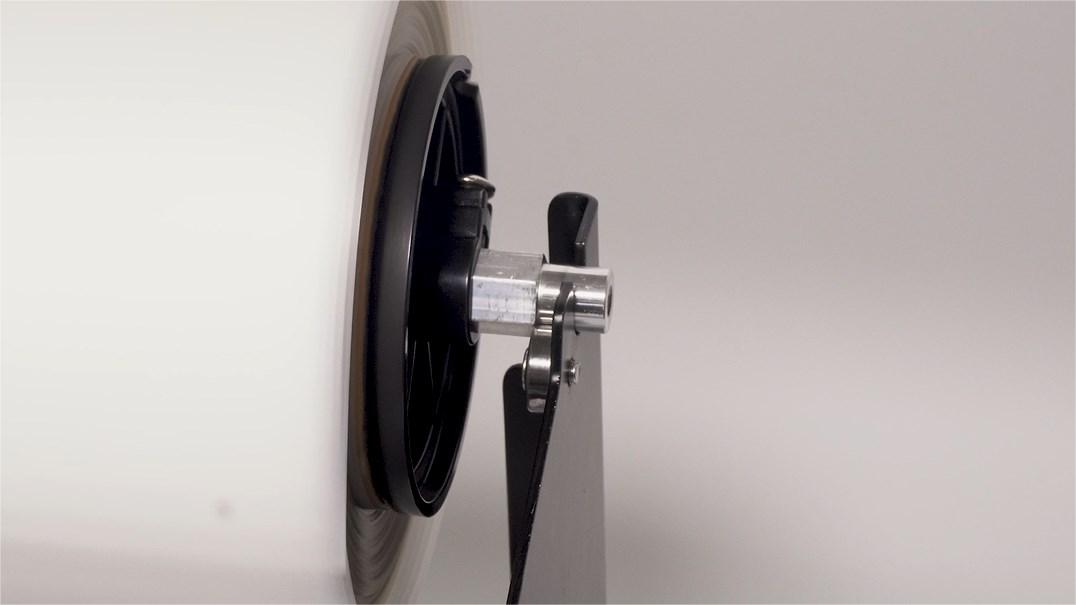 19 Ensure the film roll rotates smoothly on the brackets. | 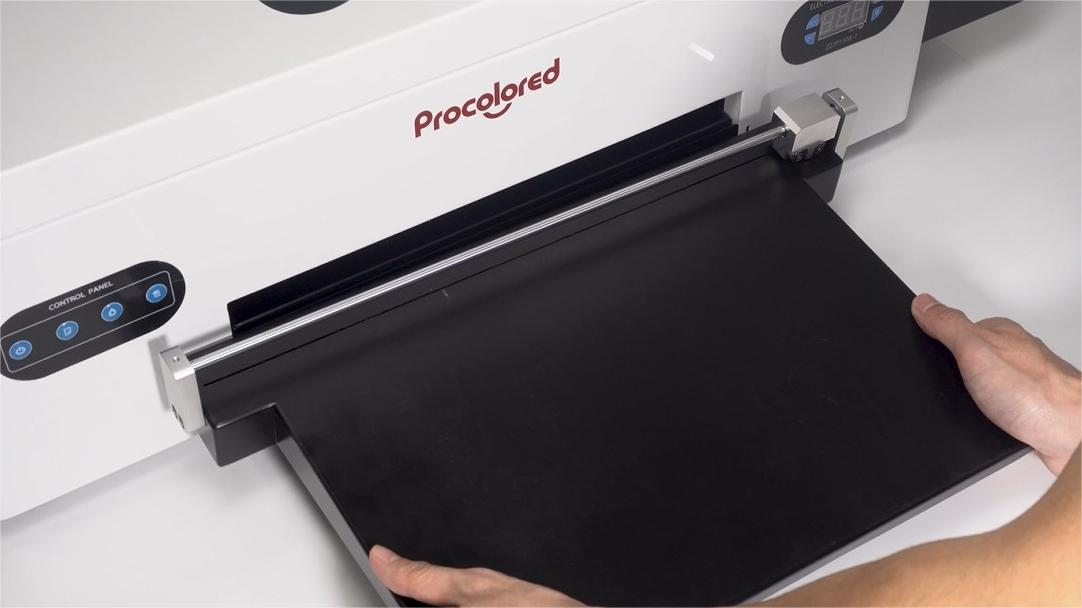 20 Hook the cutter platform at the film exit. | 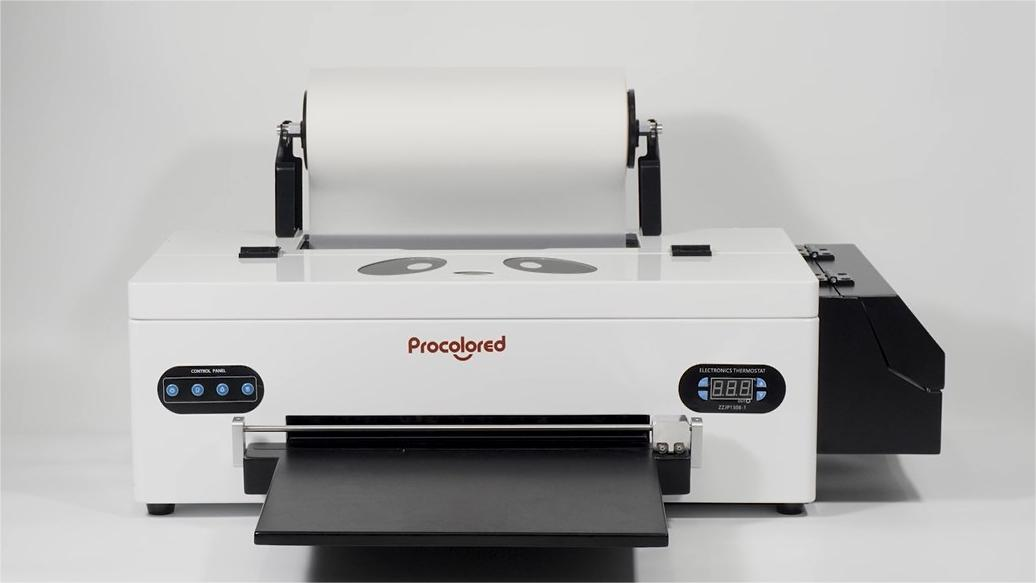 21 Assembly complete! Your machine should now look like this. |
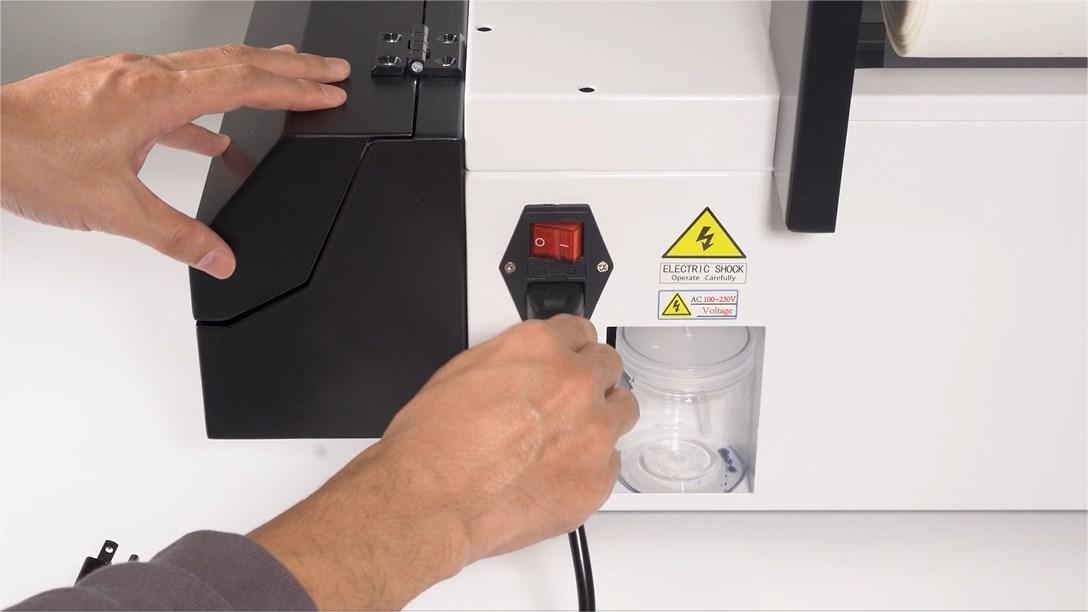 22 Insert the power cable into the back of the printer. | 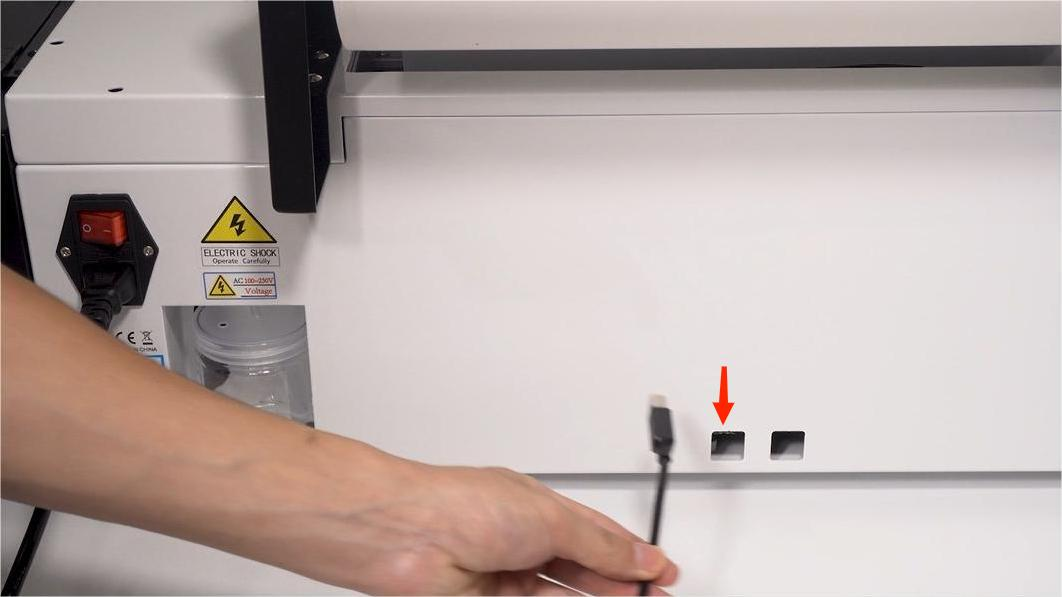 23 On the central back of the printer, locate the two ports. | 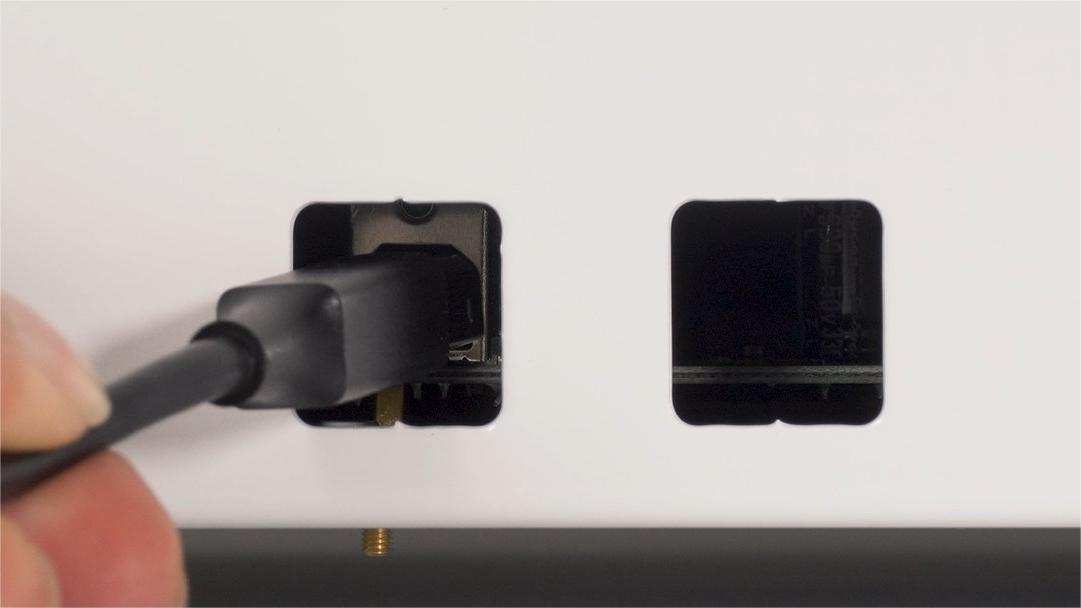 24 Insert the data cable into the left port. |
 25 Power on. The button state shown means "on". | 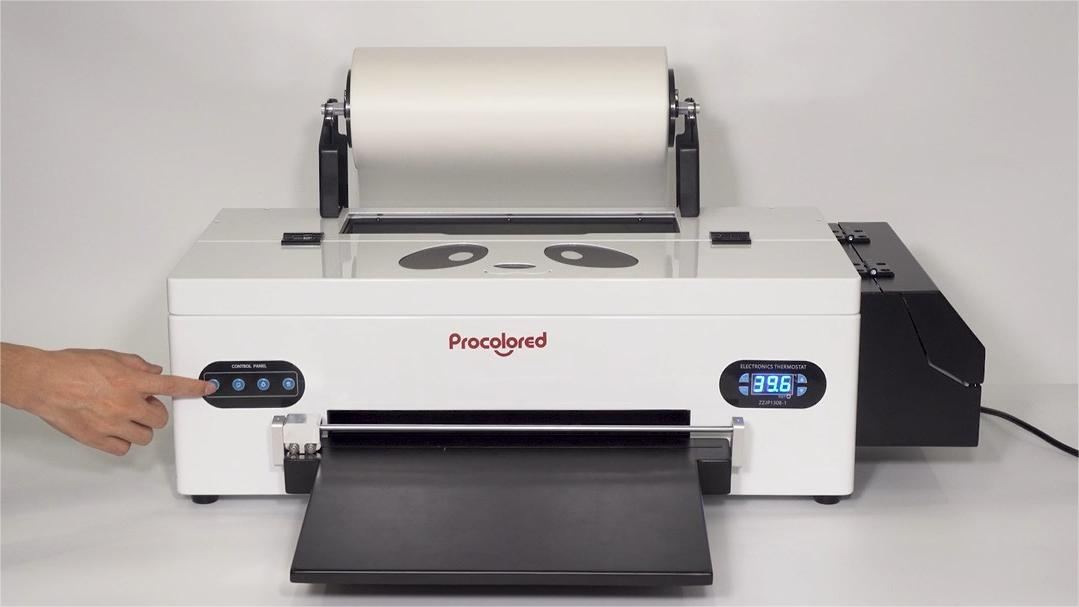 26 Press the power button (first button on the left). | 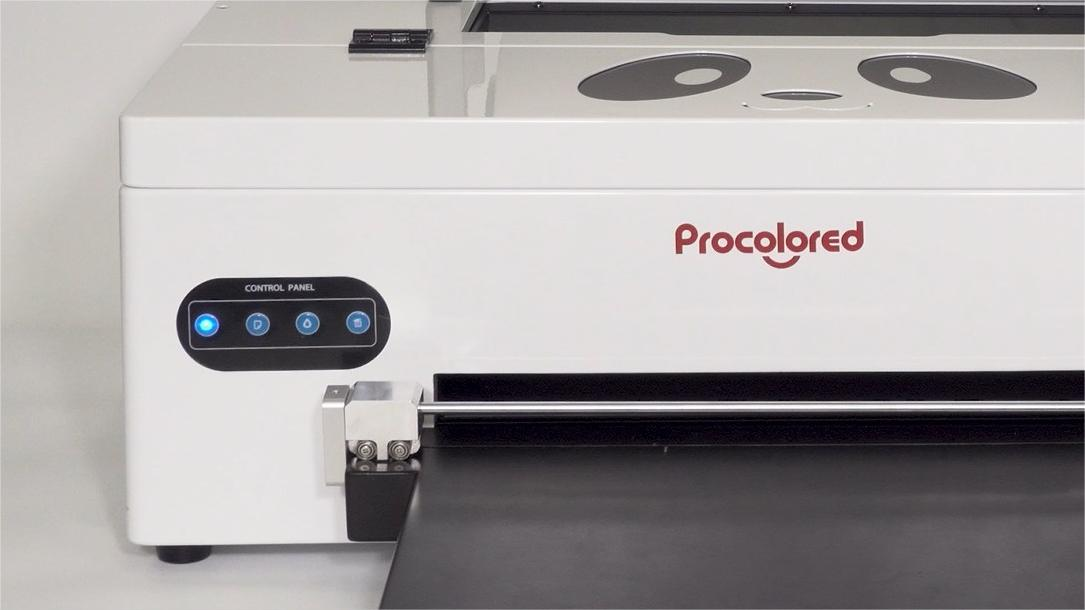 27 The machine is ready when the blue light changes from flashing to solid. |
 28 Insert the film into the film feed under the pickup rollers. | 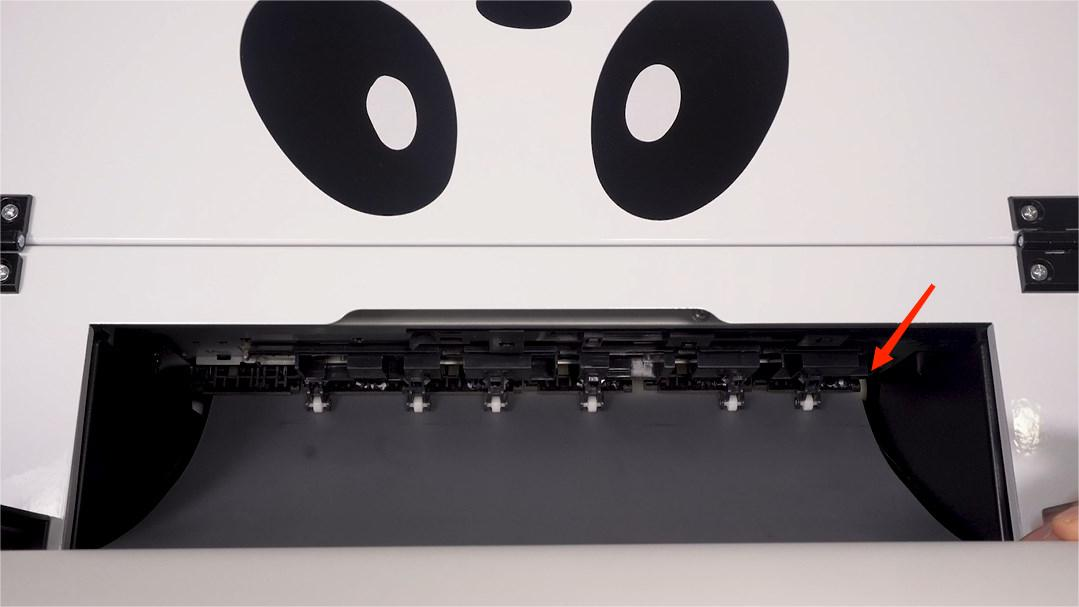 29 Make sure the film feeds in perfectly straight. | 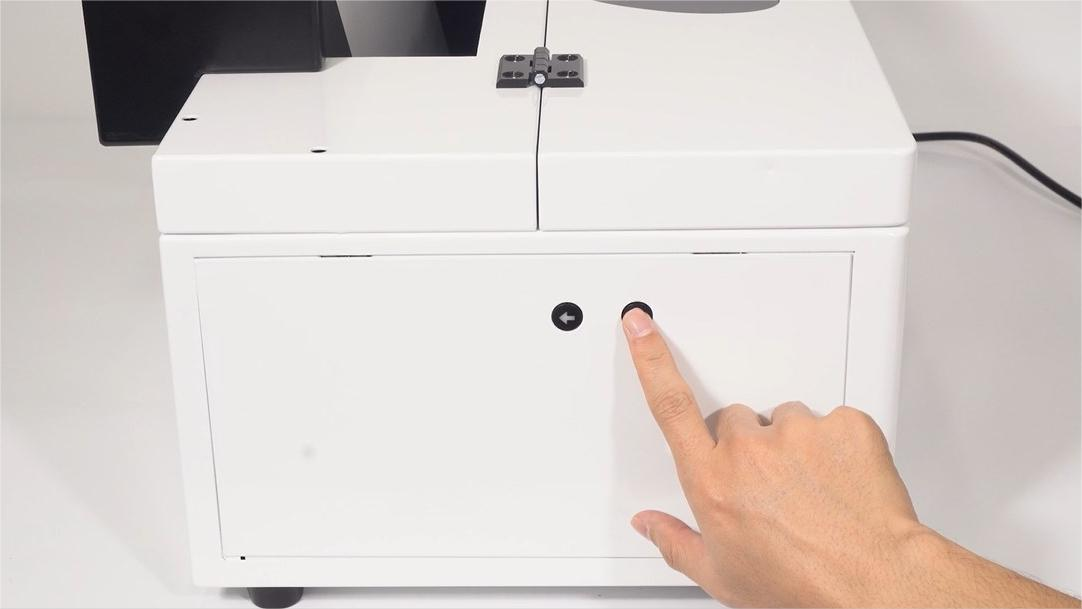 30 Press the forward button to load the printer film. |
 31 The forward button is in the position shown here. |
 01 Install the Pro RIP software from the Procolored official website under Resource & Download. | 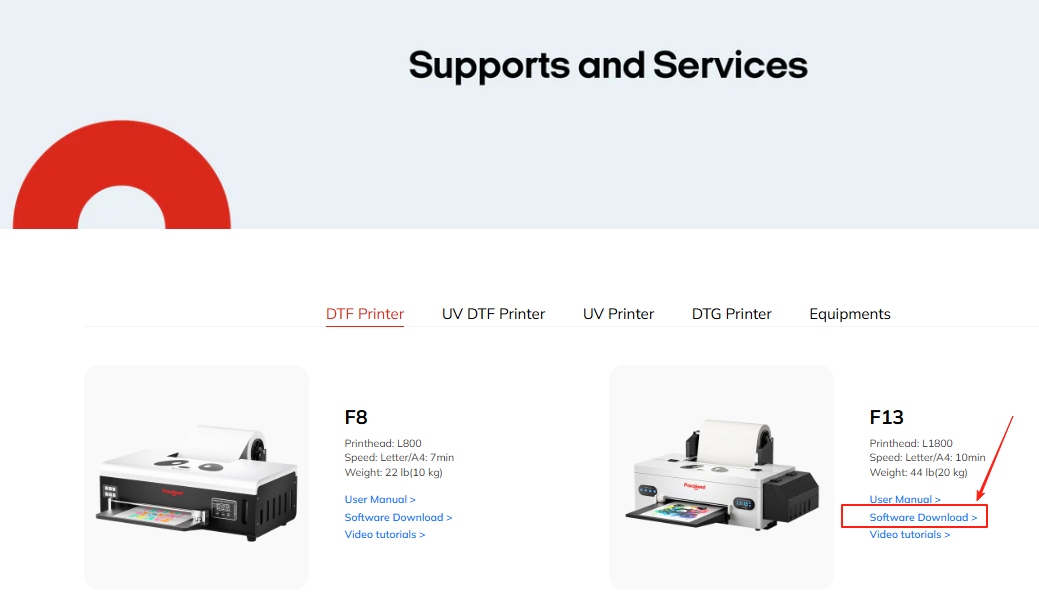 02 Select model F13 and download the software. bit.ly/3JfY71l | 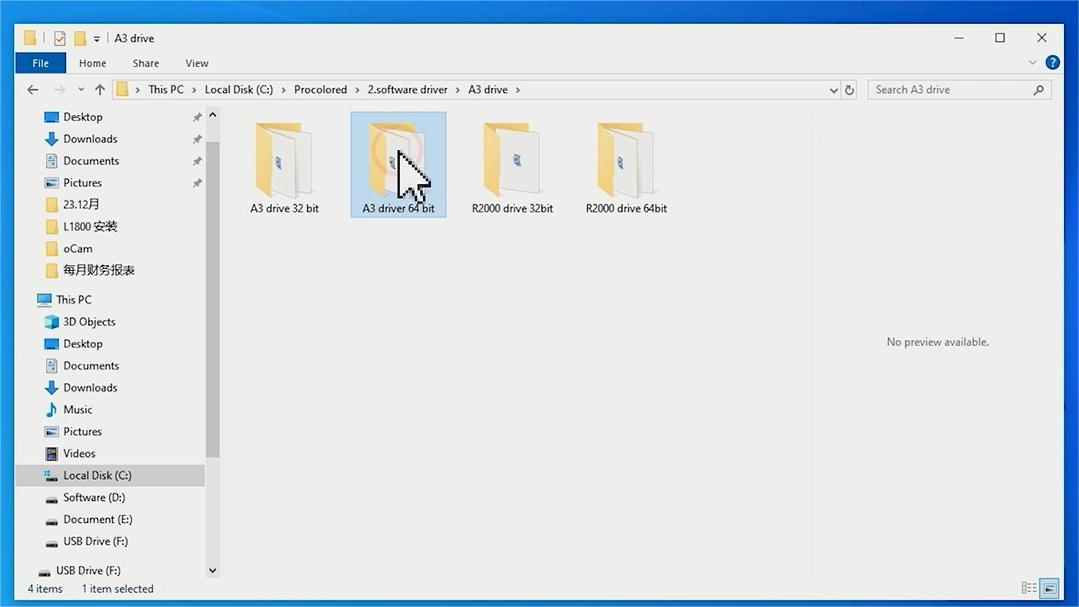 03 Select the version that matches your computer's OS type, then begin installing the printer driver. |
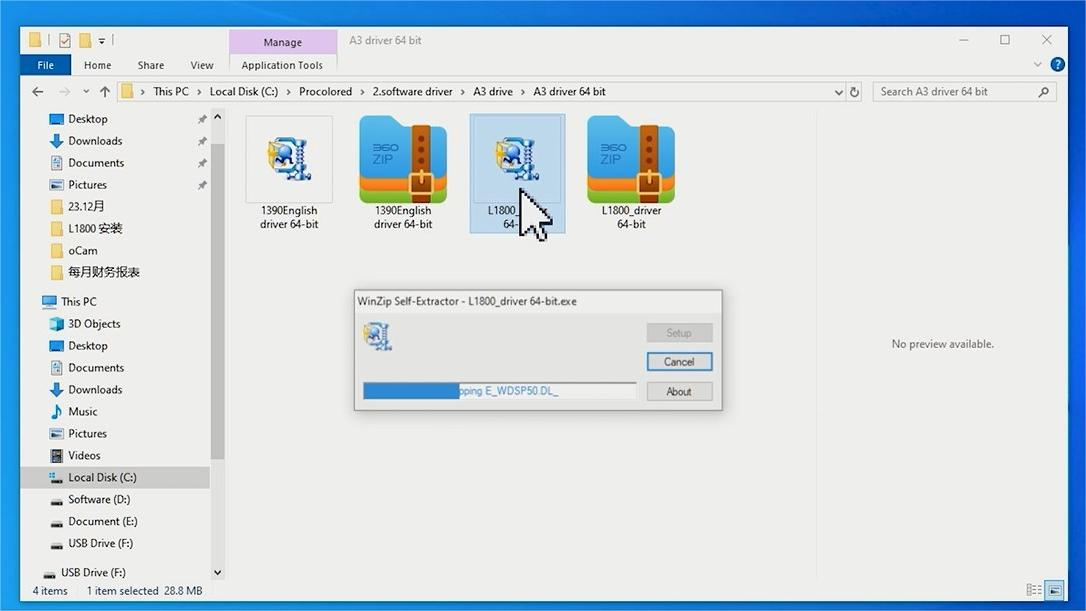 04 Choose your print head type (L1800 shown here). | 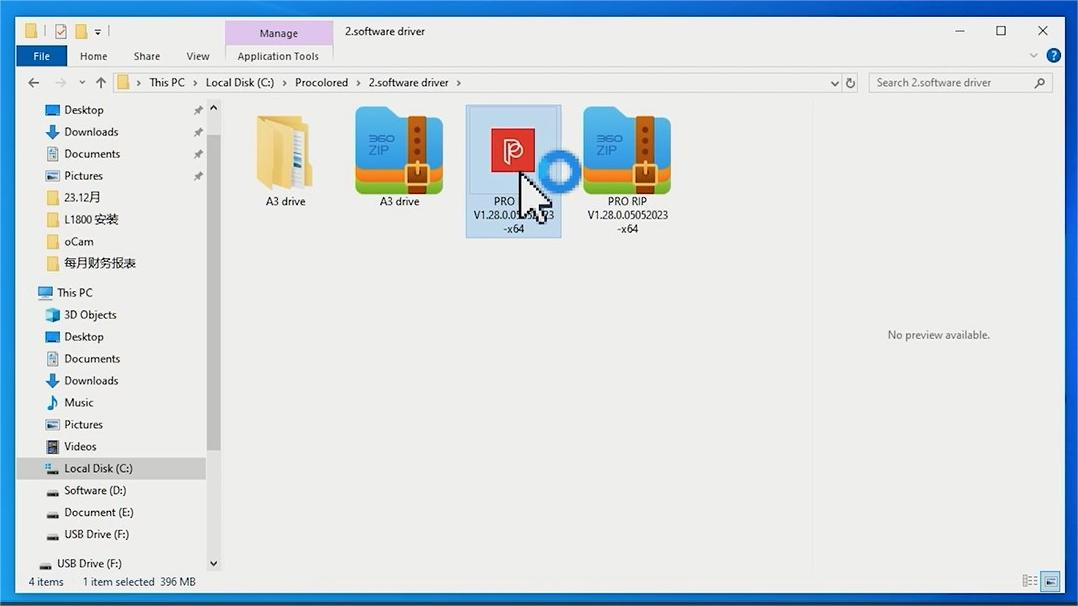 05 Return to the software driver folder and click the red icon to set up RIP software. | 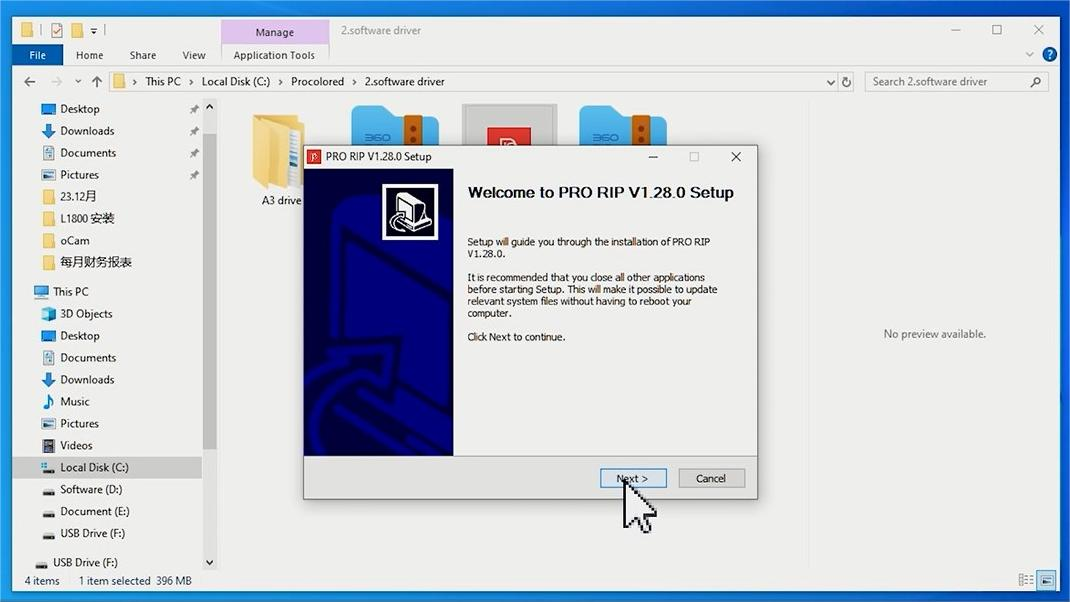 06 Click Next to proceed. |
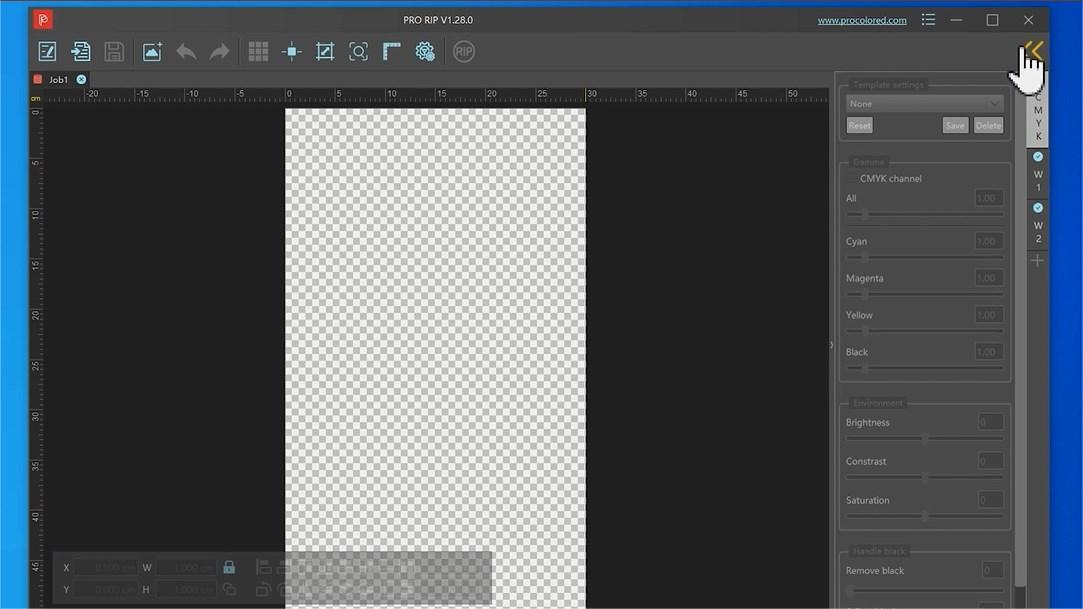 07 Choose the left arrow button to enter the Print Management Center. | 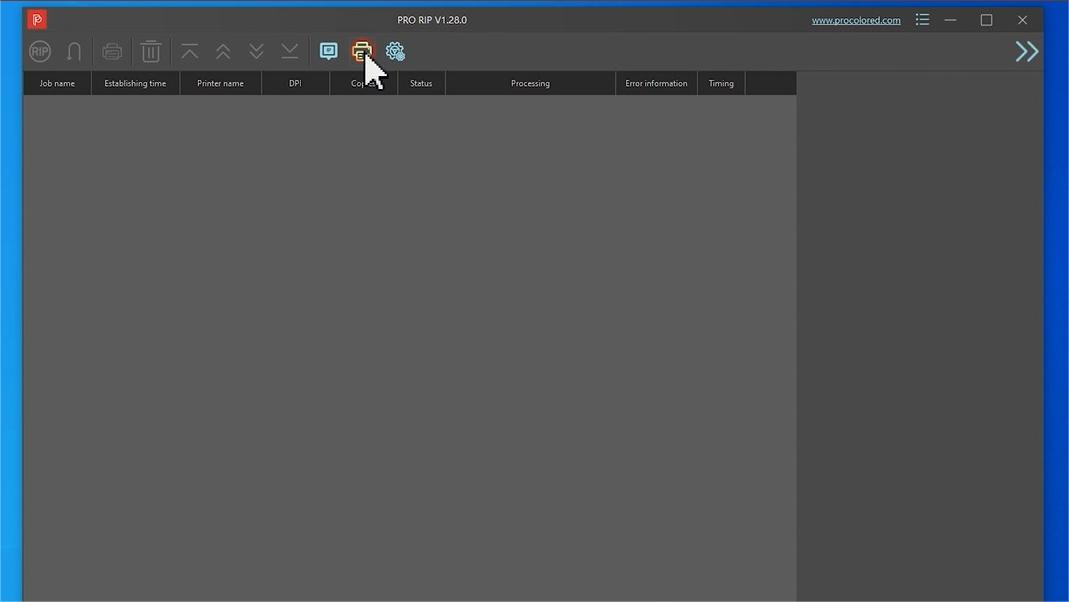 08 Click the Printer button. | 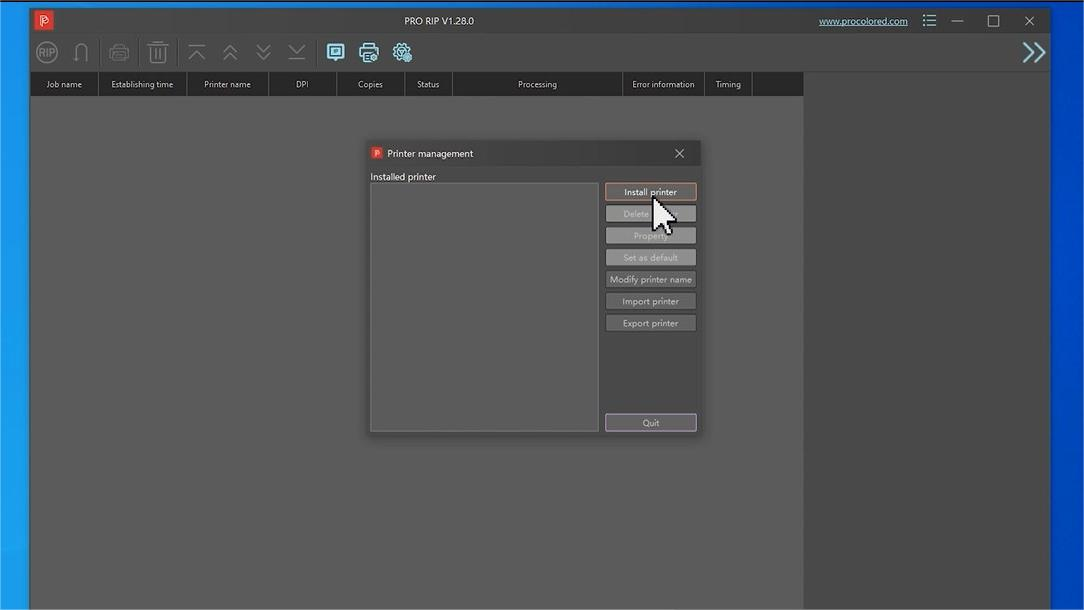 09 Click Install Printer. |
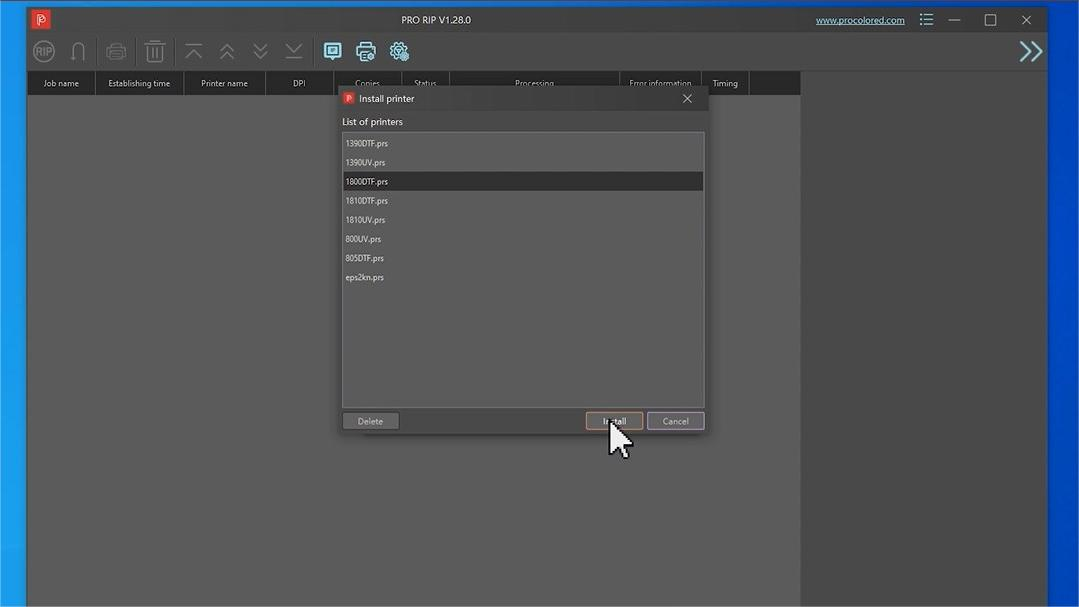 10 Select your print head type (L1800) to install the corresponding printer curve. | 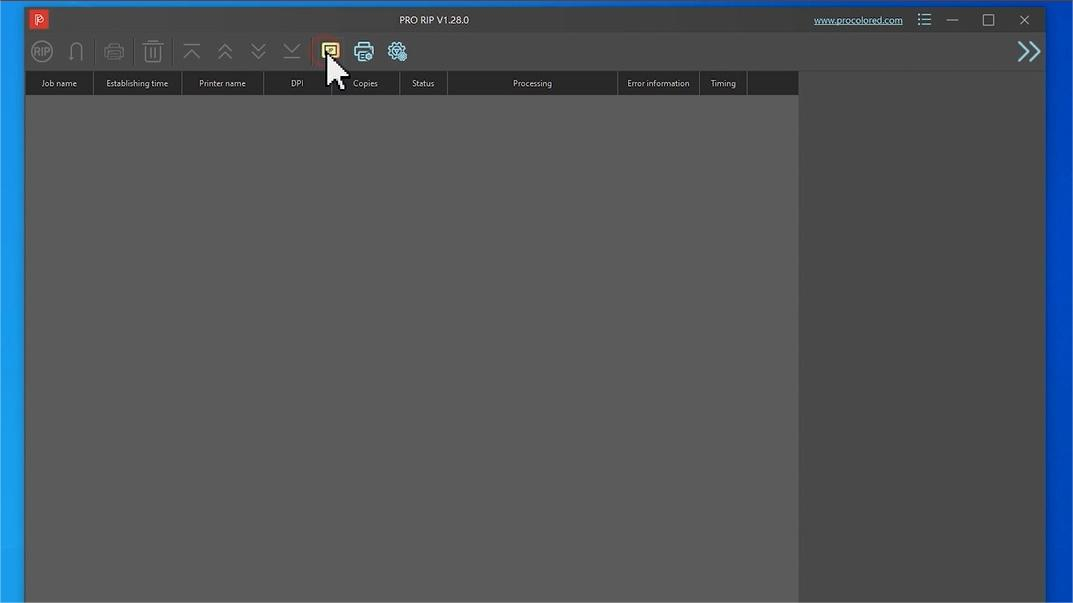 11 Click the double-square button to enter Device Endpoint Options. |  12 Select your printer (Epson L1800) and click OK. |