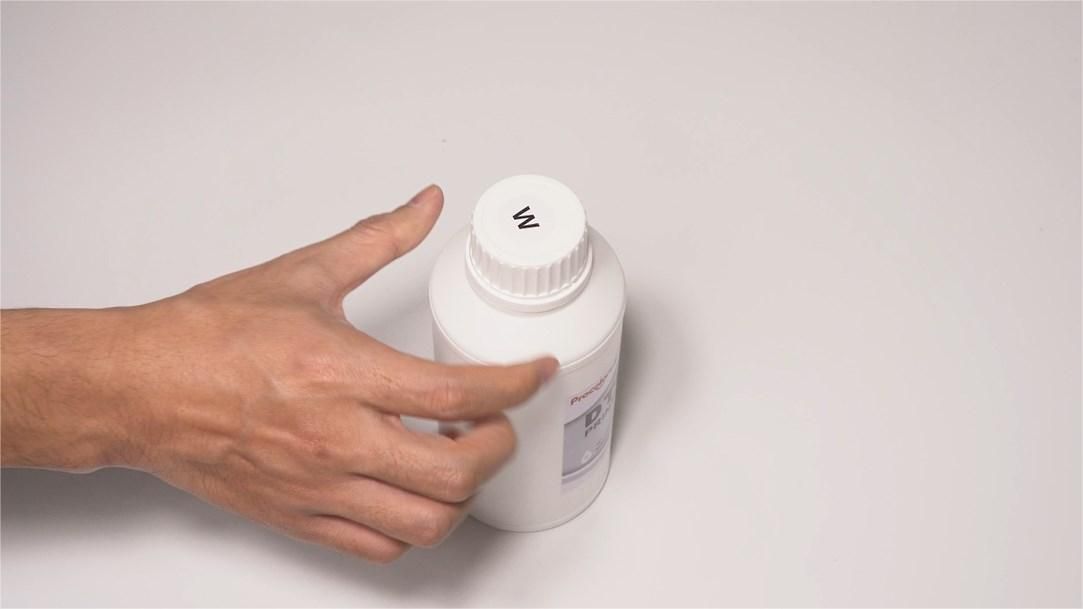
 01Before adding inks, give them a good shake. |
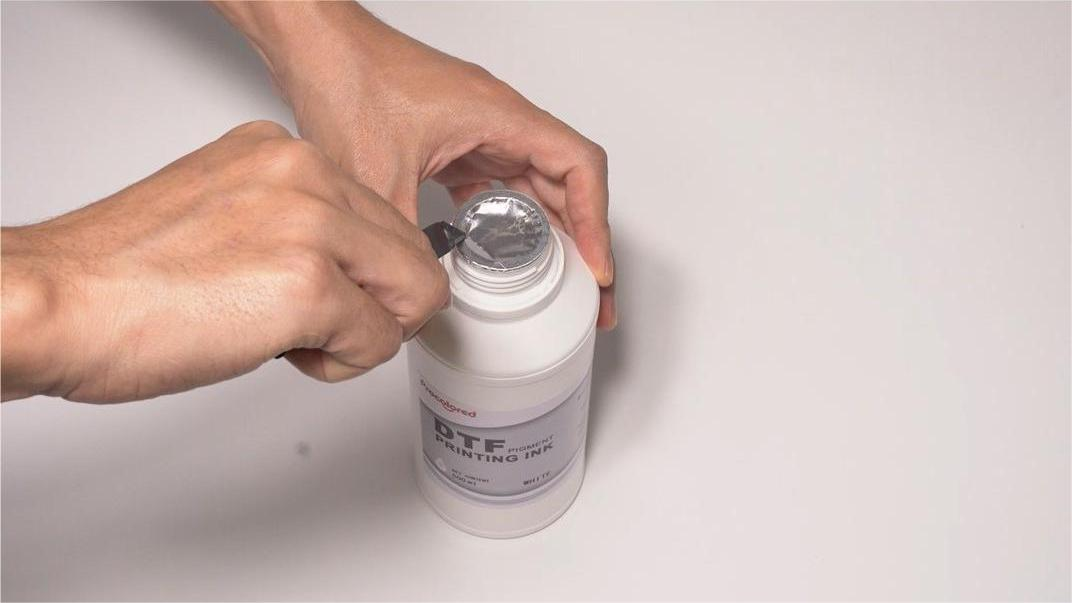 02Cut off the aluminum foil seal of the ink bottle. |
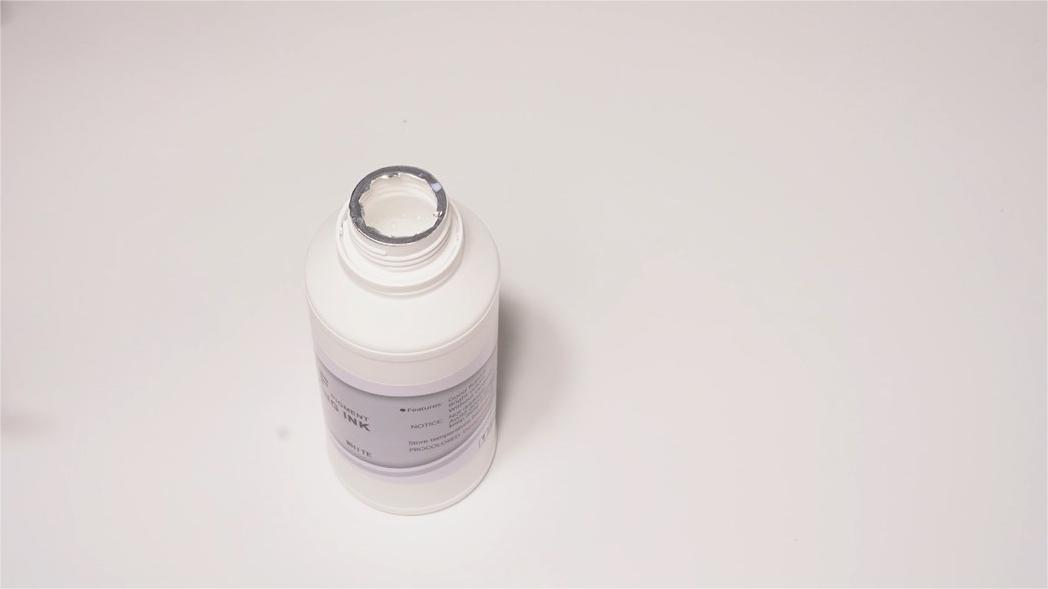 03Get all the foil off — this makes the ink-adding work easier. |
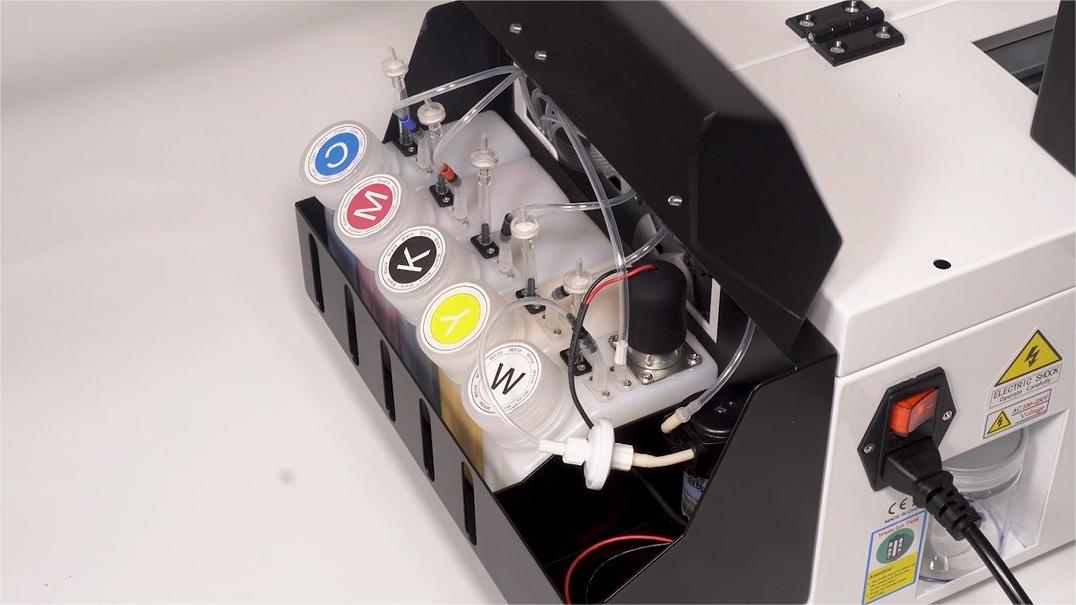 04Recognize the colors: C = Cyan, M = Magenta, Y = Yellow, K = Black, W = White. |
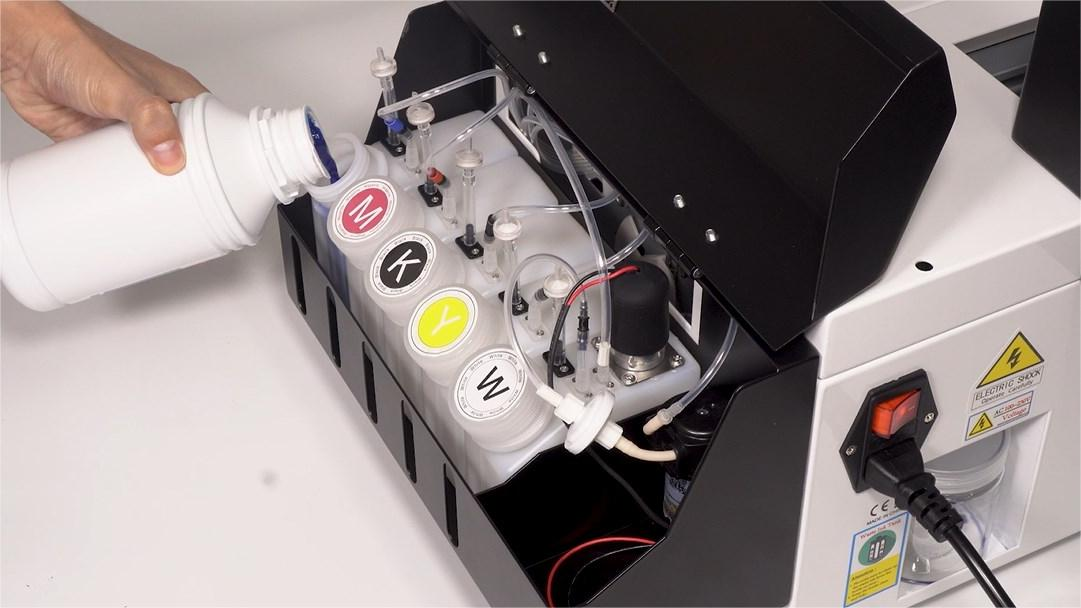 05Add corresponding inks into their matching containers. |
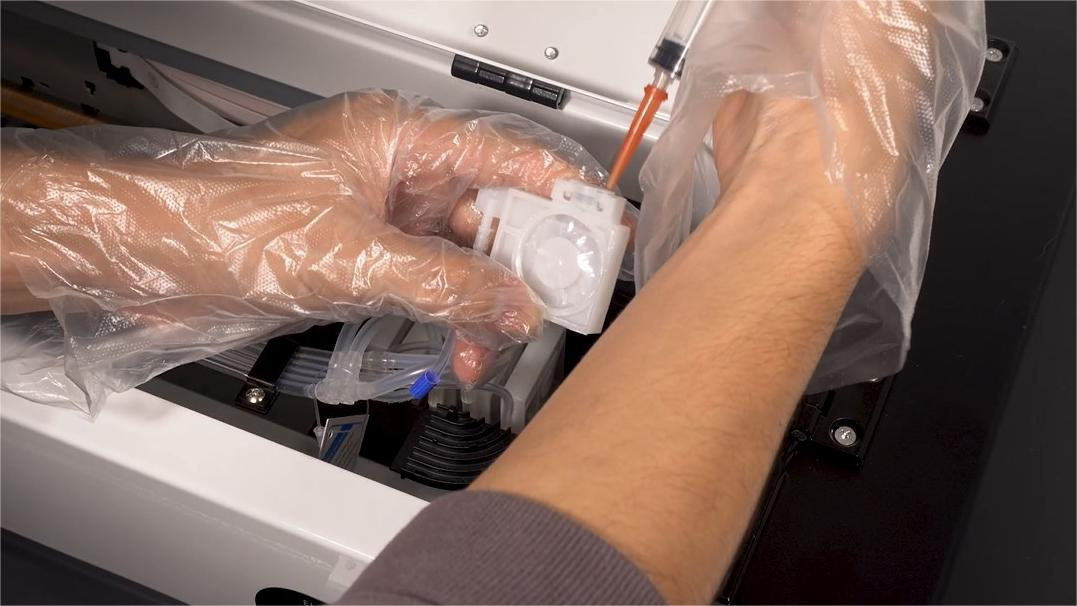
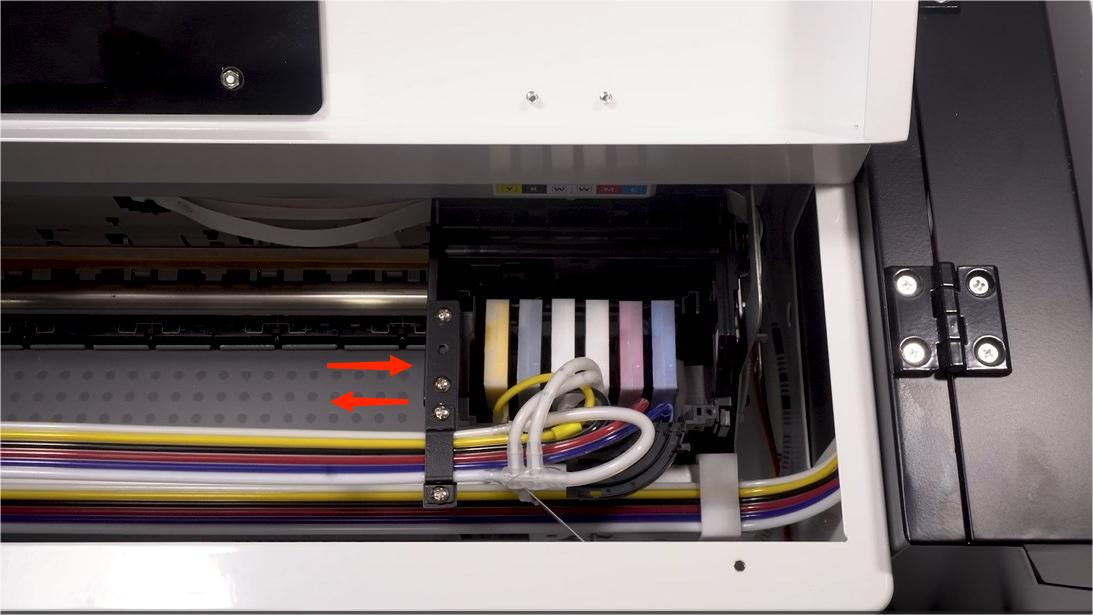
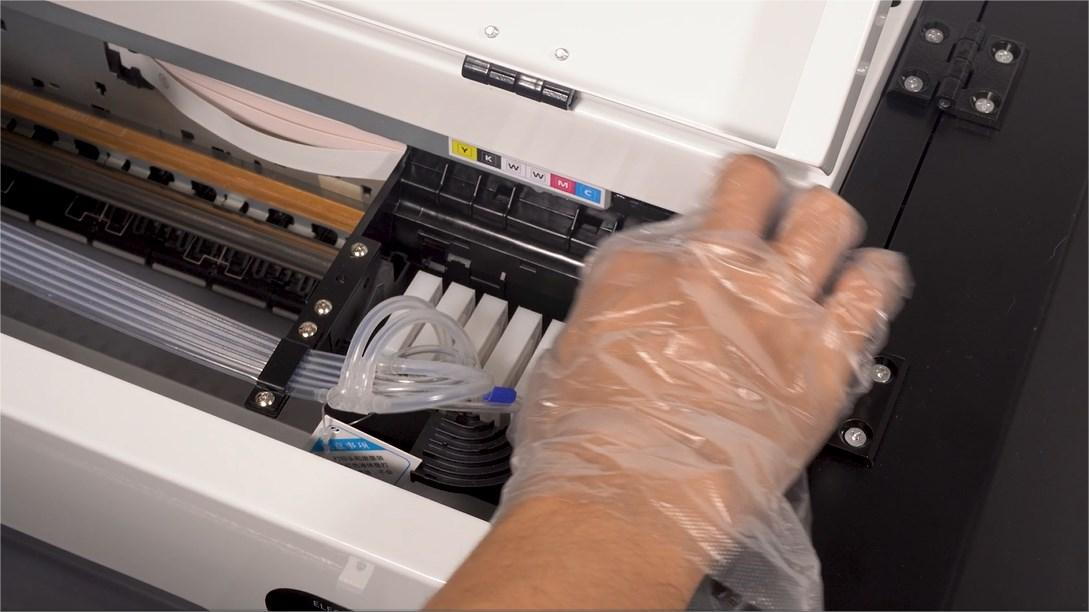 06Take off only one cartridge at a time. |
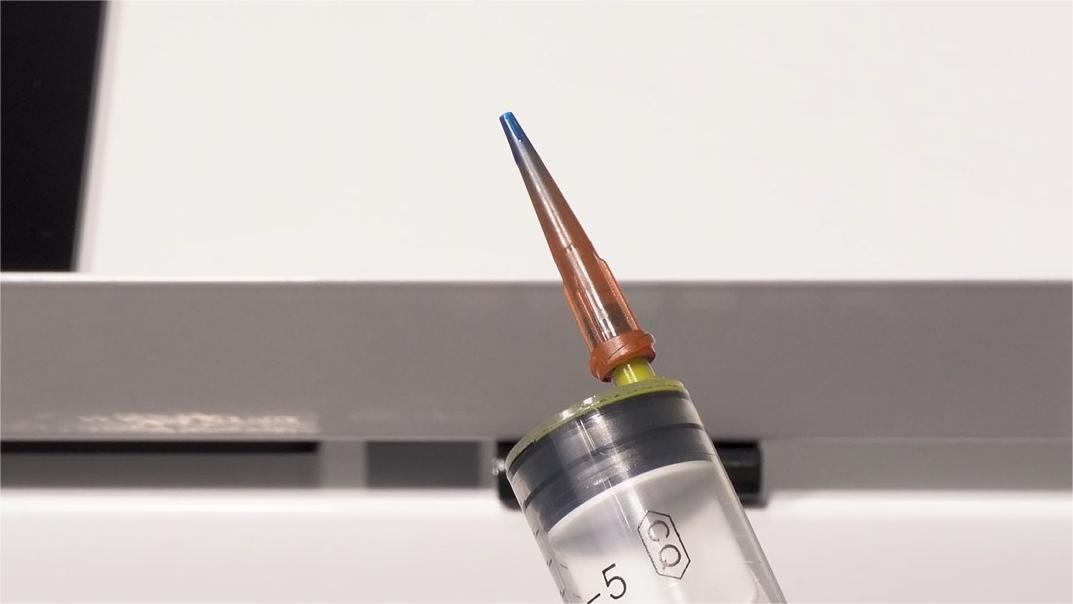
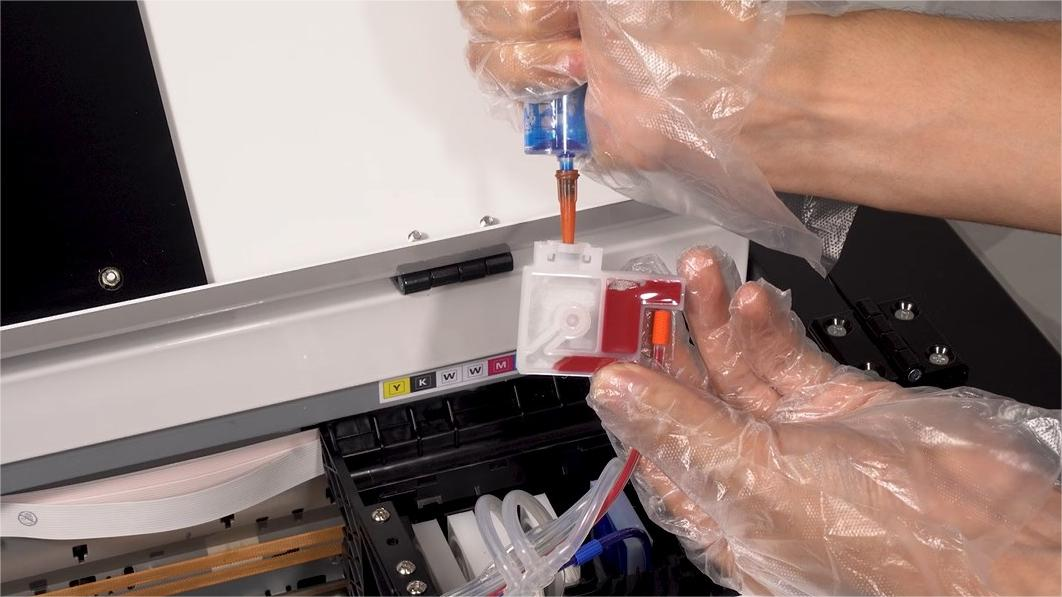 07Turn it upward and extract 5–10 ml of ink until there is little air left in the cartridge. |
 08Put the cartridge back in place after extracting. |
 09Change the needle hub for each ink to avoid color mixing. |
 10Finish the extracting work for all remaining ink cartridges. |
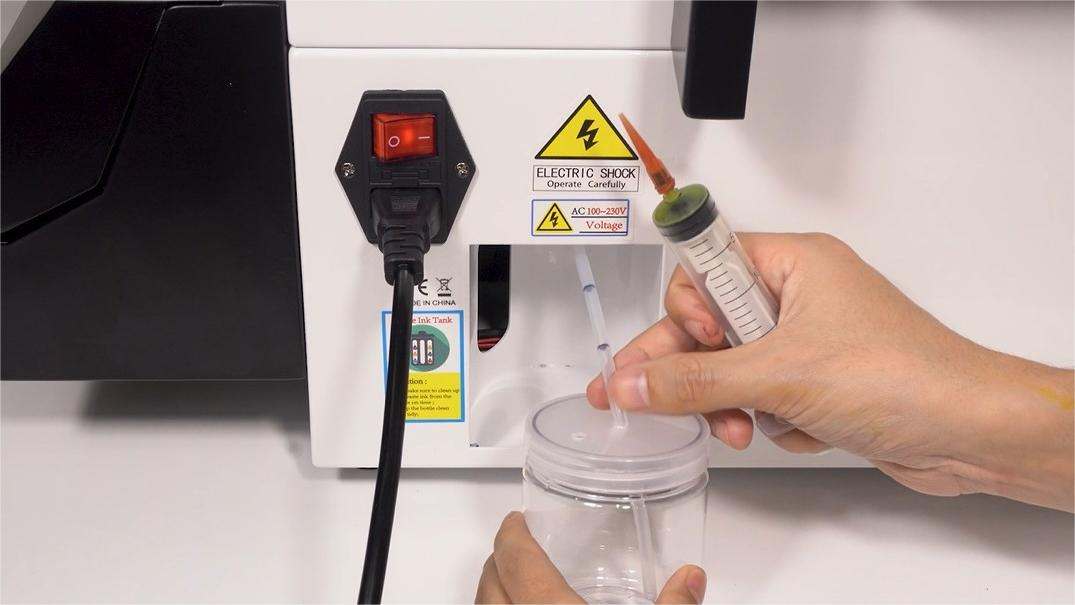 11Take out the waste ink bottle at the back of the printer. |
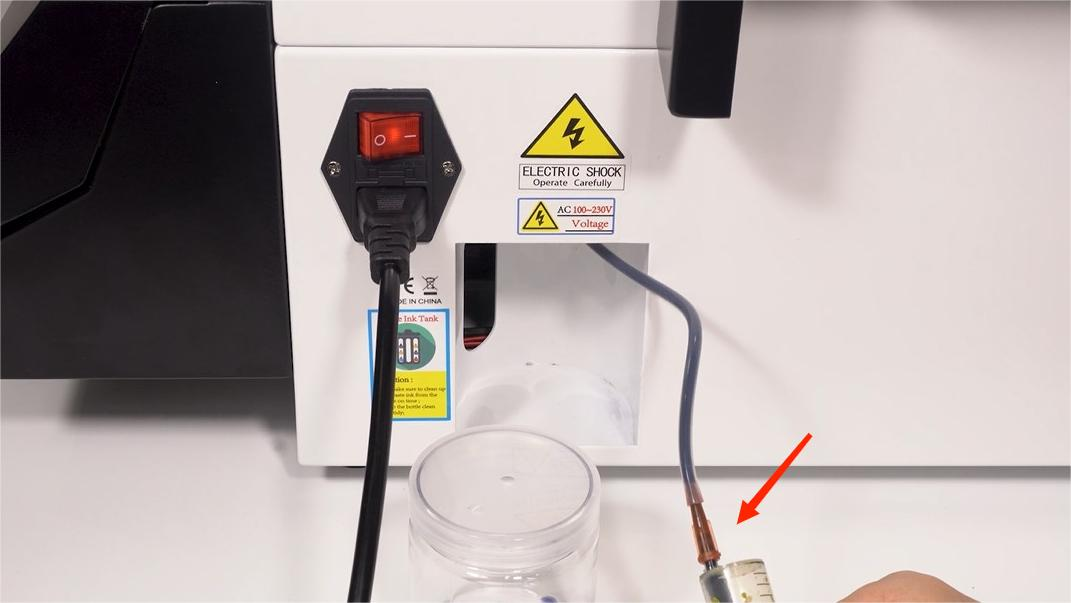 12Extract 5–10 ml of ink out of the waste ink tube. |
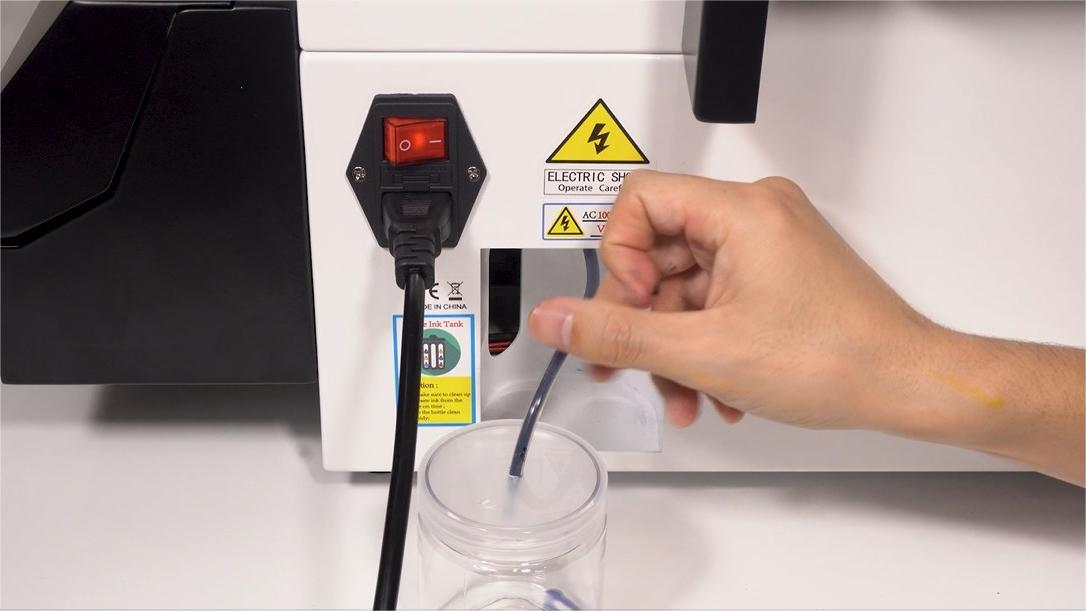 13After extracting, put the ink tube back. |
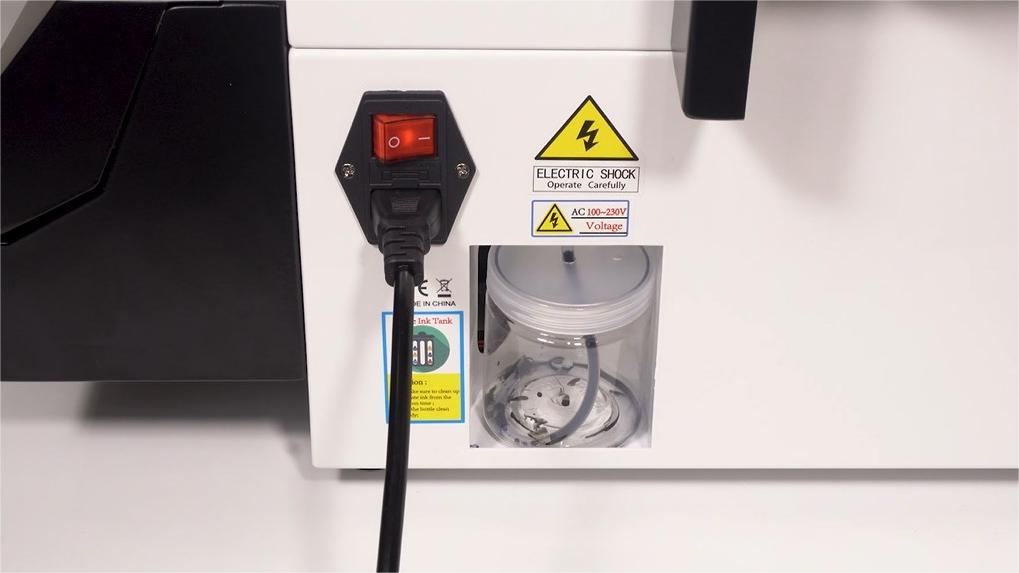 14Put the waste ink bottle back as well. |
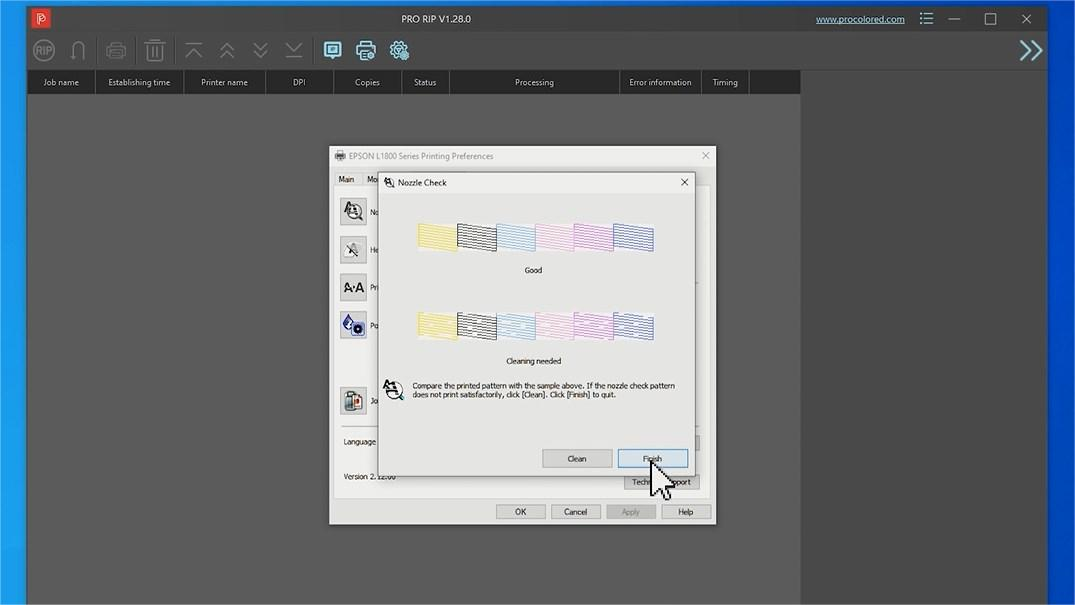
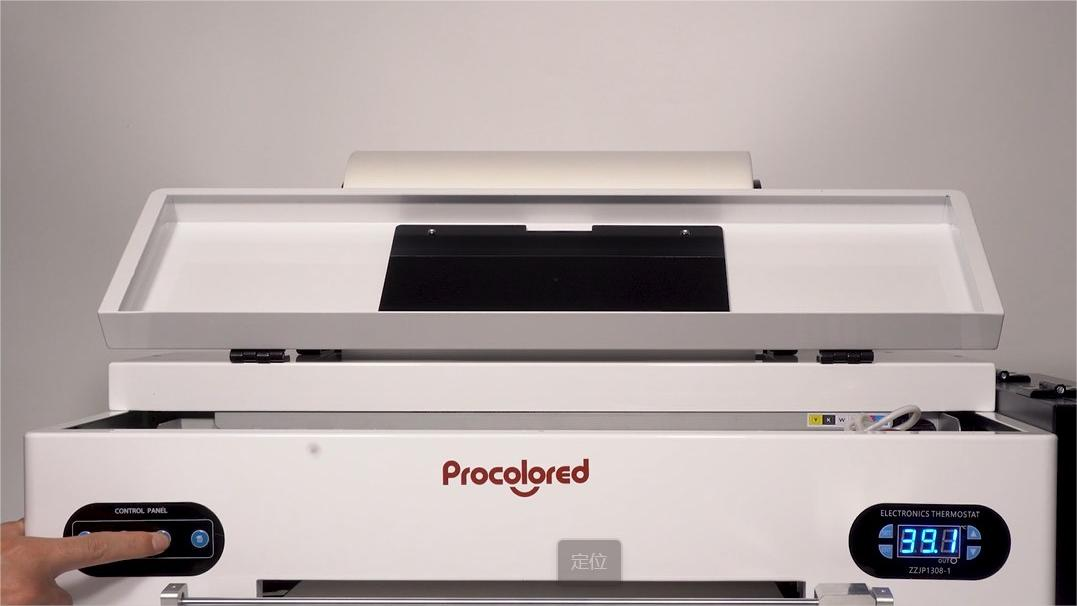 15Long press the ink button (3rd from left) to execute print head cleaning. |
 16The print head moves back and forth automatically to complete the cleaning — takes about 2 minutes. |
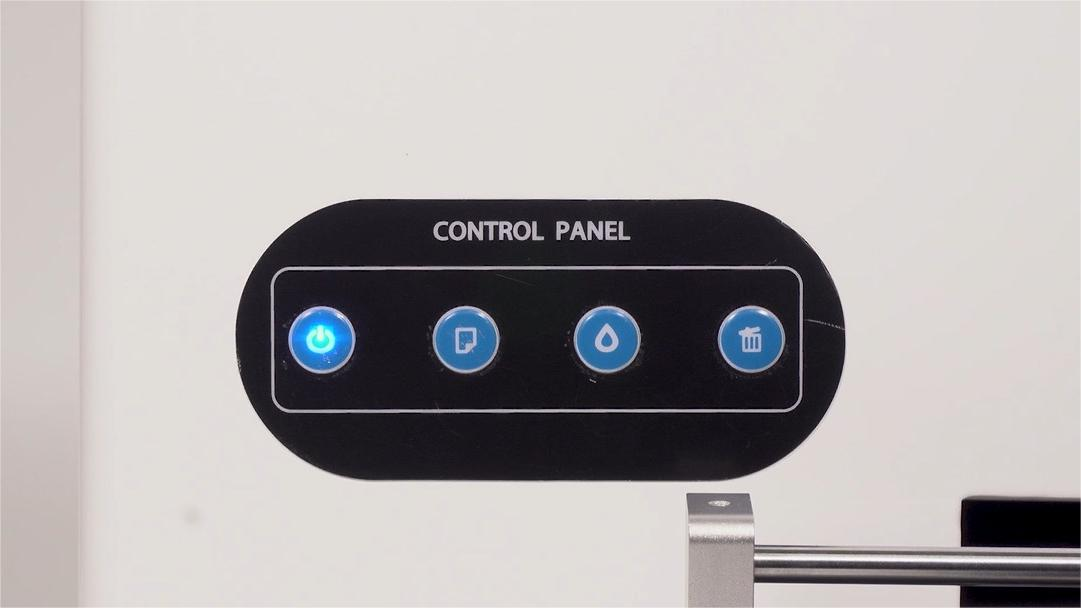 17Wait until the power light turns steady. |
|